


We may receive a commission when you use our affiliate links. However, this does not impact our recommendations.
Glue-ups are always a stressful moment – you have a short timeframe to correctly align the parts you’ve been working on for some time, and failure to do so can compromise your results. So, I figured I’d share some tips that I’ve learned over time, through many a stressful and suspenseful glue-up.
1. Do a dry-run.
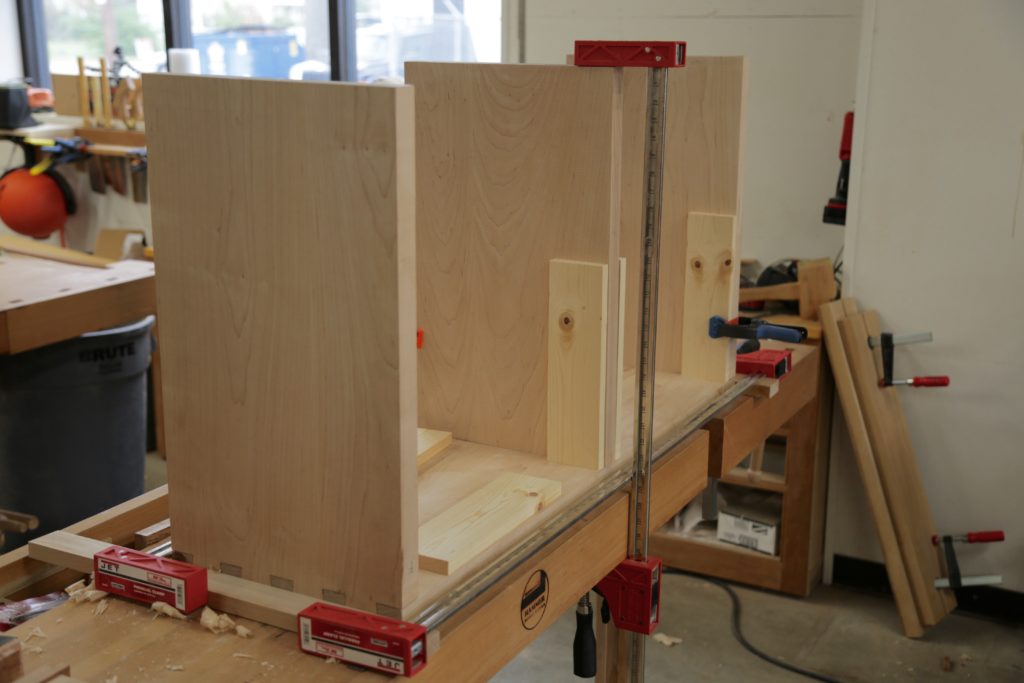
Scott Francis, our books editor, is getting ready to glue up this massive maple hallway bench.
You can set aside all the clamps, look at your project and feel good going into a glue-up, but once the glue is one, you might (if you’re like me) lose a few IQ points. Doing a full run-through of the process, as if there is glue on the joints, will let you know where the clamps go, if you’ve got the right ones, if your cauls will interfere, or if you need more time or a helping hand.
2. Wax your joints.
Here, I’m applying paste wax to the outside of a glue joint, wherever squeeze-out might occur.
When I’m using shellac or another film finish that needs to be applied to surfaces that will be inaccessible to finish after the workpiece is together, I put some wax around the closed joints, wherever squeeze-out might appear on the finished parts. I do this during the dry run when the joints are tightly together (you don’t want to get wax in the joints). This lets me worry more about the alignment and fit during the glue-up, and less about whether the parts will have glue residue on them. Sometimes, I won’t even clean up the squeeze-out – if the joint was waxed correctly, I can pop the dried glue off later with a plane iron or a wide chisel.
3. Brown glue.
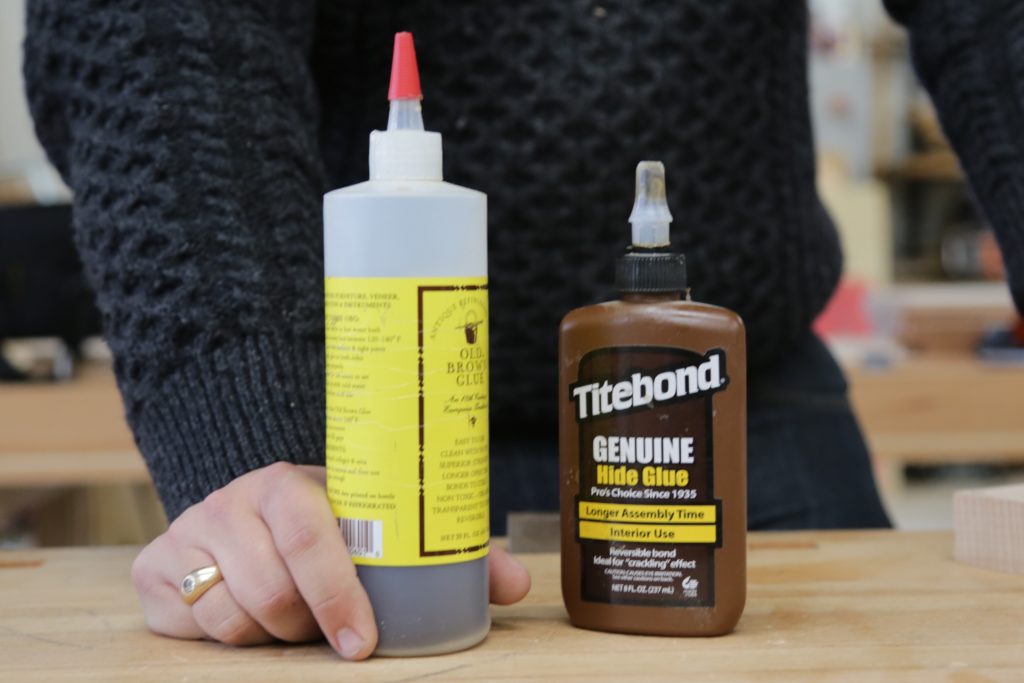
Here are two brands of liquid hide glue available – Old Brown Glue and Titebond’s Genuine Hide Glue.
I resisted using brown glue for a long time. The temperature sensitivity and the smell kept me away, but after switching, there’s no going back. It’s easy to clean up with water, small smudges that usually show up during finishing are less problematic, and it holds just as well.
There are, of course, times to use other glues. I use epoxy when adhering metal and wood together, or when the glue also needs to do some gap filling (in a loose joint or repair, for instance). I use waterproof PVA when the piece will be exposed to water. But for furniture, hide glue (in liquid or hot forms) is great. If you’d like to think someone in the future will repair your work when it breaks (hopefully the far-flung future), you can also rest assured that the repairs will be easy and straightforward, too, due to the ease of releasing and redissolving protein-based glues.
4. Clamping power.
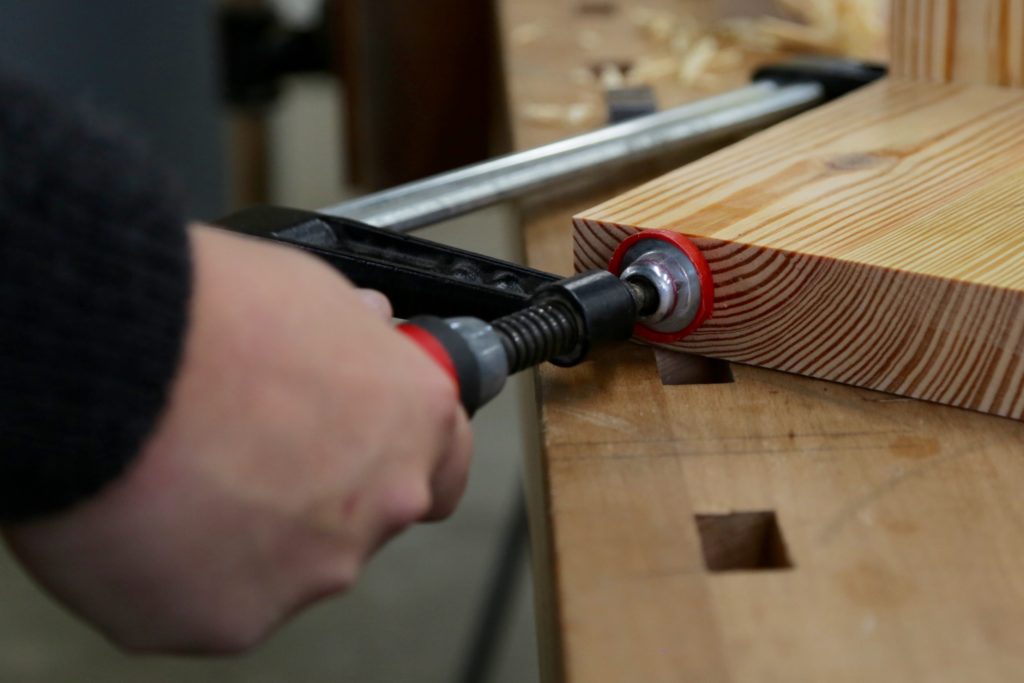
The last step in the glue-up is my own hands, with the same pressure and to the same tightness, going around to every clamp involved.
When I finally have a piece together, I go around and give a final turn or check of the pressure myself, with the same hand. This is especially important when working with a partner during a glue-up – if one of you is a behemoth with strong hands, or just sprained their wrist, you’ll have a different clamping pressure on different joints. This isn’t always very problematic, but sometimes the differing pressures can change the fit or alignment minutely (which, in the case of drawers, might cause some real problems).
Also – the clamps should be tight enough to bring the joints fully home, but not much more – I’ve been guilty of hulk-like clamping pressure, and it only creates problems. Another reason to do a dry-run – if the joints don’t go home, bring them back to the workbench and make them fit, don’t rely on a clamp to bring it all the way home.
5. Mug-bottom.
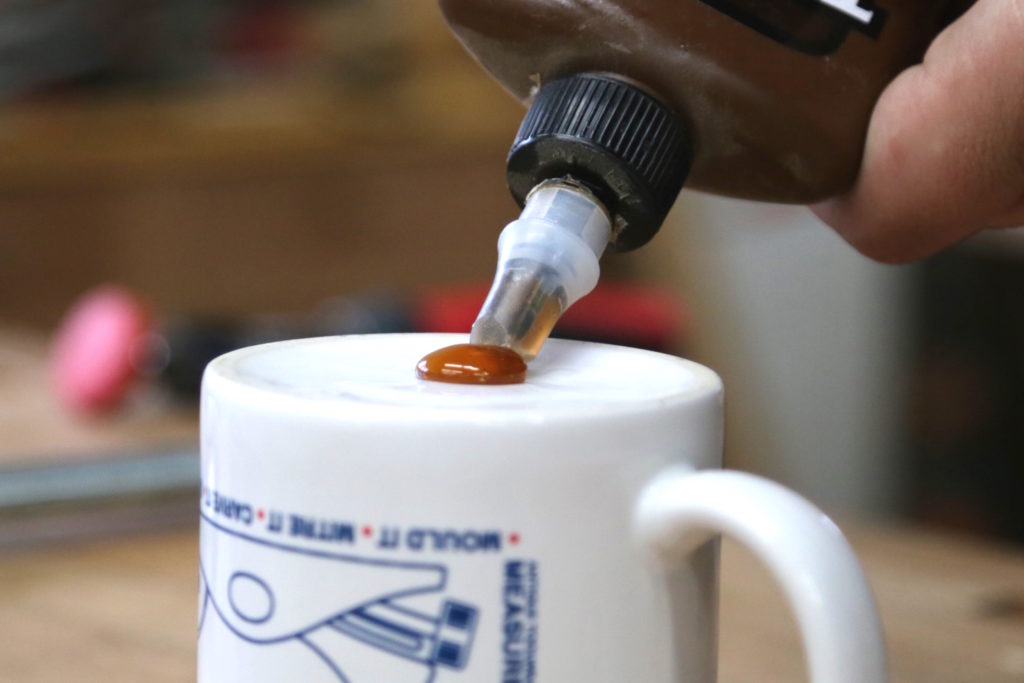
The top of a mug makes a great glue tray, if you glue up with a brush, stick or other painterly technique.
No, that’s not a word for non-magical woodworkers – I use the bottom of a mug to squeeze my glue out into, before application. While working from the bottle is fine for simple glue-ups, if you need to apply glue carefully, a brush or popsicle stick will help you do so, and a mug-bottom makes the perfect receptacle to work from. Just don’t forget to clean up the mug!
6. CAULS, CAULS, CAULS
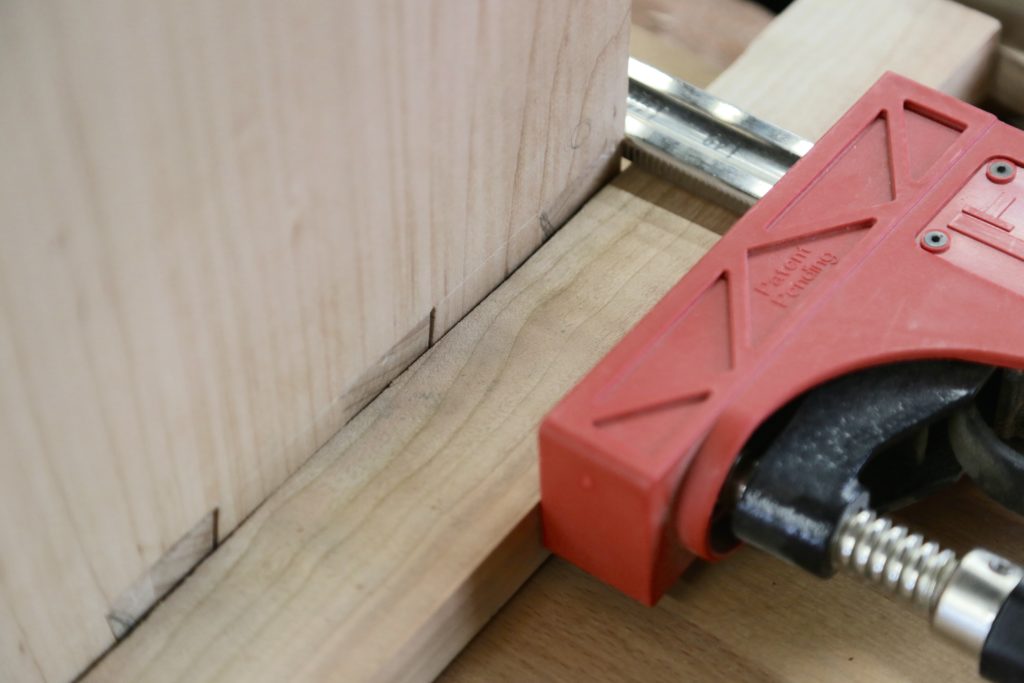
Here are Scott’s cauls, which help distribute pressure and keep from marring the surface. His dovetails are flush, but with dovetails that have been left proud (to be trimmed after the fact) make a series of notches so the clamping pressure is only on the tails, not the pins.
Use cauls. The extra five minutes to dig up some scrap and cut it to fit is well worth the ding prevention. Once again, clamp depressions is the kind of thing you may not notice until you have that nice finish on the outside, and only then you’ll see the light bend around your little marks.
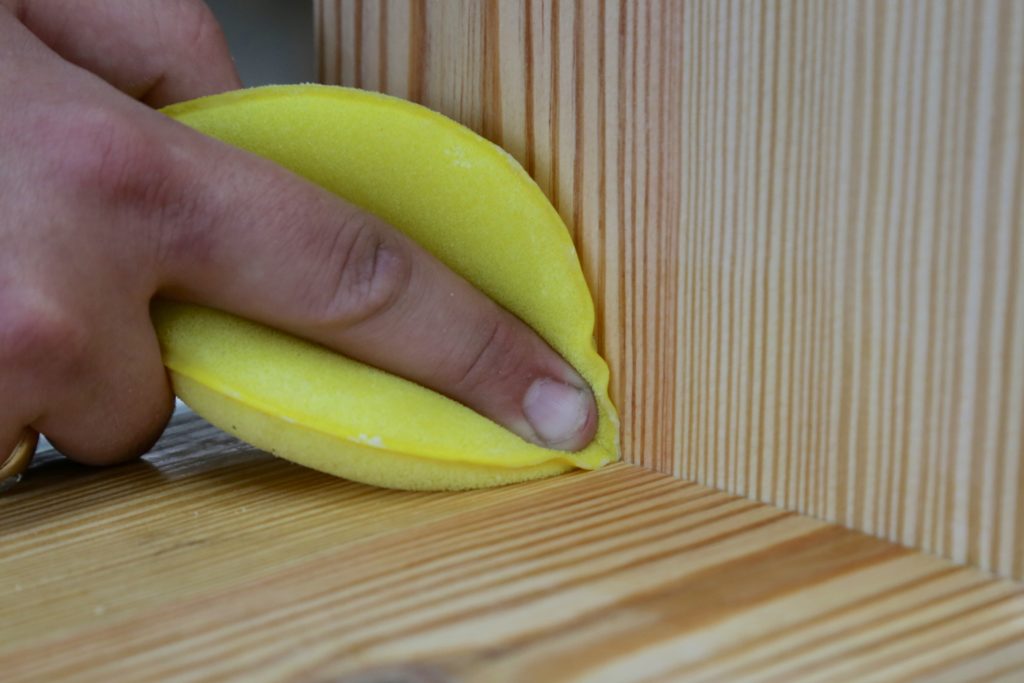
I make my cauls with softer wood than the workpiece, as well – I once glued up a Douglas fir piece with hard maple cauls, and, in my panic during the glue-up, tightened down the clamps enough to put some interesting depressions in the fir. While you’re at it, soften the edges of all your cauls (again, a minute with some sandpaper or a small plane) and you’ll be even safer.
7. The clamping pressure cone.
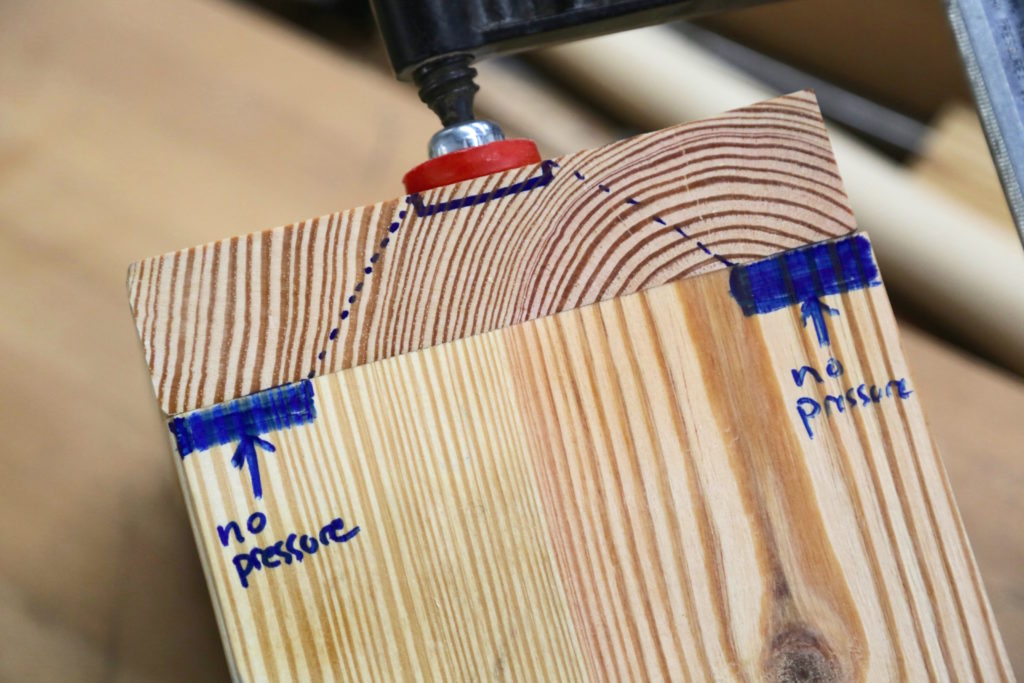
The pressure from a clamp radiates outward at 45º, so in this example, the outside inch or so of the joint is not receiving any pressure.
Pressure from a clamp radiates through the piece being clamped at 45º on either side of the clamp head – imagine a cone projecting into the workpiece from the head of the clamp, as shown in my hasty illustration. If your projected cones don’t span the joint across the full width, and the joints aren’t sprung, you may be missing pressure in places where it counts. There are two solutions – you can add clamps, or make your cauls thicker (thus bringing the clamp head further away from the joint). I tend to favor the second option – in general, I want to use as few clamps as necessary, as I’m usually working alone. If you haven’t got the necessary scraps on hand, up the number of clamps.
Those are some of my lessons from a life of panicked glue-ups. Most importantly, don’t rush a glue-up. If you’ve spent time on making the piece, it’s always worth the extra time to make sure you don’t trip right before the finish line. I always block out an hour to prepare for a glue-up when working on a piece, and being totally prepared has made my life much more stress-free.
Here are some supplies and tools we find essential in our everyday work around the shop. We may receive a commission from sales referred by our links; however, we have carefully selected these products for their usefulness and quality.


#8. Phone a Friend
I remember doing a tricky chest of drawers glue up and I called reinforcements. The piece was over five feet long with curved legs/cauls. I’m sure glad I did because we got something tweaked and had to remove a bunch of clamps in a hurry. Even while using hide glue, this was a difficult thing to do and I was happy for the help.