


We may receive a commission when you use our affiliate links. However, this does not impact our recommendations.
I was recently asked to be Godfather to my youngest niece. This is quite the honor, especially in my Italian-American family. This notion has much less to do with religion and much more to do with influence in my family. You see, this pretty much gives me full license to spout off on a myriad of topics for the rest of my niece’s life. She won’t always be obligated to listen but that won’t stop me. Her first lesson will be about making things for those you love instead of settling on something manufactured.
I wanted to give her something a bit out of the ordinary but still in tune with tradition. A small cross necklace was an easy choice but I couldn’t stop there. I headed over to Pinterest to figure out what I could make on a short timeline. If you aren’t using Pinterest as a tool to feed your designs, you’re clearly missing out. I found a bunch of cool things under the search terms ‘necklace holder.’ I pinned several images but settled on an angled display stand to hold a few necklaces.
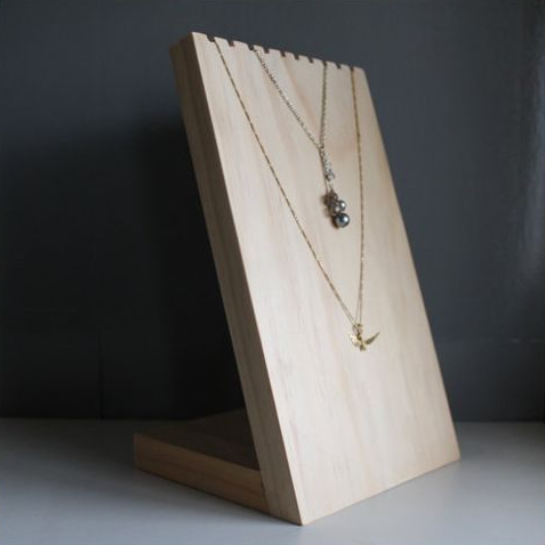
I found this necklace holder on Pinterest.
Time was of the essence, so I immediately started poking around the scrap bin. I found a maple offcut from a recent chest of drawers build and started playing with angles. I found that 20͒º looked about right so I tilted my track saw and made a few practice cuts. It took some thinking (and flipping back and forth of boards) but after making two 20͒º cuts, I lined things up as shown below.
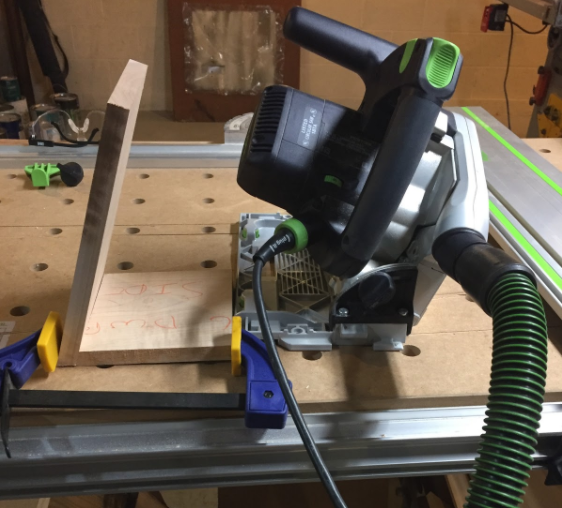
The track saw makes quick work of cutting the angles.
This looked right to my eye so the next step was to cross cut everything to final length, sand to #220 and throw on a little shellac; these tasks were much easier before assembly. I found that using a track saw to cut these bevels (with or without a MFT) is an overlooked feature and I’ll be using this again in the future.
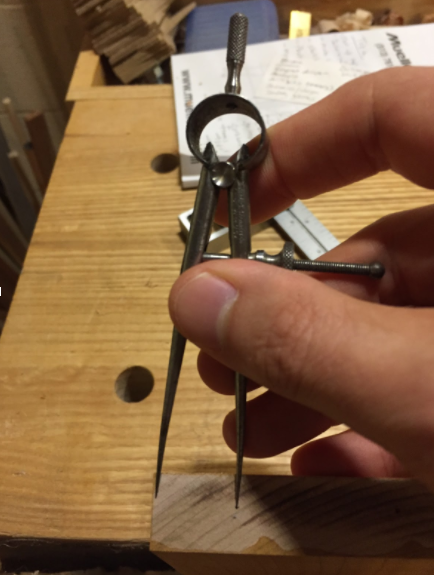
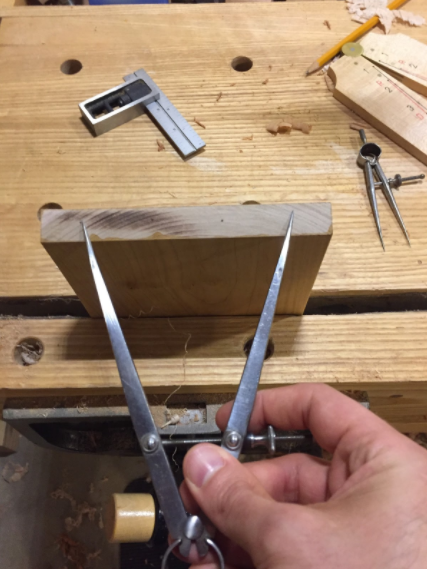
While sanding, I contemplated the best way to join the two sections together. The small walnut Miller Dowels I had lying around would add both strength and a subtle contrast to a rather simple piece. It also allowed me to bust out one of my favorite techniques: using a sector to evenly space the dowels.
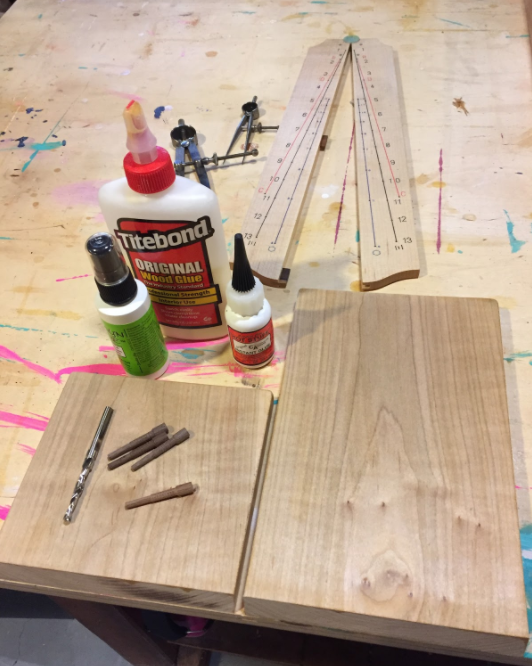
Tools and parts ready for the next step.
I learned this technique from By Hound & Eye and saw it covered over on the Lost Art Press blog. I speak from experience when I say, once you do this a few times it becomes second nature and you’ll start finding excuses to bust out your sector. Here’s how I did it.
Eyeball the inset for the out pins (¾” worked in this case)
Set dividers for the space between the two insets.

Set the opening of the sector so the divider opens to 12 (this gives you lots of options for various divisions.
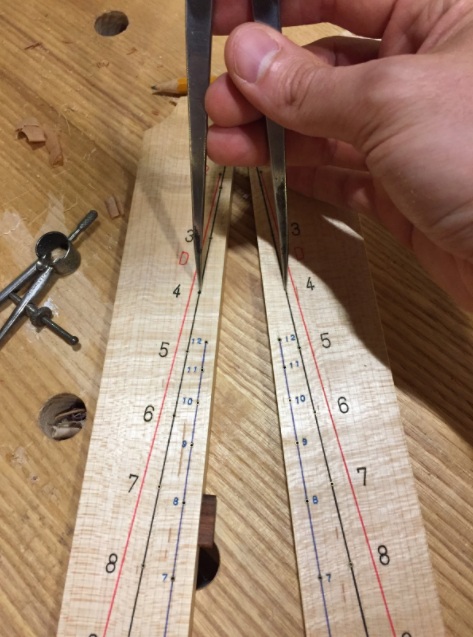
Reset the dividers to 4 giving 3 (12 ÷4) evenly spaced intervals between the inset points and a total of 4 dowels.
You’ll note how I used the end grain to mark off my spacing as it gives me plenty of opportunities to play without marring the surface and will also be covered up after glue up. Being happy with the spacing, I decided to glue these up using a trick I’d see other places. With a combination of CA glue, yellow glue, and strategically placed activator, I set forth to glue this up and hold on while the activator cured.
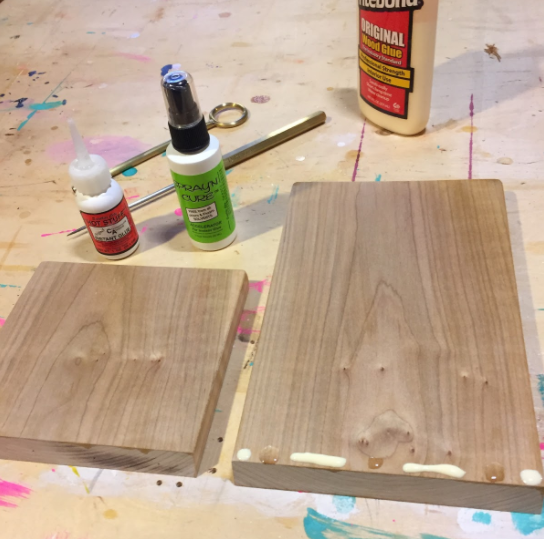
Here you can see the divider holes (on the left board) along with the two-glue solution.
Having never tried this glue up technique before, I was a little hesitant. To be honest, it didn’t really work out and the pieces came apart when I let go. I quickly grabbed some clamps for good measure. The clamps did the trick. If you have experience using this technique, please leave a comment down below; maybe I did something wrong or had an expired product?
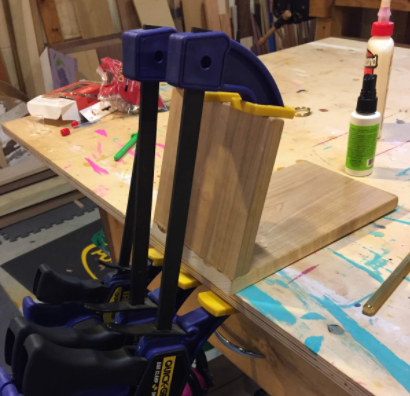
Quick clamps to the rescue
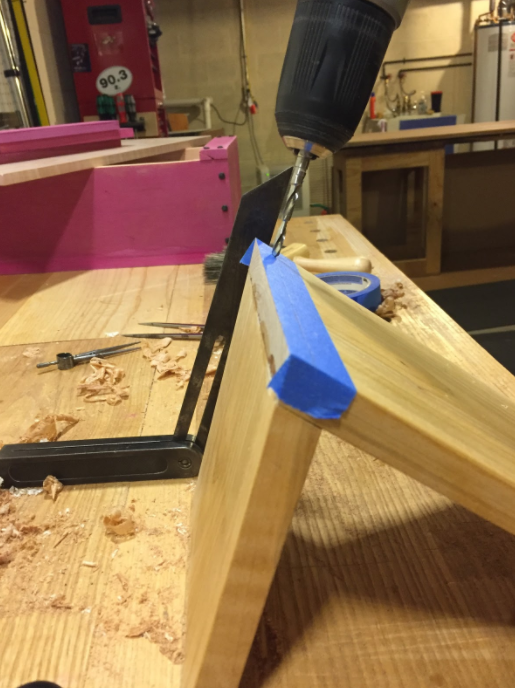
With the parts glued up, I used a chairmaker’s trick to guide my hand and eye for the drilling operation.
I used a business card to keep the flush cut saw from marring the workpiece when I cut the dowels to length.
The last thing to figure out was the notches to the hold the necklaces. Since the bevel gauge was already set up to 20° I set the table saw blade for this angle and made a test cut.
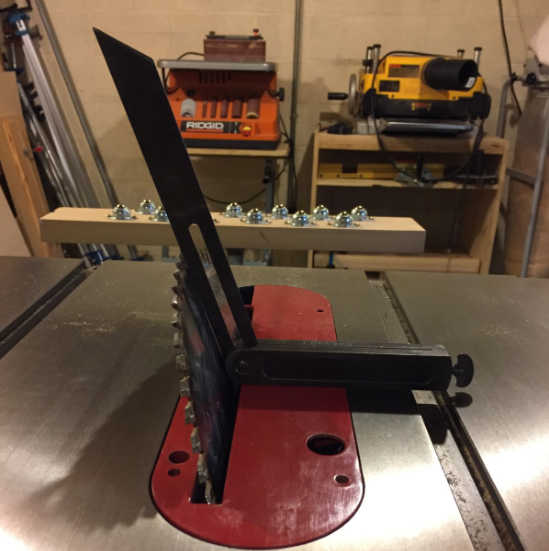
When choosing angles I find reusing the same angle throughout the build makes for a pleasing design.
I used the sector to layout a symmetrical pattern and then set a stop block on my miter gauge. I flipped the board 180° after each cut and reset the stop block eyeballing the alignment from my stepped off pencil marks.
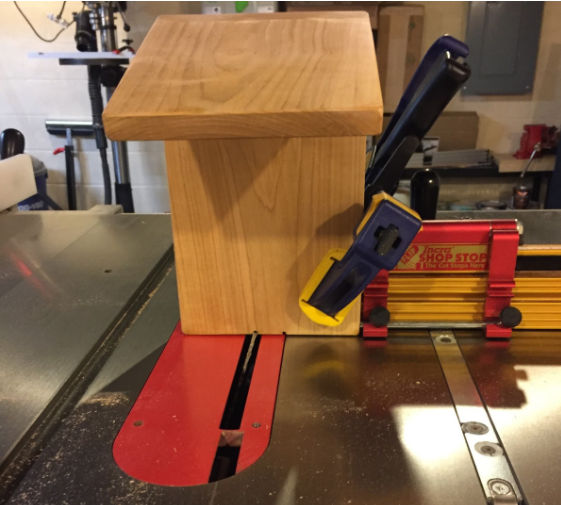
You can see the small symmetrical notches and the stop on my miter gauge.
With everything completed joinery-wise, I turned my attention to final sanding. I sanded the notches with a piece of scrap wrapped in #180 paper, and a then flushed up the dowels with my random orbit sander. The final step was to add a few coats additional coats of amber shellac.
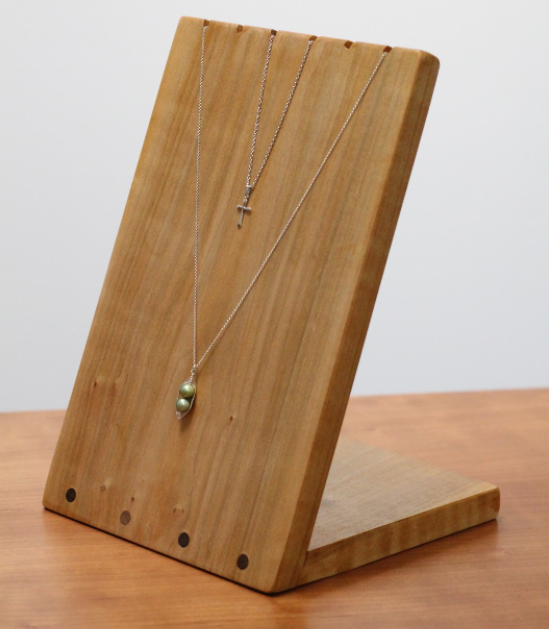
Shown with the tiny cross and an adult necklace for scale.
When I gave it to my niece she started crying. I’m guessing those were tears of joy, but since she’s under six months old I could’ve been reading her wrong. Either way, I hope she’ll see this gift as a testament to both the bond bestowed upon us and our inherent need to build things with our hands.
– Shawn T. Nichols
Shawn Nichols lives in Cleveland. When he’s not spending time in his shop or with his young family he’s likely thinking about spending time in his shop or with his young family. You can read more of his musings at his blog.
Here are some supplies and tools we find essential in our everyday work around the shop. We may receive a commission from sales referred by our links; however, we have carefully selected these products for their usefulness and quality.


