


We may receive a commission when you use our affiliate links. However, this does not impact our recommendations.
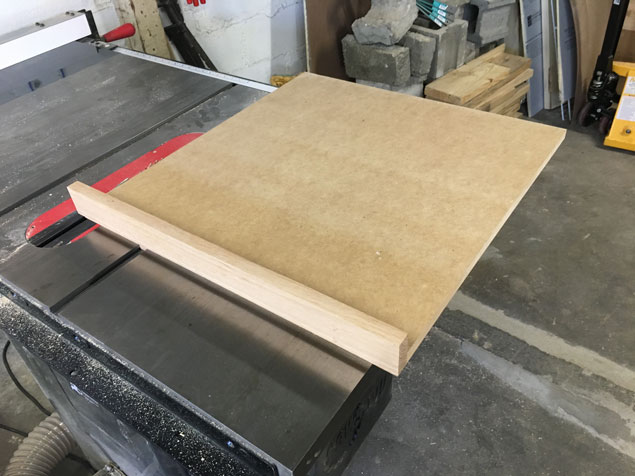
There are a lot of people who don’t see the point of having a panel-cutting sled, which is a sled that has its fence on its leading edge instead of on its trailing edge.
The better solution, I’m told, is a giant sliding table that can handle a 4×8 sheet of plywood and have a stop system for repeatability. That approach is correct if you make kitchen cabinets for a living (and have the shop space and the money to do it). If, however, you make one-off pieces of furniture for yourself or customers, a simple panel sled such as the one above is what I prefer.
Here’s why: Large panels in casework come in pairs. Two sides, two ends, a top and bottom. What’s important is that these components be the exact, dead-on same size. What’s not important is if that size is within .006” of your drawing spec.
This sled allows you to stack two panels on top of one another so you can cut them simultaneously. That means they will be the exact same size. But there’s no stop system on my sled. This means I work to a pencil or knife line. I can easily get to 1/64” of my planned dimension with this sled. And that’s plenty close enough.
Make the Sled
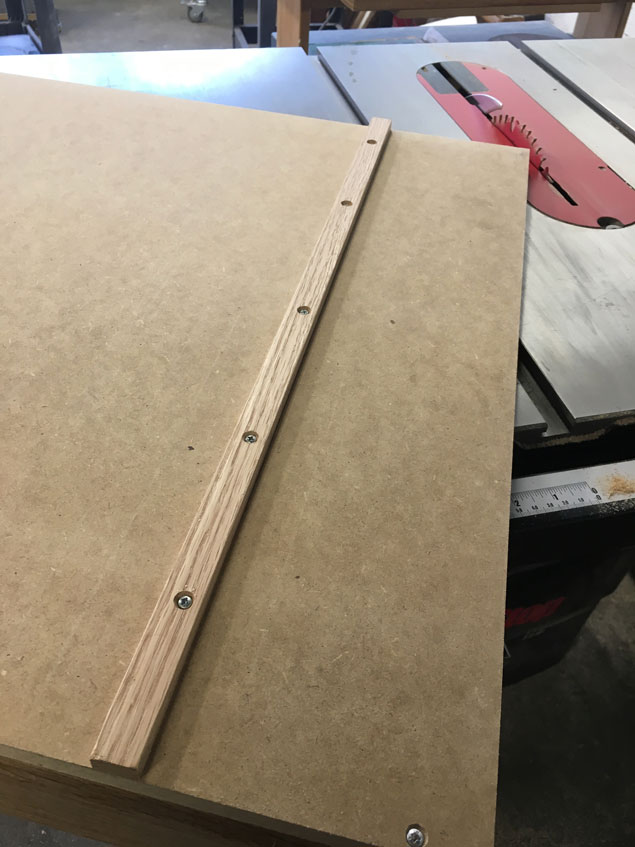
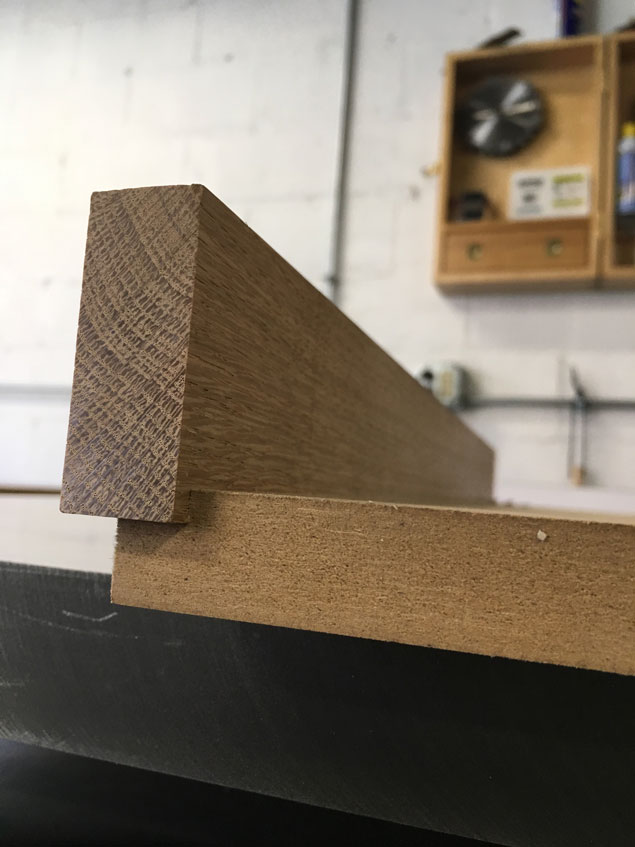
Here are the specs on the sled. The base is 3/4” x 24” x 24” MDF. The fence is 1” x 2-1/4” x 24” oak. The runner on the underside of the sled is 3/8” x 3/4” x 24”, which is designed to fit in a standard miter slot.
Square up the MDF panel for the base. Get its corners dead 90°. On one edge of the base, cut a 1/4”-deep rabbet that will hold the fence. Then use a cutting gauge to scribe a line that’s 6” from one adjacent edge of the base (or more if your sawblade is more than 6” from your miter slot). This line will guide you as you position the oak runner that goes in the miter slot. Put some glue on the runner and clamp it on the scribe line. Shift it around until it is positioned perfectly. Attach the runner with screws.
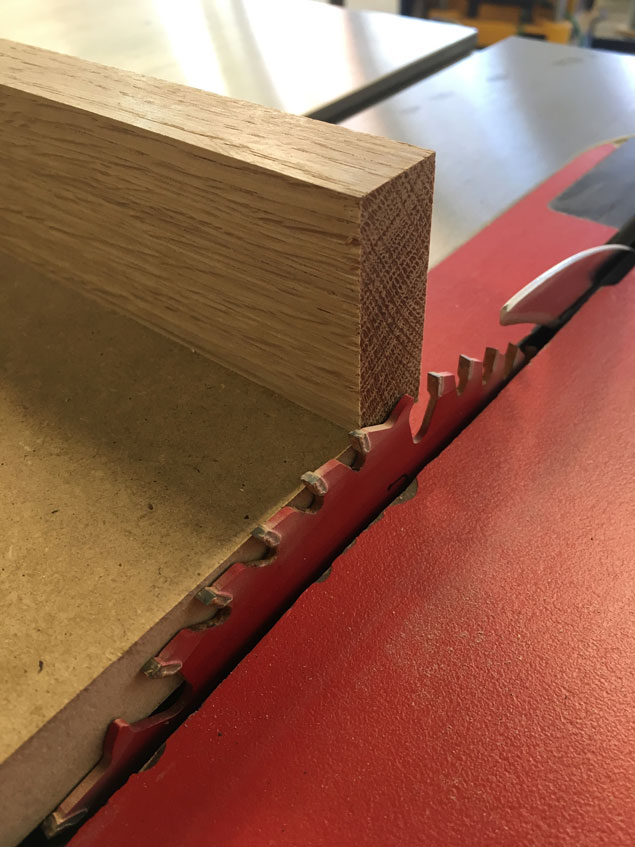
Put the jig on your saw and trim away any overhang. Then glue the fence into the rabbet. After the glue dries, trim the fence to its final length using your table saw.
And that’s it. Make some test cuts to ensure your jig is cutting at 90°. You can try to adjust the fence with a shoulder plane or with shimming. But if it’s out of square, my advice would be to cut off the fence and try again.
— Christopher Schwarz
P.S. I am the least jig-oriented woodworker I know. If you like jigs (nothing wrong with that), then check out Stumpy Nubs’s book “The Homemade Workshop.” It’s filled with clear instructions and a you-can-make-your-own-machinery attitude.
Here are some supplies and tools we find essential in our everyday work around the shop. We may receive a commission from sales referred by our links; however, we have carefully selected these products for their usefulness and quality.


Just made one of these per this article. Works great! I’m not a “chop saw guy” so this will be handy for quick cuts. Thanks!
I saw a jig yesterday that had 100 or so parts including custom made wooden gears…. it brought tears to my eyes for all the wrong reasons. Give me a 3 piece jig any day.
Single runner with leading edge stop?
I didn’t see that coming.
Chris,
Because we’re often cutting pretty big pieces, including plywood, with these sleds, my similar system includes a cutoff catcher on the other side of the blade to be used when the cutoff is sizable. This prevents the cutoff from flopping down abruptly at the completion of the cut, which can cause splintering of the keeper piece, or worse, result in the cutoff getting caught by the blade. For safety and easy adjustability, the cutoff catcher runs in the miter slot on that side.
This 2008 post shows my version: http://www.rpwoodwork.com/blog/2008/10/14/table-saw-crosscut-sled/
Just as a matter of preference, I happened to use UHMW for the runners, and my fence is adjustable. The fence adjustability is really only to give me another shot at getting it square during the building process, and to fix it if I drop or heavily bump the jig.
Anyway, I heartily agree with you that jigs are best kept simple.
Thanks,
Rob
Amen for simplicity and economy. I made one like this over twenty years ago and still works great.