


We may receive a commission when you use our affiliate links. However, this does not impact our recommendations.
The dresser
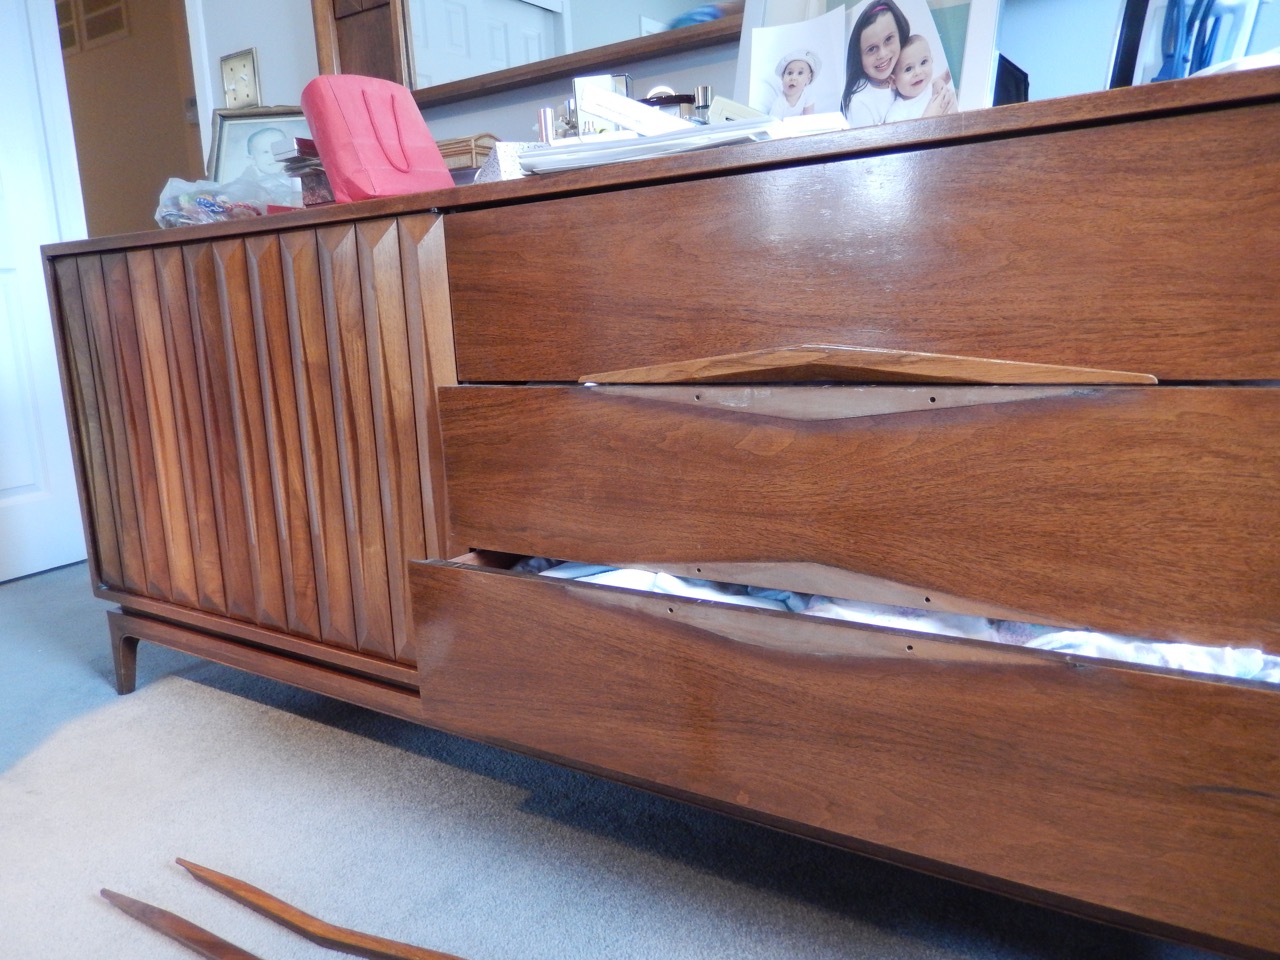
A few months ago I received an email form a person who wanted to know if I could build two walnut handles for a Mid-Century walnut dresser that she cherished. She reported that she and her husband purchased the piece 48 years ago when they got married and that it remains very dear to her heart. The dresser has three drawers, two doors and floats on a slick four-legged base. The use of polygons and rhombus embellishments on the doors as well as the chevron-like form of the long handles is typical of 1950-60s’ design. With its overall lines and proportions this piece fits well among Danish Modern and other Mid-Century Modern furniture.
After paying a visit to see the dresser and to pick up the broken handles, plus one original handle (to serve as a reference) I began making plans to reconstruct the parts. When dealing with a one-off project I often find that it makes sense to rely mostly on hand tools instead of on stationary woodworking equipment such as a router table or a table saw. With the right hand tools you can actually save time that could easily been wasted on jig building and lengthy setup preparations.
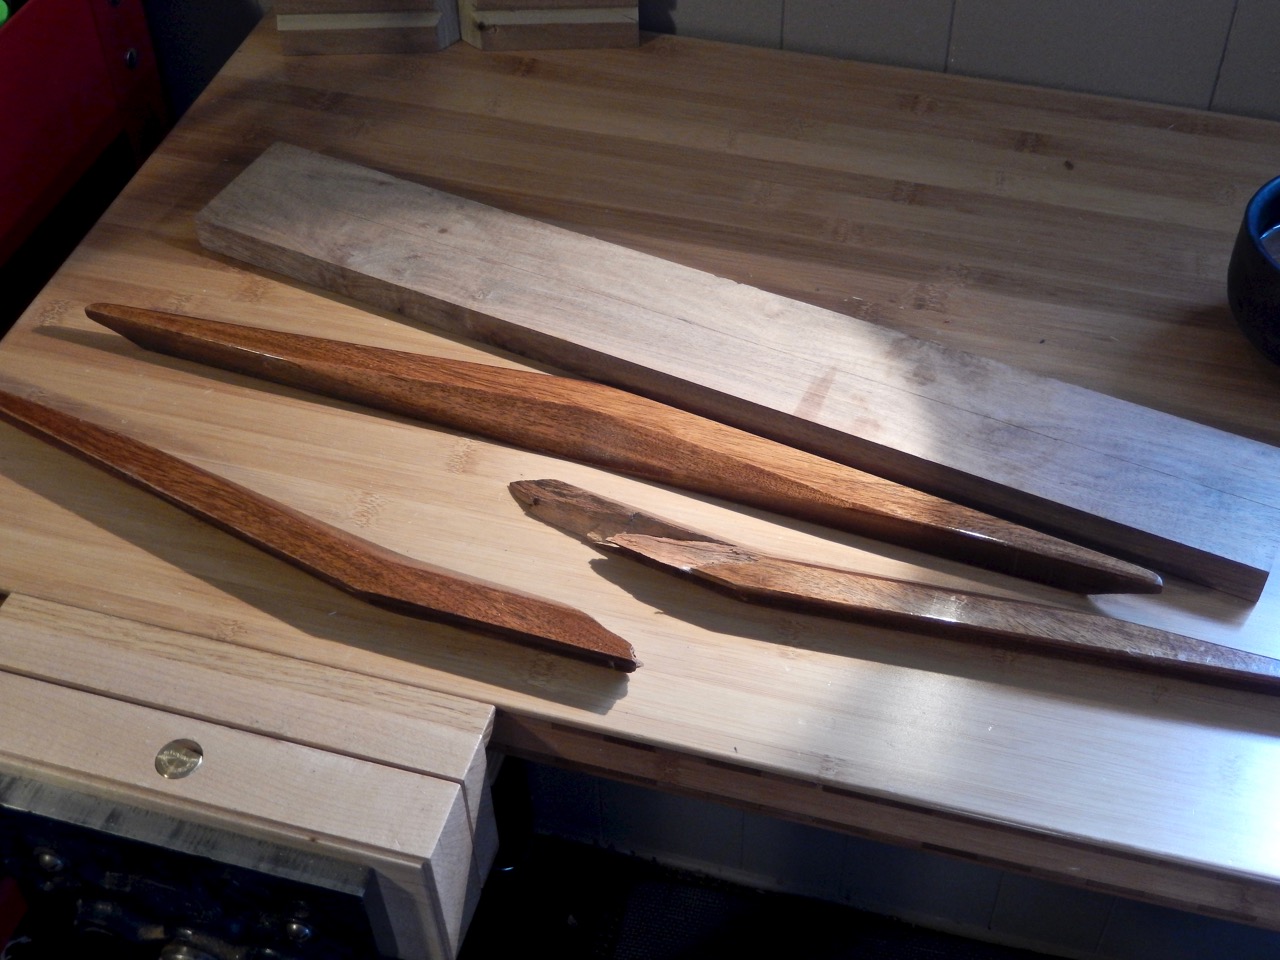
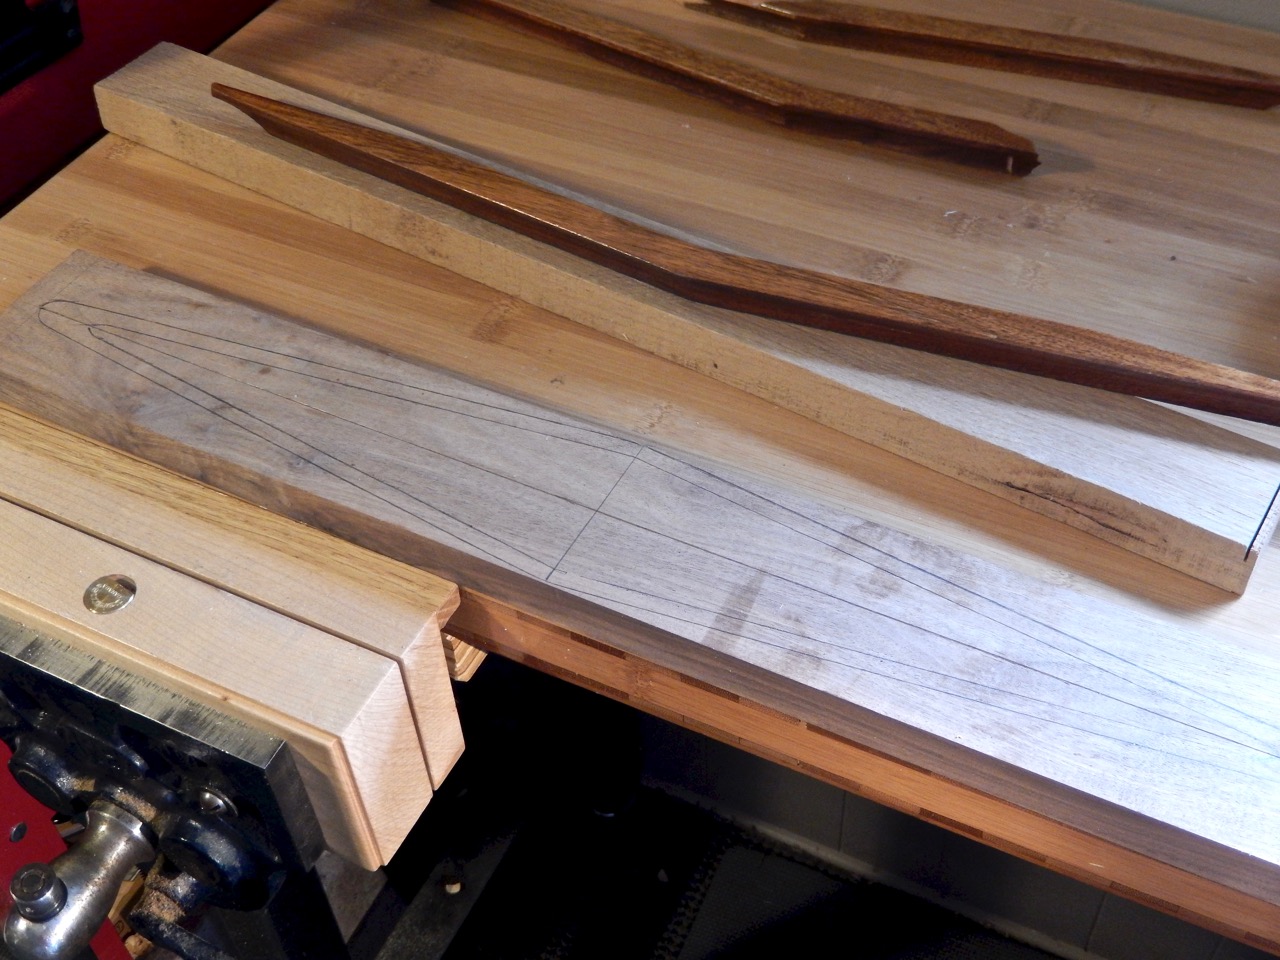
The walnut blank for the new handles, one of the original handles and parts of a broken handle.
The plan
I planned on forming the two handles (facing each other) out of one block of wood so once most of the shaping was completed, I would rip the blank in half to separate them to finish the job. By the way, when the two handles face each other they look like a long rhombus.
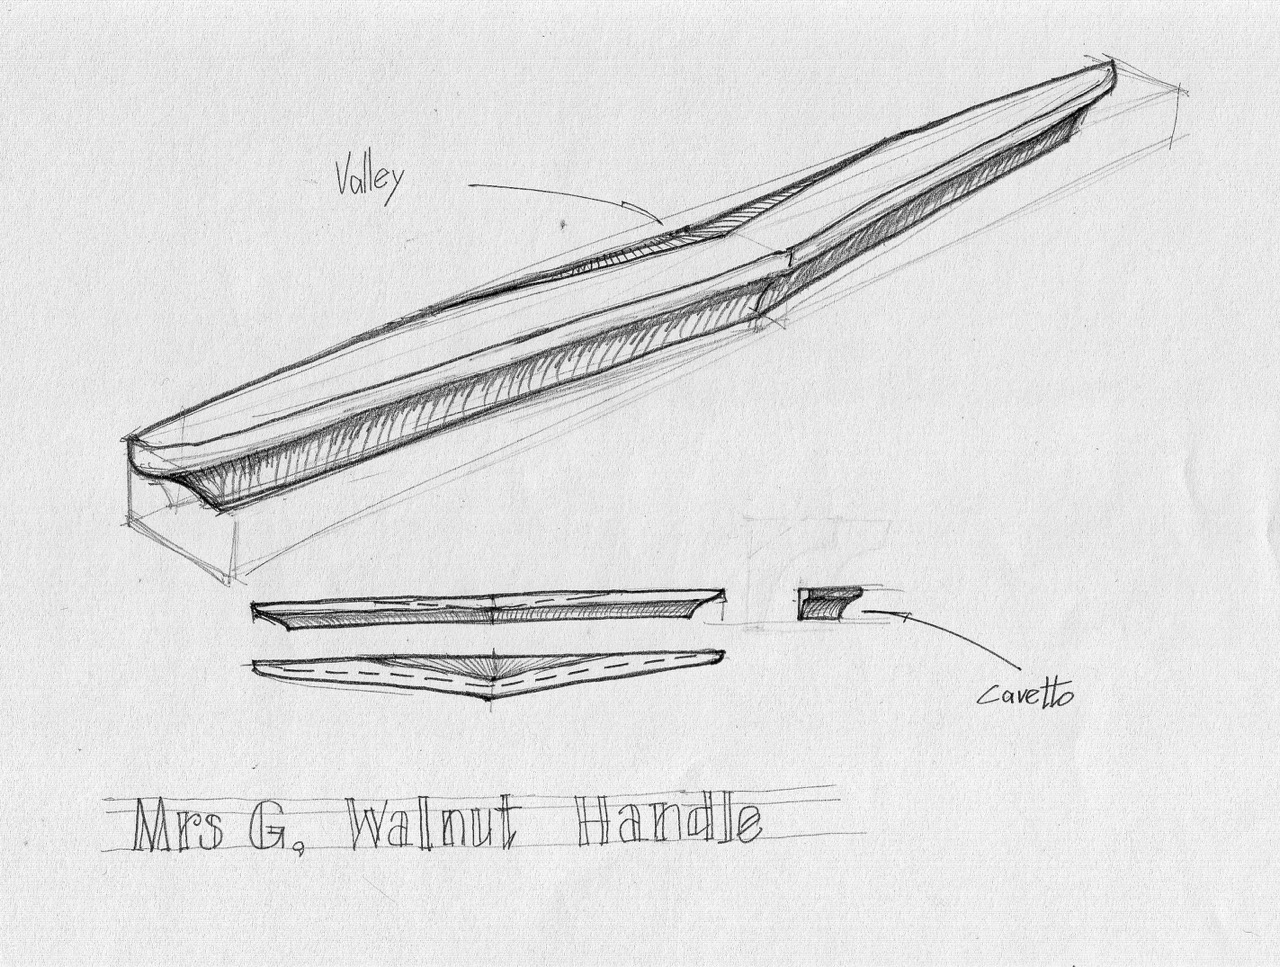
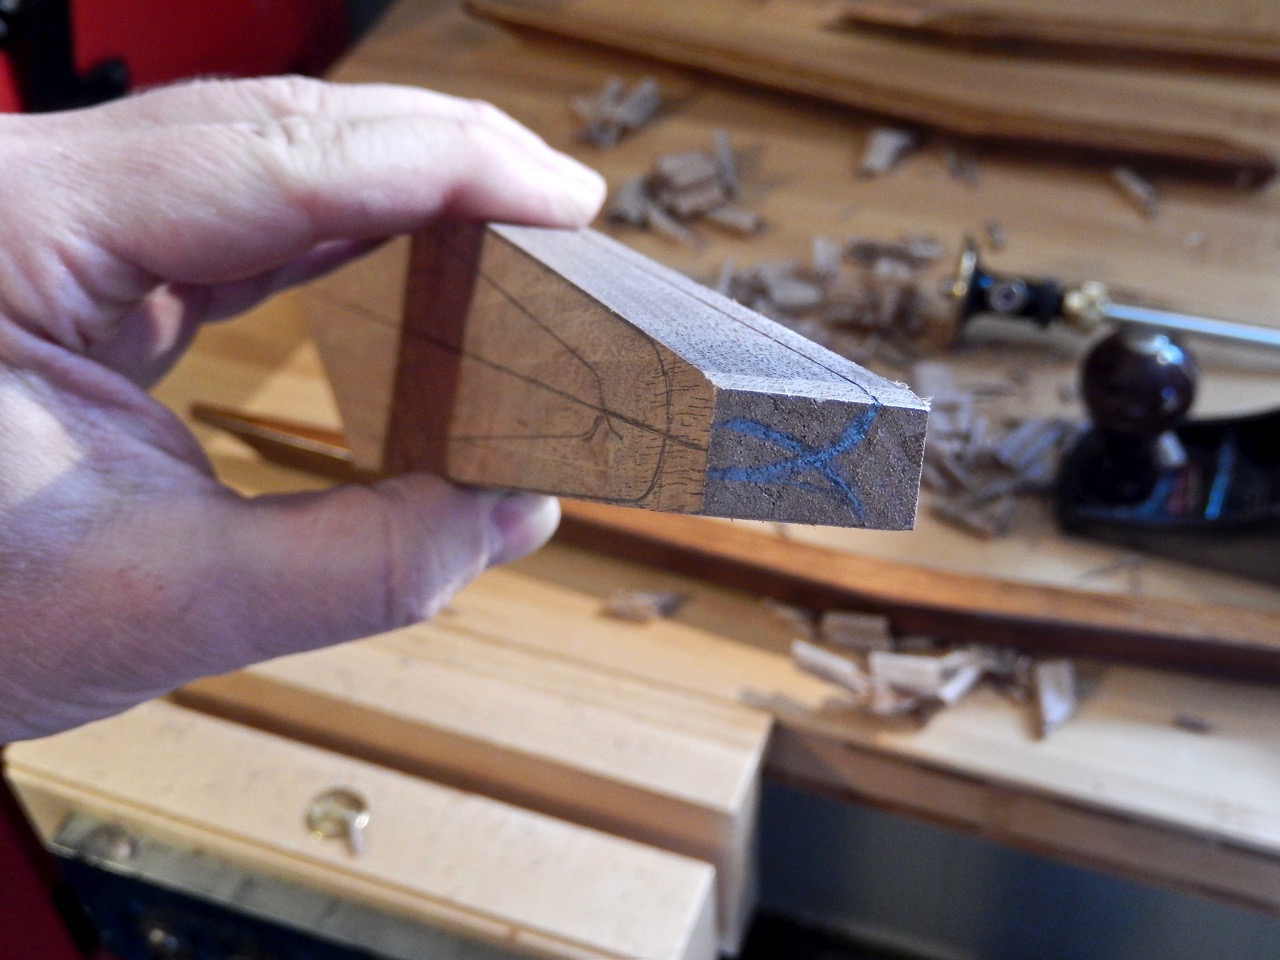
After shaping a blank of walnut that matched the thickness width and length of the handles, I traced the rhombus outline, including other important indications of the handle’s chevron design, directly onto the blank.
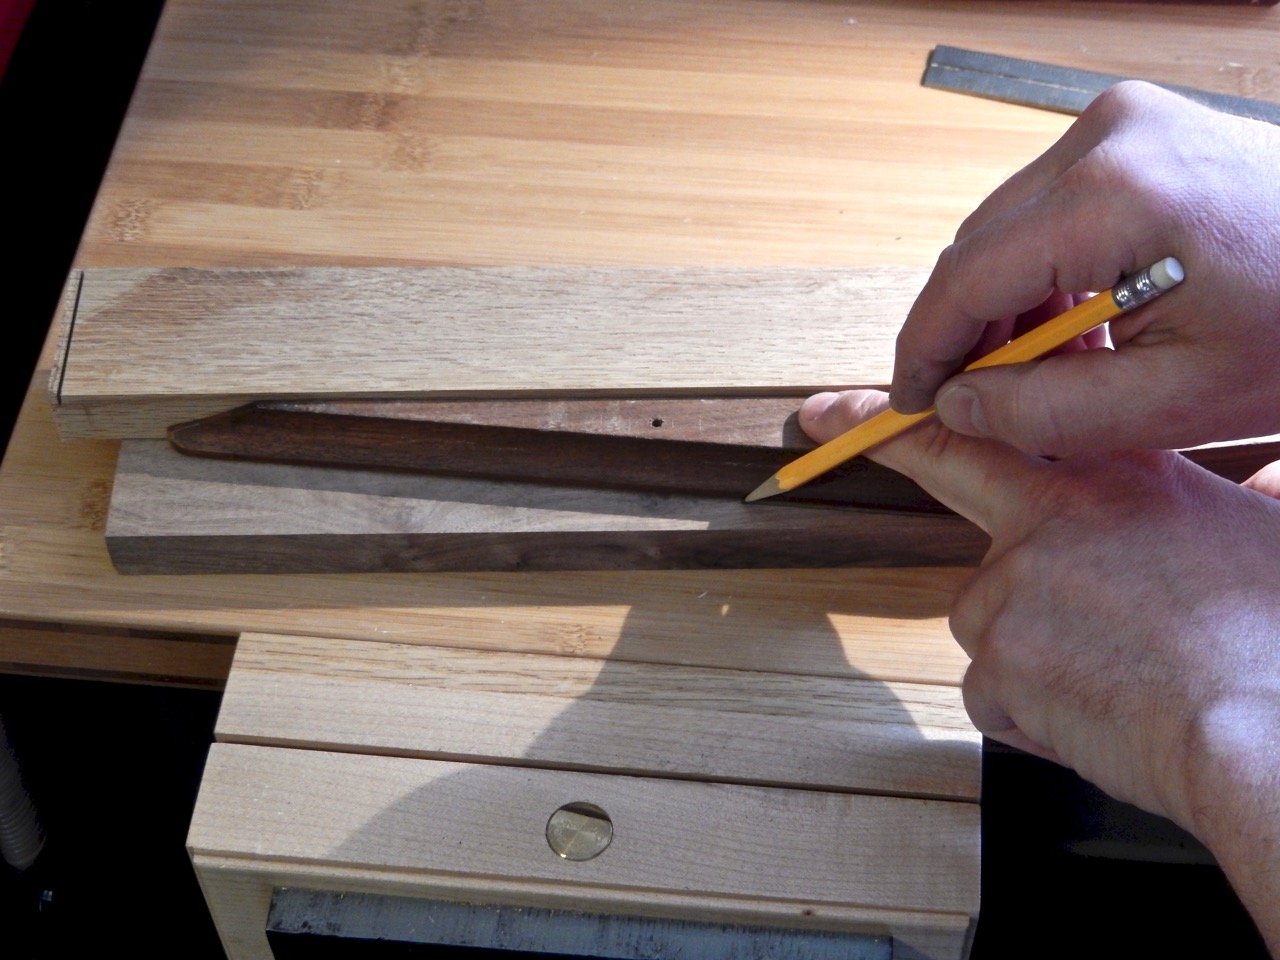
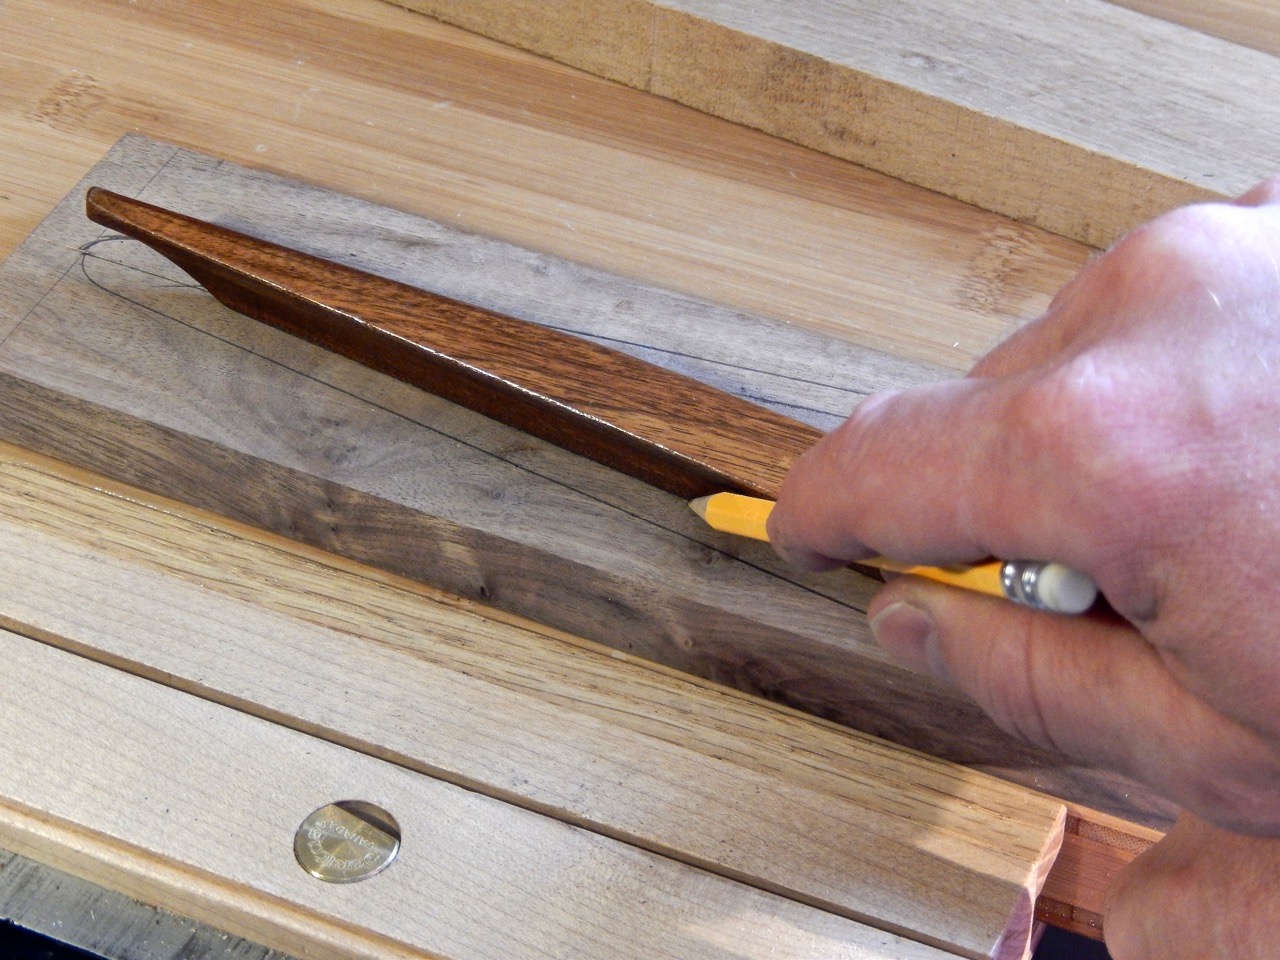
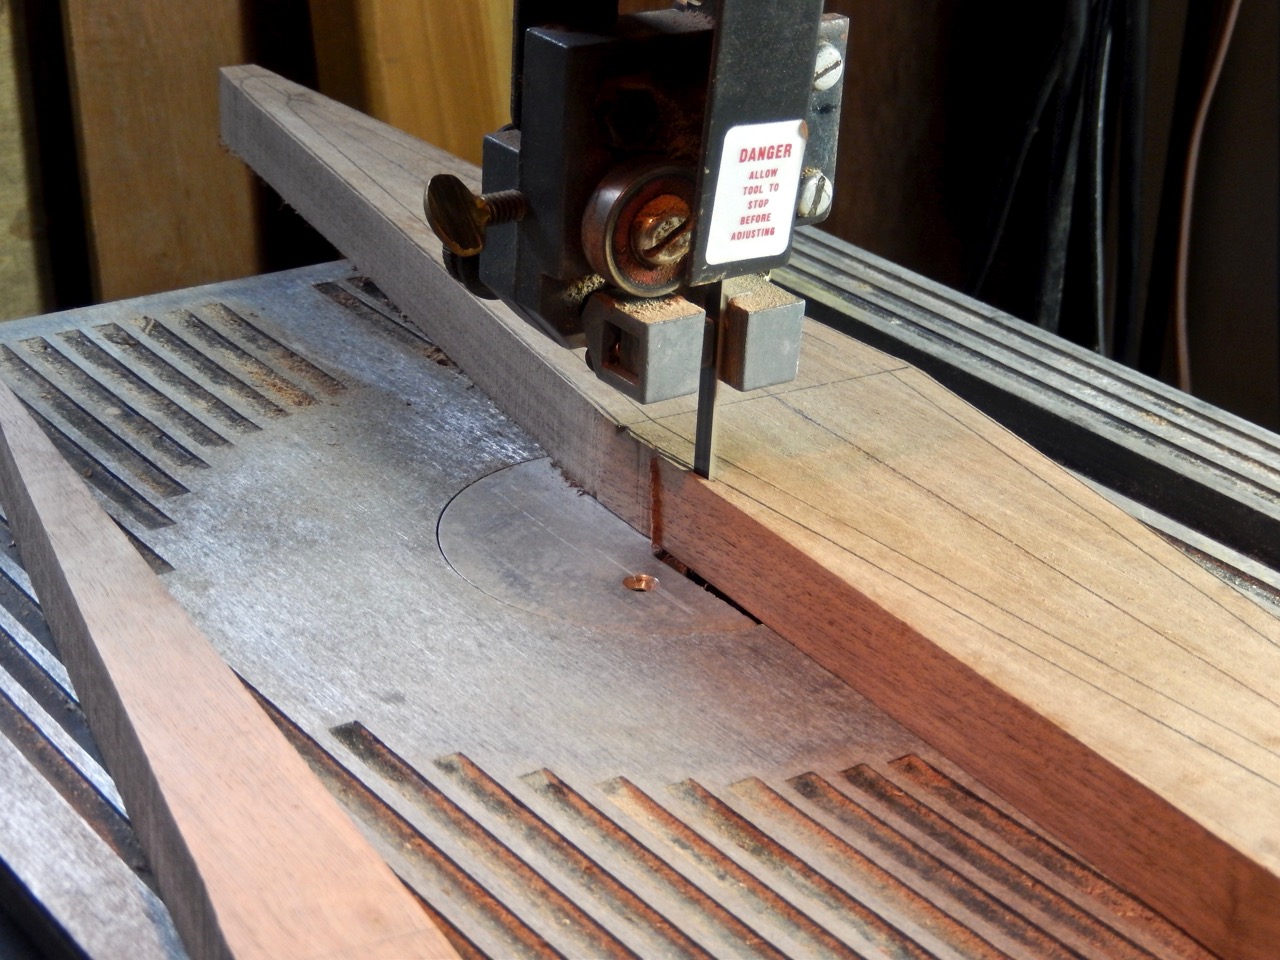
After cutting out the outline on the band saw and planing the rhombus facets smooth with a handplane, I completed the marking and layout work with a cutting gauge and a blue pencil and was ready to begin forming the intersecting coves (cavetto) or vaults in the chevroned handle.
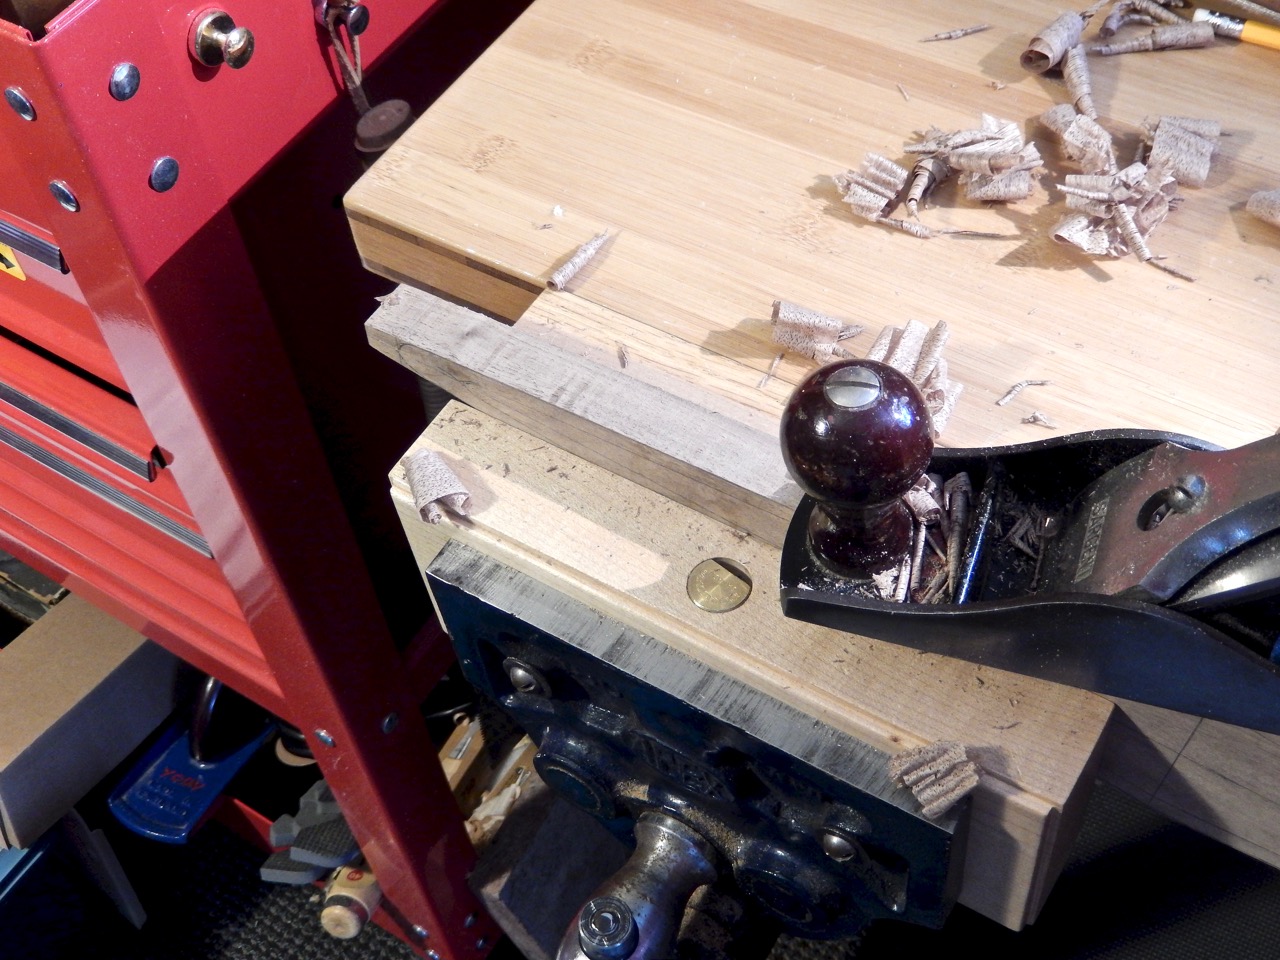

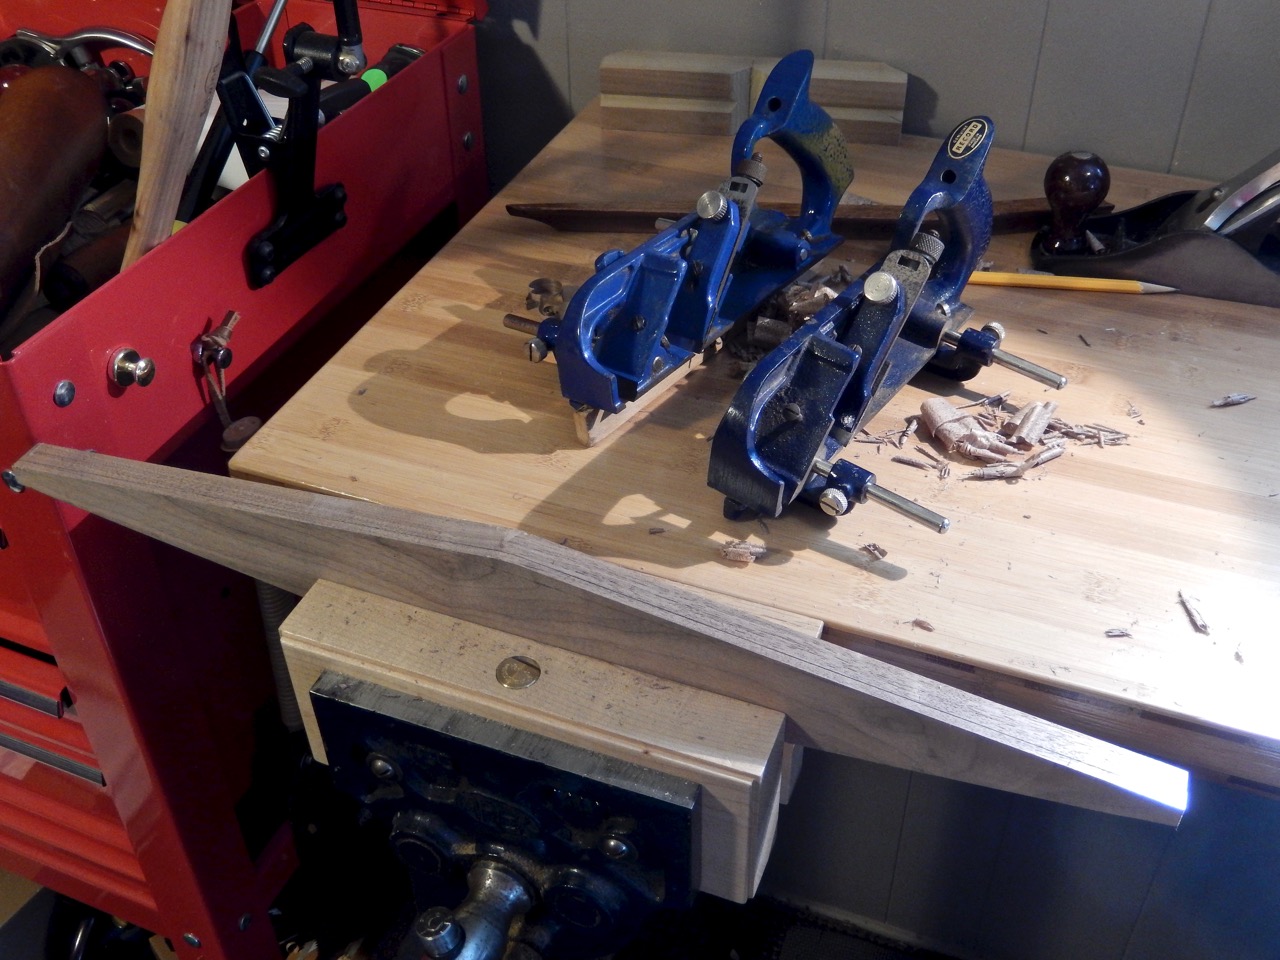
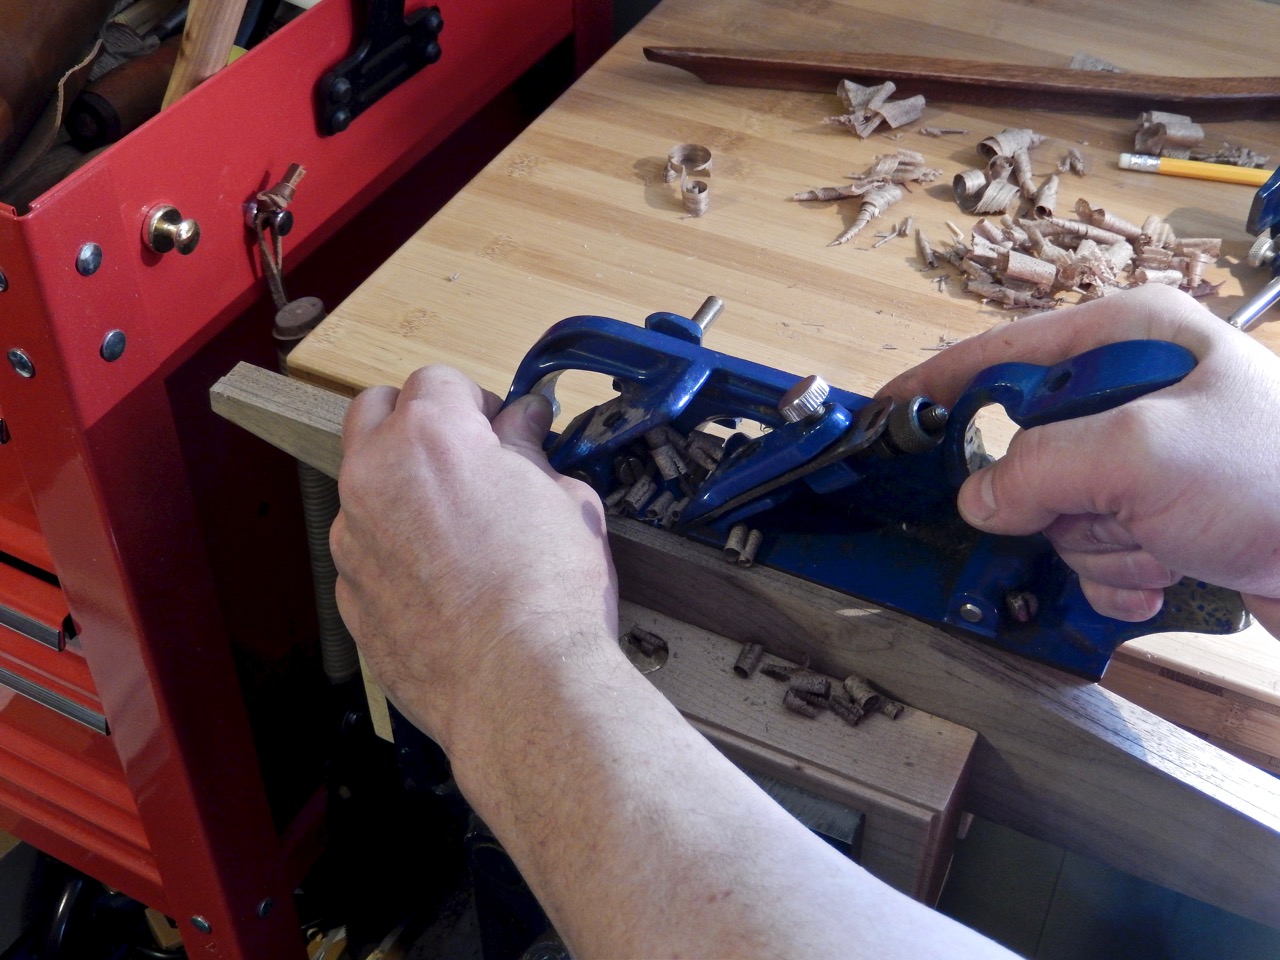
To form the coves I planned on using a hollowing plane, gouges and sand paper. But to make it easier for the plane and gouge work, I knew I had to remove most of the waste with a rabbet or a shoulder plane by creating a series of terraces on both slopes of the chevron. I learned this technique from plane-maker Matt Bickford, who used a shoulder plane to create a group of steps in preparation to using his hollow and round planes when creating a moulding.
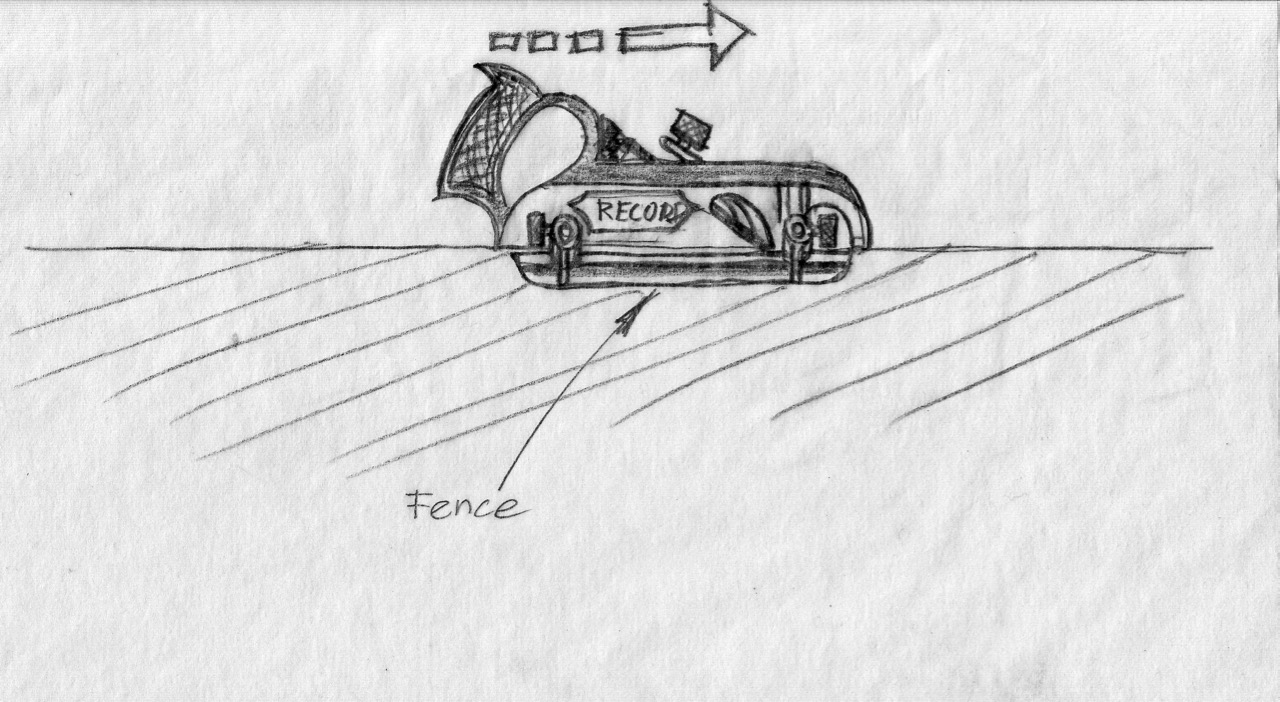
Since each group of steps is formed down hill from the chevron apex, planing them requires altering the direction I had to push the plane. In other words, I had to come up with a system that would allow me to push the plane down hill on each of the four faceted slopes of the rhombus.
Why do they come in pairs?
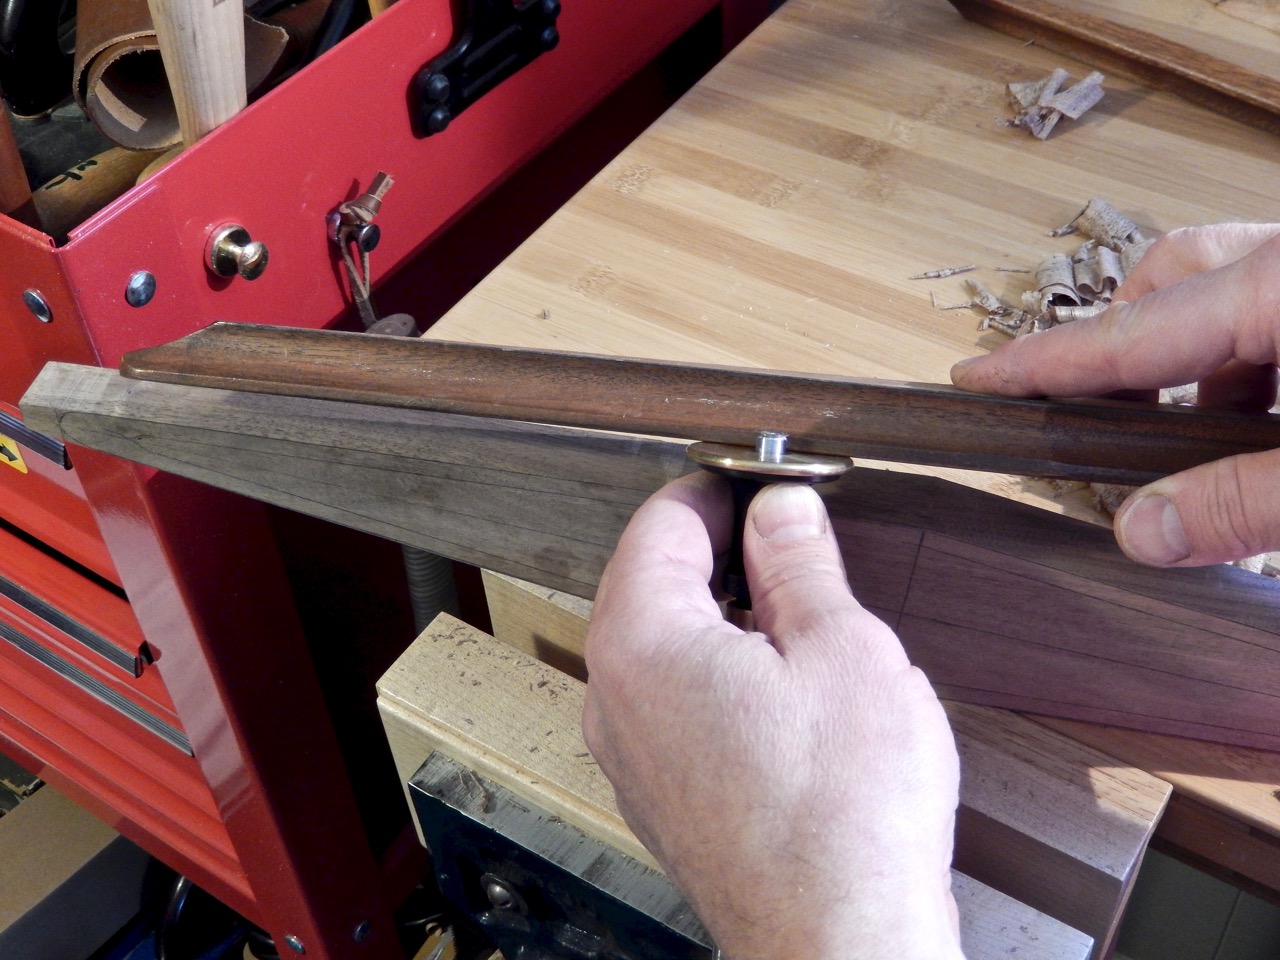
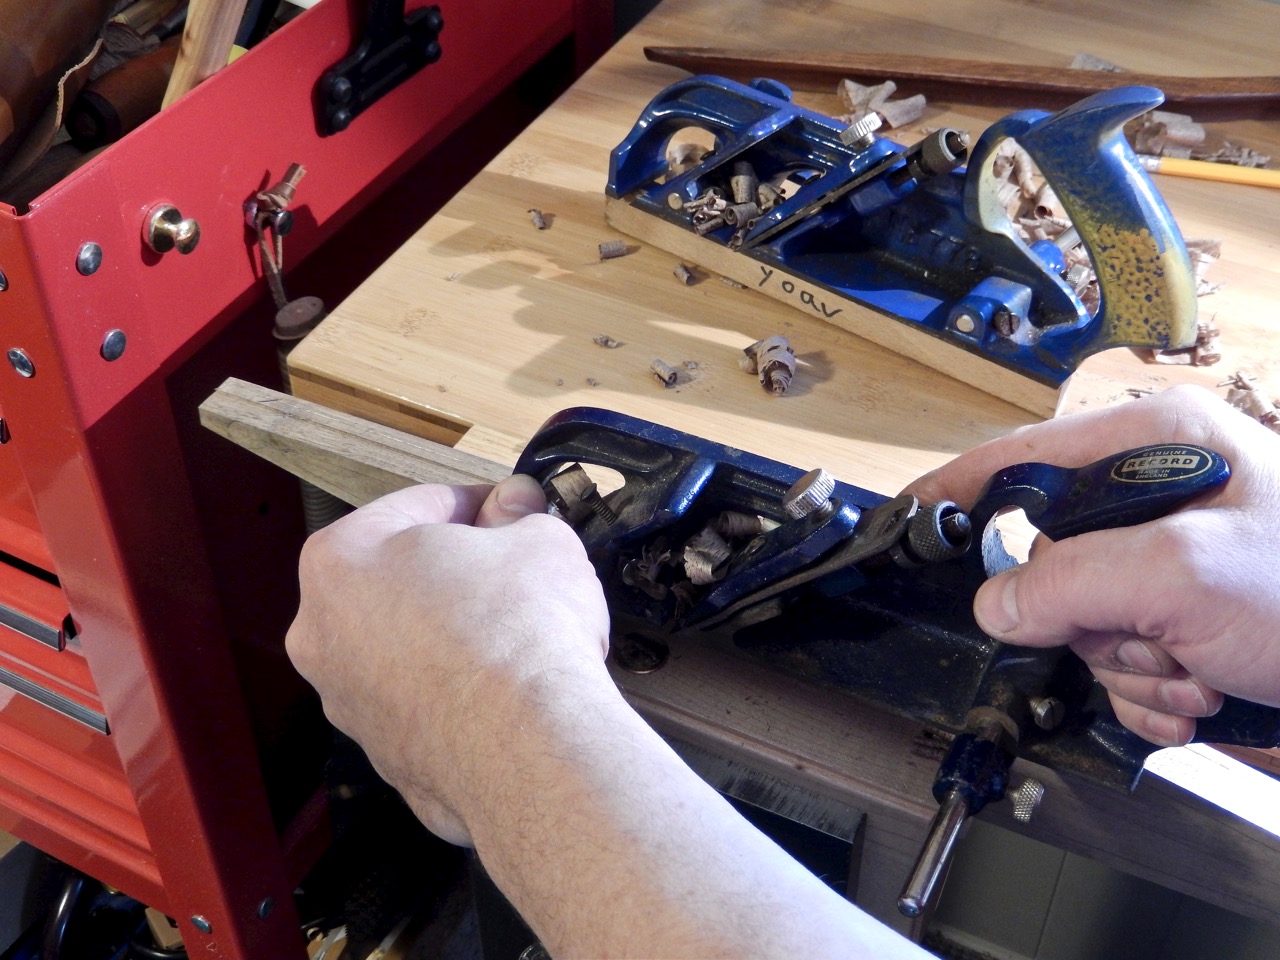
I always wonder why some rabbet planes (the ones that come with a fence and a depth stop and are often called fillister planes) can be bought in pairs of right and left. The manufacturers (mostly Veritas) call them ‘right’ and ‘left’ planes so I assumed they are mainly designed for righties or lefties. But only when I made the steps on the chevron handles did it occur to me that perhaps the main reason for having two planes is to allow you to plane with the grain in any circumstance. You see, if one wants to rely both on the depth stop and the fence while planing in a situation where the grain is rising towards the surface of a rabbet, they will have to choose the plane whose fence and depth stop will be positioned to support pushing the plane in the direction of the rising grains.
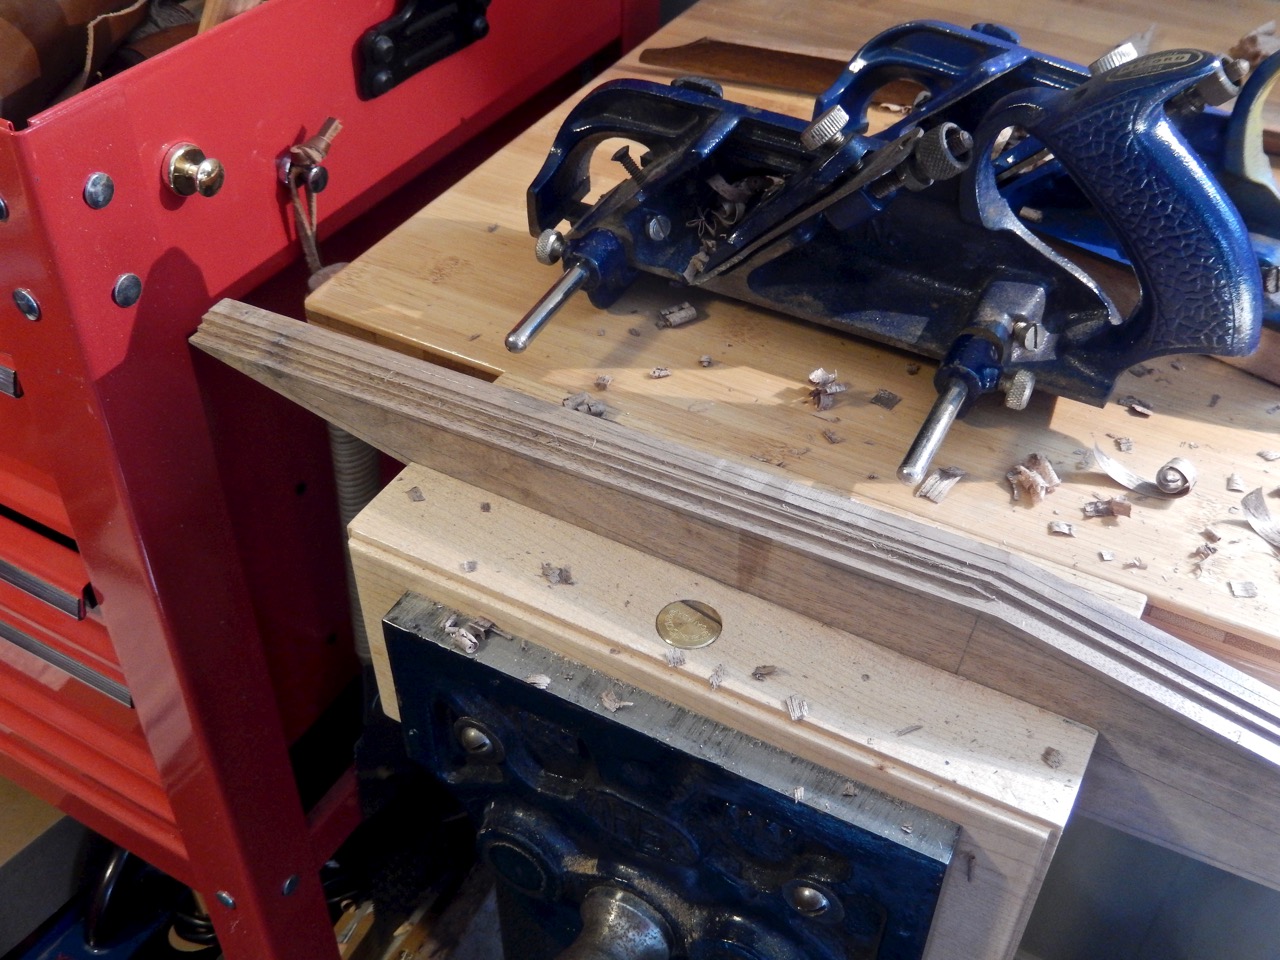
In the case of the chevron handle the grain on the two slopes rises to the surface on the right and the left, so ideally I should have used a right hand and left hand planes. While I don’t have the fancy Veritas planes, I do have two Record fillister planes and was able to set their fence’s rods one on the right and the other on the left side of the plane body. My Record planes did not allow me to alternate the depth stop from right side to the left but this was not so critical as I could monitor the planing depth by eye and a rule. Technically I could have used only one fillister plane, setting it up to plane two facets with the fence on the right, then move the fence’s rods and the fence itself to the left and repeat the process. However, having two planes made the rabbeting a much faster process.
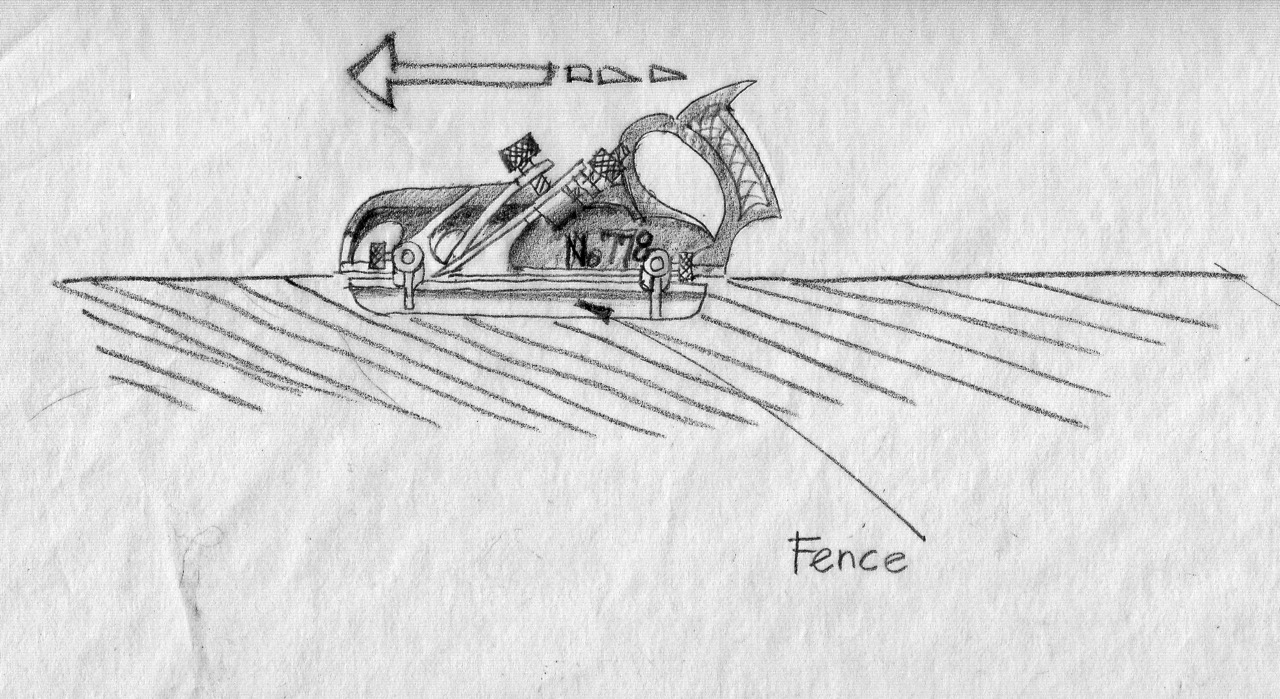
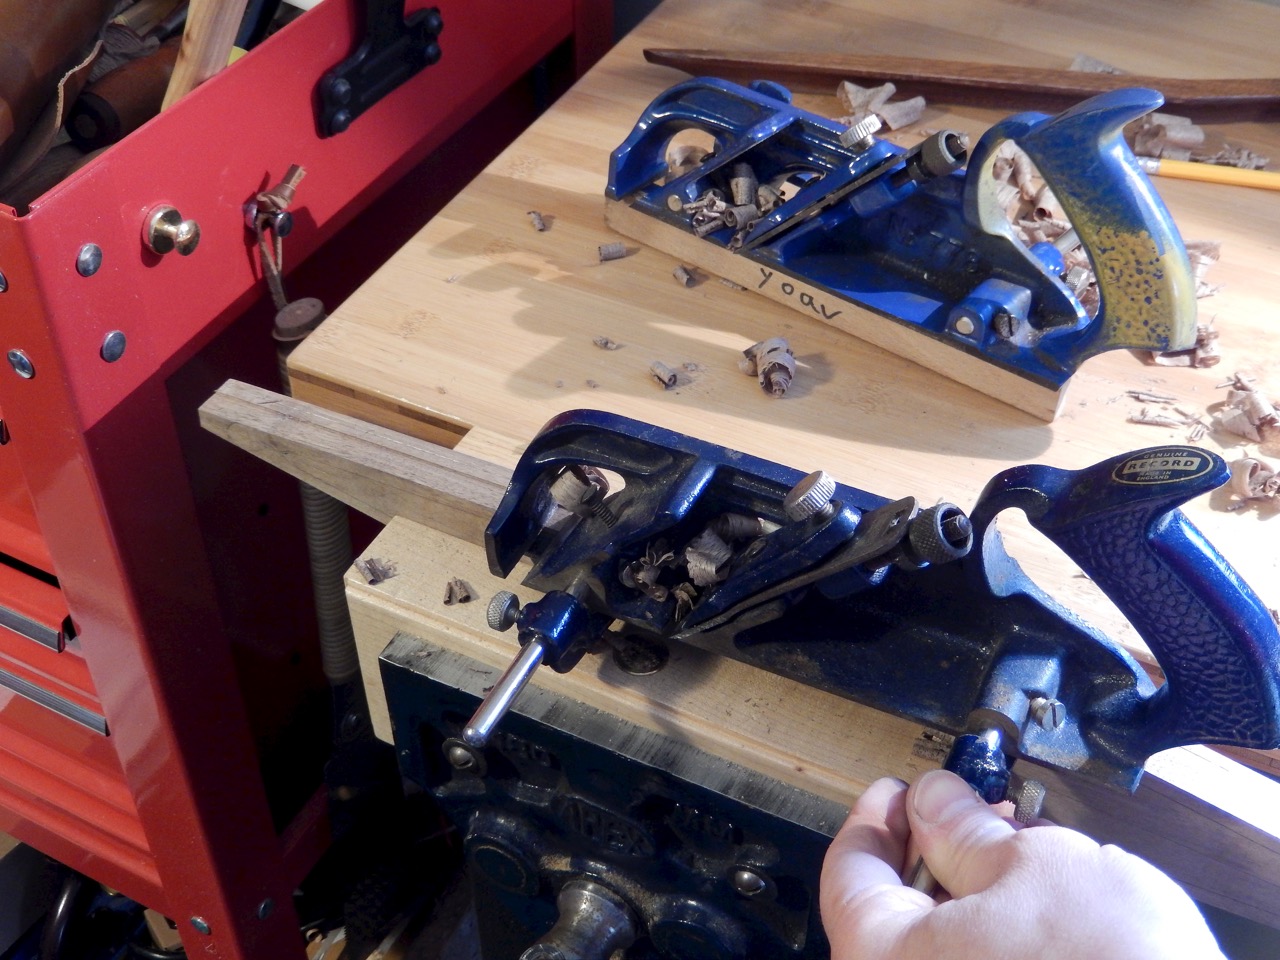
Rabbeting with the grain. The fence is placed on the left side of the plane body while the depth stop is on the right.
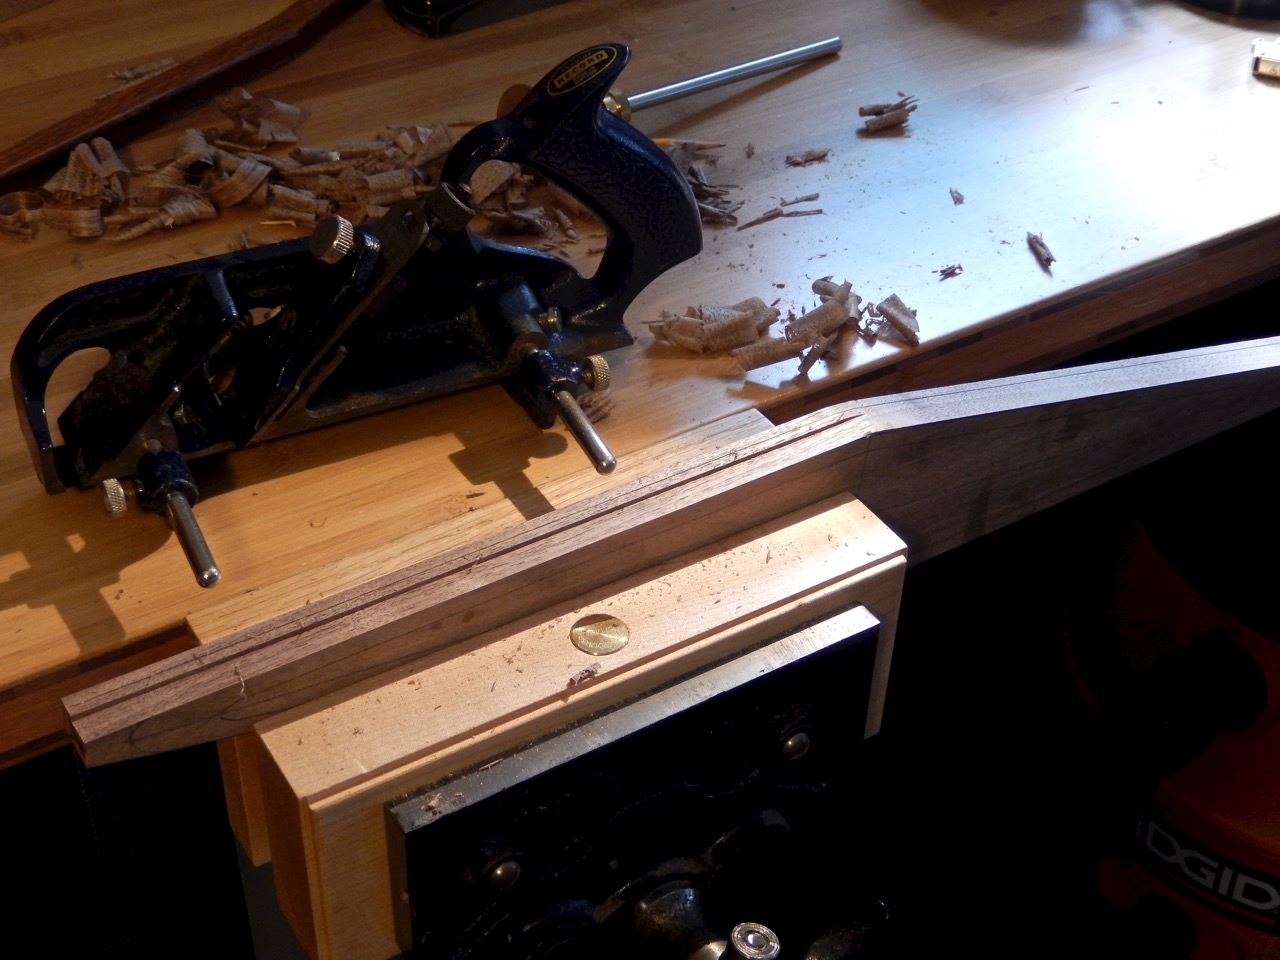
Rabbeting with the grain from left to right. The fence is moved to the right side of the plane. The depth stop had to be removed.
I moved the fence and its rods to the right side of the plane but had to remove the depth stop.
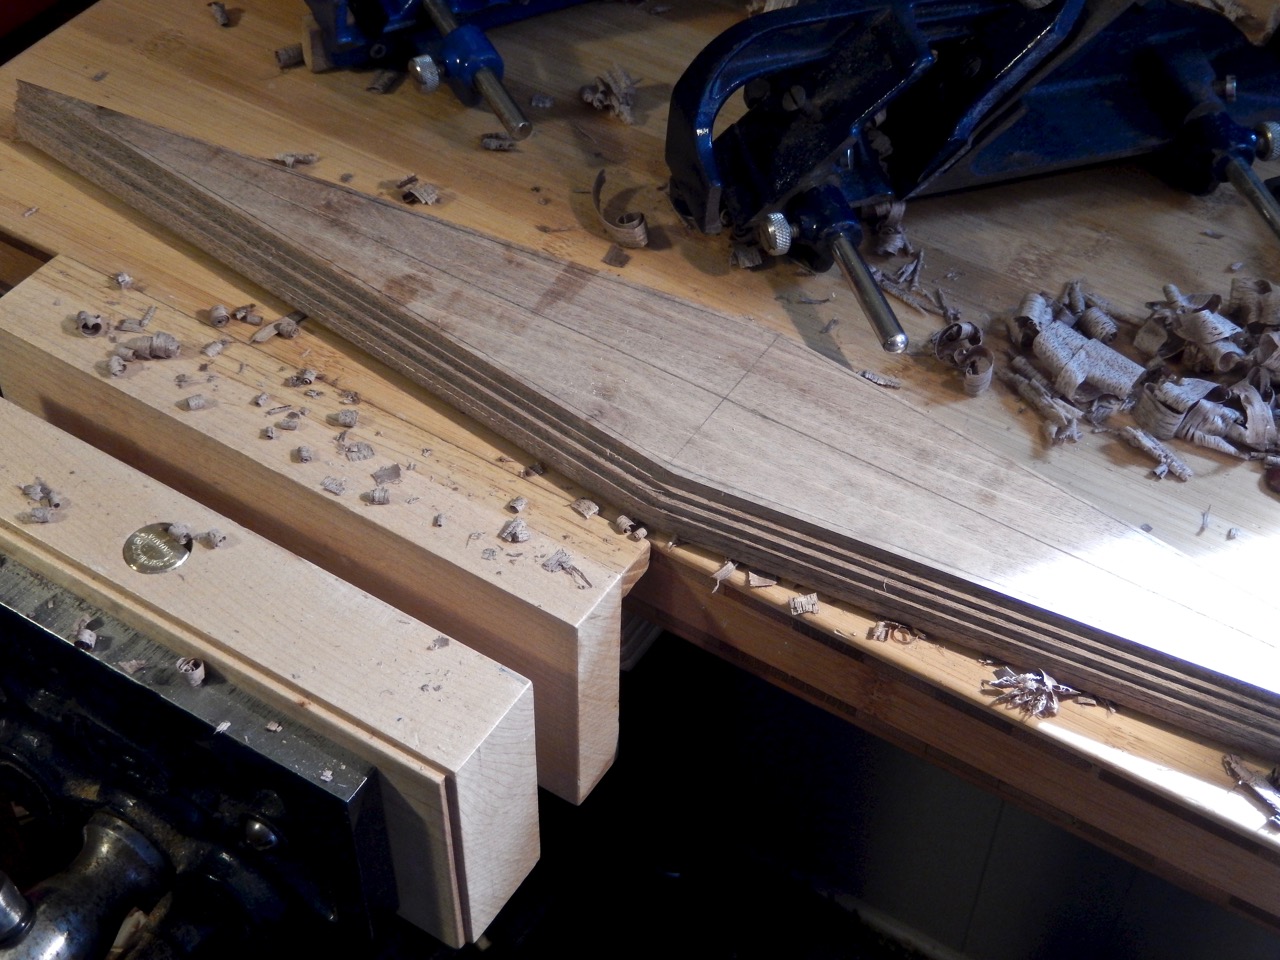
The rhombus is now ready to be cut into two.
 Next time I will show how I coved the chevron and finished the handles.
Here are some supplies and tools we find essential in our everyday work around the shop. We may receive a commission from sales referred by our links; however, we have carefully selected these products for their usefulness and quality.


Wow – your approach to the design is so well thought out and the technical sequence is really impressive.