


We may receive a commission when you use our affiliate links. However, this does not impact our recommendations.
The stepped haunched tenon is the secret to the traditional rabbeted door frame.
Today it’s easy to make glazed doors and mirror frames by using a router to rabbet a mortise-and-tenon frame after assembly: Cut your joints, glue the frame together, rout the inside edges on the back using a special rabbeting bit, then chop the corners square with a chisel and mallet.
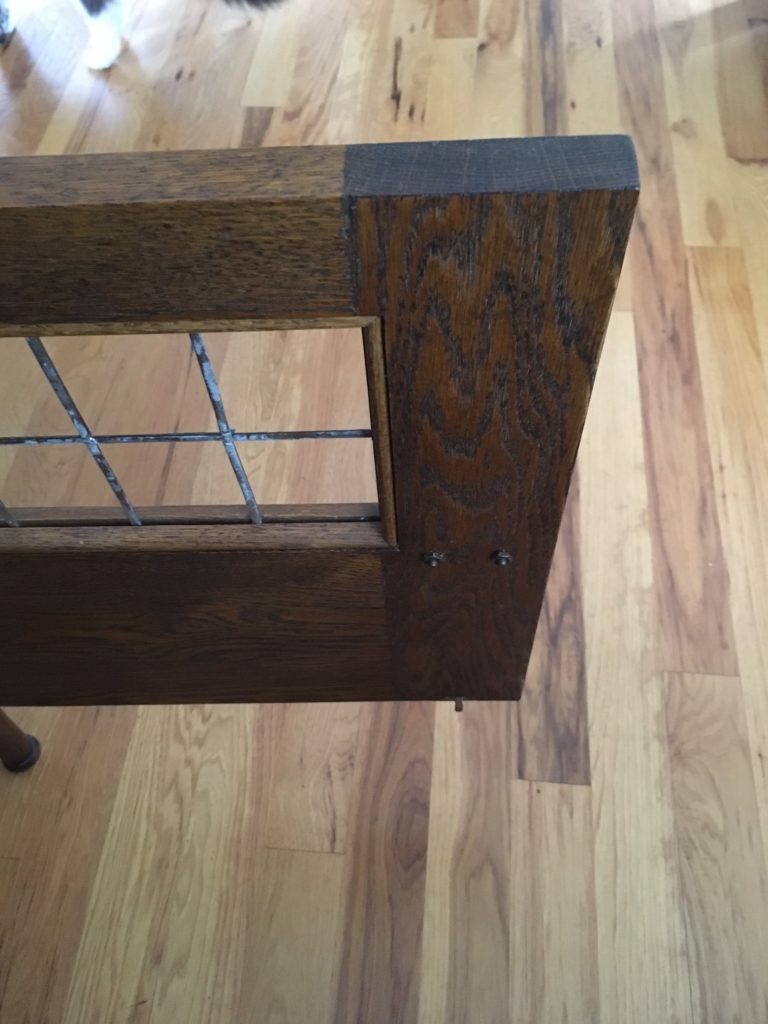
This door was rabbeted with a router after assembly. Then the corners were chopped square.
Before the invention of the electric router, frames for glazed doors (which include doors with mirrors) were built from rabbeted stock, which called for stepped-shouldered tenons: a slick joint that’s satisfying to create.
 Here’s a method for making this joint with a table saw, a mortiser, and a few hand tools. (If you don’t have a mortiser, you can use a router or a drill press and chisel the edges square.)
Begin by setting a mortise gauge (or a pair of marking gauges) to indicate the width of the mortise and tenon joint. Here, mine was 5/16″.
It’s hard to see the mortise gauge pins here, but you can see the lines they’ve scribed on the end grain, indicating the position of the tenon cheeks.
Set up the rabbet on the table saw.
First, set the fence to get the width (in this case, 3/8″). Be sure you include the thickness of the saw teeth in your measurement, or you will have a larger rabbet than you expect. Kerf all of your parts.
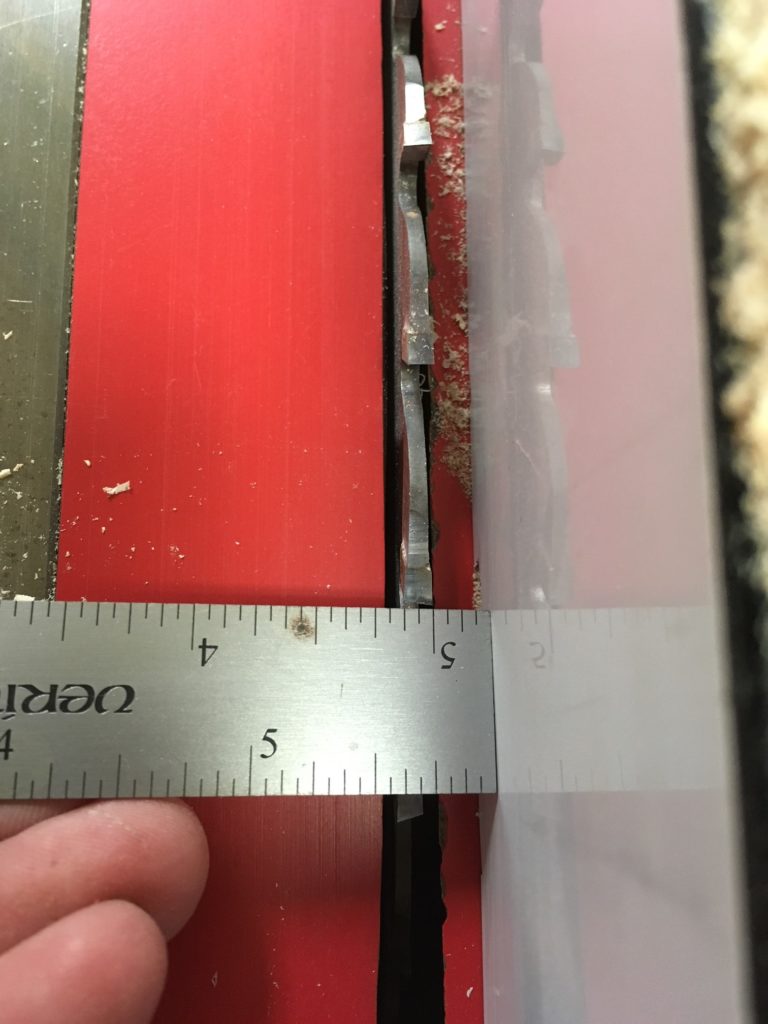
Photo 1. 3/8″ includes the 1/8″ blade.
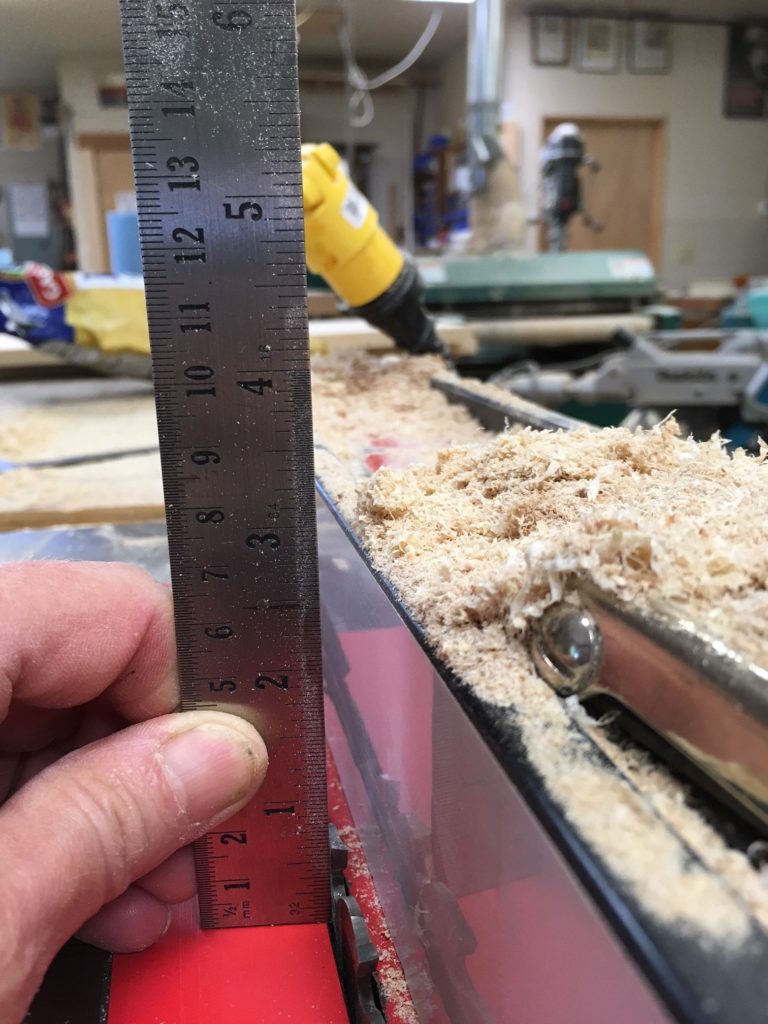
Photo 2. Height set at 1/2″.
Set the height (in this case, 1/2″). Go ahead and rip all of the parts to create this second cut for the rabbet.
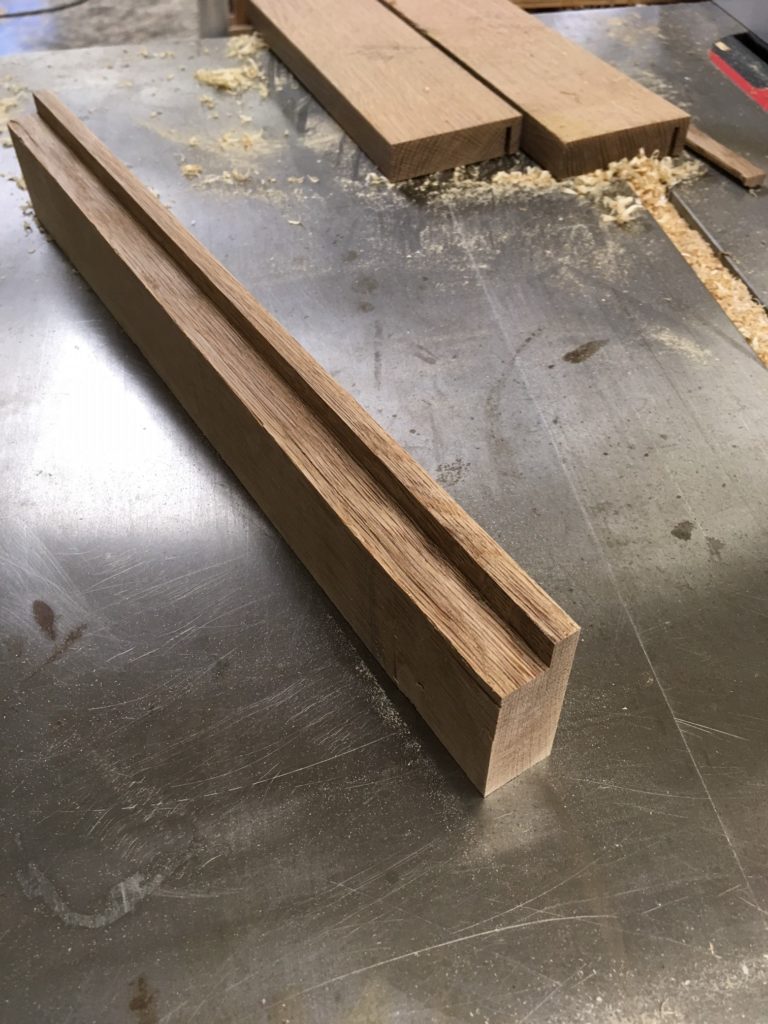
Photo 3. Where’s that rabbit? Oh, here he is.
Now lay out the mortises on the stiles.
For these doors, I measured down 1/2″ from the top (and up from the bottom) of each stile.
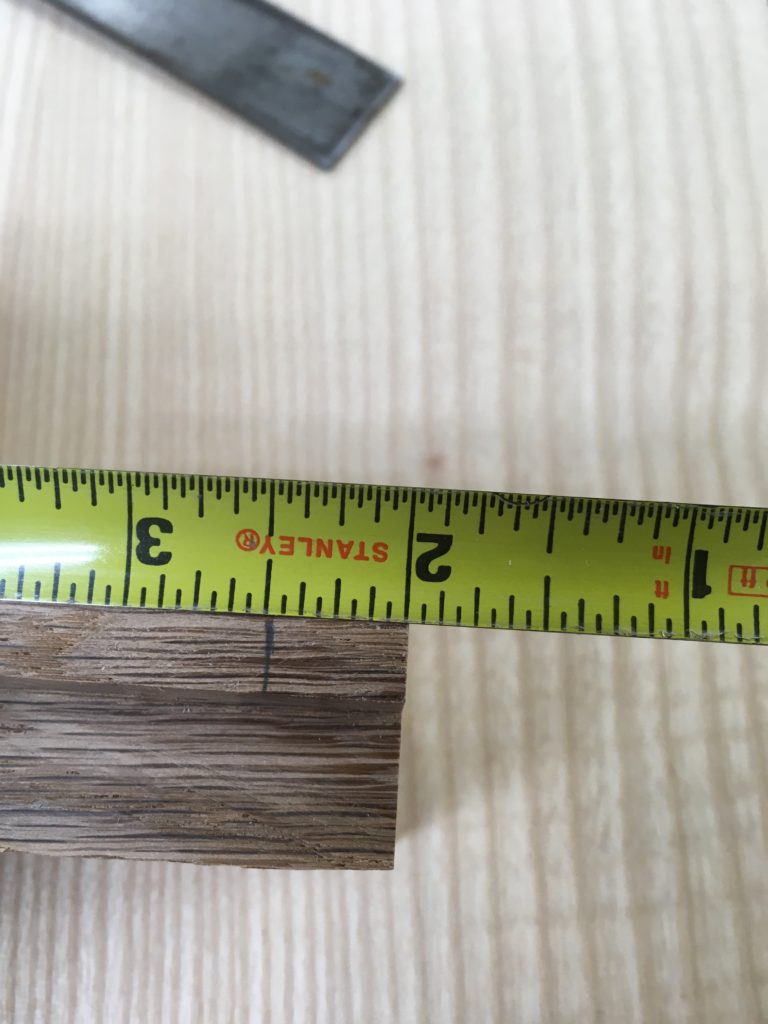
Photo 4. Measure the start of the mortise 1/2″ from the end of the stile.
Hold the rail up to the stile to mark the position of the mortise on the inside of the frame, which will coincide with the edge of the rabbet. If your top rail is narrower than your bottom rail, be sure to use the correct piece to lay out each joint.
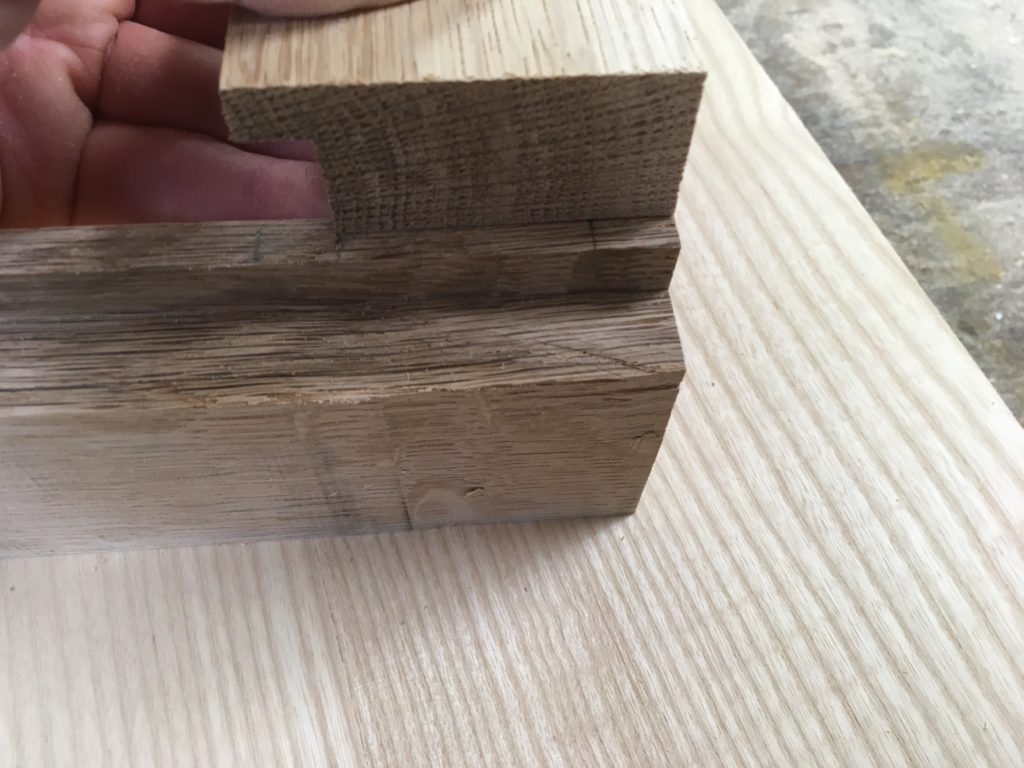
Photo 5.
When you set up your mortiser, router, or drill press to cut the mortise, make sure that one edge is perfectly in line with the rabbet. I cut these mortises at 5/16″ wide by just over 1″ deep.
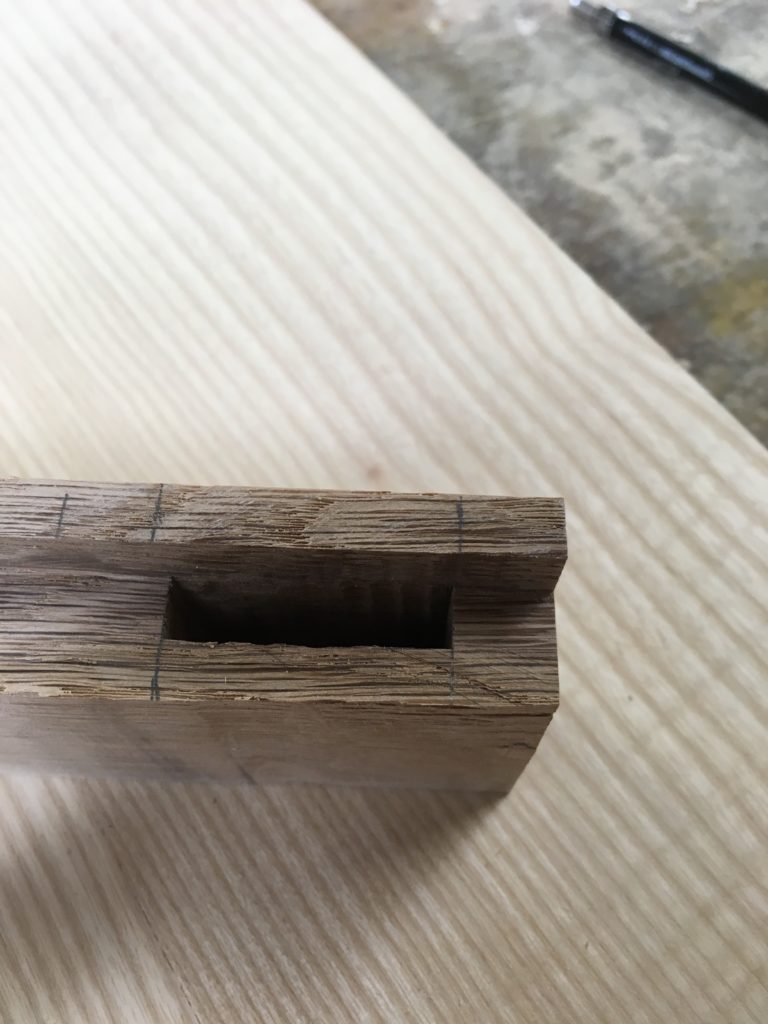
Photo 6. Here is a mortise.
Now set up the table saw to cut the tenons. Start with the face-side tenon cheek — the one that will line up with the inside edge of the rabbet. Set the blade to that height, as shown here. (This rail was not marked with a mortise gauge, but if you follow these directions, yours will be, so setting up the tenon cuts will be easier.)
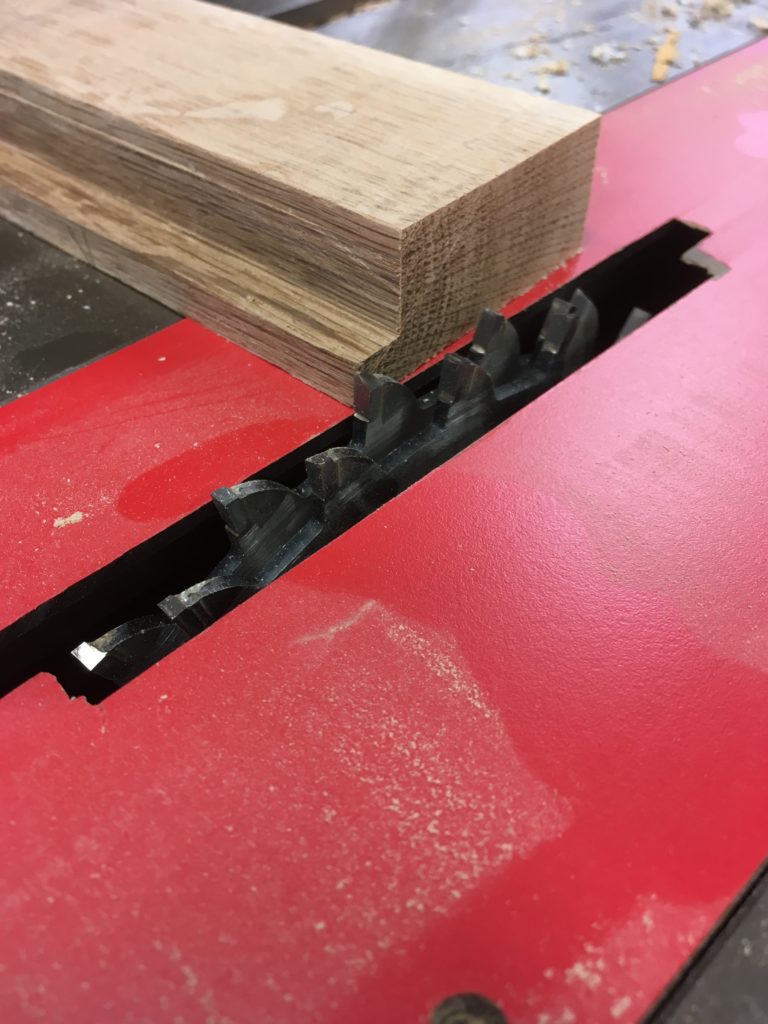
Photo 7.
Next, set the fence, which will act as a stop for your tenon’s length. In this case my tenons were 1″ long. As indicated here, be sure to include the width of the dado set in your measurement, or you will end up with a too-long tenon (and worse, a too-short rail).
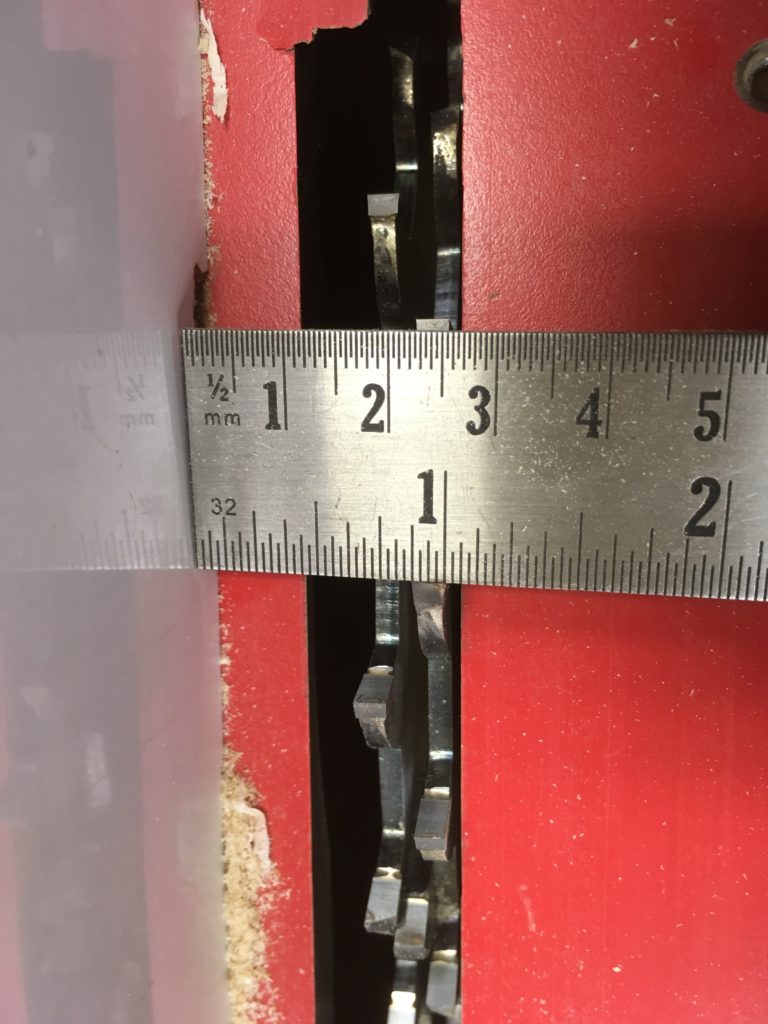
Photo 8. Viewed from above: The fence will act as a stop for the tenon’s length, in this case 1″ long.
Use a sliding miter gauge to support the rail as you cut the first tenon cheek.
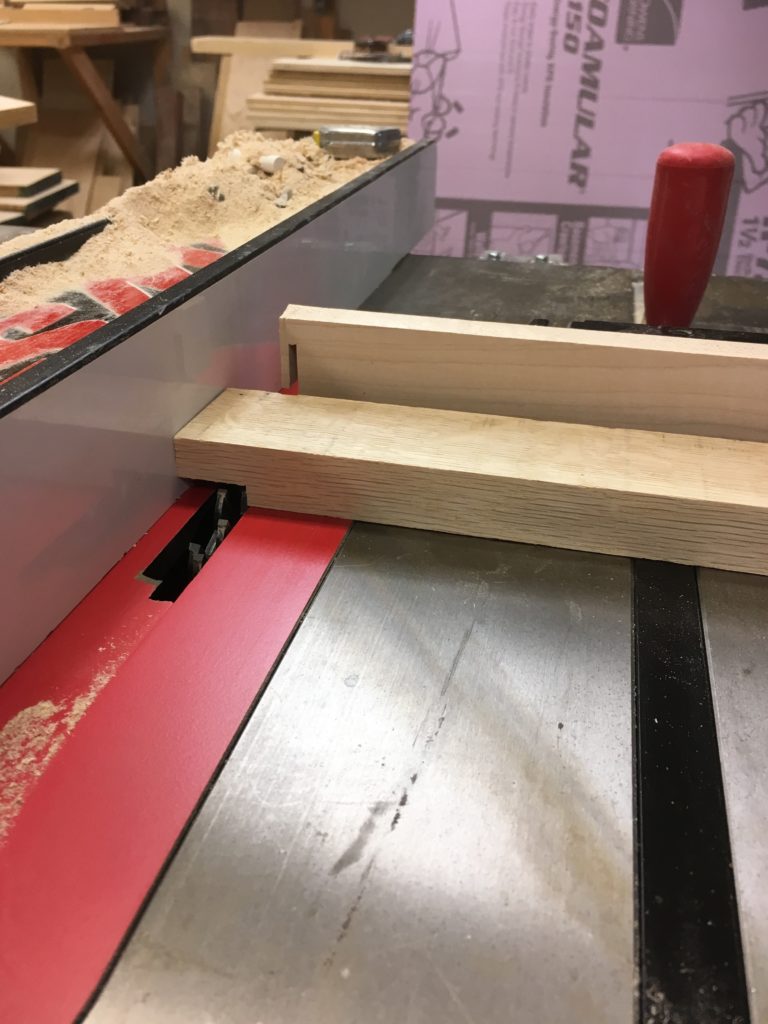
Photo 9. Here’s the first tenon cheek being cut. Although it looks like there’s a gap behind the rail, there isn’t. The space seen here is the rabbet on the inside edge of the rail. As always, it is imperative that you keep your work piece firmly supported against the fence for safety.
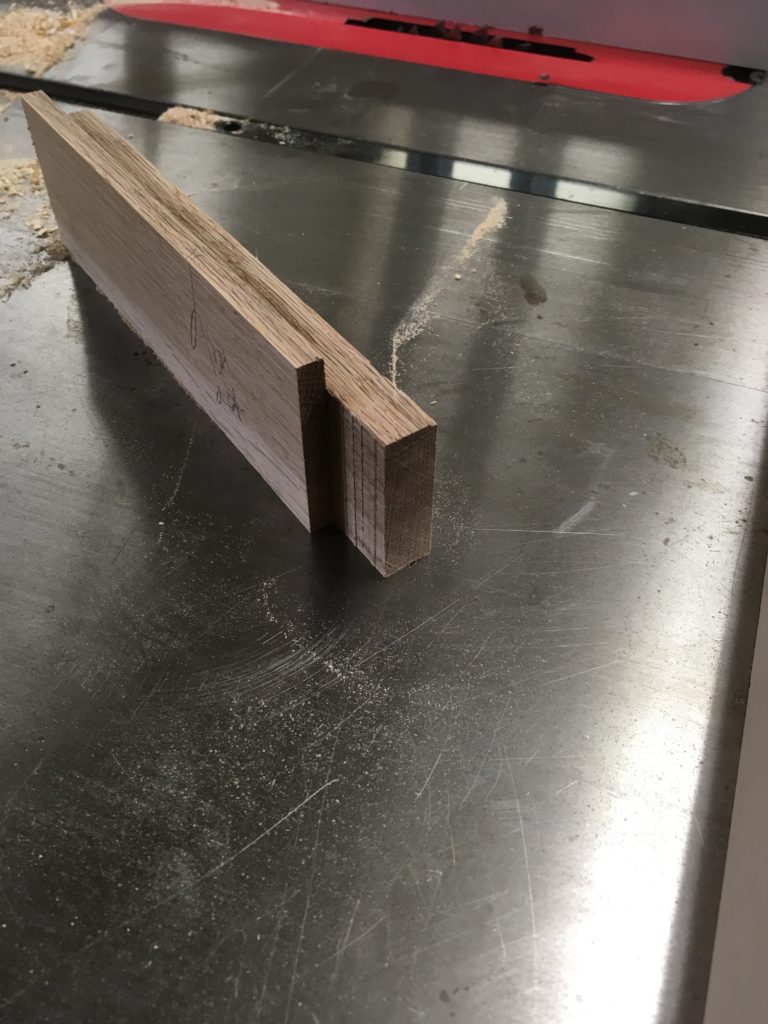
Photo 10. The face-side tenon cheek has been cut.
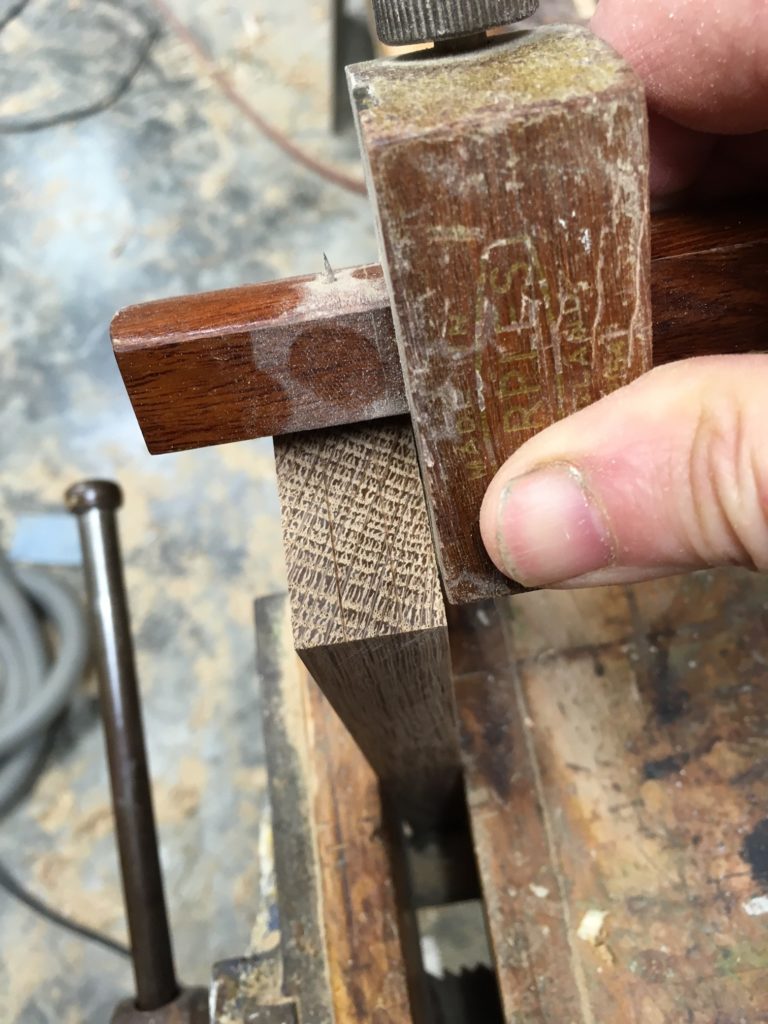
Now comes the fun part: cutting the stepped tenon that will fill up the rabbet. Start by clamping the end of a stile in the vise. Lay the tenon cheek you just cut onto the end grain, as shown in the photo 11. The tenon shoulder should rest firmly against the inside edge (i.e., the rabbeted edge) of the stile. I like to mark the end of the tenon and square the line across, as shown here, on the end grain of the stile, to make sure I’m holding the tenon cheek square. (That’s the pencil line on the end grain at the right, i.e. at the end of the tenon.)
While holding the tenon cheek in this position, mark the inside edge of the rabbet onto the tenon. (That’s the little pencil line at the left, which coincides with the inside edge of the rabbet. Yes, I did just say that. But explaining this can be tricky, so I’m saying it again.)
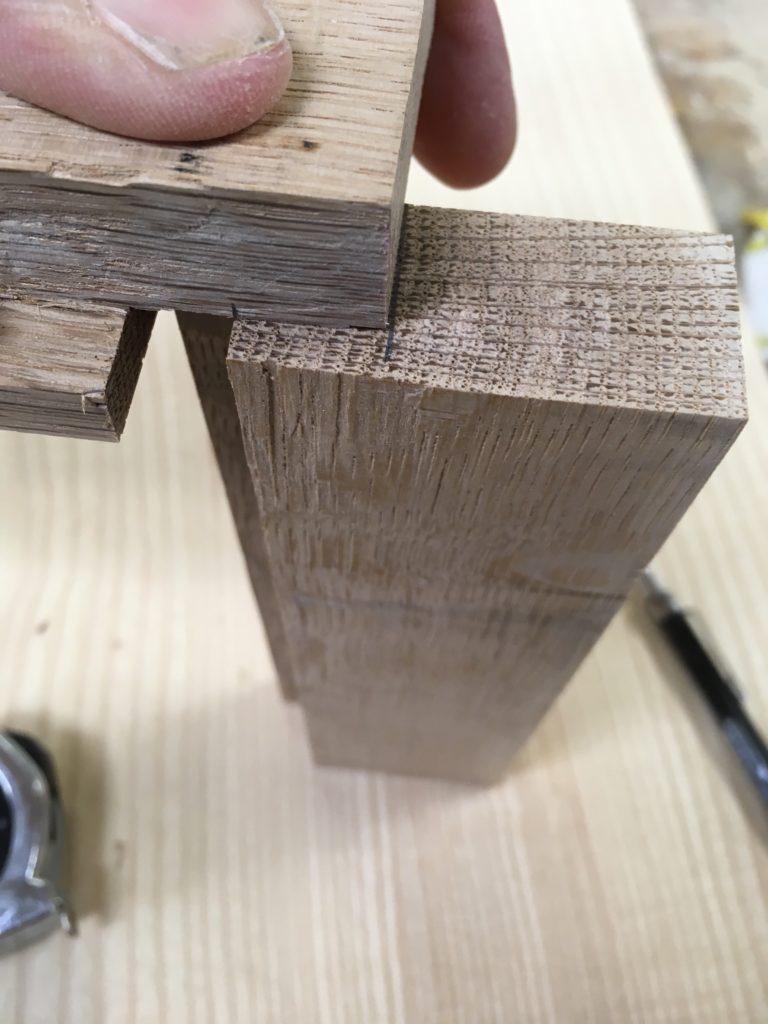
Photo 11.
Use a square to extend this line around to the back face of the rail. This line will determine the tenon’s back shoulder.
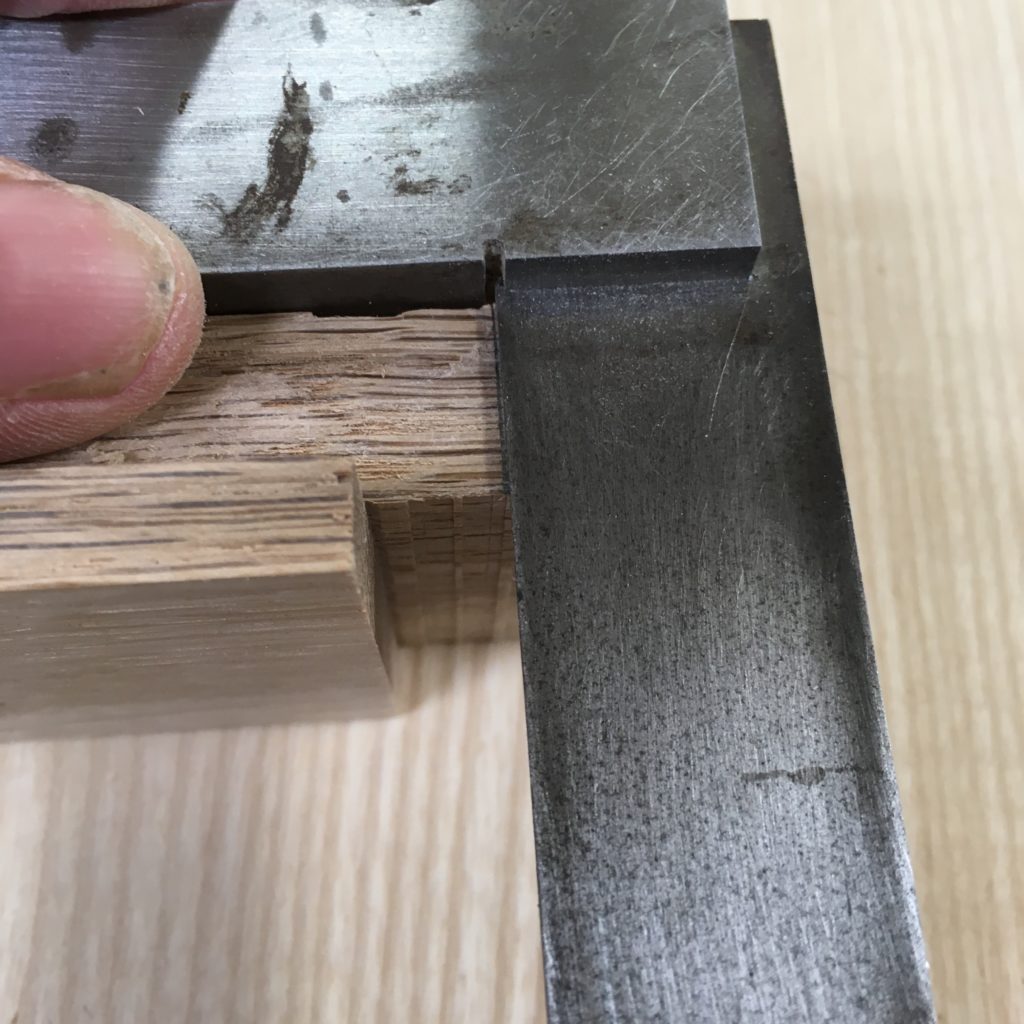
Photo 12. Use a square to transfer the mark for the back tenon shoulder.
Now set the height of your dado blades to cut the back (or inside) cheek of the tenon, using your gauged line as a guide. (This set up step is not shown here. It’s the same process as setting the blade height to cut the first tenon cheek in illustration 7, above.)
Adjust the fence so that the tenon shoulder will be precisely at the line you just marked (illustration 12).
Go ahead and cut the cheeks using the sliding miter gauge to hold your work and the table saw rip fence as your stop, just as you did with the first set of tenon cheeks.
The final step is to haunch the tenons. Mark the top of the mortise directly from the stile onto the rail, as shown in photo 13.
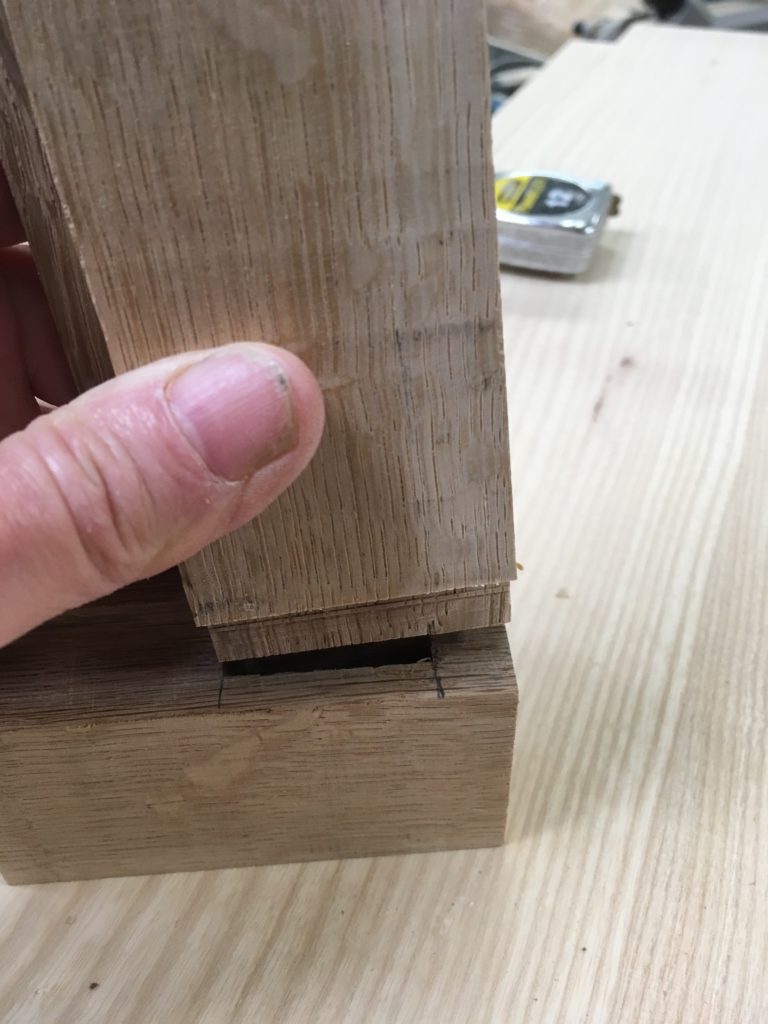
Photo 13. Marking the haunch.
Cut the haunch with a backsaw. Before making this cut, I like to score the line and create a little guide with a chisel, as shown below.

Photo 14. Score the line for the haunch shoulder before cutting with a backsaw.
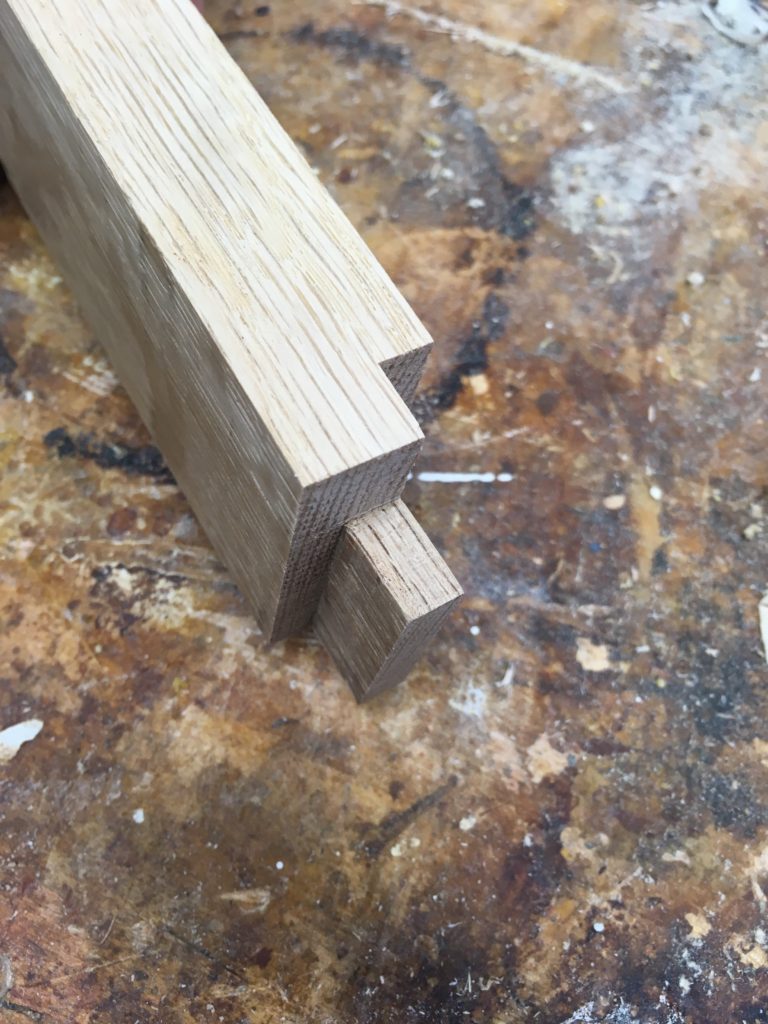
Et voila!
Photo 15. The completed tenon.
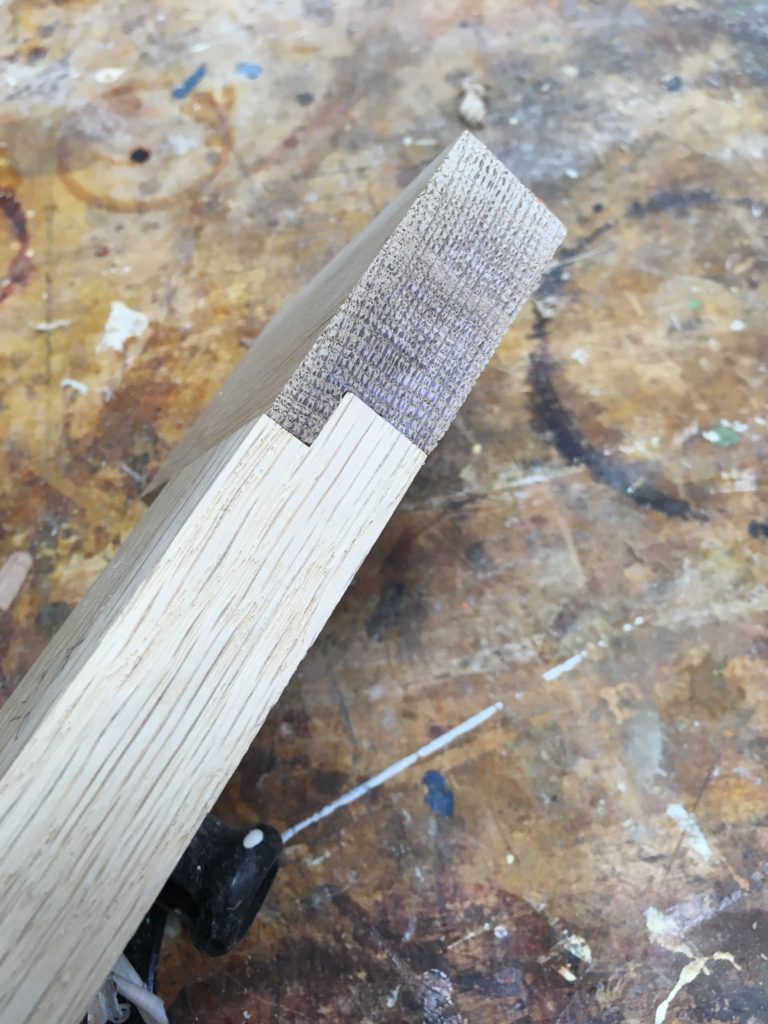
Photo 16. The joint dry-fit, it still needs a little tweaking.
The doors of this sideboard were made using the method described here:
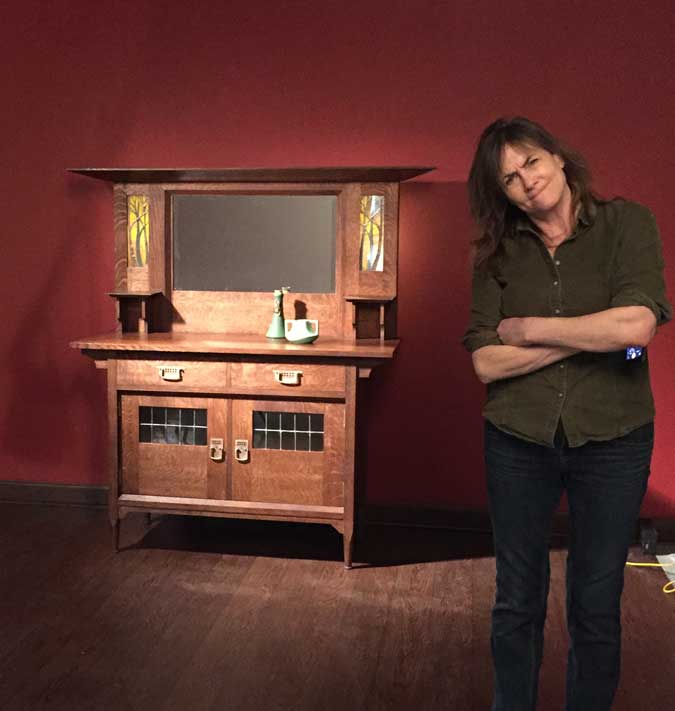
This is Megan Fitzpatrick’s shot of the Harris Lebus sideboard that will be featured in the November 2017 issue of Popular Woodworking. Never mind the scowling maker.
Here are some supplies and tools we find essential in our everyday work around the shop. We may receive a commission from sales referred by our links; however, we have carefully selected these products for their usefulness and quality.


Great info…thanks.