


We may receive a commission when you use our affiliate links. However, this does not impact our recommendations.
Last week, after posting three videos showing my gouge reformation and sharpening process, I decided to compile them into one unified tutorial. In the video, I explain the process and cover how to:
-
Identify incorrect gouge edge geometry
-
Tackle the ”horns”
-
Sharpen the entire bevel
-
Hone and strop the bevel
In the drawing below (which I did not incorporate into the video), you can see how I found the correct angle to sharpen the bevel. I lay the gouge flat on the sharpening media, then pivot it until the bevel fully touches the stone.
 I also illustrated what I aimed to correct in the gouge’s edge geometry. In the drawing below, you can see the irregular edge and the two prominent horns. My goal was to remove the ‘horns’ and shape a unified cambered edge—one that works best for my students and me
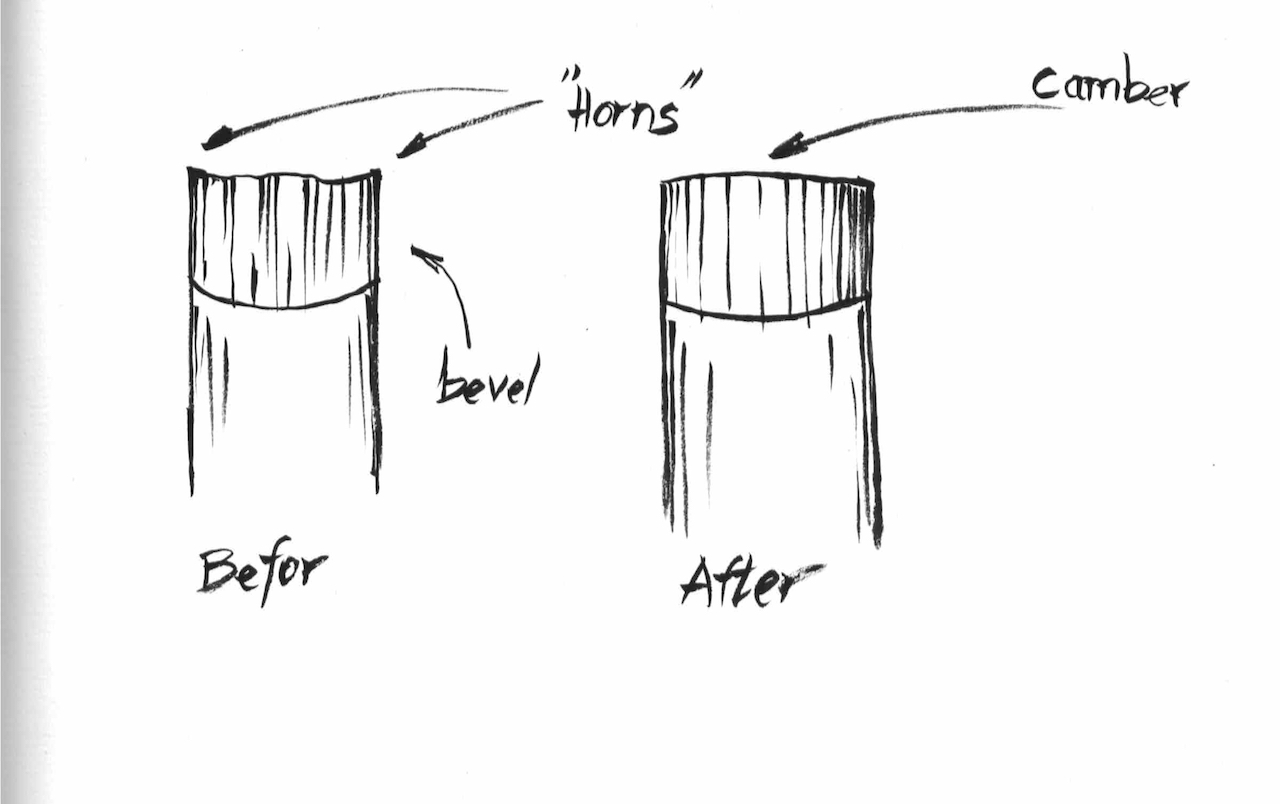
This approach ensures a sharp, well-balanced gouge that glides effortlessly through wood, making carving more precise and enjoyable.
Here are some supplies and tools we find essential in our everyday work around the shop. We may receive a commission from sales referred by our links; however, we have carefully selected these products for their usefulness and quality.


