We may receive a commission when you use our affiliate links. However, this does not impact our recommendations.
Tips for taming those awkward and heavy sheets.
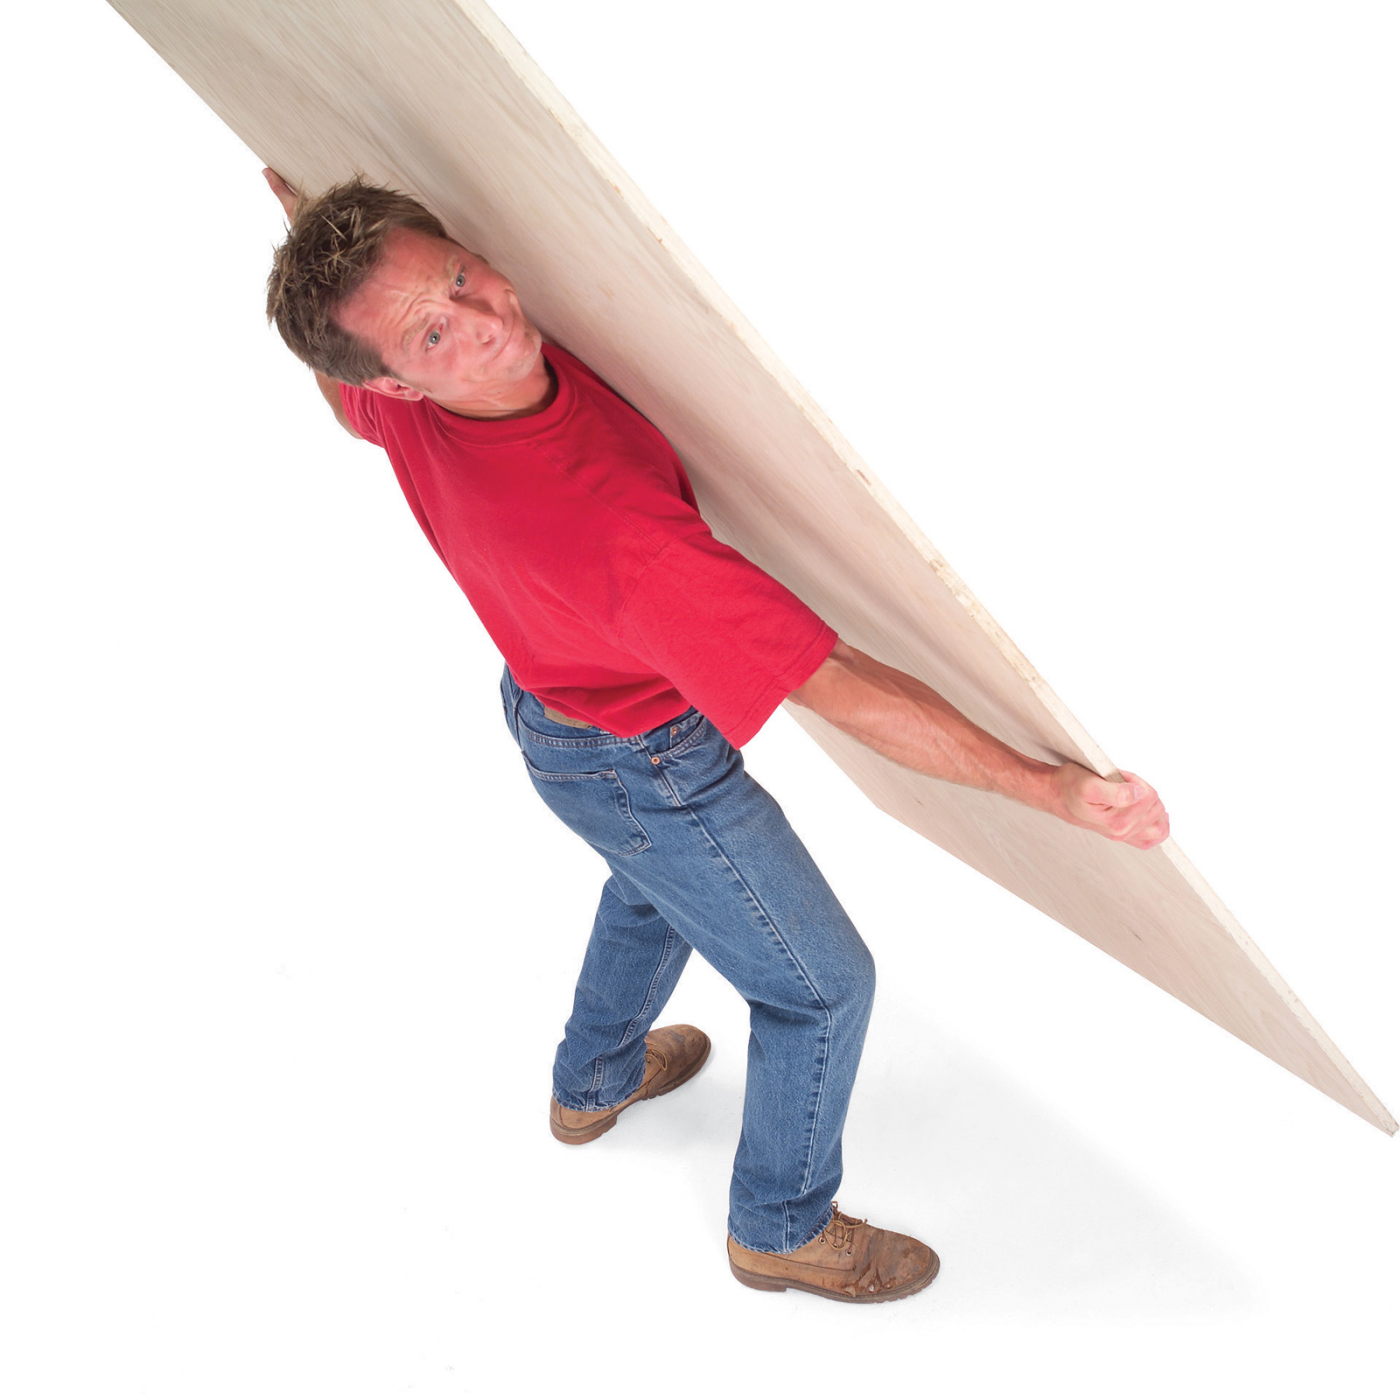
Woodworking alone is peaceful, serene and quiet. Just you, the radio and your project. It’s also a pain in the posterior when you have to work with big, heavy sheets of plywood, MDF or particleboard. If you can get help, it’s great, but often we end up battling them alone. Here are some tips to help ease the struggle, save your back, and make your cuts go more smoothly and accurately.
How Much Does It Weigh?
If you’re working with sheet goods, it’s handy to know how much they weigh. Here are the most useful numbers:
– Hardwood plywood typically weighs around 55 lbs. per 3/4-in.-thick sheet. Utility plywood can be much heavier, however. A 3/4-in.-thick sheet of BC fir plywood, for example, can weigh more than 70 lbs. By comparison, a full sheet of 1/4-in. birch plywood weighs only 12 lbs.
– MDF is typically a whopping 96 lbs. per 3/4-in.-thick sheet. Ugh. The suggested maximum load for a car roof (check your owner’s manual) can be as low as 100 lbs., so it doesn’t take many sheets to max out your car. Maxing out your arms is another matter entirely.
A Flip-Up Side for Your Shop Cart
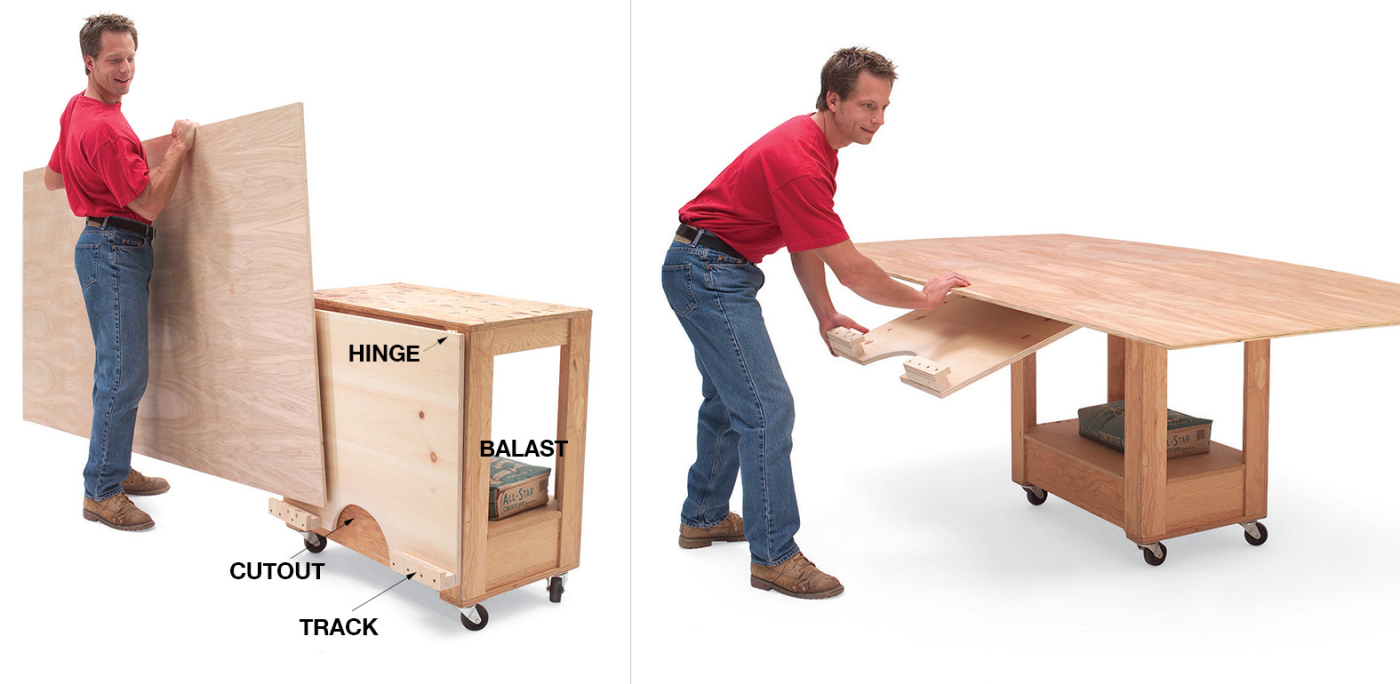 A handy addition to your shop is a cart with a flip-up side. Build it from plywood, with strong hinges on the top edge, a track on the lower edge of the folding side, and a semi-circular cutout at the bottom. Weight your cart with a bag of sand or concrete mix, so it doesn’t tip over. To use this contraption, lift one corner of your plywood, slide it on the track (good side out) and wheel the cart to the front of your tablesaw. Lift the flip-up side, slide the plywood onto the top of the cart (the semi-circular cutout lets you grasp the bottom edge of the sheet), and you’re ready to feed it into the saw. No more awkward gyrations trying to carry the plywood, flip it over, and then hold it steady while you try to line it up with the fence.
Use a “Third Hand” for Assembly
 If you’re making a large plywood or MDF case, it can be very awkward to hold the pieces in place when joining them. Two of the most useful tools are a couple of one-hand clamps (Quick-Grip is one brand) and a couple of right-angle brackets. Make the brackets from two thicknesses of 3/4-in. plywood glued together, and knock off the inside corner so it doesn’t interfere with the fit of the joint. If you need help holding up one piece of plywood so you can attach the brackets, simply clamp a handscrew to the bottom edge.
 Rough Out Your Crosscuts First
If you need to crosscut a full sheet, don’t try to do it by yourself on your tablesaw. It’s too awkward, and you’re likely to get an inaccurate cut. Try cutting your panel close to the final size using a circular saw or jigsaw, always keeping one factory edge on each piece. That factory edge will give you a reference edge to precisely cut the pieces to their final size on the tablesaw. A carpenter’s chalk line is fast and accurate enough for marking the rough crosscuts.
 I keep a few old 2x4s in my lumber rack, put them under the plywood (on the floor or on sawhorses) and set my saw depth so it cuts into them by 1/4 in. or so. A more elaborate system (and better, I admit) is to make a support grid out of pieces connected by half-lap joints.
This tip is one of the good old good ones, and it can make a huge difference in how well a project turns out.
The 12-Foot Rope Trick
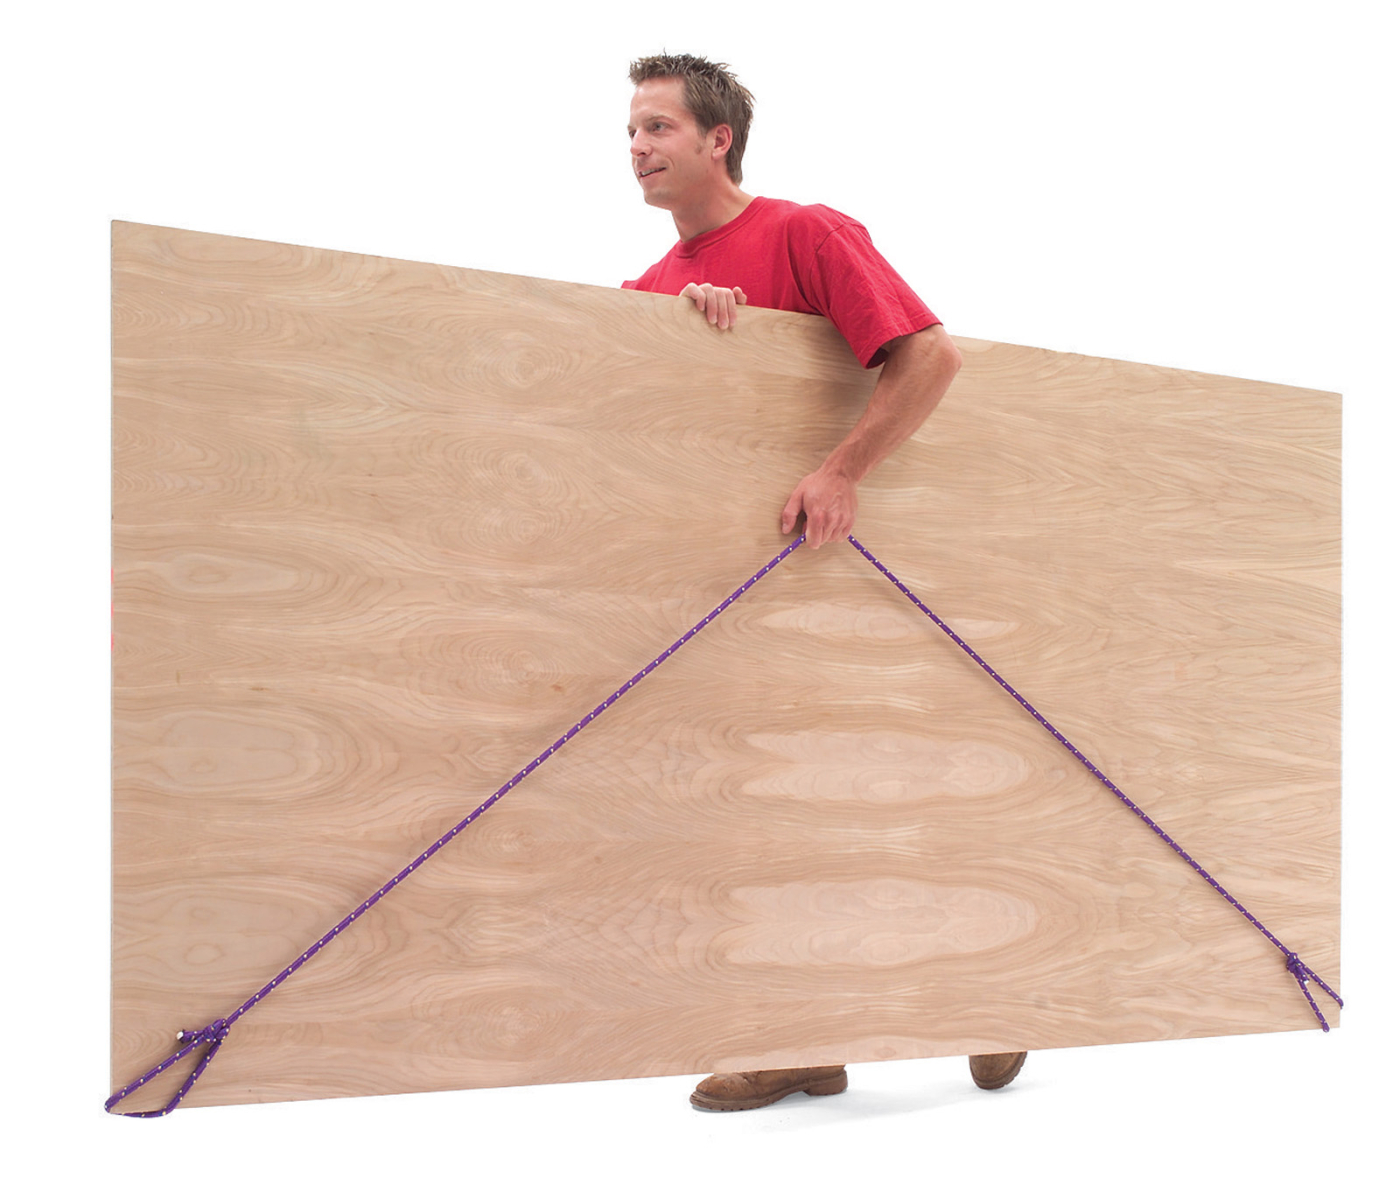 If you have to lug full sheets of plywood (or even worse, MDF) around your shop, a 12-ft. length of rope is one of the handiest tools you can have. Simply tie a loop in each end and you have a simple handle for your sheet stock. I use a bowline knot, but anything that doesn’t slip would do the trick. With the sheet leaning up against a wall, simply slip a loop under the bottom corners, lift the rope, and off you go. This works for drywall, too. (P.S. We took the photo with our happy woodworker on the other side so you can see better, but normally you’d be on the same side as the rope, for easier lifting.)
 Ya Gotta Have An Outfeed Table
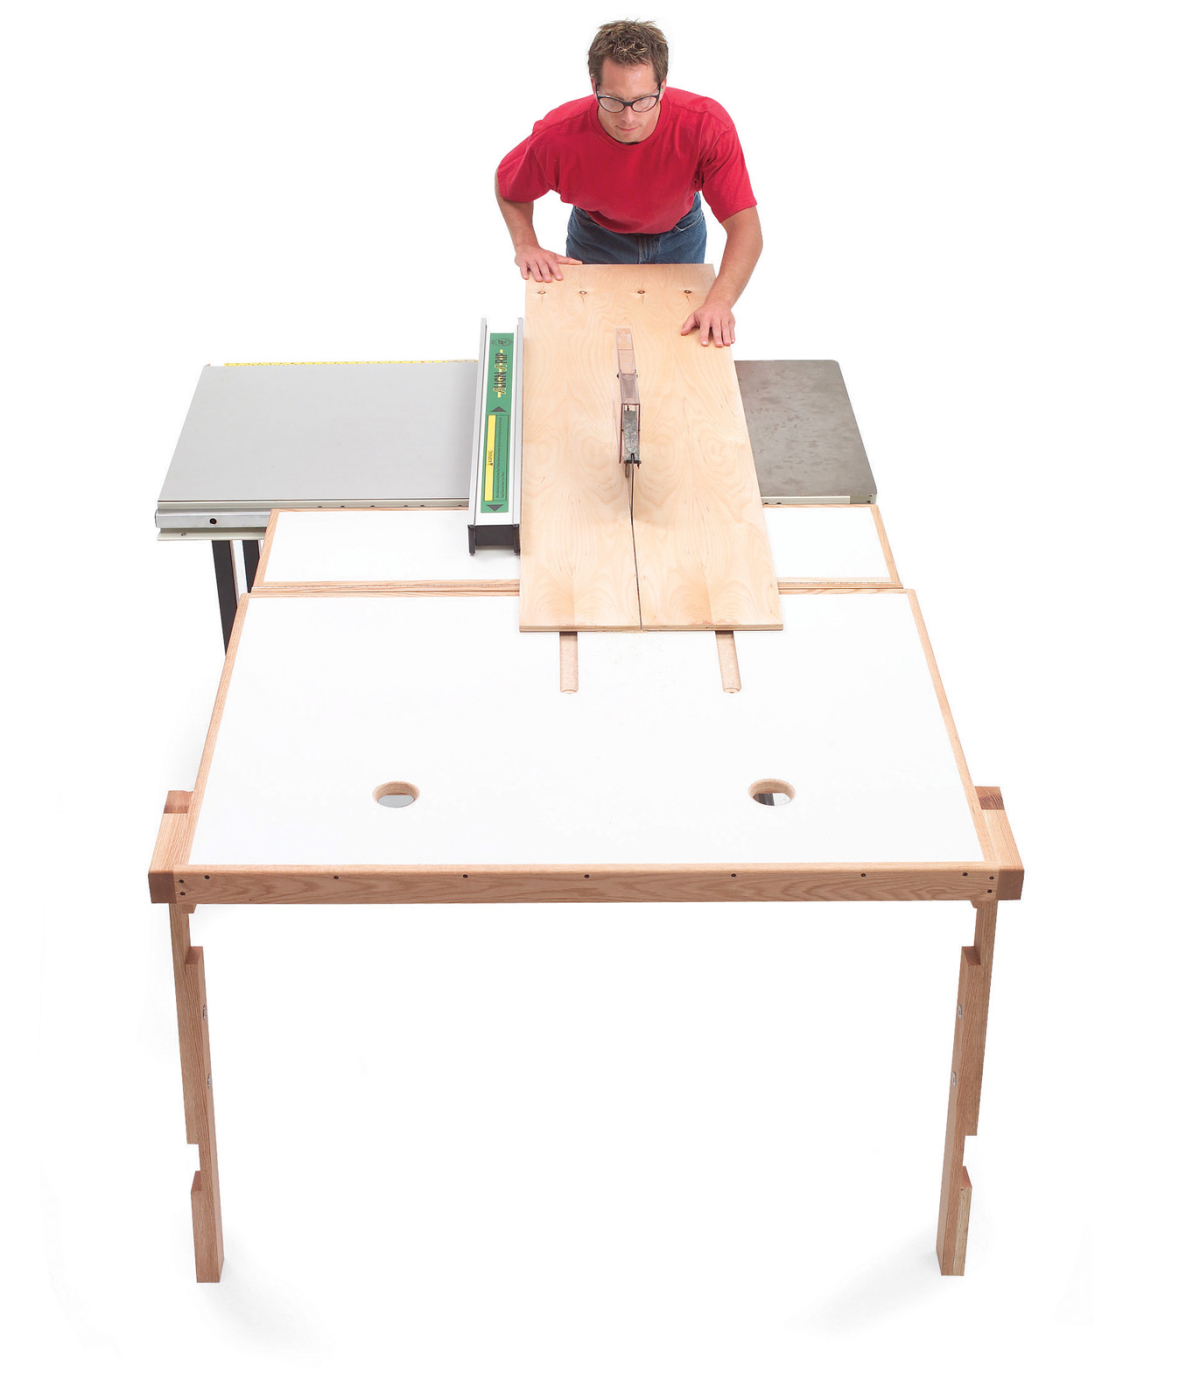 One of the very best tools for working with plywood alone is an outfeed table on your saw. It will give support for long pieces exiting the saw much more securely than roller stands (although they work fine for narrow pieces). An outfeed table can be as simple as one of your rolling carts. Ideally it should be larger, however, to give about 3 ft. of support as a sheet goes past the blade, so it doesn’t fall off the table. On a cabinet saw that stays in one place, an outfeed table is easy—it’s just a table. On a saw on a mobile base, especially a contractor’s saw, it’s not as easy. A larger version of a rolling shop cart, with locking casters, works well.
Shop Carts Are Your Best Friends
 If there is one single thing that will make working alone with plywood bearable, it’s a good shop cart, made so it is the same height as your tablesaw. Don’t make just one, though, because I guarantee that once you use it you’ll instantly want a couple more. You can use one cart to support the plywood as it enters the saw and another as it exits, leaving you free to concentrate on keeping the plywood going straight against the fence. If your floor is rough, put larger wheels on your carts and make the carts 1/8 in. lower than your saw, just to be safe.


The design we give here is the simplest and strongest one we’ve seen yet. It’s made from 3/4-in. plywood, glued, nailed and screwed together. Made from plywood, each cart will cost less than $100. And when you’re not cutting plywood, carts are great for moving parts around the shop, and all sorts of miscellaneous tasks.
Get Support on the Left Side
 For crosscutting long pieces of plywood by yourself, rig up some kind of support on the left side of your saw. Sometimes a shop cart will do the trick, especially if your floor is smooth. However, a cart can get hung up, ruining your cut. A more sure-fire approach is a piece of plywood clamped to a sawhorse at just the right height. Make it long enough to support your work both before and after the cut.
Here are some supplies and tools we find essential in our everyday work around the shop. We may receive a commission from sales referred by our links; however, we have carefully selected these products for their usefulness and quality.


