We may receive a commission when you use our affiliate links. However, this does not impact our recommendations.

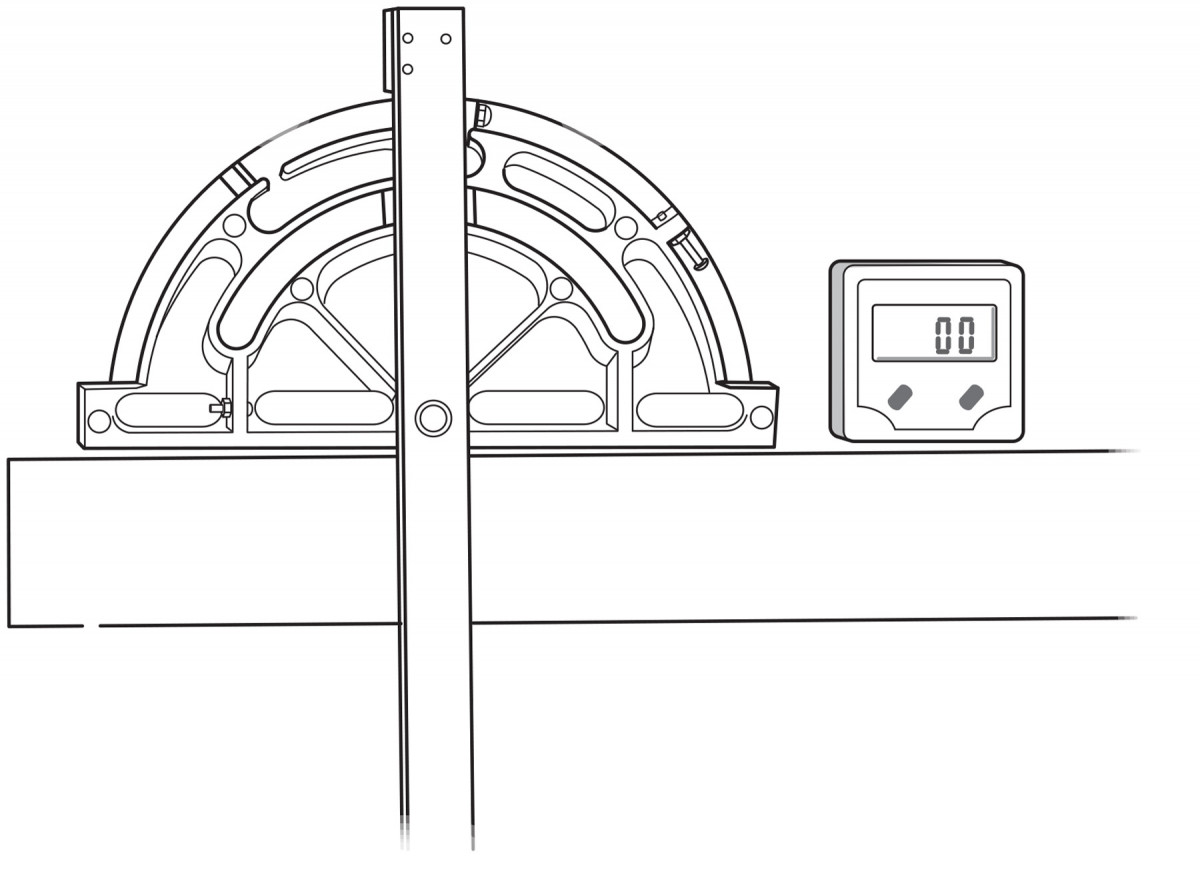
STEP 1: Hang miter gauge from front of saw and set angle gauge to 0°
I’ve found that my new digital angle gauge is a great tool for setting an accurate angle on a miter gauge. To set the desired angle, first stand the miter gauge on its face on the rip fence’s rail or front of the saw table with the guide bar dangling below as shown.

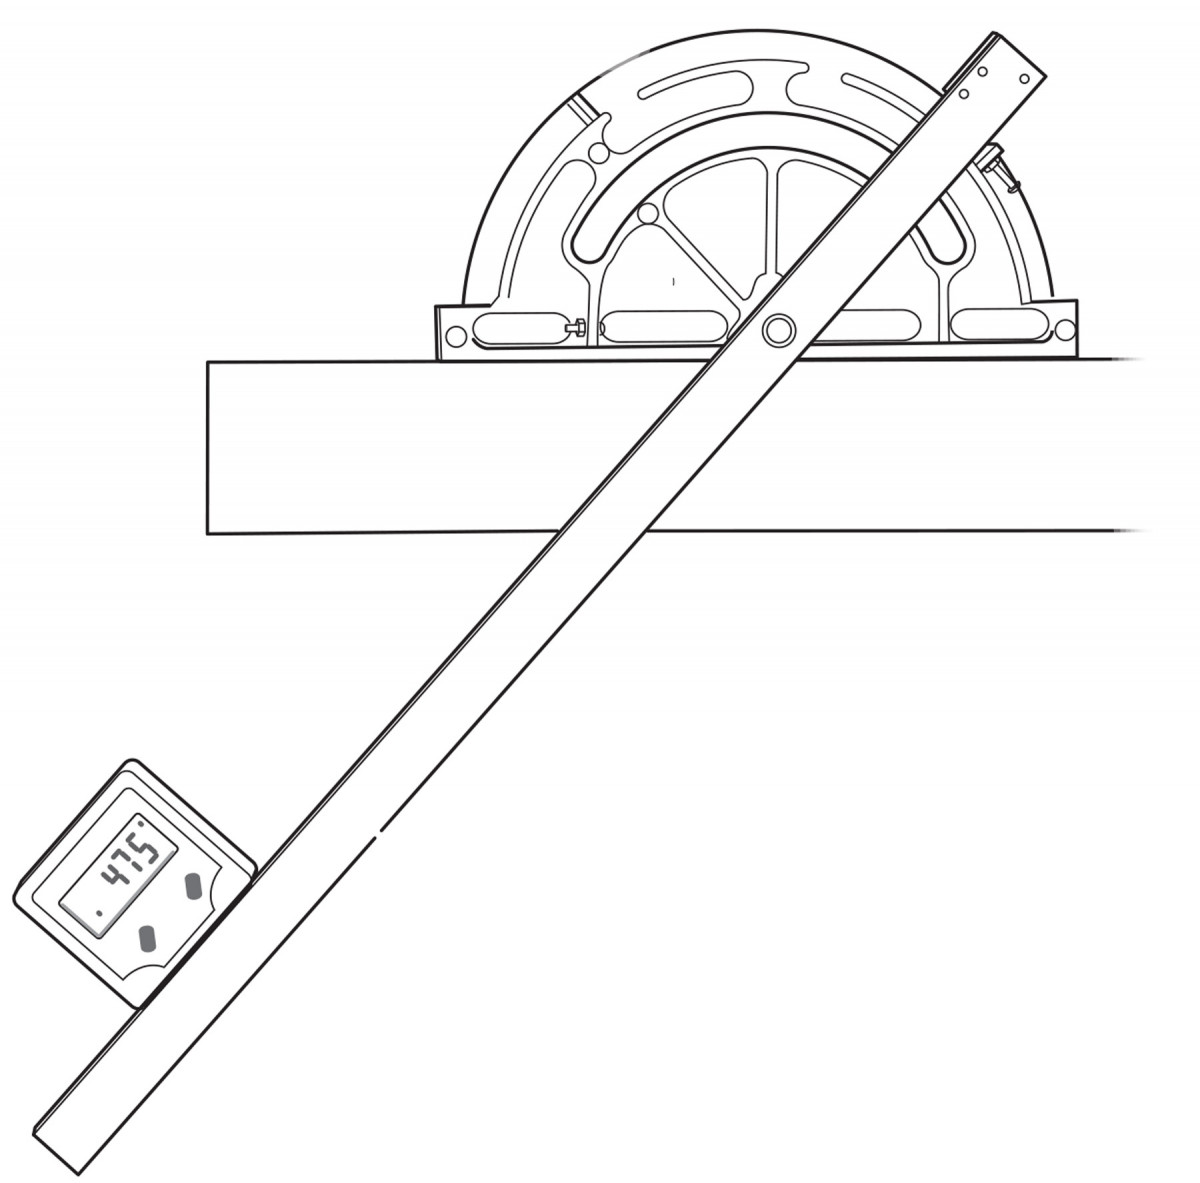
STEP 2: Attach gauge to bar and swing bar to desired angle, as shown on gauge
Zero out the gauge to establish the reference plane. Next, attach the digital angle gauge to the side of the bar, adjust the bar to the desired miter angle, and lock the miter gauge. Voilà! You’re ready to go. — Roland Weisser
Here are some supplies and tools we find essential in our everyday work around the shop. We may receive a commission from sales referred by our links; however, we have carefully selected these products for their usefulness and quality.


