We may receive a commission when you use our affiliate links. However, this does not impact our recommendations.
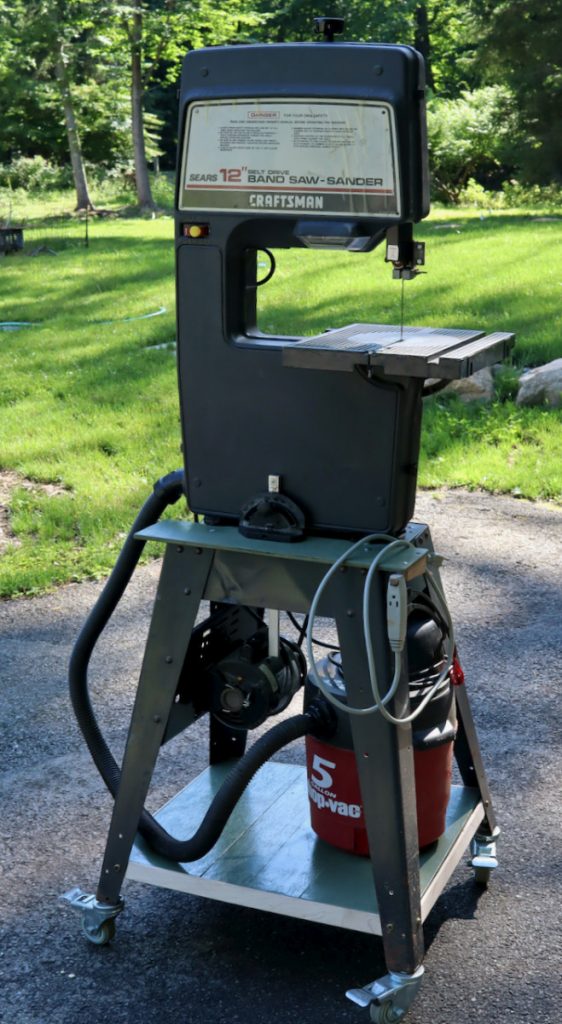
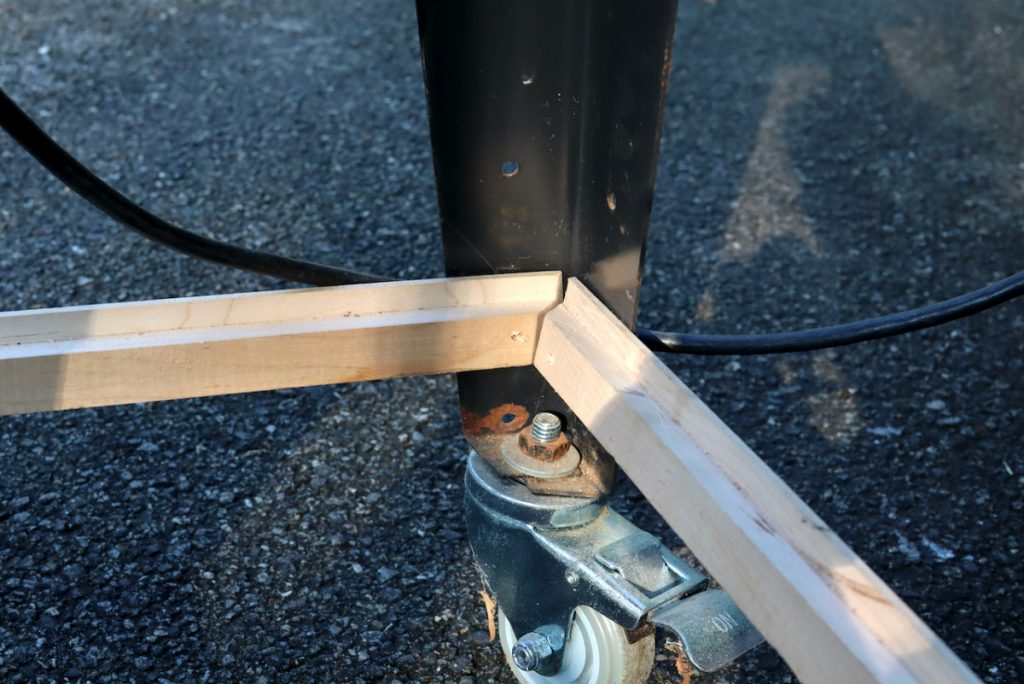
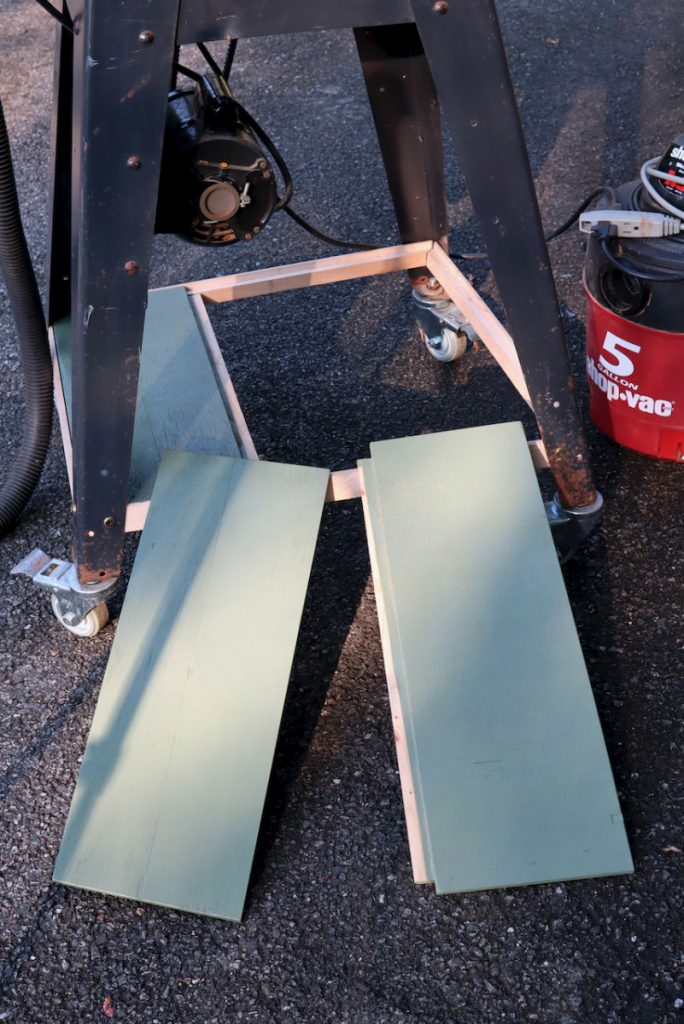
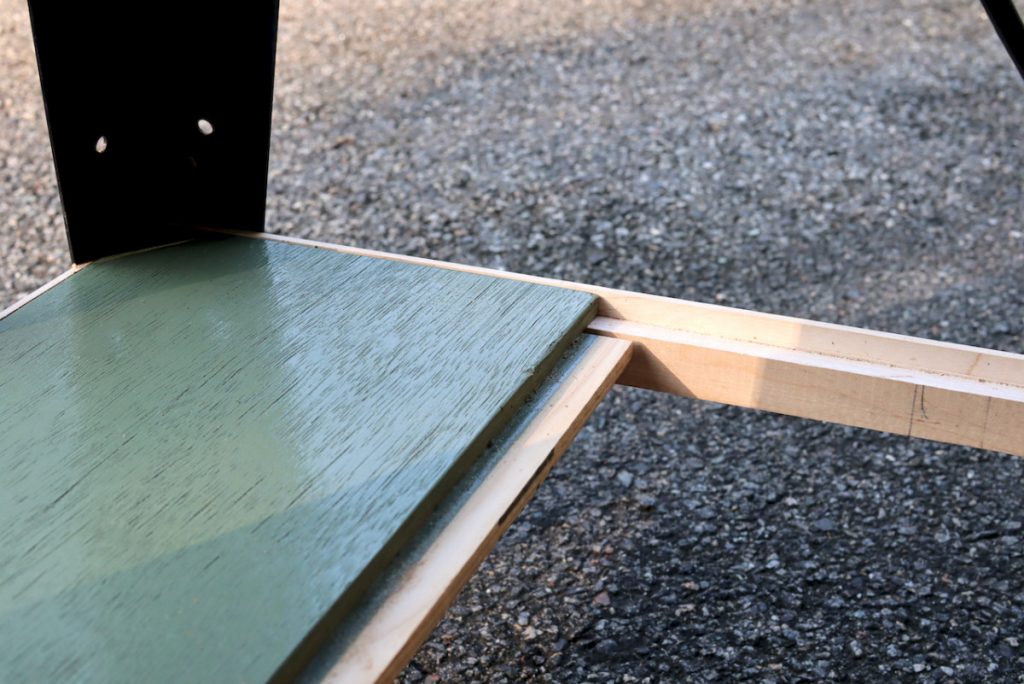
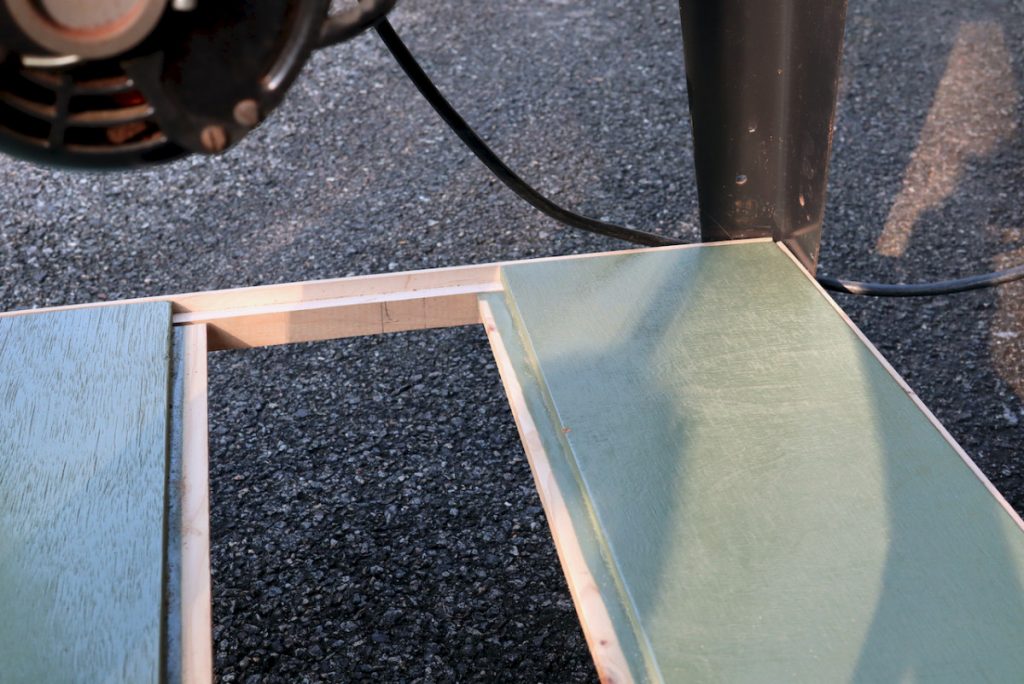
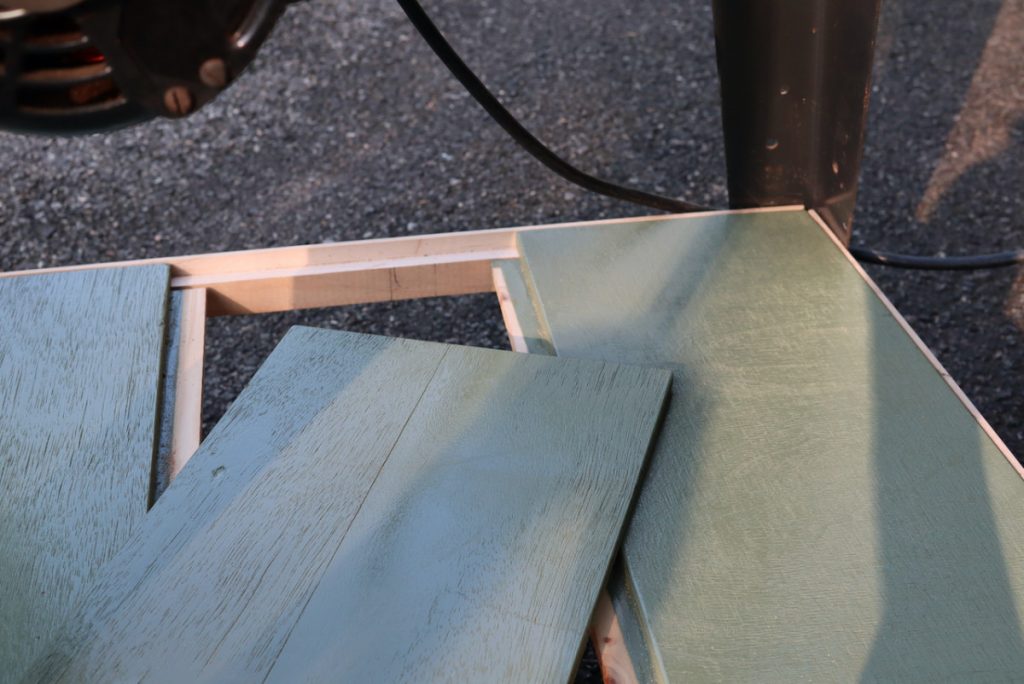
After milling the parts for the shelf’s frame, rabbiting them, and cutting the miters, (read the first part of this story here) I connected them to the legs with screws. I found out that the geometry of the shelf was closer to a trapezoid than a square or a rectangle. Plus, even if I could have cut a piece of plywood to cover the entire surface, it would have been a hassle fitting it in without dismantling at least two of the legs. My solution was to divide the shelf surface into three sub-units. This way each of the units could be made separately and installed easily. To prevent the middle unit from sagging I glued two long strips of wood to the right and left sub-units to act as sturdy supports. All three pieces fit inside the rabbeted area of the frame and could be removed if needed.
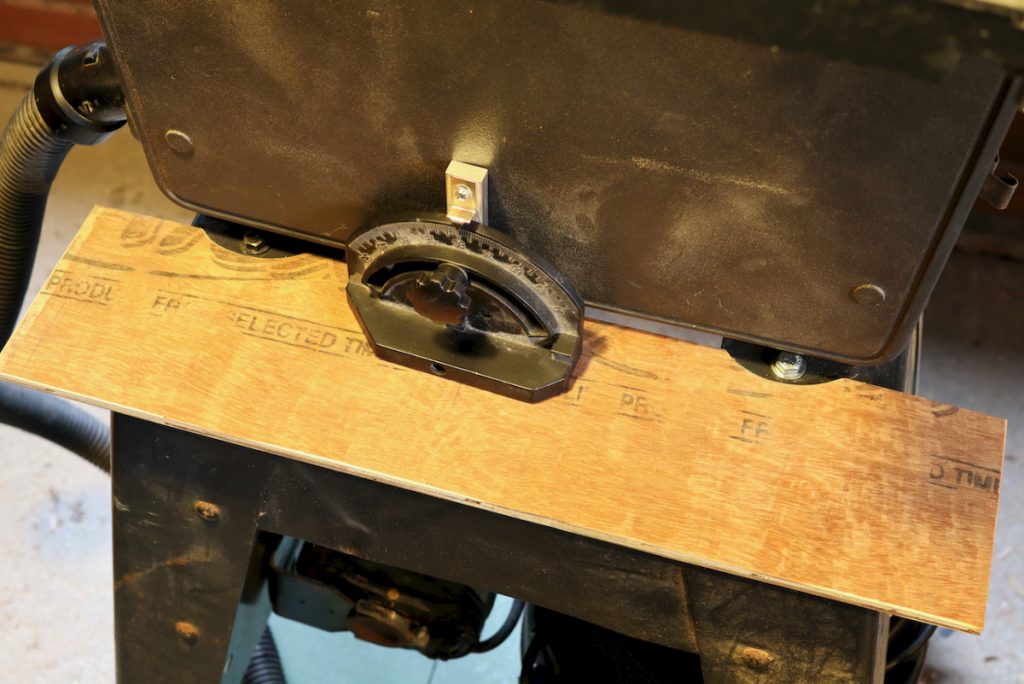
My next saw stand improvement was to make an upper shelf to mainly accommodate the miter gauge. This shelf was also meant to house any future needed improvement such as a pencil stand, a master on-off switch (for the saw and the dust collector), etc.
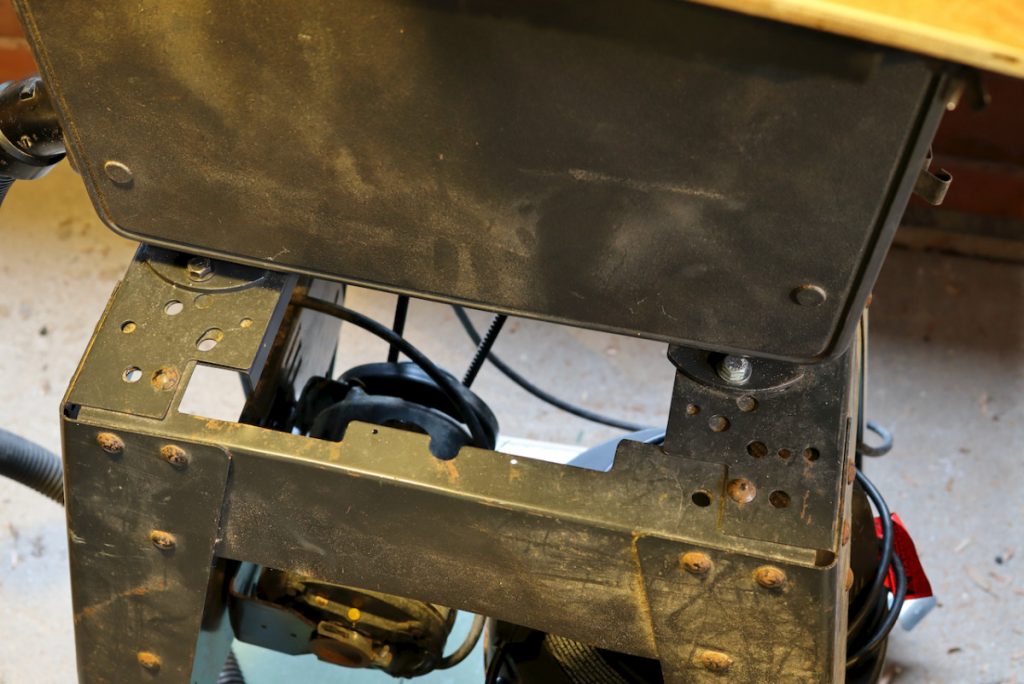
Most of these ready to assemble steel bases have plenty of holes all around that can provide us with ample hanging and affixing opportunities. If your base is hole-deprived just use a twist bit and drill the steel through. This is very easy as the steel is not that thick. Just remember to put a drop of oil on the designated hole area to make the process effortless.
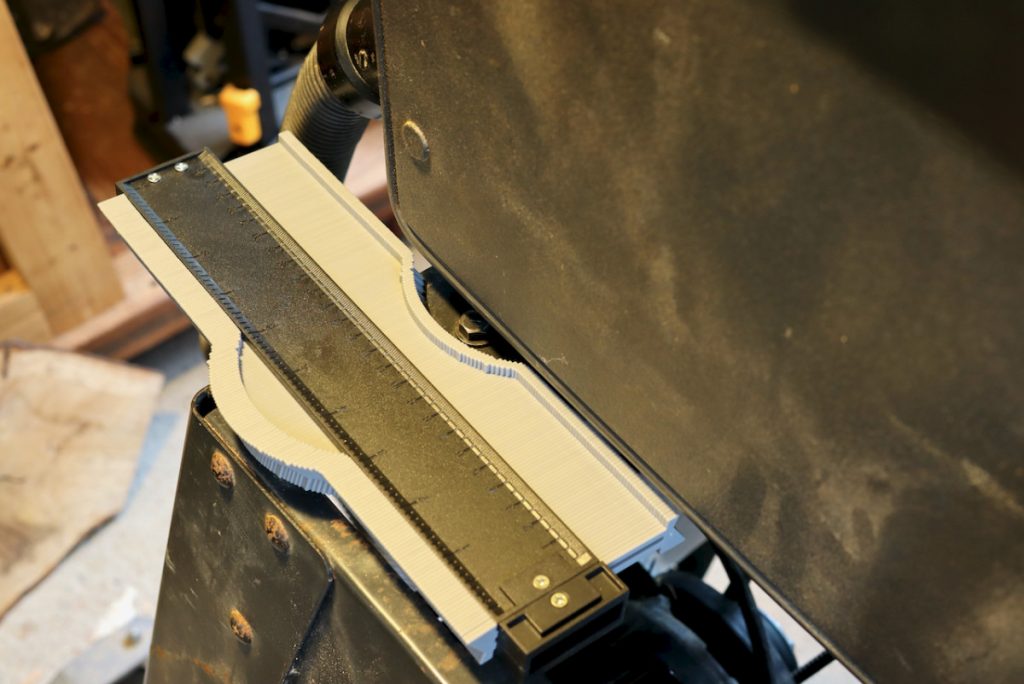
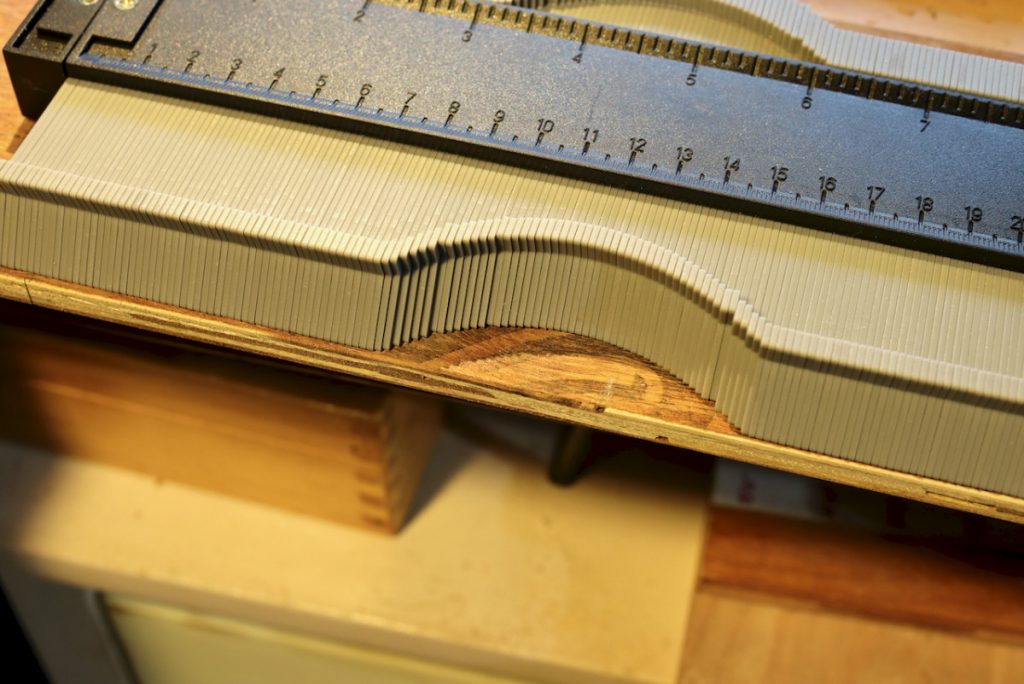
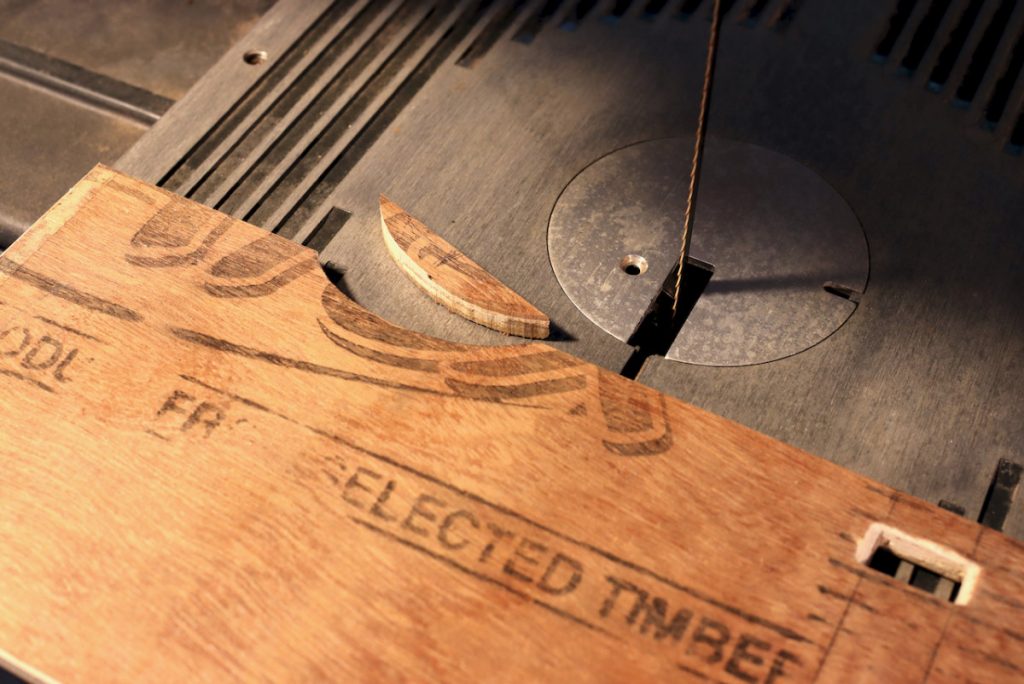
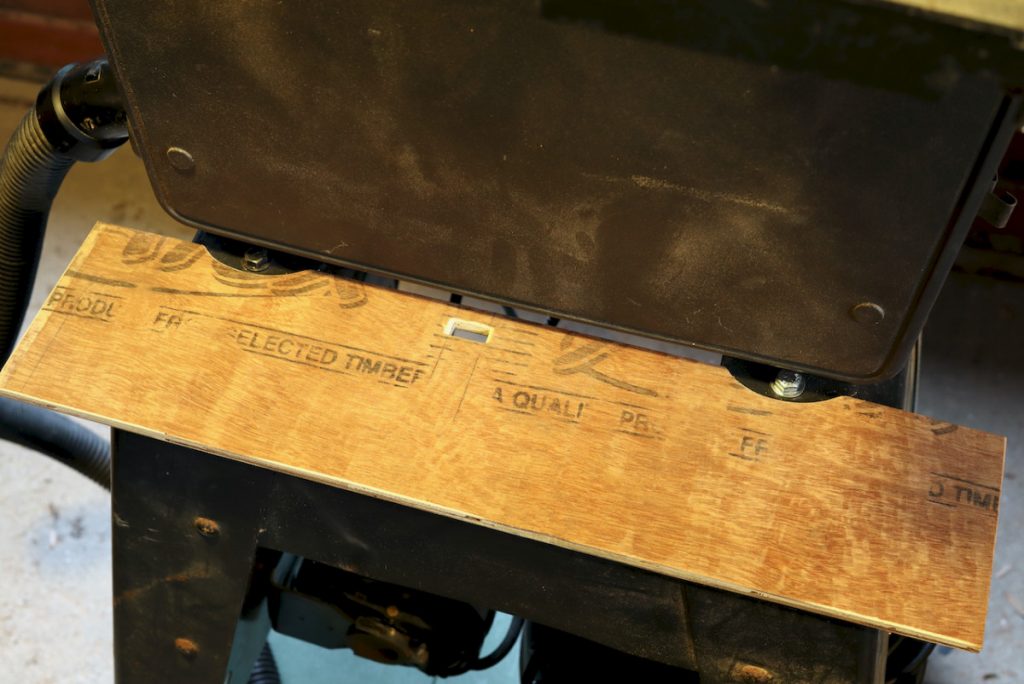
To fit the upper shelf snugly against the saw’s feet I used a contour gauge. After I transferred the arc shapes I cut them out and then formed a hole for the miter gauge’s bar by drilling and chiseling a through mortise. After painting the shelf I installed it with bolts and nuts.
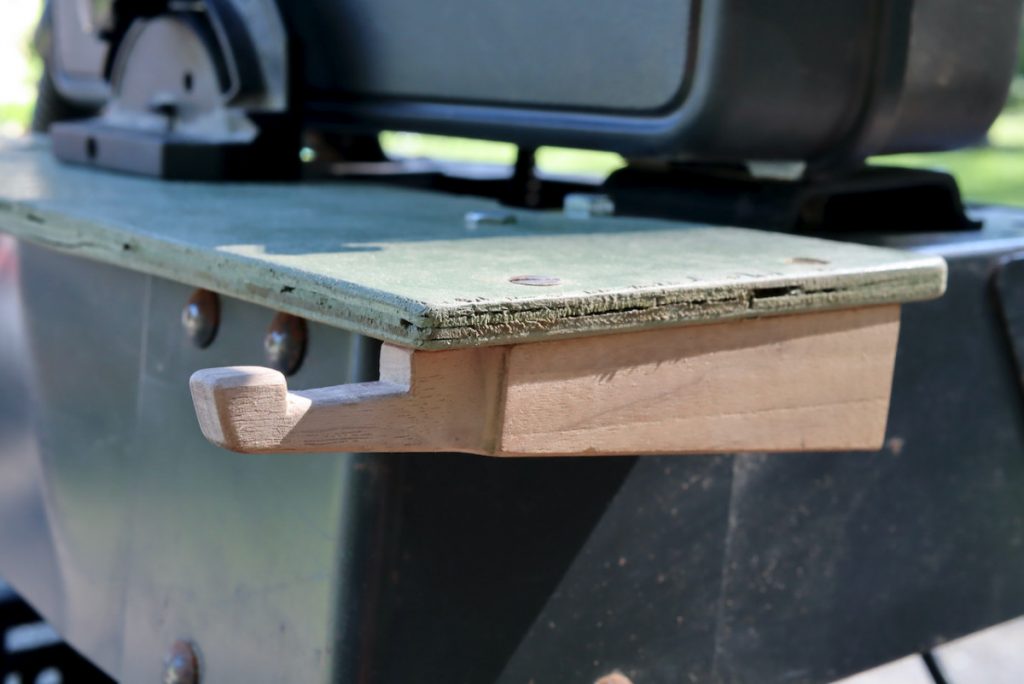
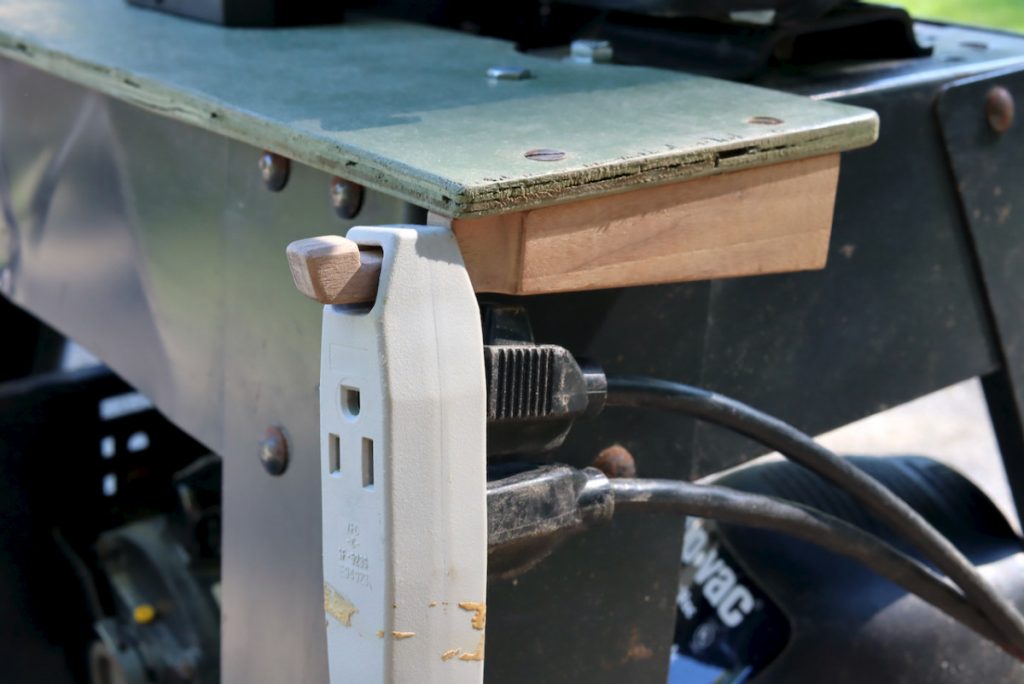
My last improvement was to make a wooden hook to hang the three-outlet extension cord under the shelf. This extension cord allows me to efficiently hook up the saw, the dust collector, and the future spot lamp to a power source via one cord.
Here are some supplies and tools we find essential in our everyday work around the shop. We may receive a commission from sales referred by our links; however, we have carefully selected these products for their usefulness and quality.


