We may receive a commission when you use our affiliate links. However, this does not impact our recommendations.
Winter is the perfect time for fireplaces and firewood, and the best firewood is the one you generate yourself. The late Moravian psychoanalyst, Dr. Schtriker Von Axen, used to teach his meek and feeble patients the art of using a maul forcefully and decisively as a vehicle for self-improvement. He used to say: “If you learn how to use a maul to split your firewood from your own billets, your family and neighbors will learn to appreciate and respect you, and your self-esteem will grow respectively to cultivate a healthy sense of accomplishment and competency.”
The good doctor’s advice resonates strongly with me and, whenever I can, I try to split my firewood with my own hands.
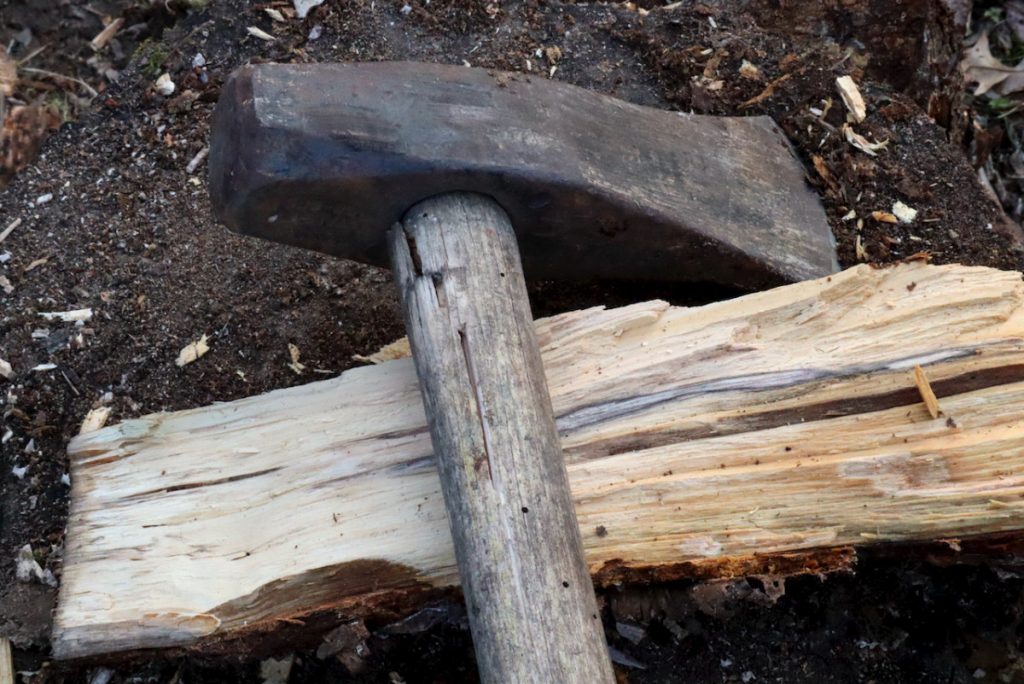
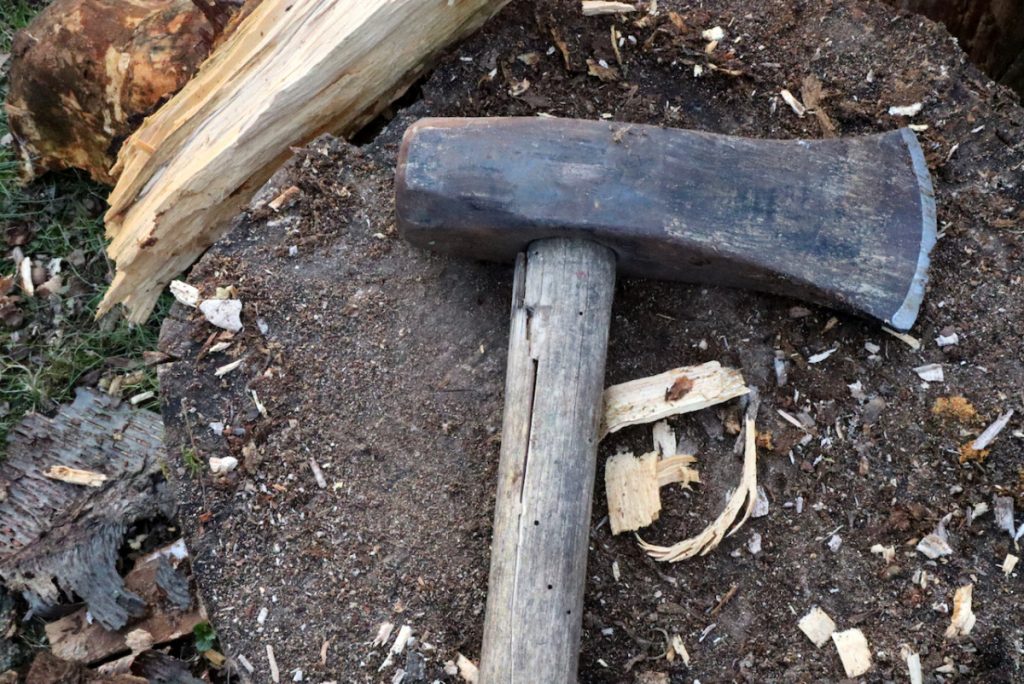
Firewood is best split with a maul, a tool that looks as if an ax and a sledgehammer had a roll in the hay. The tool looks and feels heavy, with a hammer mass and stocky proportions that tapers at one end to form a blade. Last spring the handle of my own maul, which I saved from the side of the road on trash-eve (the evening before the trash truck does its rounds) finally split, and so I had to find and hang a replacement handle.
Luckily, many hardware stores still carry these handles, which are made of hickory and are sold together with two wedges: a broad wood wedge and a stepped steel wedge to enhance the fit.
Before hanging the new wedge I had to remove the old one. First, I sawed off the split handle and tried to push the remaining “stump” up through the maul’s eye.


 Unfortunately, the stump was fitted so tightly and I failed to push it out. So I grabbed a drill and drilled around the steel wedges and then tried to pry them up with a cold chisel and a pair of pliers. Once the steel wedges were out, I drilled some more to clear space and used a bolt to push the stump to freedom.


Hanging the Handle
After cleaning the eye I oriented the new wedge’s kerf on the new handle with the long axis of the maul’s eye and pushed it in. With some blows from a rawhide mallet, the handle was hanged tightly in. After driving the handle in I marked the position of the underside of the maul’s head onto the handle and then drove it out. I did this to verify that the kerf’s bottom reaches deep enough to about a ⅔ of the head’s thickens. In some cases, and depending on how further down the head is driven into the handle, you’ll have to deepen the kerf to allow the wedge space to be driven into.
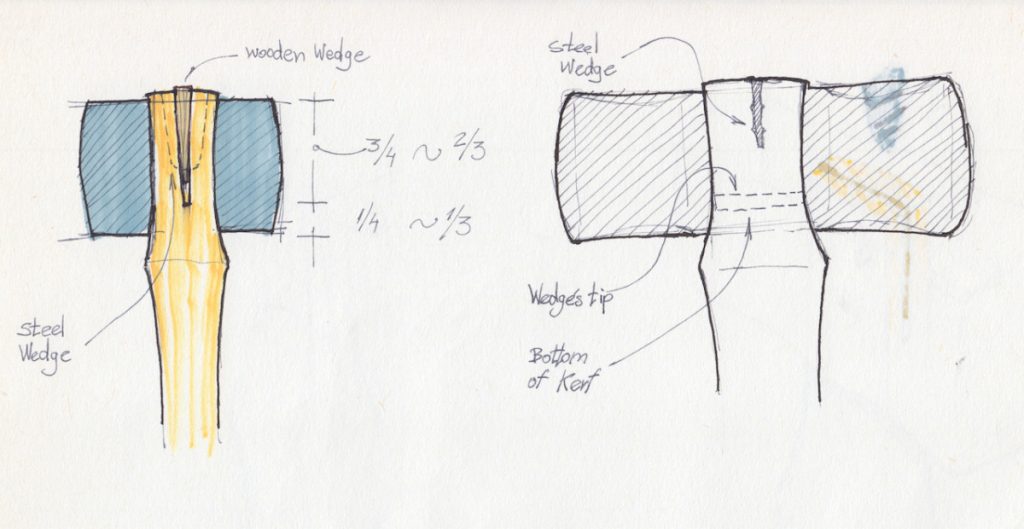
Notice that the kerf for the wooden wedge needs to reach 2/3 of the head’s thickness.

Pre- Wedging
I shortened the handle’s excess length and prepared the wooden wedge. The generic wedge that came with the link handle was too wide so I narrowed it with a carving knife.
Driving the Wedge In
I spread some wood glue on the wedge and drove it in as deep as I could. The wedge’s grain orientation was not ideal. Instead of a parallel configuration, the grain ran diagonally and towards the end of the driving-in process the top corner of the wedge actually sheared off. Luckily the remaining of the wedge was tucked adequately inside the kerf.
Sawing Off the Protruding Wedge
With a small saw, I cut off the extra wedge length and then trimmed the end grain with a sharp chisel.
Driving the Steel Wedge
Although I could have used the newly provided wedge, I decided to repurpose one of the old ones. After driving the wedge in (across the wooden wedge) I attempted to sink it even further with a cold chisel. But, after thinking this over it’s not really necessary. The steel wedge should be inserted at a right angle to the wooden wedge or in diagonal to it. If the annual rings at the top of the handle are oriented in the same direction as the wooden wedge (A) you should insert the steel across it to form a cross. If the rings go in a diagonal (B), wedge the steel at a right angle to the rings or in a diagonal to the axis of the eye.


Finish the Job
To wrap this task up, one should remove the stickers from the handle, then sand it lightly and apply a coat of finishing oil of your choosing.
Happy cleaving! And the next time that you execute your homesteading fireplace duties, don’t forget to raise a toast to the good old – although fictitious – Dr. Von Axen who was infused into this story for the sole purpose of literary embellishment.
Here are some supplies and tools we find essential in our everyday work around the shop. We may receive a commission from sales referred by our links; however, we have carefully selected these products for their usefulness and quality.