We may receive a commission when you use our affiliate links. However, this does not impact our recommendations.
A few weeks ago as I was ripping a board on our Grizzly band saw, I felt a kick and heard a bang, the saw blade slipped out of the track, and pieces of black stuff began snowing down from the upper encasing of the saw’s wheel. I immediately stopped the saw and opened both wheel doors. What I found was shocking: the upper wheel-tire was completely sliced to pieces and falling apart in my hands.
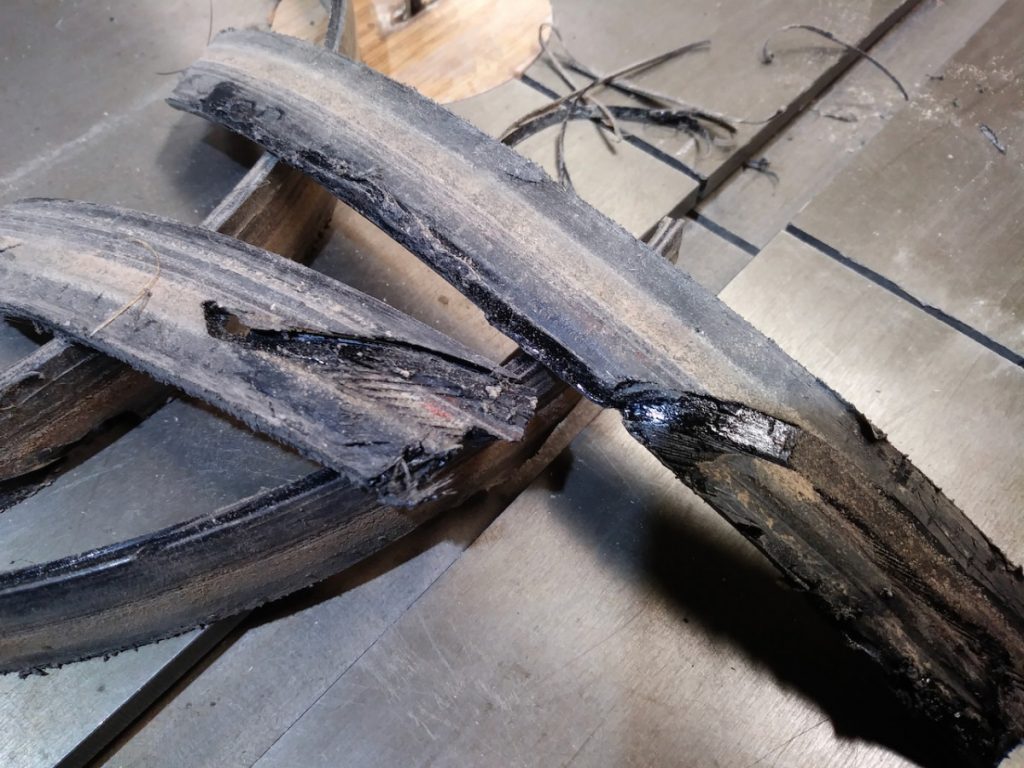
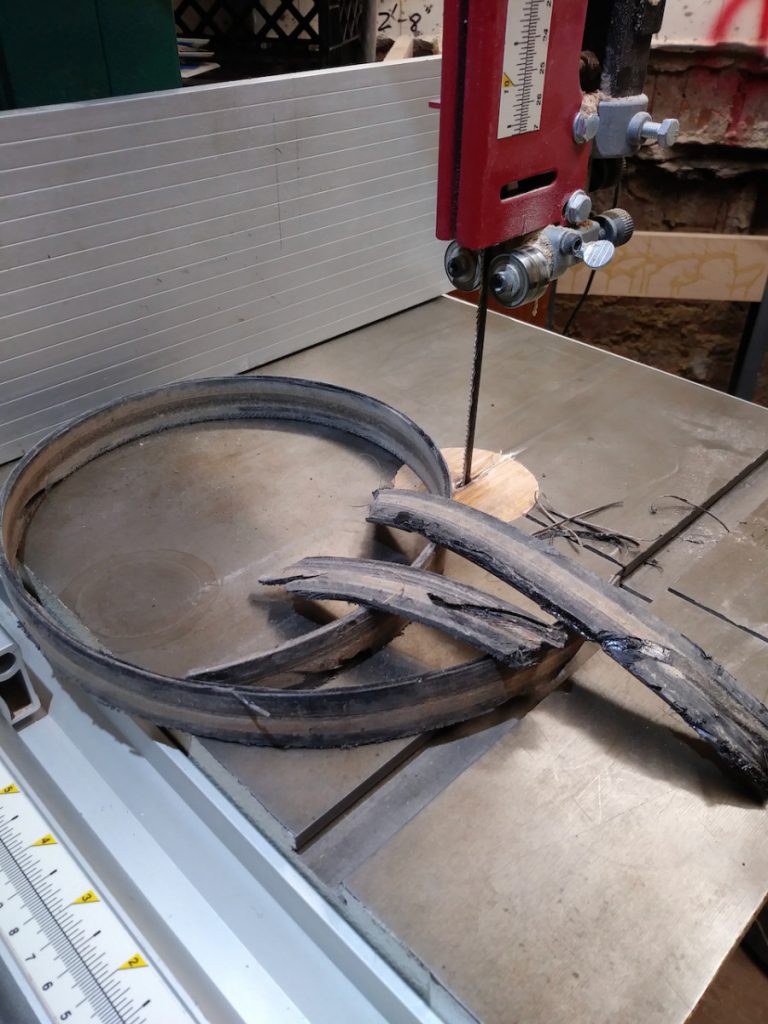
I immediately embarked on a quick Amazon search to locate a replacement urethane tire. I found a product that was reasonably priced and shot an email to our business office to buy it for my program ASAP.
The new tire arrived after a few days but ended up being a tad too wide. Although I measured the width of the wheel’s track with a caliper and concluded that I needed a 1” wide tire (I think that my measurement showed 15/16” and I speculated that I could persuade it to fit into the track) in hindsight I made a calculated mistake as the correct tire width that I should have ordered was ⅞”.
Pressed by the need to produce material for my woodworking classes on time I decided to take my chances and reduce the width of the tire instead of sending them back and waiting for a replacement. At first, I tried to use a utility knife and a ruler to cut into the urethane tire, but this did not prove to be an effective technique. Then I remembered that last year I bought heavy-duty all-purpose scissors made by Fiskars, and decided that I should give that a chance.
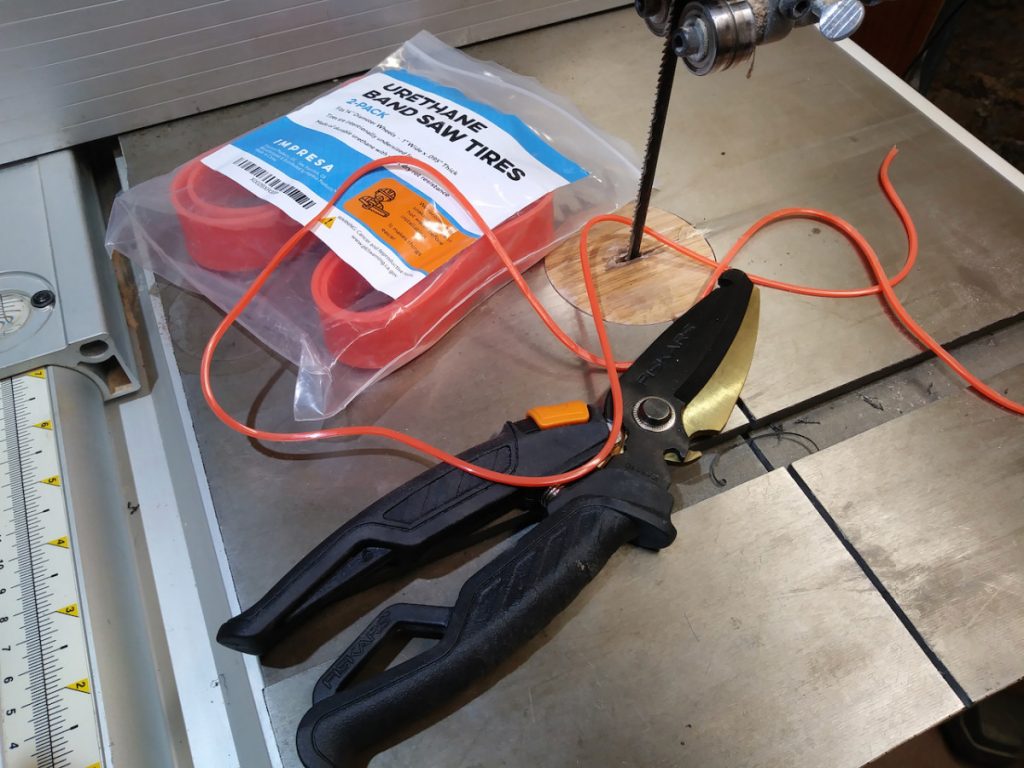
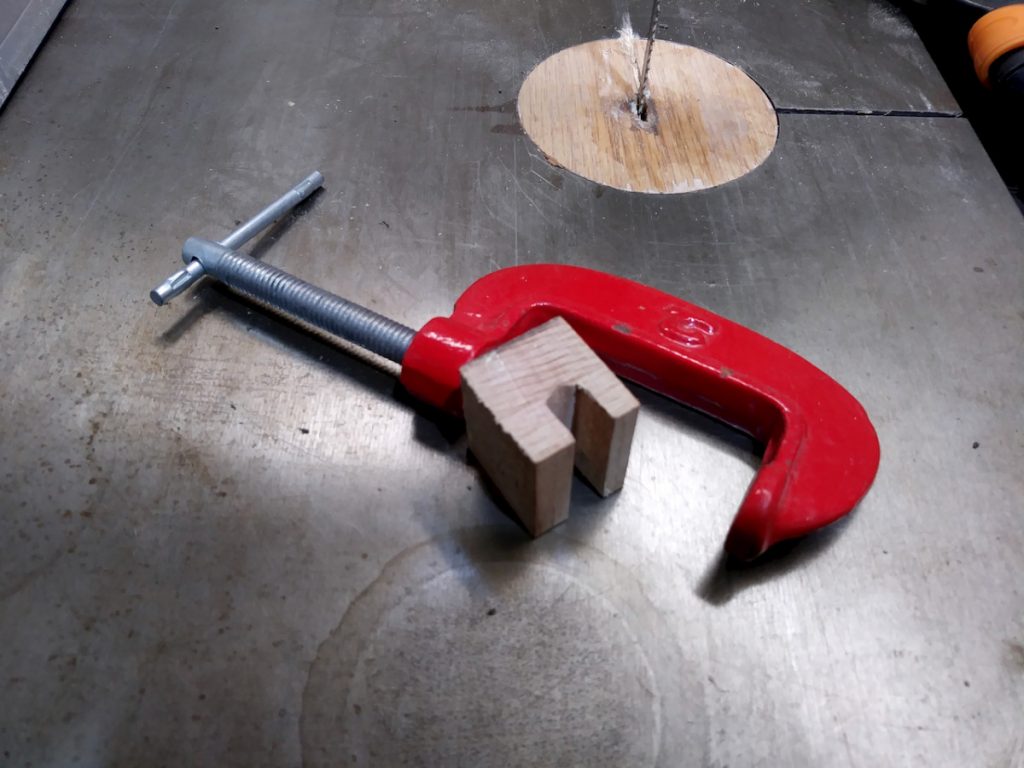
Cutting the excess was easy, and immediately afterward I went to the band saw to mount the tire on the track. There are two main ways to do it. One calls for softening and widening the tire using hot water, then quickly wrapping it around the wheel. The other techniques require clamping one side of the tire onto the wheel and then stretching and carefully slipping it into its track. When I first mounted a new urethane tire over a band saw wheel a few years ago I used the hot water technique. This time, however, I decided to give the clamp & stretch method a chance. I prepared a clamping caul to help me mount a small C-clamp through one of the round openings in the wheel, clamped it over, and began stretching and conforming the tire band over. BTW, if you have one or more vise-grips they might work better for you as you could “walk” these locking pliers over the tire as you go (remember to protect the new tire from the Vise-grip’s teeth). In my case, I only used a clamp and a wooden dowl that I deployed as a prybar to coerce the tire into its track.
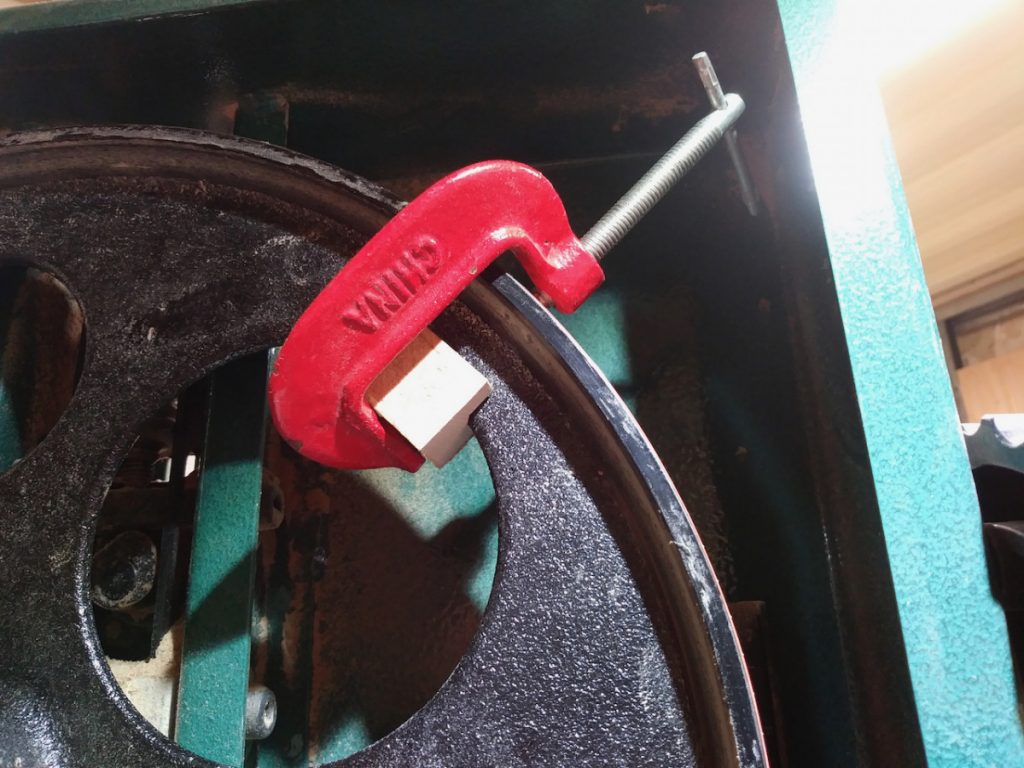
After finishing mounting the tire I carefully pressed it down with the dowl around the wheel.
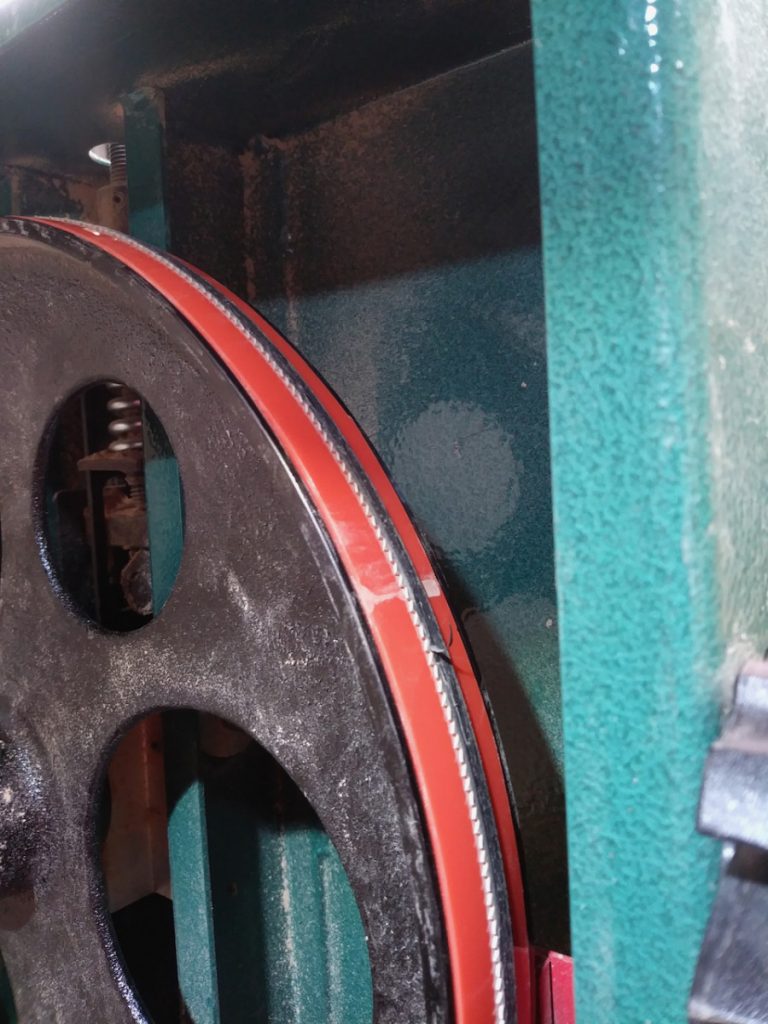
After mounting the band saw blade over the tire you still have one last important adjustment to take care of. This last point is generally not addressed in all the videos that I watched on youtube. I am talking about the necessary re-adjustment of the blade’s bearing or “cool blocks” after replacing the tire. Here is the thing- your new and tougher tire is probably thicker and stiffer than the old rubber one. When mounting the band saw blade over the new tire, you’ll notice that it will be positioned further away from the wheel’s center and as a result, will push against the right bearing or the right block. I discover this by chance after I gave my saw a trial run and notice that something was off. To properly address this issue you will have to pull back all four bearings and re-adjust them to barely touch the blade. After this, re-check the blade for squareness with the saw’s table and adjust if needed.
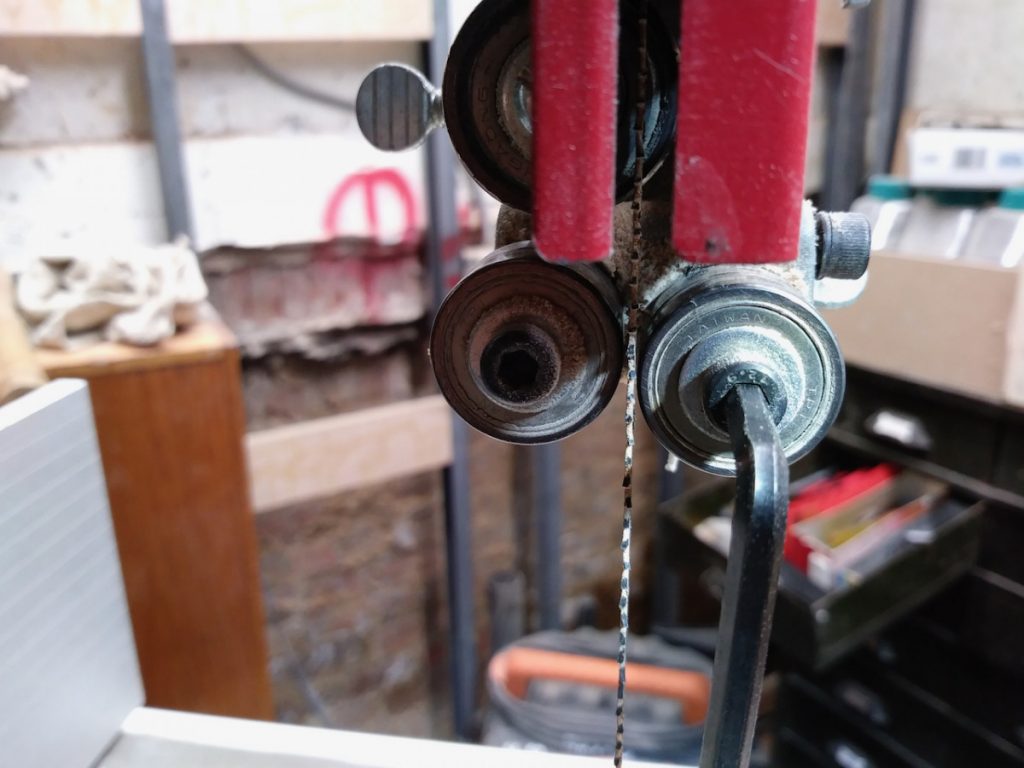
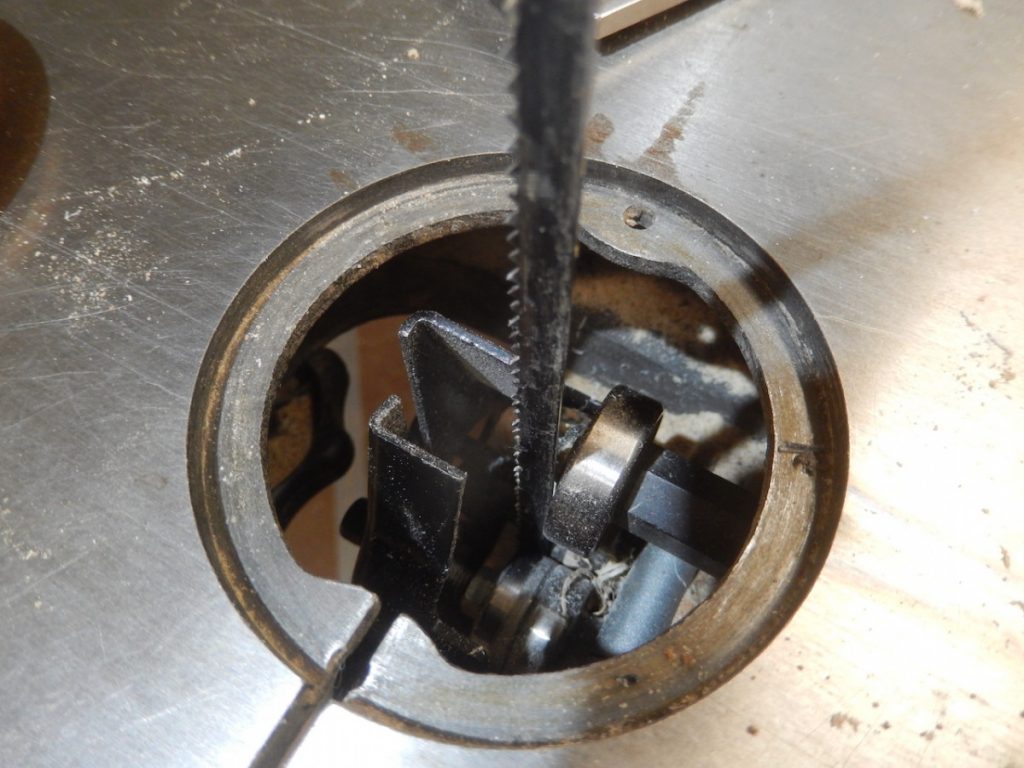
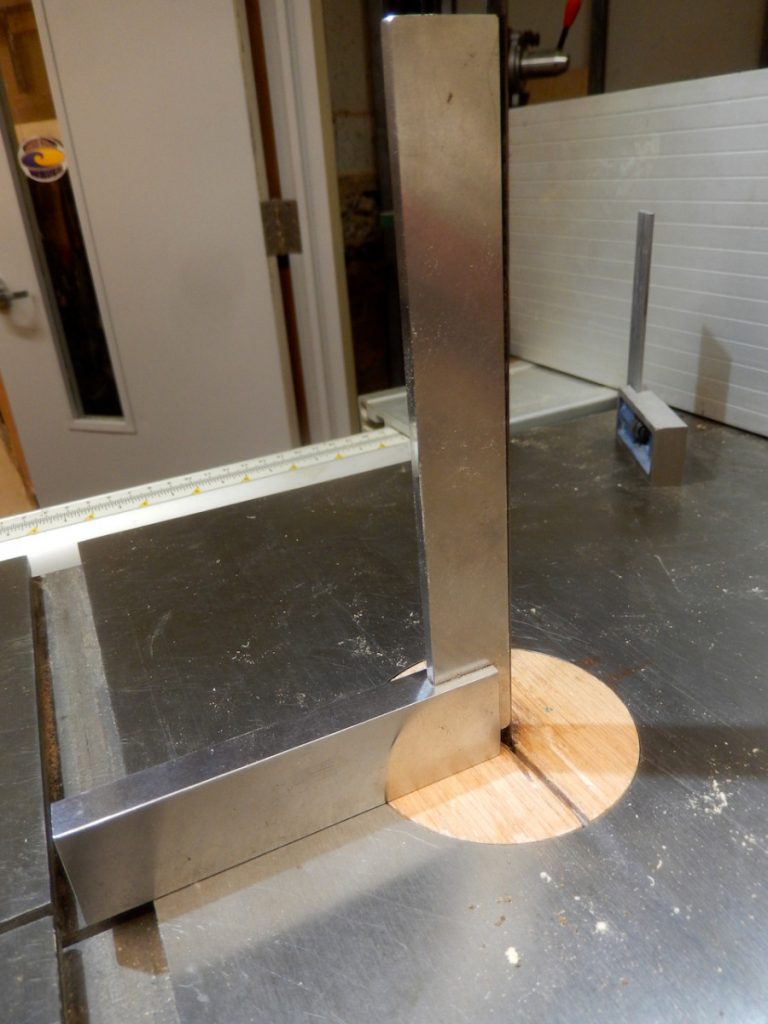
You are now ready to resume sawing. You will be surprised how a new tire can make the work much more enjoyable and reliable.
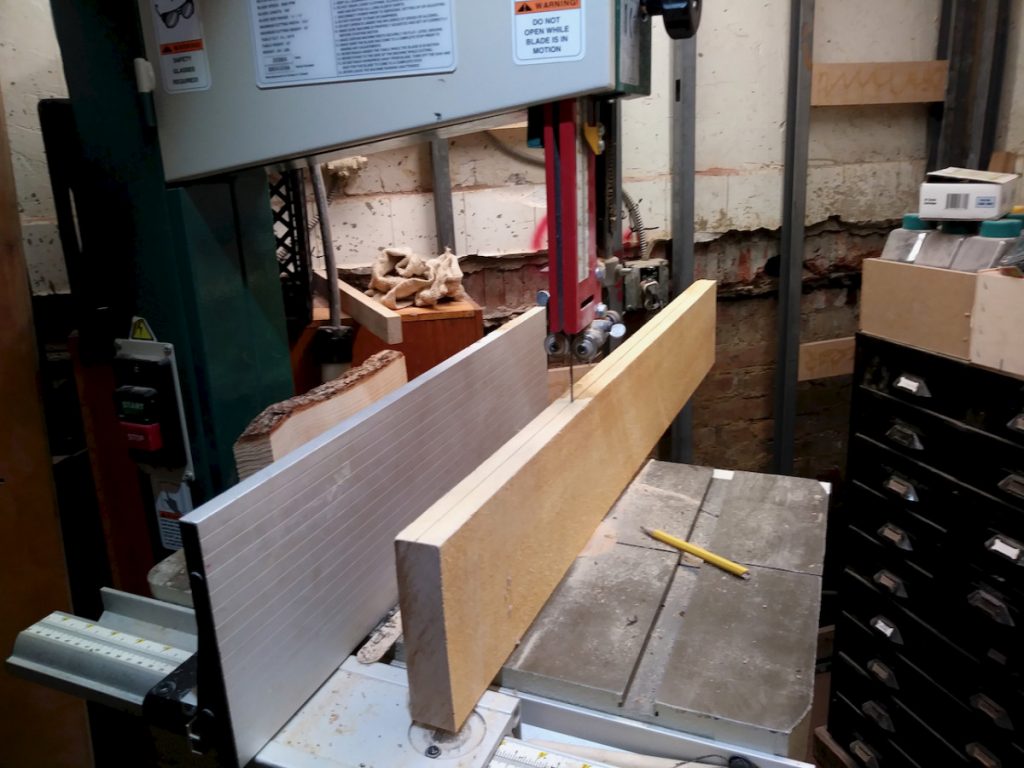
Watch these videos to learn about a few additional techniques for mounting a fresh tire over your band saw wheel and to gain some theoretical experience before doing it yourself.
Here are some supplies and tools we find essential in our everyday work around the shop. We may receive a commission from sales referred by our links; however, we have carefully selected these products for their usefulness and quality.


