


We may receive a commission when you use our affiliate links. However, this does not impact our recommendations.
I recently was gifted a few old bar clamps from a fellow member who belongs to our local FreeCycle group. FreeCycle.org is an internet-based group that promotes the free exchange of items and supplies among its members. Everybody can join the site and post “I want to give for free” ads or “I am looking for..” ads. Over the years I donated many items that I did not need any more, and on occasions, I picked up unwanted tools and hardware whose owners wanted to depart with. This free marketplace is a great infrastructure that reduces waste and saves many great used (or even new) items from ending up in the landfill.

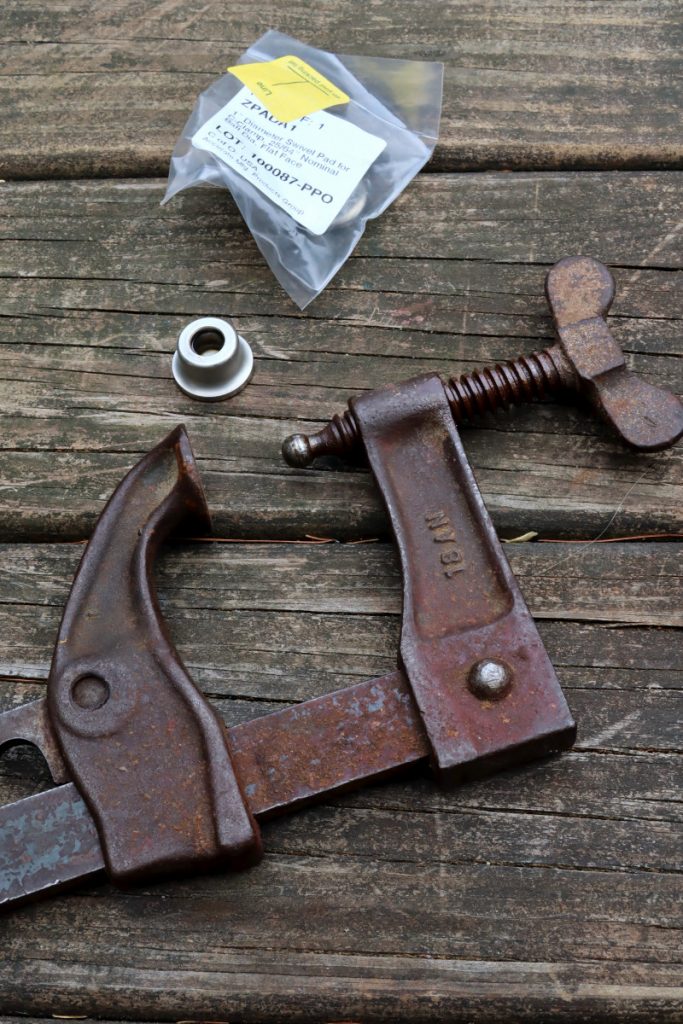
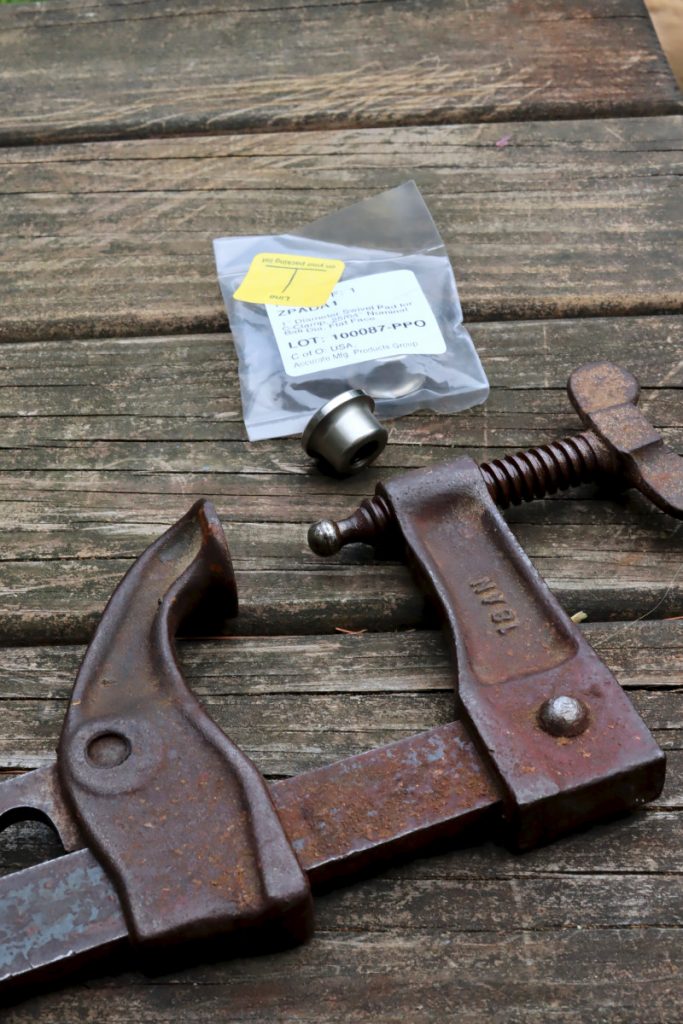
Unfortunately, two of the clamps that were given to me were pad less. This is a common “feature” with old clamps which I am sure most of you have noticed. By the way, even new clamps can lose their caps over time and their owners are left out with a terrible predicament. Luckily there is a solution. McMaster-Carr (search for Swiveling Pads for C-Clamps) is a fantastic hardware and tool distributor that has replacement pads for your crippled clamps. To find out which pad to buy you’ll have to determine what is the diameter of the ball at the end of the screw. Use a caliper and measure the diameter of the ball, then look for a matching pad that can accommodate that ball.
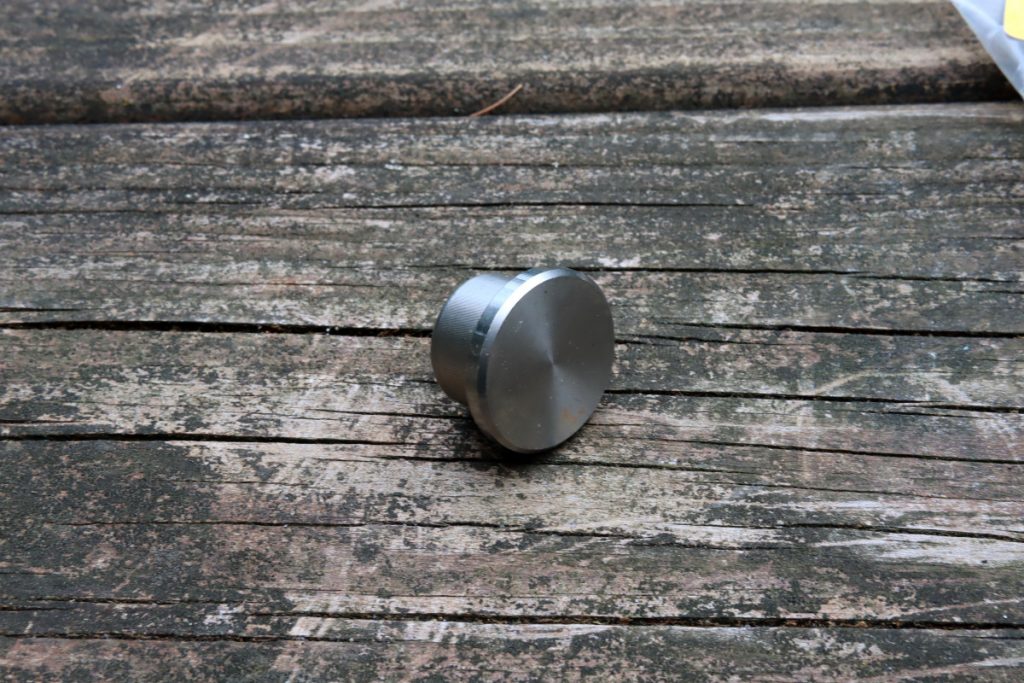
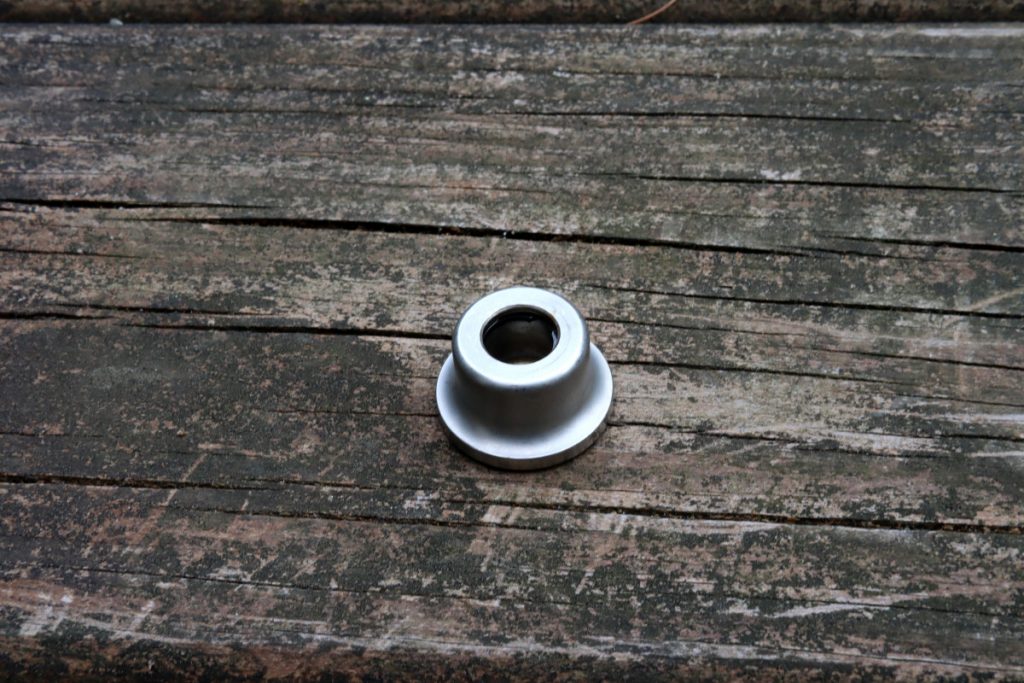
The new pads (the old design which I bought before is not in production anymore) are made from stainless steel and incorporate a retainer ring that allows them to embrace the ball and prevent it from falling out of the socket.
Once I got the pads I greased the ball and pressed the pad over it by turning the screw and advancing the ball into it against the moving jaw. The new pad is very solid and will last for many years to come.
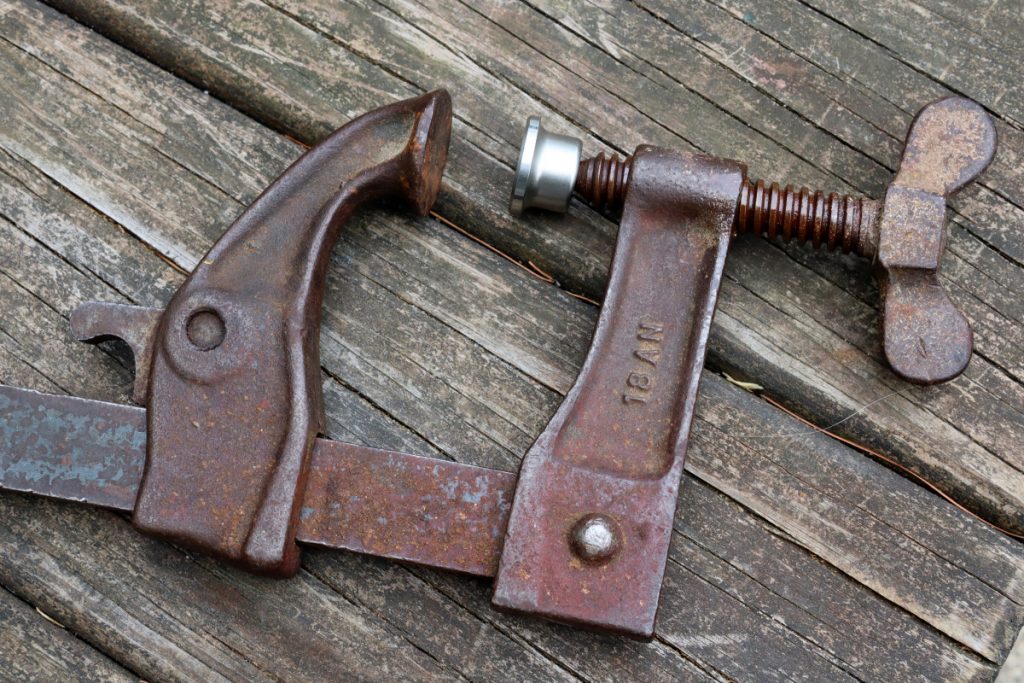
These inexpensive pads can rehabilitate your decommissioned pad-less clamp, so instead of picking up dusk in that forsaken bin of broken tools they can rejoin your fleet of clamps once again.
Here are some supplies and tools we find essential in our everyday work around the shop. We may receive a commission from sales referred by our links; however, we have carefully selected these products for their usefulness and quality.


I recently purchased some lots of Wetzler clamps from a shop that was downsizing and moving. As you can imagine some of the clamps were distressed – missing swivels or with cracked, broken or missing handles.
I read this post on replacing the swivels and have ordered some from McMaster-Carr. Two questions: 1) If the ball size on the clamp screw is in between the sizes of Clamp Pad that McMaster (or some other supplier offers), should you go with the smaller size and use some emery paper to take a few thousandths off the ball; What is your suggestion for getting a good fit that is not too sloppy?
Second, you turned a replacement handle. I am interested to know how you replaced the handle/ferrule to fully rehabilitate the clamp. Any insight you can share would be appreciated.
Hi George,
I am happy that you found those Wetzler clamps and are willing to restore them. Wetzler used to be a great clamp manufacturer based in NYC, but unfortunately, it closed down a few years ago. With regard to your questions.
1. If your ball “Falls” in between the pads’ sizes – too big for one size and too small for the next size up I would try to get the smaller pad and reduce the ball radius. For instance, let’s say that your ball is 0.42″ (bigger than the 0.395″-0.4″ pad but not as wide as the next pad up – 0.452″-0.457″ then, in this case, I would use a file or sandpaper and reduce the ball until it fits. I am curious to know how it works out for you so once you finish installing the new pad, do let me know.
2. Coincidently I have a handle-less Wetzler clamp too and I intend to turn a handle for it in the fall, so please stay tuned. In general, you will have to turn a handle and find a hefty ferrule for it. Steel is the best material and brass is the second best. If you use brass make sure that it is annealed – otherwise it might break. Fitt the ferrule via a snug fit over the base of the handle and make sure that the hole for the screw’s stem is a tad smaller to ensure a tight connection. Drill the handle and ferrule duo with an additional smaller through-hole – this hole is for the rivet that secures the handle to the stem. Drive the handle in and make sure to perfectly alight the rivet’s holes (in the screw stem and the one in the handle) to allow the insertion of the rivet. Drive the rivet in and expent its other end until it is tight against the ferrule.
Best,
Yoav