


We may receive a commission when you use our affiliate links. However, this does not impact our recommendations.
 After my initial inspection of both the Narex-Richter and the Stanley 750 chisels, I was ready for the sharpening process. Before sharpening a new blade I like to check the back for flatness with a small precision square or a knife-edge straight edge. This gives me an indication of whether the back is convex or concave and who much work if any will be needed to flatten it. If the blade needs a lot of work I begin with the back, then mount it in a honing jig for the remaining bevel sharpening procedure. In the case of the Richter, my test concluded that the back is pretty flat and will only need minor back lapping, so I decided to mount it into the jig and begin the initial back lapping.
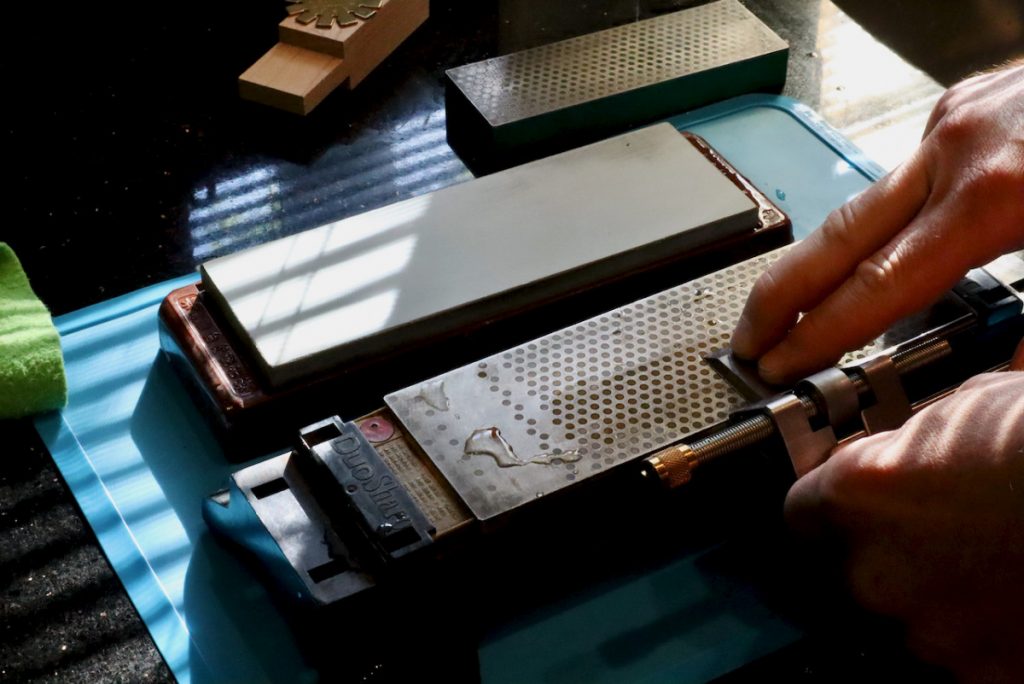
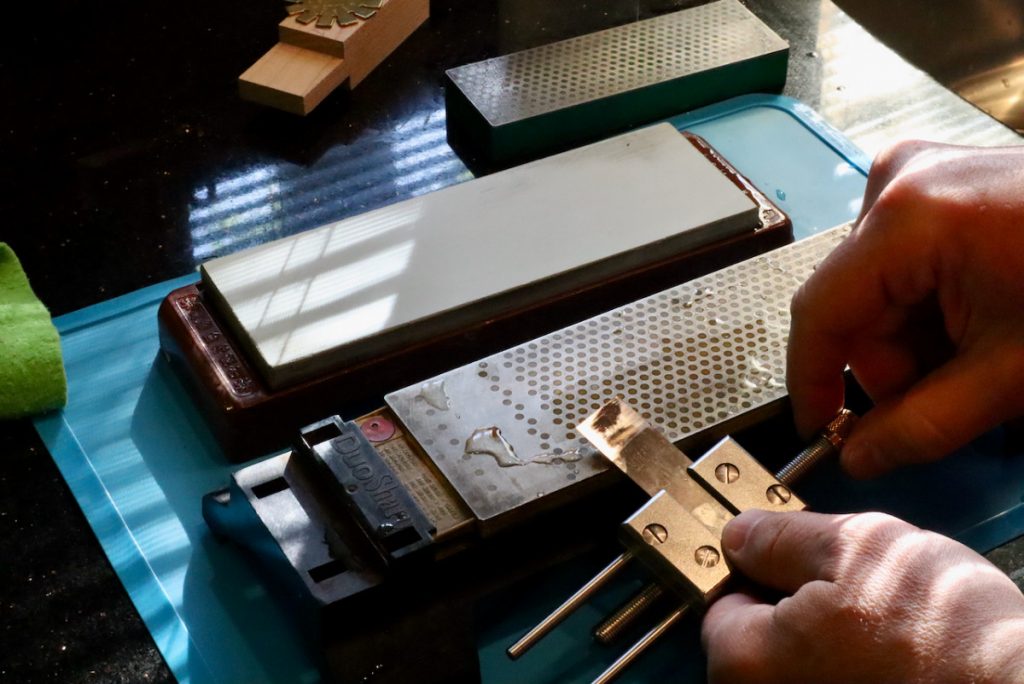
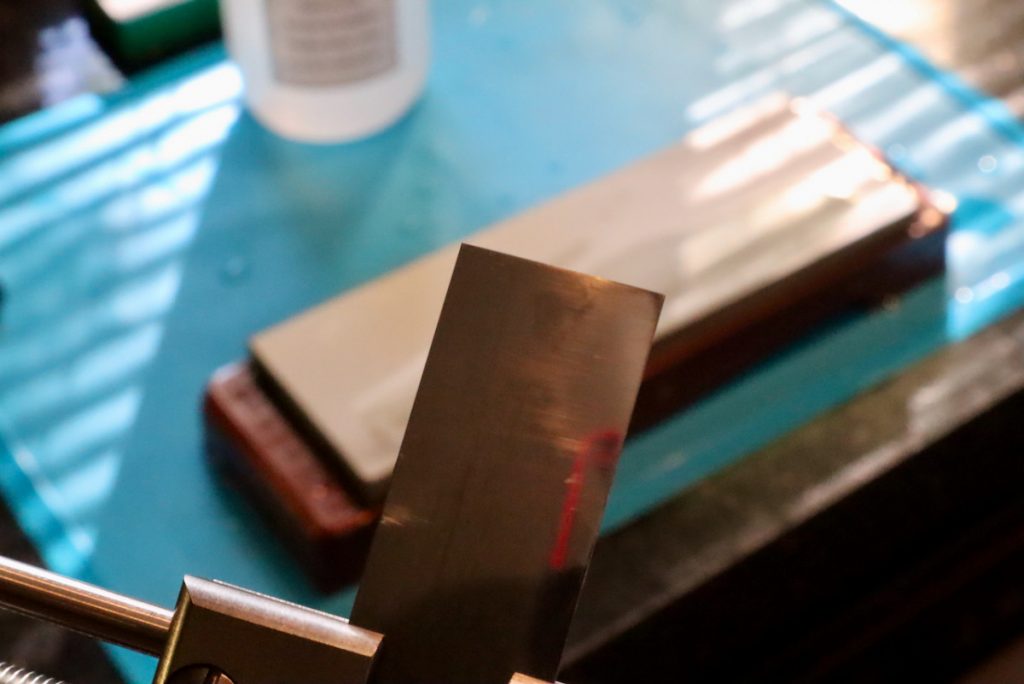
To accurately mount the chisel at the desired angle for my edge retention test (27 degrees) I use my angle finding jig. Read how to build one to work in tendon with your own Eclips style honing jig here.
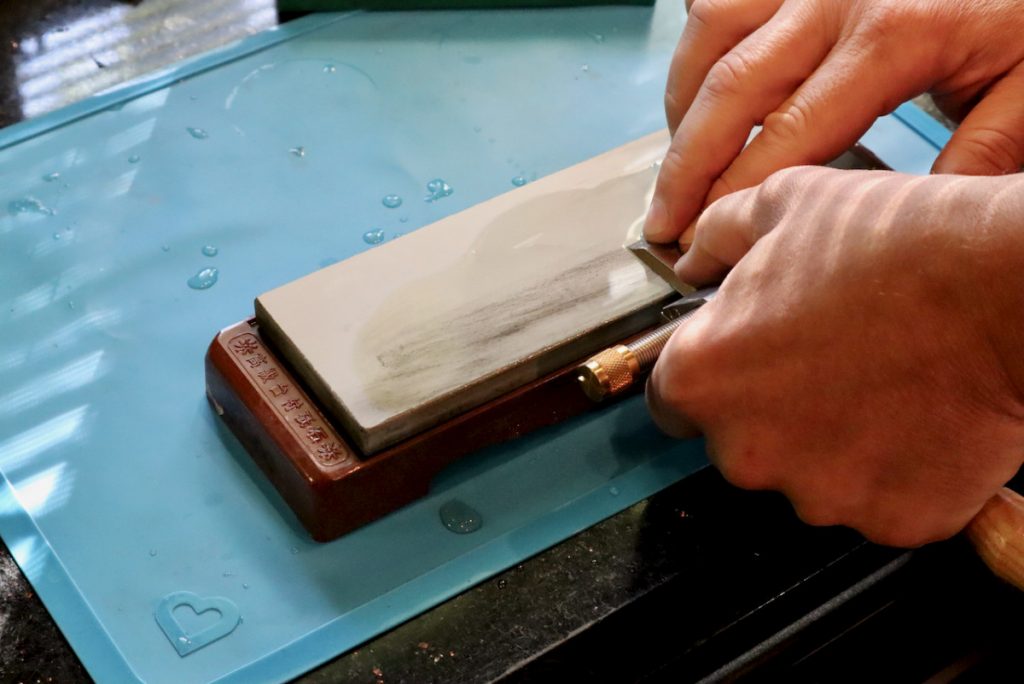
I began lapping the back on a 600 grit diamond stone, then a 1200 stone, and finally on a 5000 grit Japanese water stone.
Lapping the Richter chisel’s back on a 600 grit diamond stone.
Ones I saw a continuous pattern of the 600 grit scratches along the entire edge I switched to the next stone.

Lapping the back on the 1200 grit stone and then on the 5000 Japanese water stone.
Then I turn over the blade and began honing the bevel. The factory’s produced bevel angle is 25 degrees, so in effect, I created a micro bevel (also known as secondary bevel) of 27 degrees. I repeated the process on the 1200 and 5000 stones (including occasional removing of the developed burr) and gave the blade a test run on a piece of paper.
I used the Lie Nielsen honing guide which is one of the best honing guides in the market.

The Paper test should be definitive. You want the blade to slice uninterruptedly in diagonal to the long edge of a standard weight printer paper. That said, testing for a smooth slicing motion on a sheet of paper has many variants and is by no means a perfectly controlled scientific process. First, not all sheets of paper are made the same, then the moisture content of the paper can vary and affect the test. And on top of this, we have the randomness of the angle in which we “attack” the paper, how we hold the paper, and perhaps lastly – does the sheet have any creases or folds. But with all its finickiness this is still one of the best methods we have in our DIY arsenal. Since the test did not produce a perfect sliced cut I resorted to another interval on the 5000 stone. I then finished the job on a strop, lapping the blade back and bevel on a piece of leather that was charged with some honing compound.
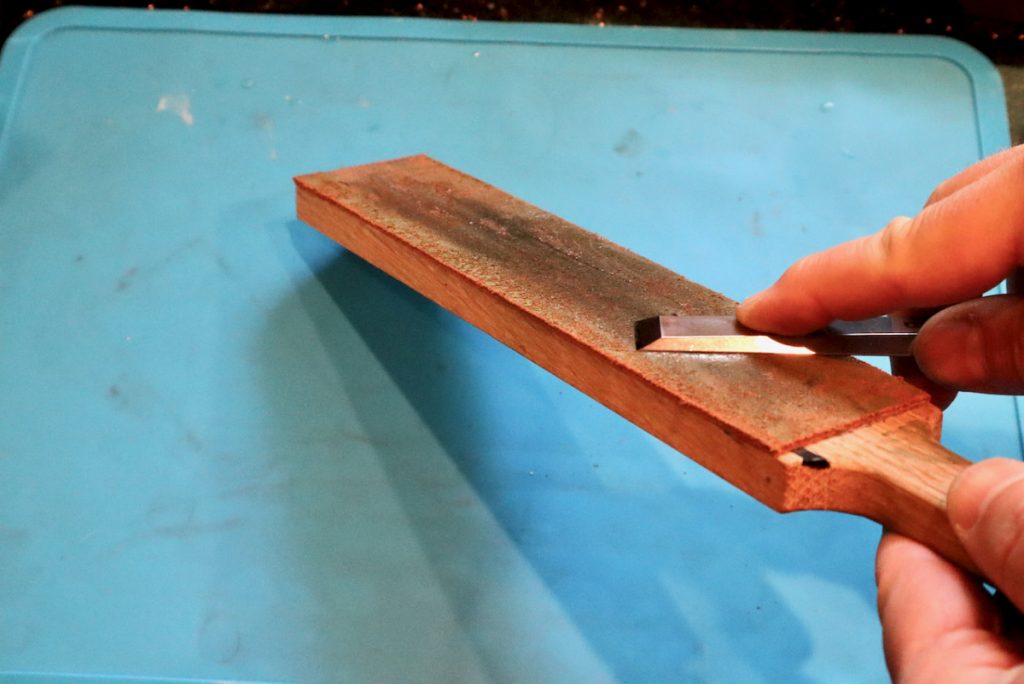
Begin lapping the back then continue to the bevel. always pull the blade backward – never forward.
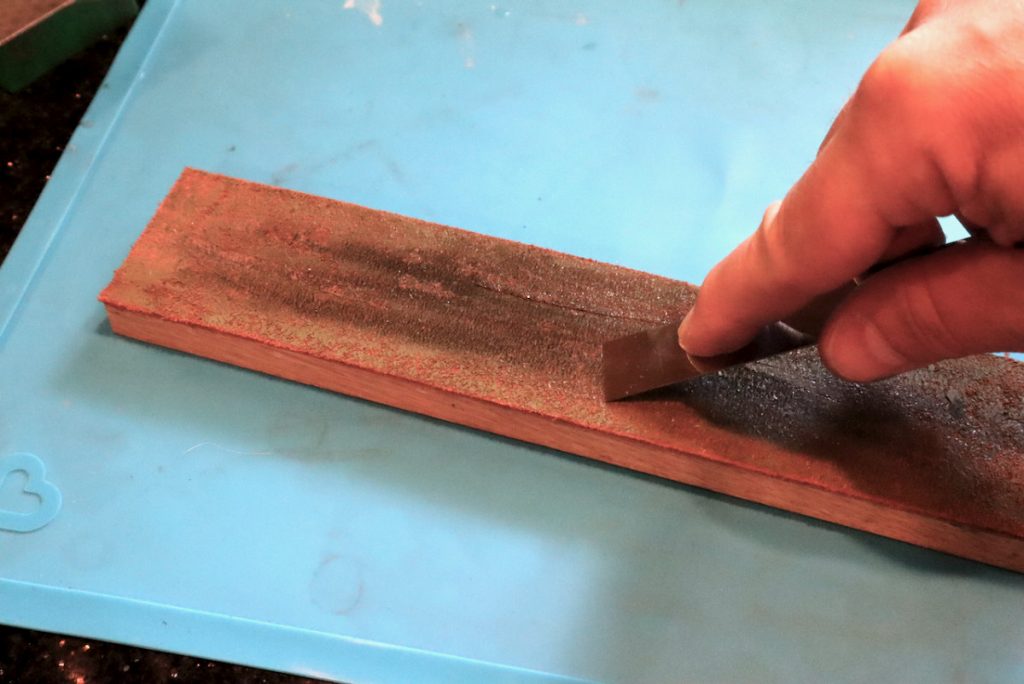
Slowly pivot the blade until the bevel if flush with the strop. Then pull it back.


After this, I tested the blade again and was happy with the results. I repeated the same process on the Stanley chisel. Now everything was ready for the edge retention contest between the two chisels.
Here are some supplies and tools we find essential in our everyday work around the shop. We may receive a commission from sales referred by our links; however, we have carefully selected these products for their usefulness and quality.


Hey Yoav,
Check out this objective chisel test on Youtube which includes the new Narex Richters. See: https://www.youtube.com/watch?v=hYDLQ_gydhc