We may receive a commission when you use our affiliate links. However, this does not impact our recommendations.
 Origin, the hand-held CNC from Shaper Tools, makes creating inlays effortless.
Self admittedly, I’m becoming a grumpy old man. I know what I am comfortable with, and it’s fairly hard for me to break out of that sense of comfort. But, with that said, I always try and have an open mind when it comes to new technology, techniques, designs, etc. I think in my position, you have to.
When I recently had an inlay project pop up, I knew it was exactly the type of project I could use a CNC for…. If only I knew how to use one (it’s been the better part of 20 years since I’ve used a CNC). However, the one tool that I do know how to use is Origin, by Shaper Tools. Creating inlays with Origin is a straightforward, and cool process, so I figured I would show you the steps to create handsome inlay.
Origin
Before I dive into how this inlay is created, I’m going assume that you’ve at least heard of Origin. If you haven’t, here’s the elevator speech: Origin is a hand-held CNC that uses strips of domino tape to know where the router is at. Scanning the tape (applied to your surface) creates a digital footprint of your area, and you can place artwork/designs/joinery on that. While you’re manually moving the router to follow your design, the camera is tracking your movement, and making micro-adjustments to the motor’s position to keep you on track. It sounds like voodoo, and it kind of is. But, it’s the good kind. It works wonderfully well.
I also want to point out that, like everything in our magazine, this is not sponsored content. We do not accept sponsored magazine content, nor will ever. This article features Origin because I enjoy using it, and think there’s value in showing its capabilities.
Not an Artist
The thing I appreciate about Origin is the fact that it doesn’t need special coding or designs to operate. I can create designs in my standard graphics programs (like I use to make this magazine), and I can import it into Origin. Again—I’m not saying learning a CNC is difficult. I just haven’t done it, and Origin had very little learning curve for me.
Now, with that said, I did not design this inlay. Instead, I used one of Shaper’s offerings called “Shaper Hub”. Shaper Hub is a massive online library of free designs, uploaded from the Shaper/Origin community. Once you’re signed in, you can instantly download the files from Hub to your Origin. I found a design and modified it a bit to fit how I wanted it to look. The original compass rose inlay was designed and uploaded by a user by the name of “Woodfriend.” Thanks Woodfriend.
Positives and Negatives
When working with Origin, and with inlays in particular, you need to think about your inlays as positive and negative pieces. The negative is the recess where your inlay is getting dropped into. The positive parts are the ones that are being placed into the negative.
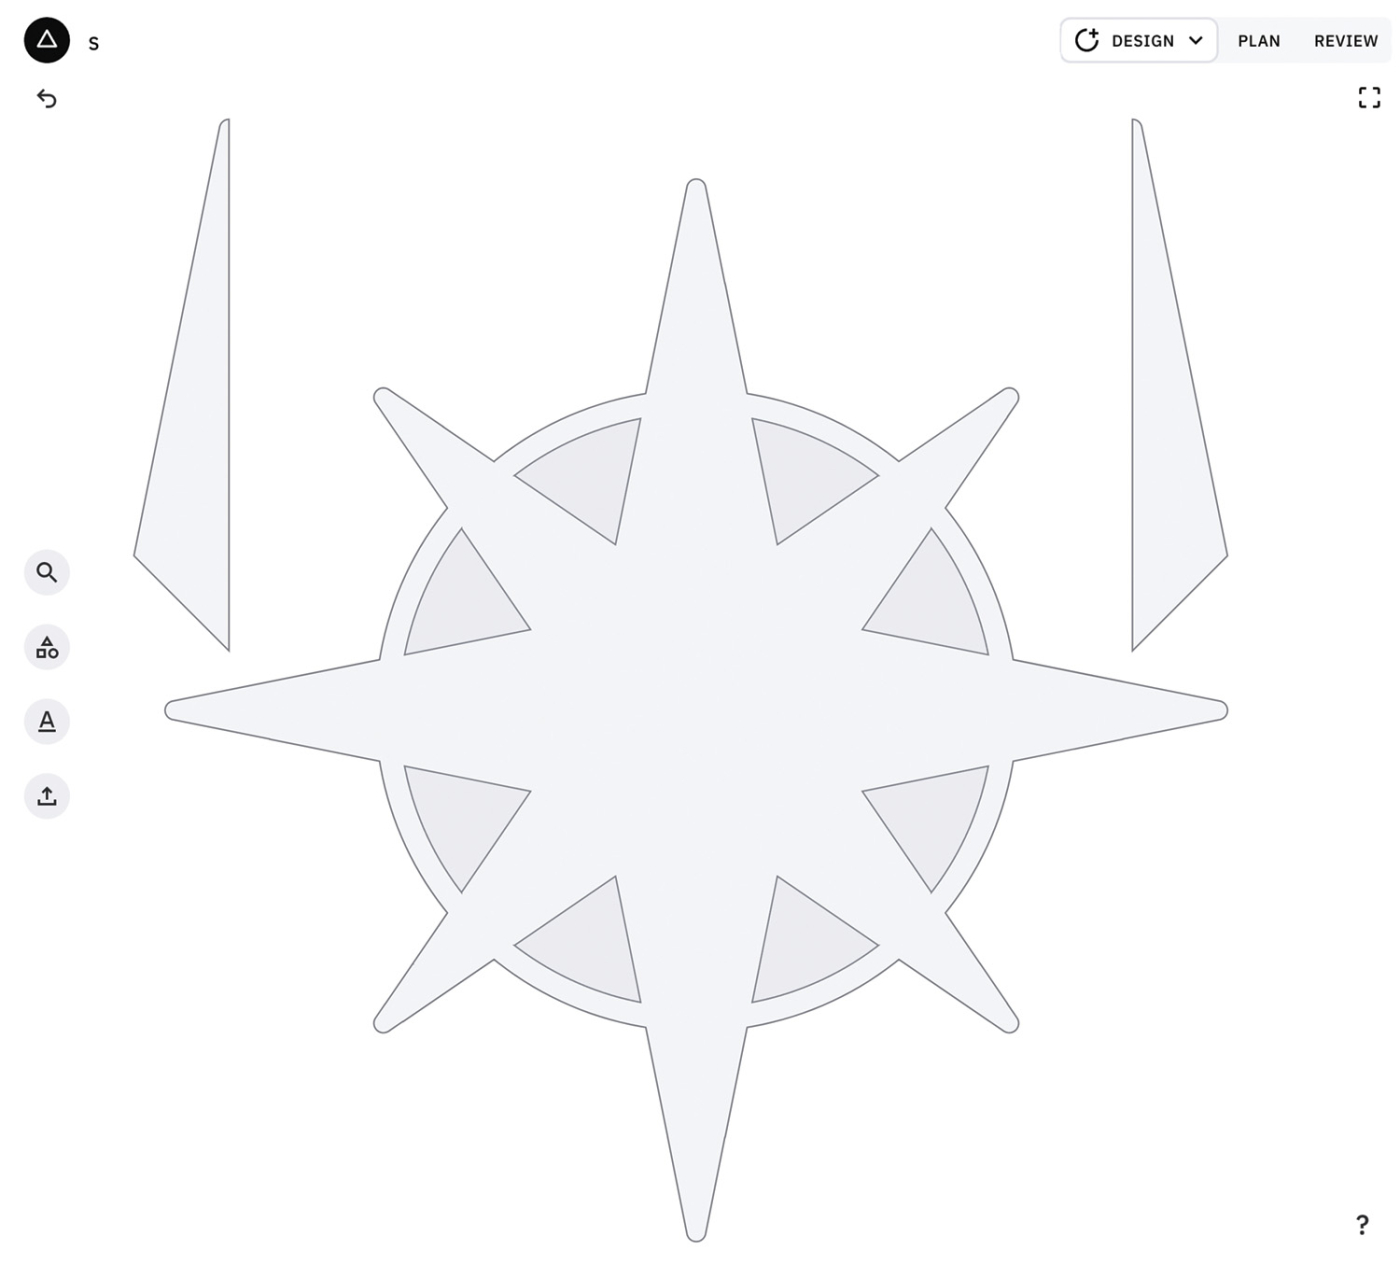
1 There are three of the elements in this image. The large star in the center is the negative piece—it will be routed on the inside of the lines. The other two are positive pieces, and will be cut on the outside of the lines.
After selecting my design (and making some edits to it in an art program), I uploaded it to the Shaper Studio—Shaper’s online design software. This software shows you what you’re getting when you export it to Origin. The screen shot of a few of the parts is shown above. This is as it appears in Studio.
For this inlay, there are several parts. To start off, there is one large negative part, which is the central star with the ring. The positive parts consist of Big Point Left (ebony), Big Point Right (curly maple), Little Point Left (ebony), Little Point Right (curly maple), Ring Left (brass), and Ring Right (brass). Each one of these parts have a quantity of 4. That’s 24 parts to keep track of, before adding in the cardinal direction marks!
The good news is that, once you’ve got the files set up and saved how you’d like, it’s very quick to zip out parts. Just spend the time to make sure you label the parts appropriately.
The Right Bits
Much like any other form of routing, selecting the right bits for Origin is very important. The bits I used for this inlay are shown below. Basically, it’s the standard set of bits. The largest bit, a 16mm clearing bit, is used to do large removal anytime you’re using Origin. This is a beast of a bit and it eats. It does require the 8mm collet from Shaper to use it, FYI.
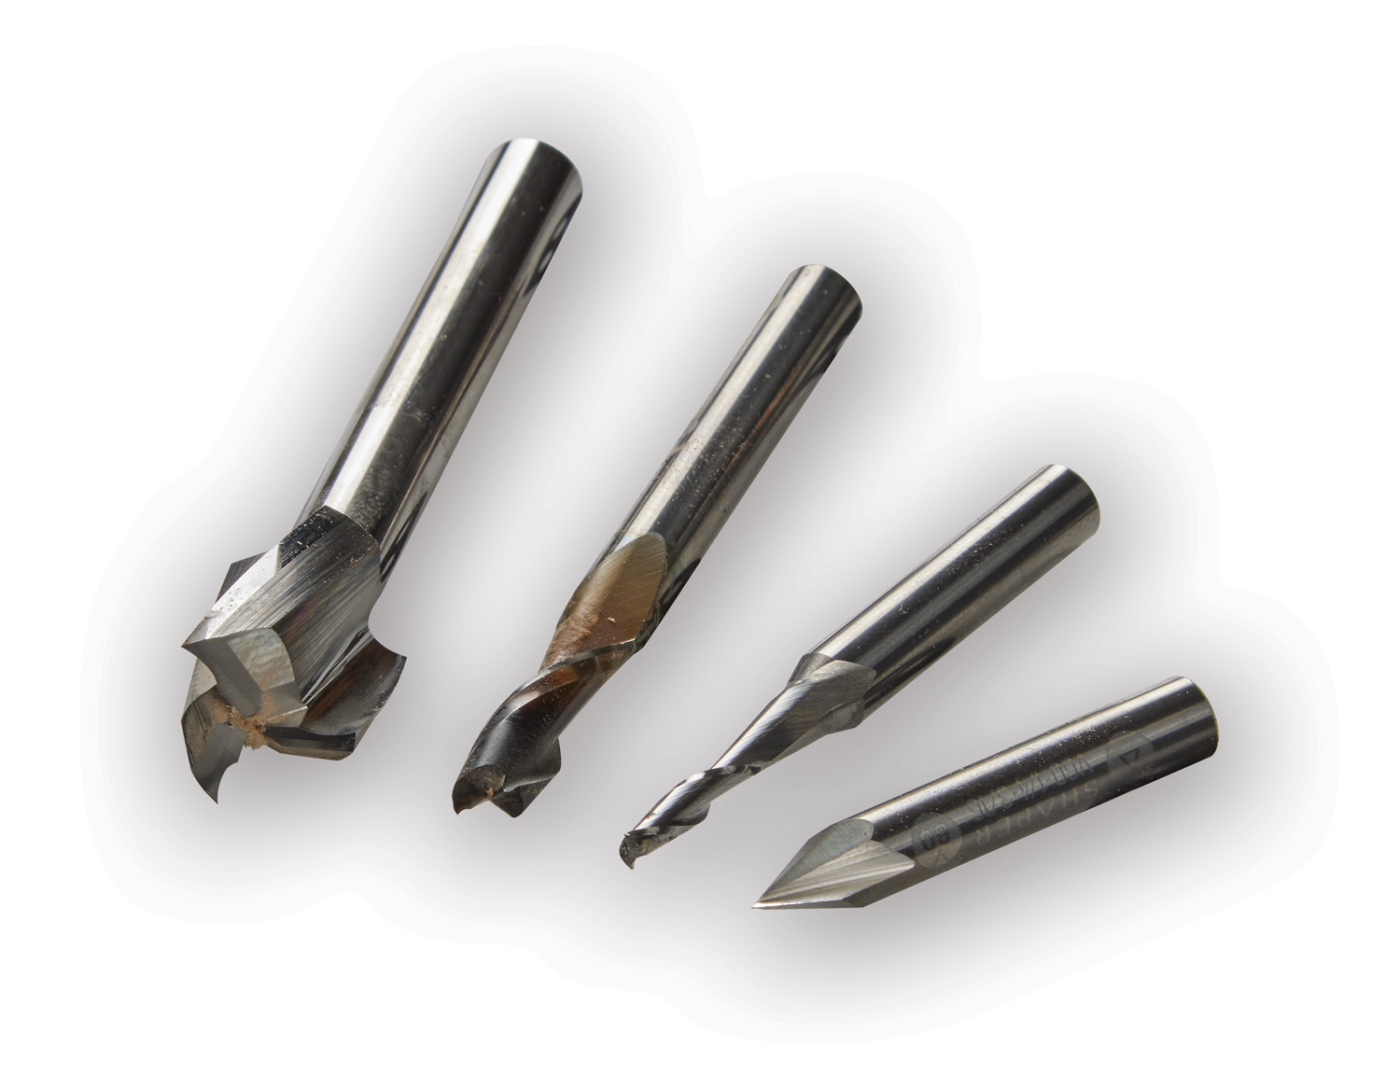
2 These four bits are the keys to creating this inlay.
The other bits are standard 1/4“ and 1/8“ spiral up-cut bits. These do a bulk of my work, as you can tell by the roasted appearance of my 1/4“ bit. For routing the brass, a shorter, O-flute bit would be better, however I found the 1/8“ up-cut did just fine, as long as I went slow (more on that in a bit). Finally, the V-bit is used for doing detail work, such as engraving letters, lines, etc.
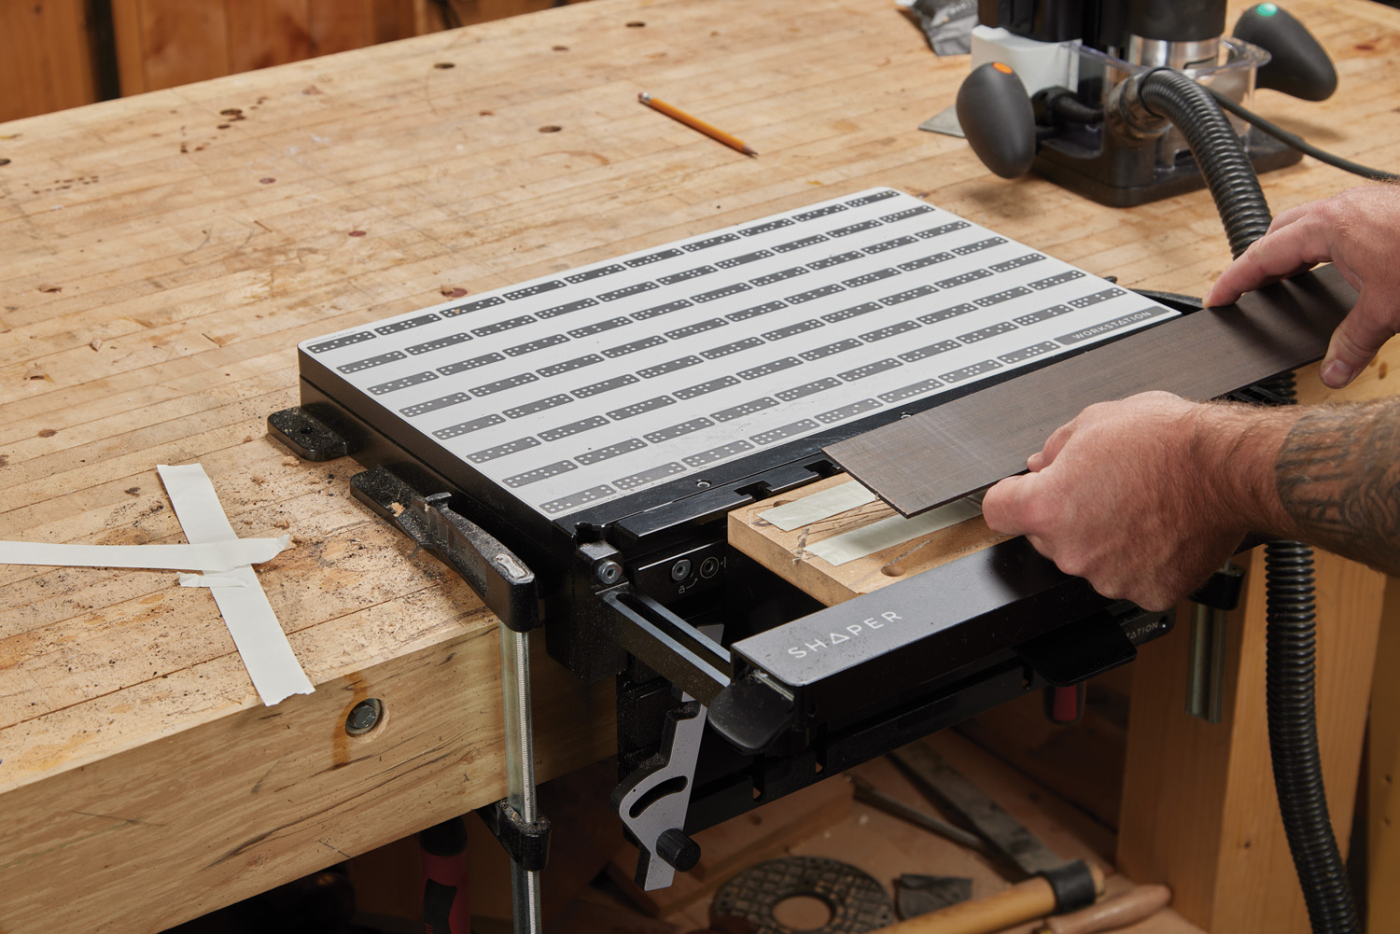
3 Workstation has built-in dominoes and a shelf where you can secure blanks down.
Positives First
So, where does the rubber meet the road? Well, it starts off by cutting the positive parts first. (More on why that is in a little bit). I cut these positive parts out of shop made veneer—about 1/8“ thick. When I’m working on small pieces such as these, I like to use the Shaper Workstation (Photo 3). It allows me to use double-sided tape to hold the parts down, and the workstation’s domino surface gives the Origin something to read. No messing about with domino tape on these little parts.
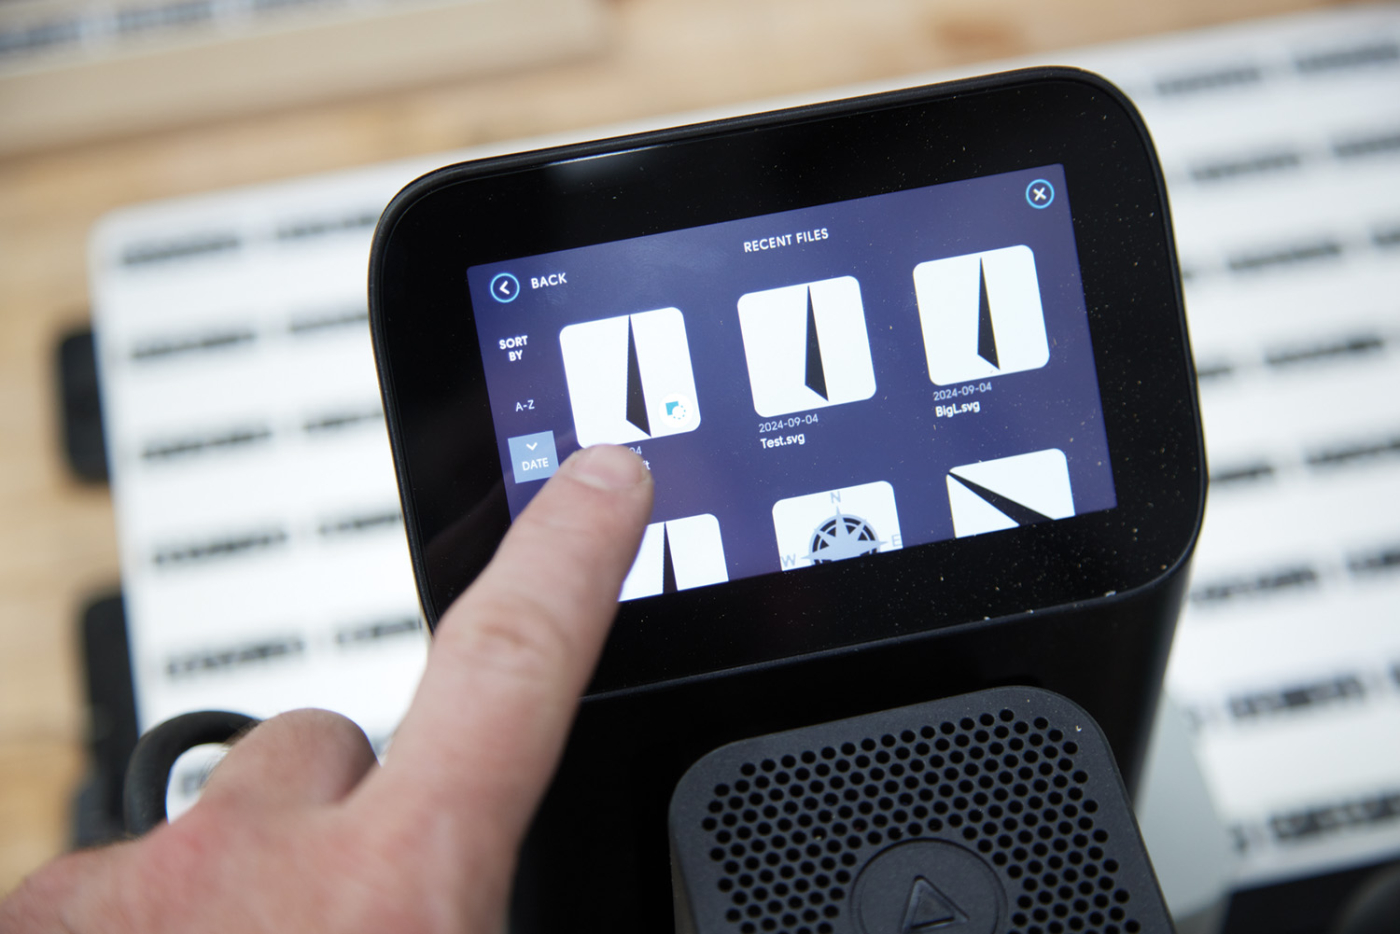
4 Choose your design out of your files and rout around the part.
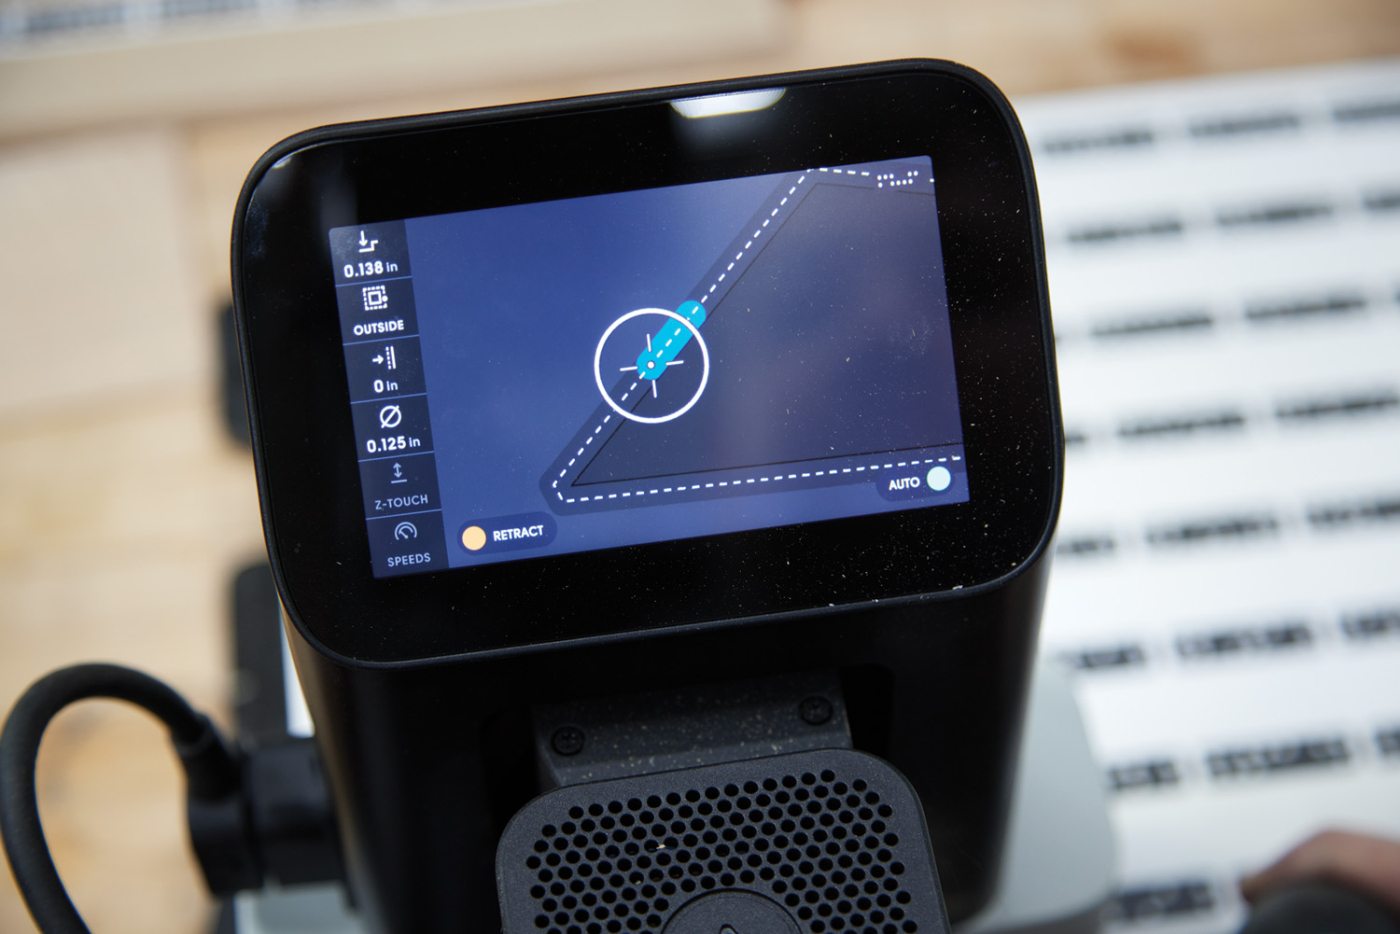
5 The 1/8″ bit cuts quickly and cleanly through the veneer.
Once the veneer is stuck down, it’s a simple matter of importing the design, setting the correct depth (0.13 to just cut through the 1/8“ veneer), and routing around each part. This is a rinse and repeat for all 24 parts. With the blanks ready to go, I cut all 24 positive parts in about 30 minutes.
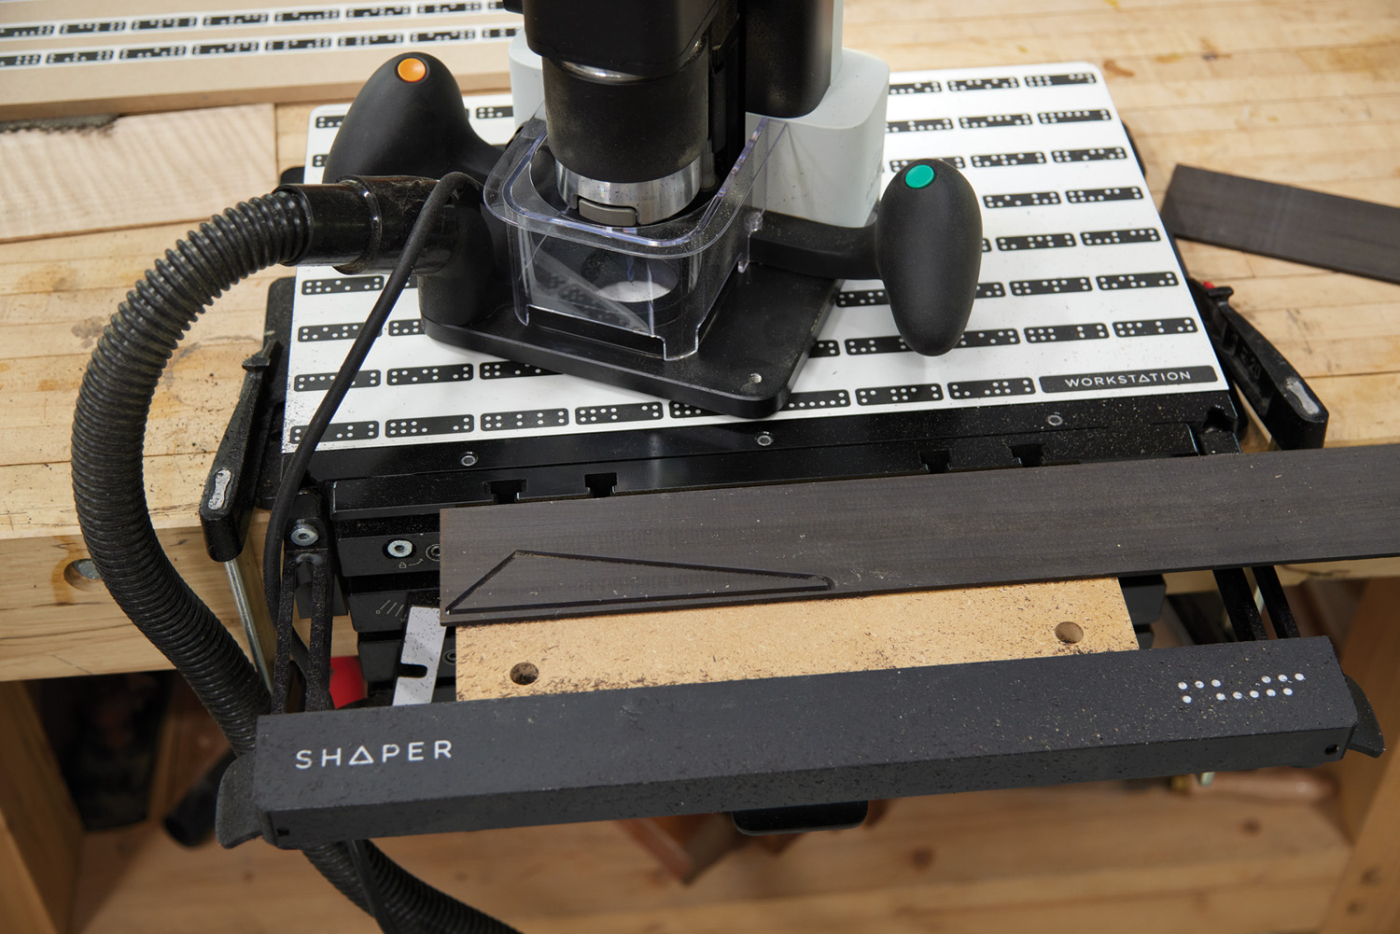
6 The finished part can be pried off and another one cut.
Negatives Now
With the positives cut, we can flip to the negative. The worksurface is taped with domino tape (Photo 7), and after scanning, the negative artwork is placed (Photo 8).
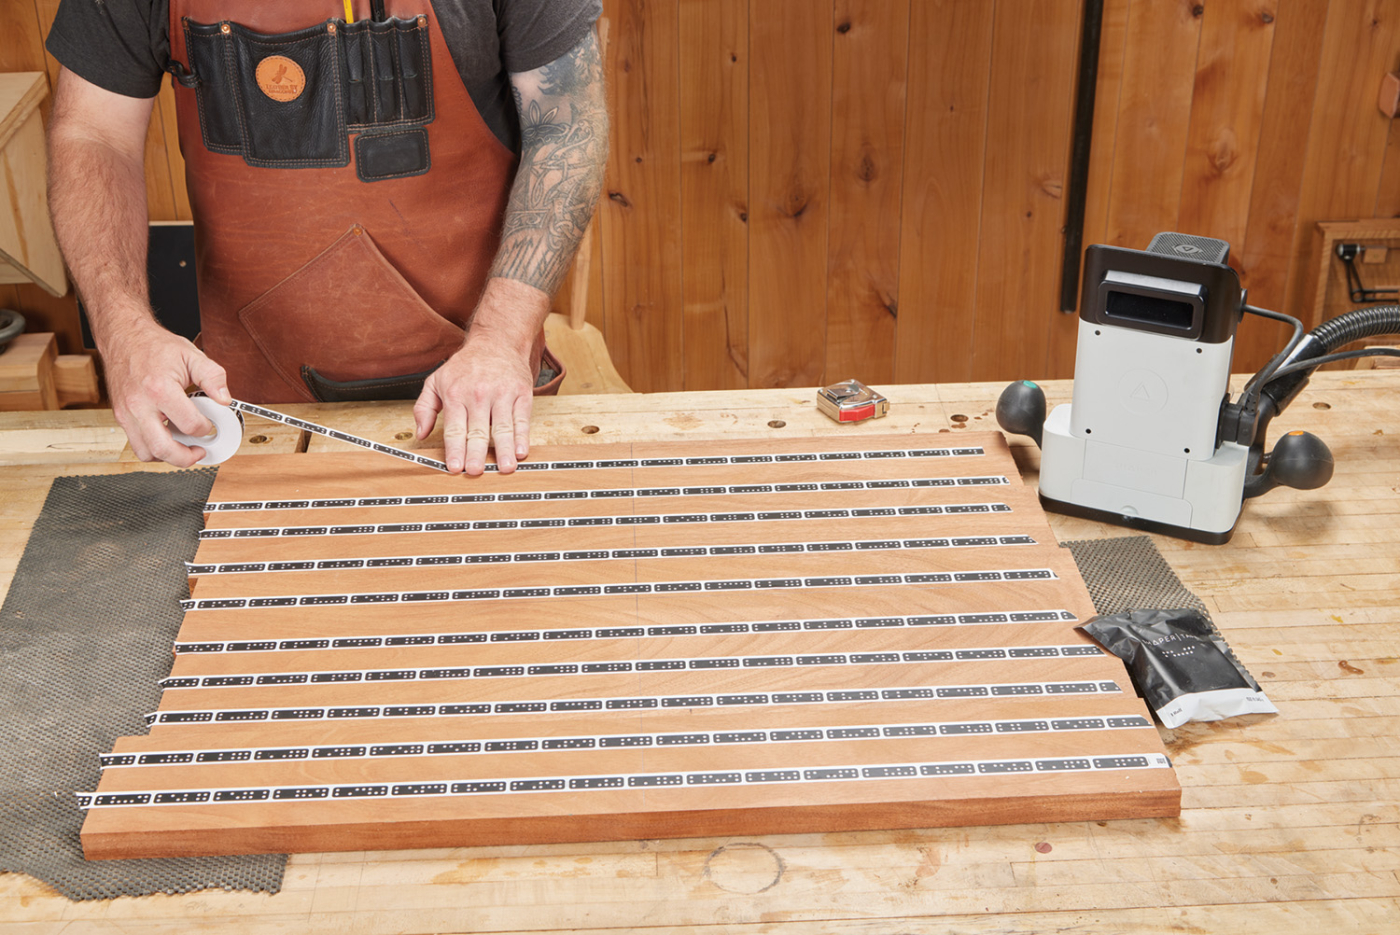
7 Apply tape to your surface to be inlaid. I use extra tape here, simply because of my photography lights.
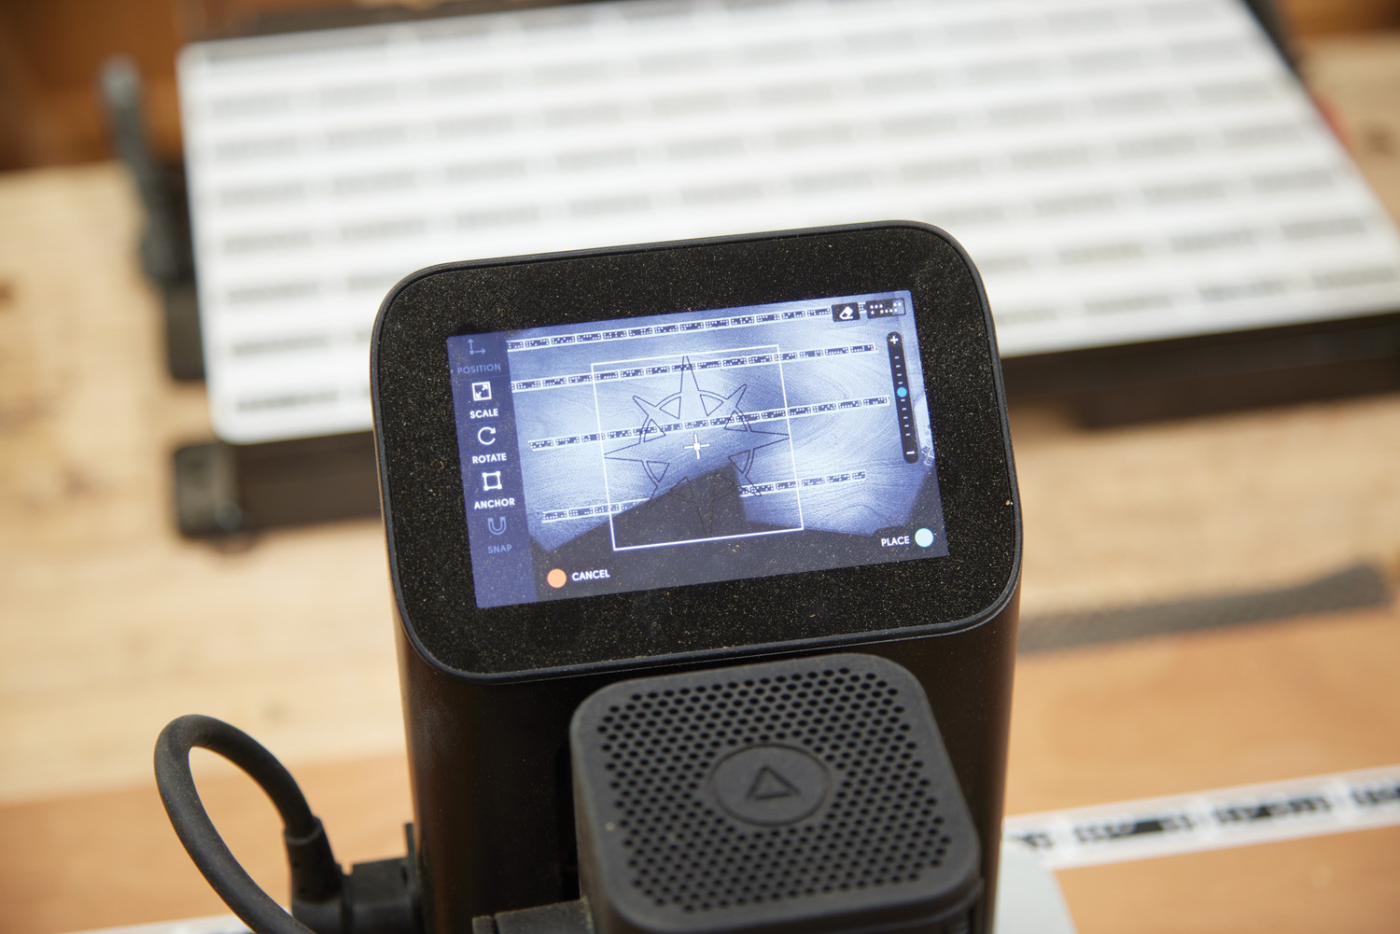
8 Place the artwork and start routing.
When routing a negative area, I start with my largest bit first. As you can see in Photo 9, the large bit won’t fit into tight corners. That’s okay. Origin knows that, and won’t let you cut into those. This is just a hogging out stage using the “pocketing cut” setting. After routing as much as I can with the 16mm bit, I check my progress. If everything looks good (and I’ve checked my veneer thickness, and I’m okay with the depth), I swap over to a 1/4“ bit.
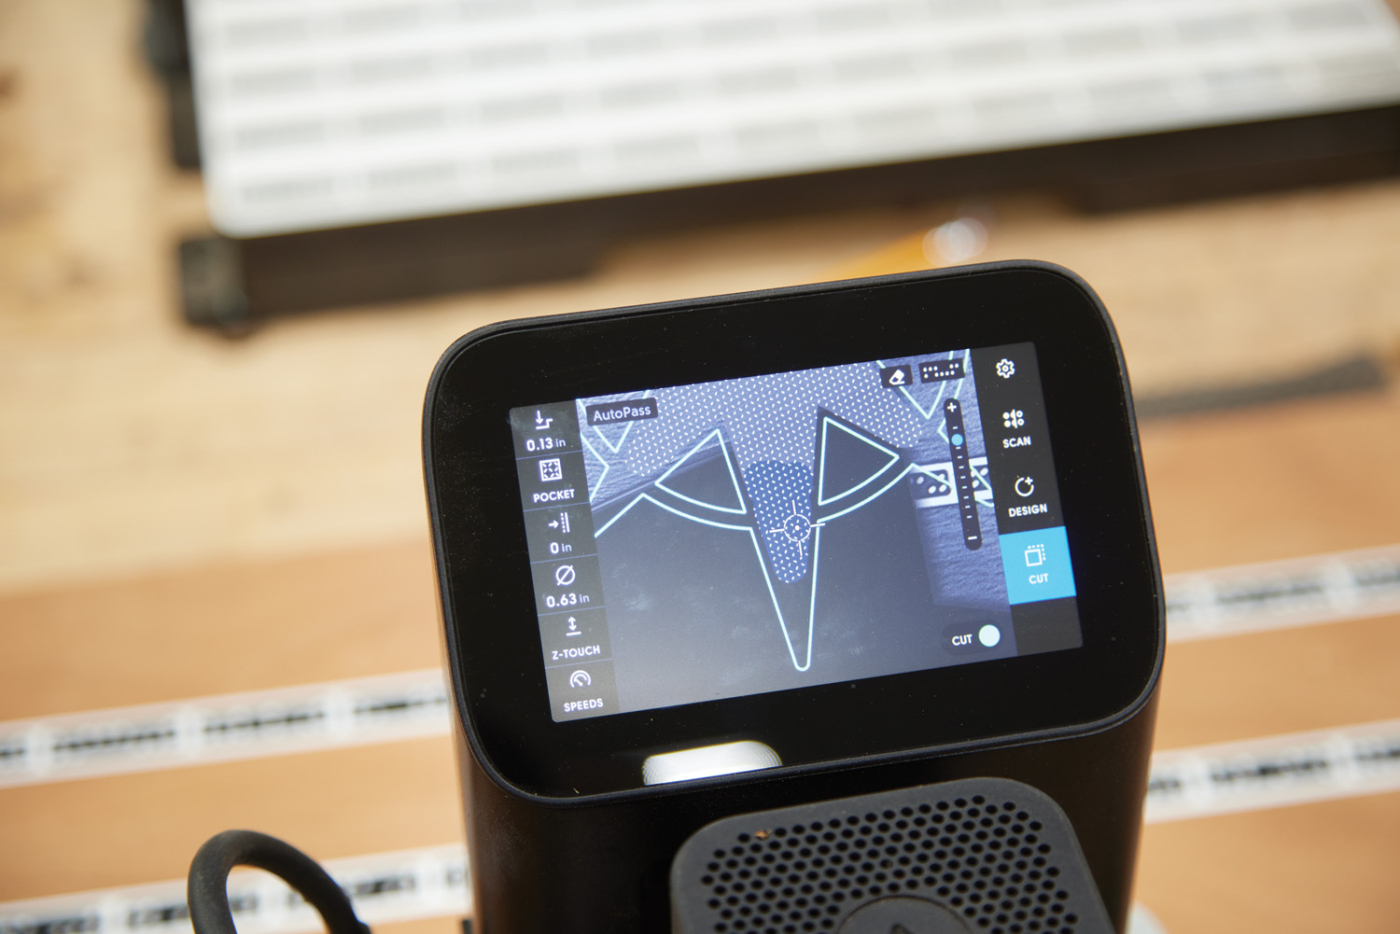
9 Follow the screen to see where you’ve routed.
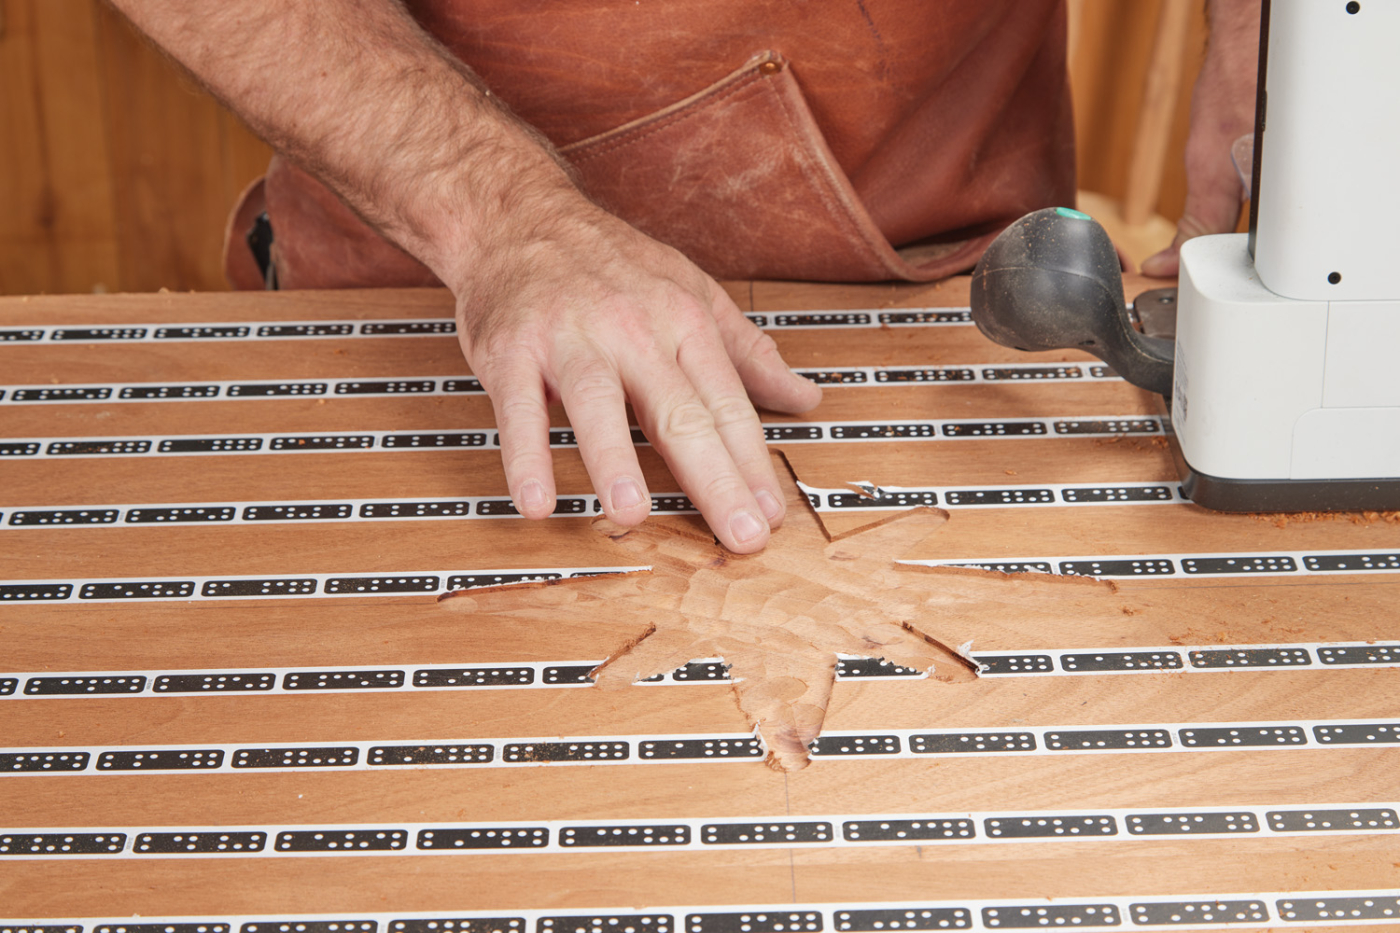
10 Check the first roughing pass, and make sure the depth is where you’d like it.
This smaller bit will do the remainder of the negative cut. Also, this is where I’ll switch over to an “inside cut” style in Origin. This means that Origin will guide the bit just on the inside of my artwork. You can make micro-adjustments here as well—the team at Shaper suggests offsetting the cut by -0.003“. This makes the negative area just a hair bigger than the positives. This is why the positive pieces are cut first. After you’ve cut your negative, you can test the positive piece’s fit. If it’s too tight, you can simply re-cut, adjusting the offset!
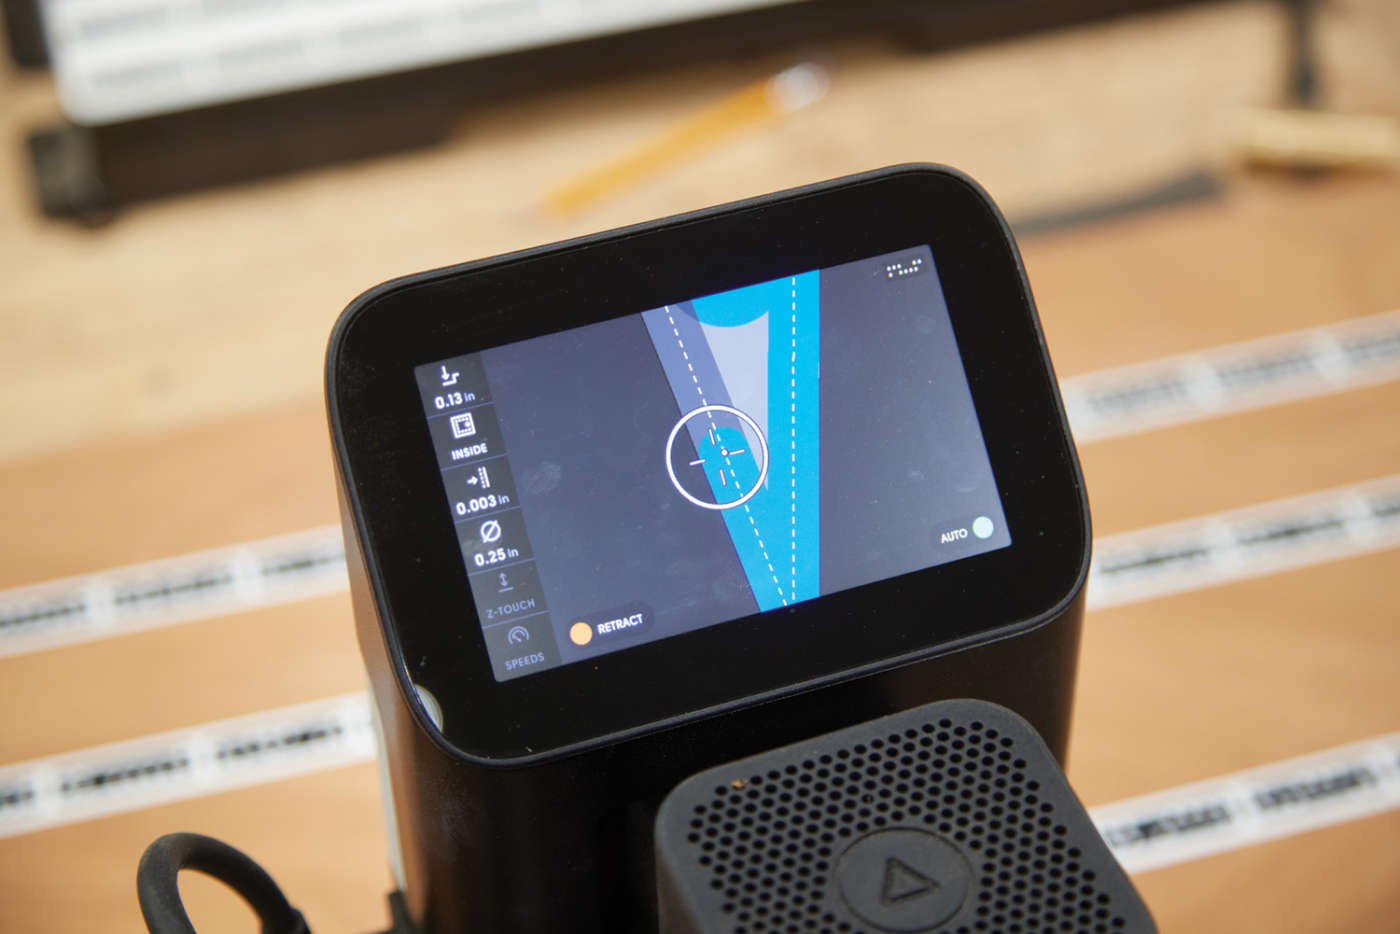
11 An inside cut with the smaller bit defines the actual recess.
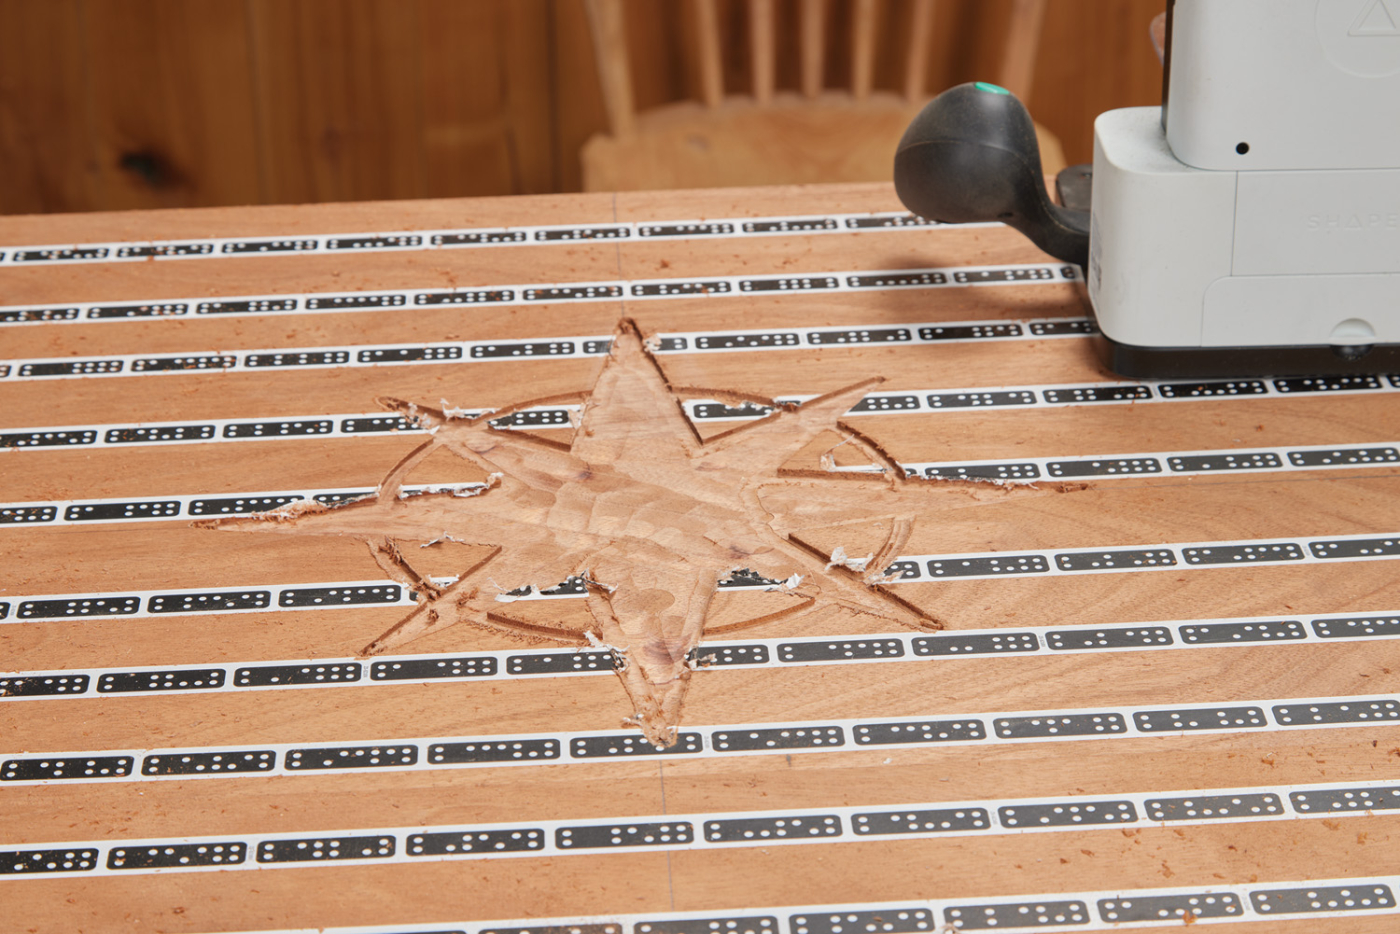
11
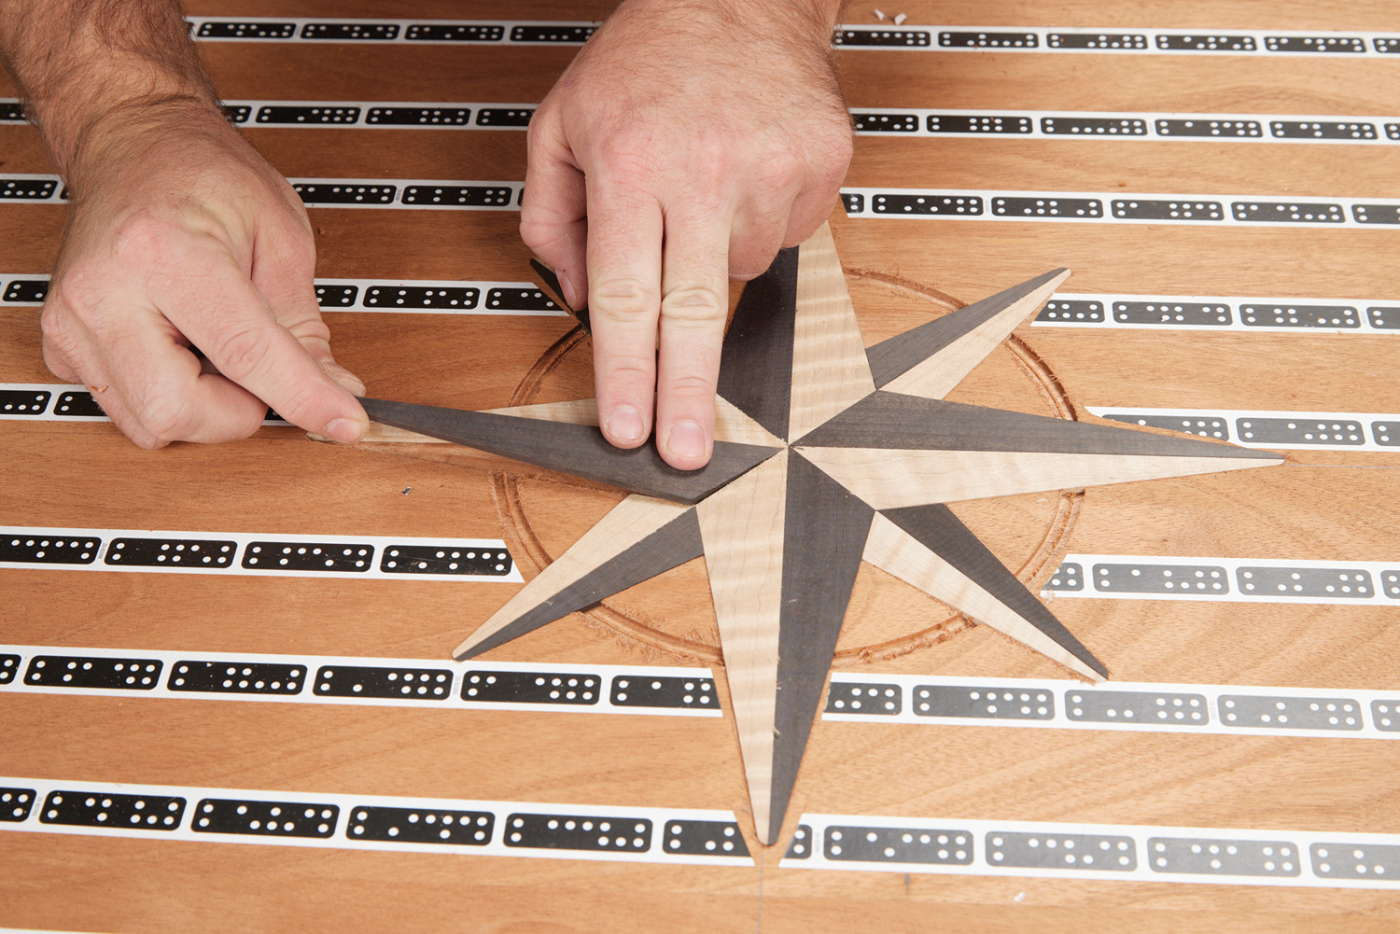
13 With a 0 offset, my parts fit, but were too snug. Recutting at a -0.003″ offset gave just enough wiggle room.
After cutting, the surface is always a little fuzzy. Sanding it down helps clean up the fuzz and you can test the pieces. Again, if they’re too tight, adjust the negative pocket slightly. When they fit how you’d like, glue them in place.
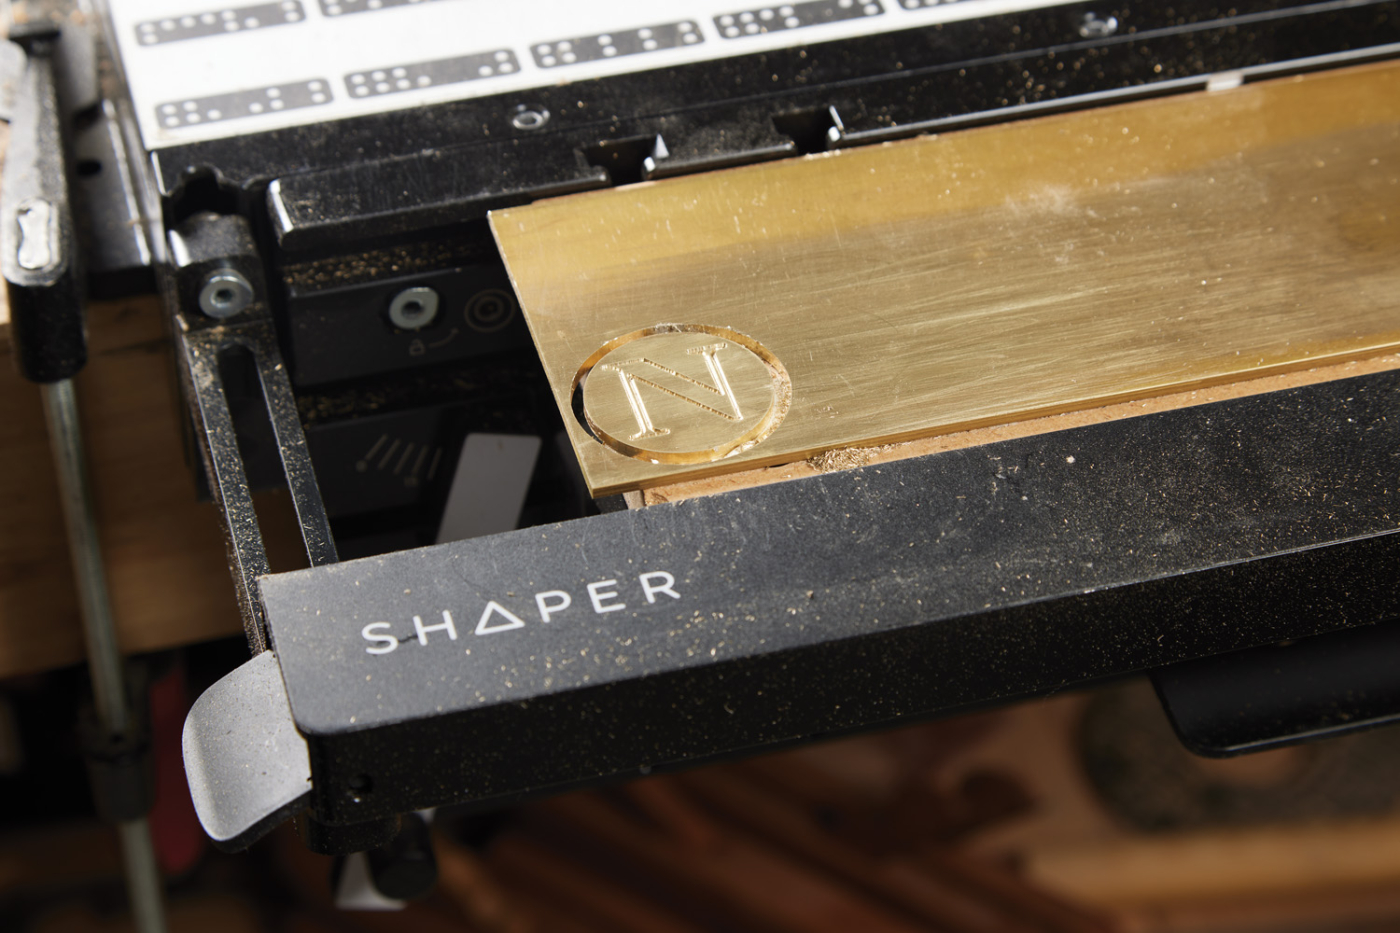
14 The brass is engraved first, then cut out with a 1/8″ bit.
For a little extra pizazz on this nautical inlay, I did the ring and directions out of brass. Origin does brass well—you just have to cut in multiple passes (about 1mm deep at a time). These medallions were engraved with the V-bit first to form the letter. Finally, a three-pass process cut them to shape.
Here are some supplies and tools we find essential in our everyday work around the shop. We may receive a commission from sales referred by our links; however, we have carefully selected these products for their usefulness and quality.


 Origin, the hand-held CNC from Shaper Tools, makes creating inlays effortless.


