We may receive a commission when you use our affiliate links. However, this does not impact our recommendations.
In the first part of the story, I showcased my small bandsaw and discussed the basic procedure of aligning the blade over the tires and checking for drift during a rip cut. Now, in this segment, I will detail how I endeavored to adjust the table to compensate for the excessive drift towards the right and also how I resurfaced the cool blocks that flank the blade, preventing excessive twisting, especially with narrow blades.
The trunnion supports and allows the band saw to tilt at different angles.
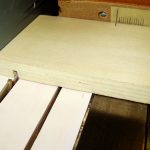
My bandsaw’s table is connected via trunnions to the saw’s frame. Opening the trunnion mounting bolts allowed me to rotate the table and minimize the angle gap between the long groove and the blade. As mentioned last time, the blade must be parallel to the table’s long groove to eliminate drift. However, the mounting holes in the trunnion base were not wide enough to allow sufficient rotation to achieve perfect parallelism. My solution was to enlarge two of the mounting holes by drilling them, effectively solving the problem. Now, I could align the long groove of the bed perfectly with the ruler adjacent to the blade.
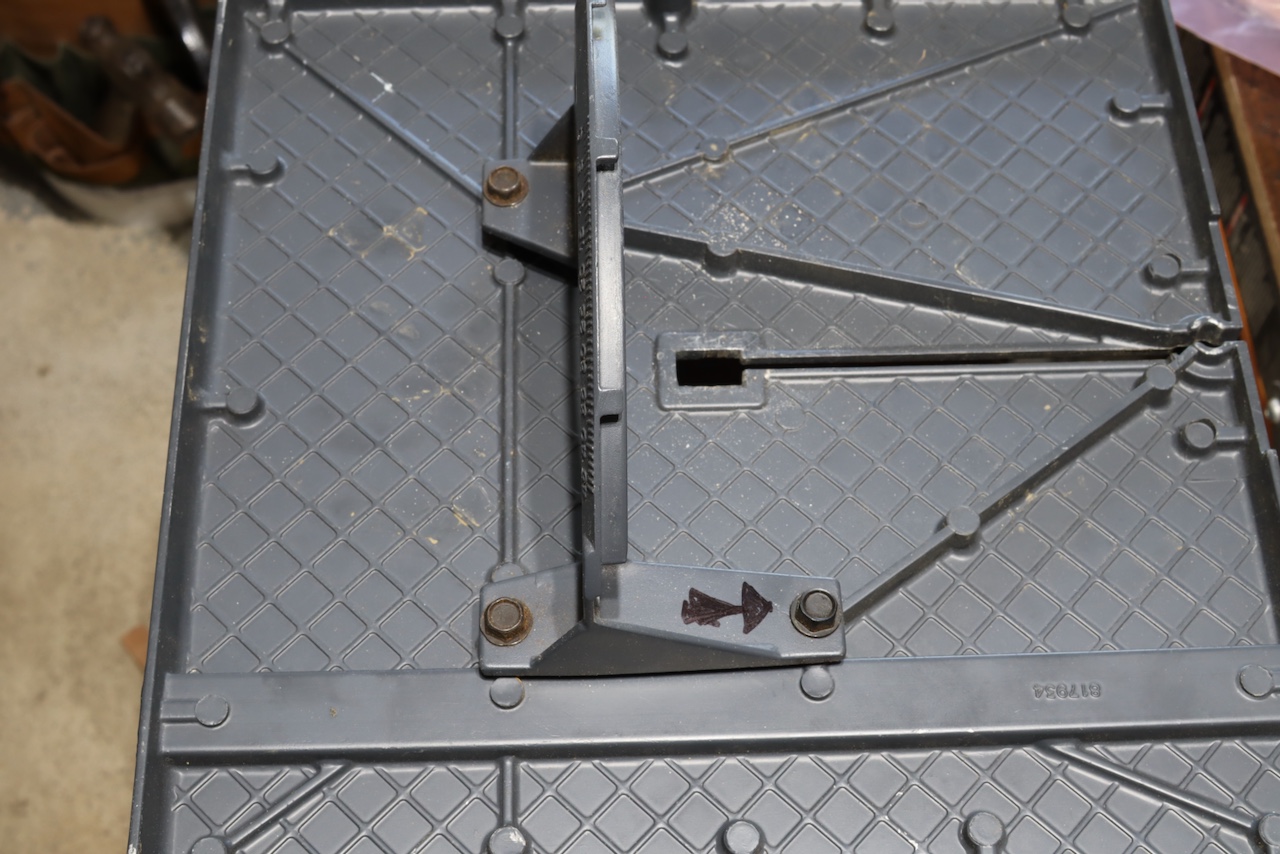
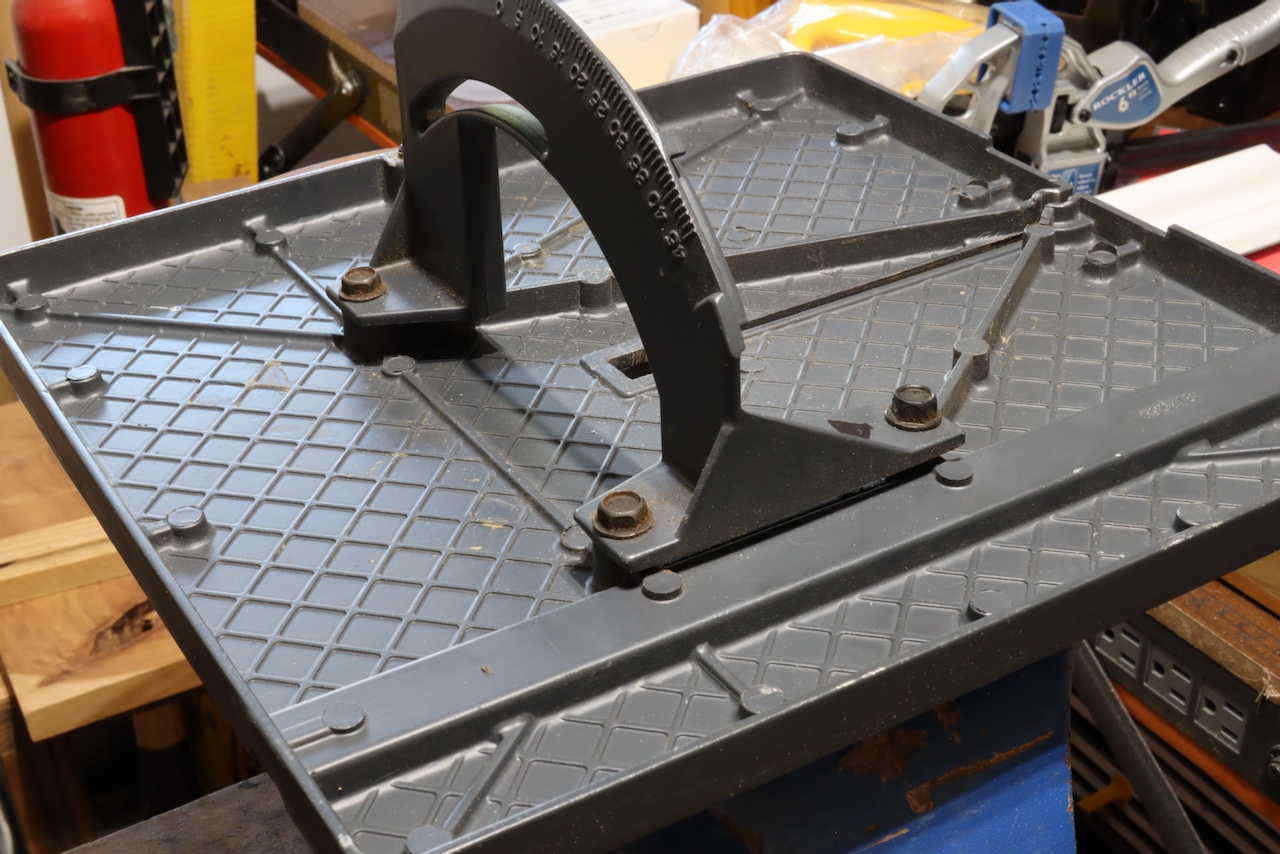
To alight the table and the blade I had to open the trunnion mounting screws and rotate the table in the direction of the black arrow.

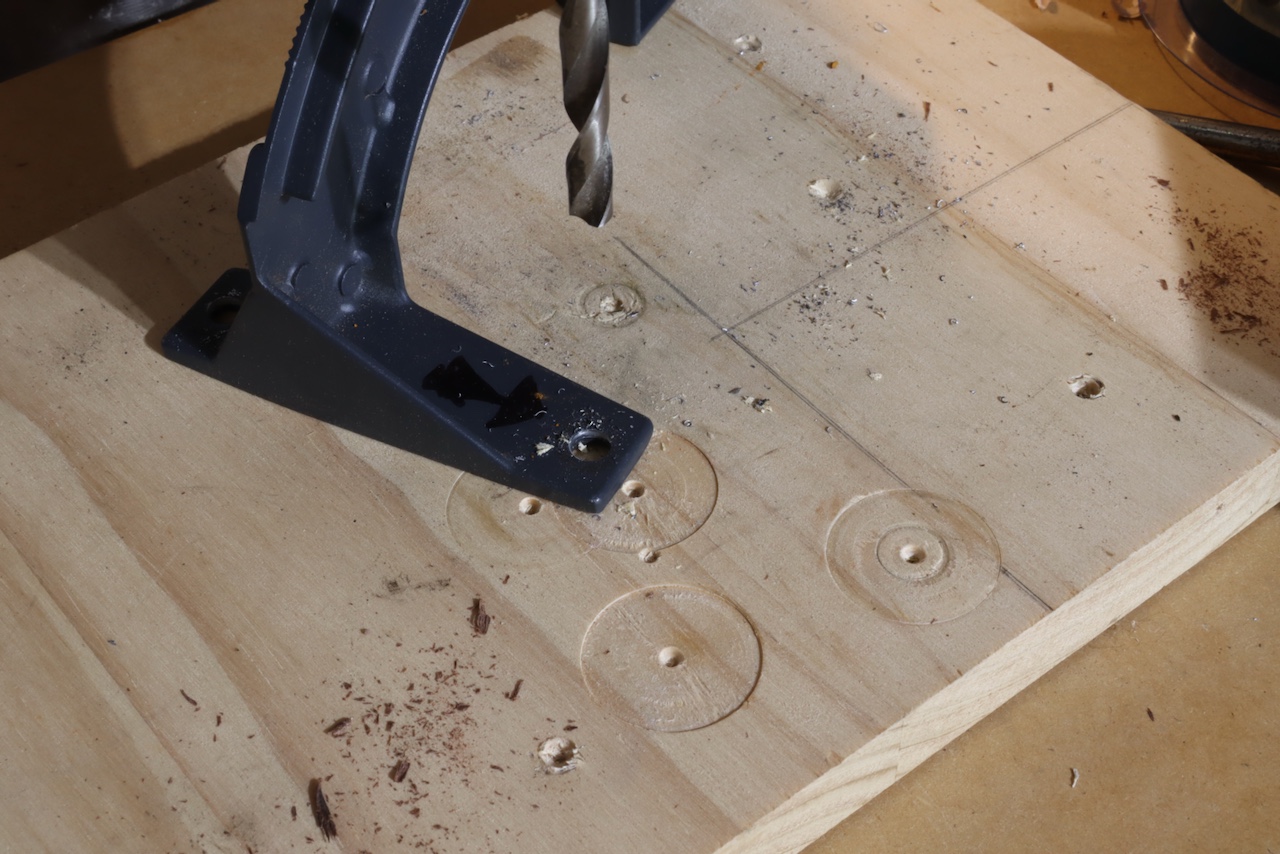
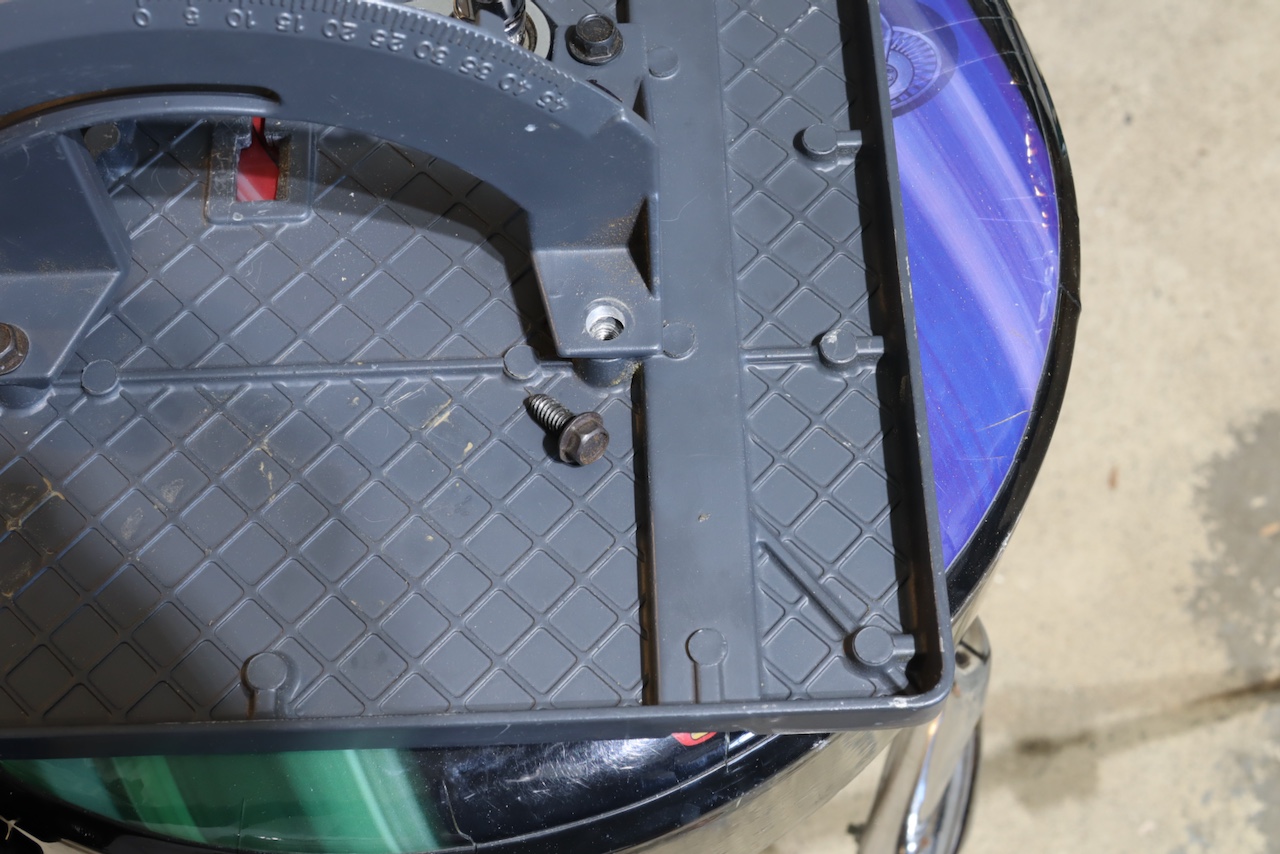
I enlarged two of the trunnion hols to provide the needed rotation clearance for optimal readjustment.
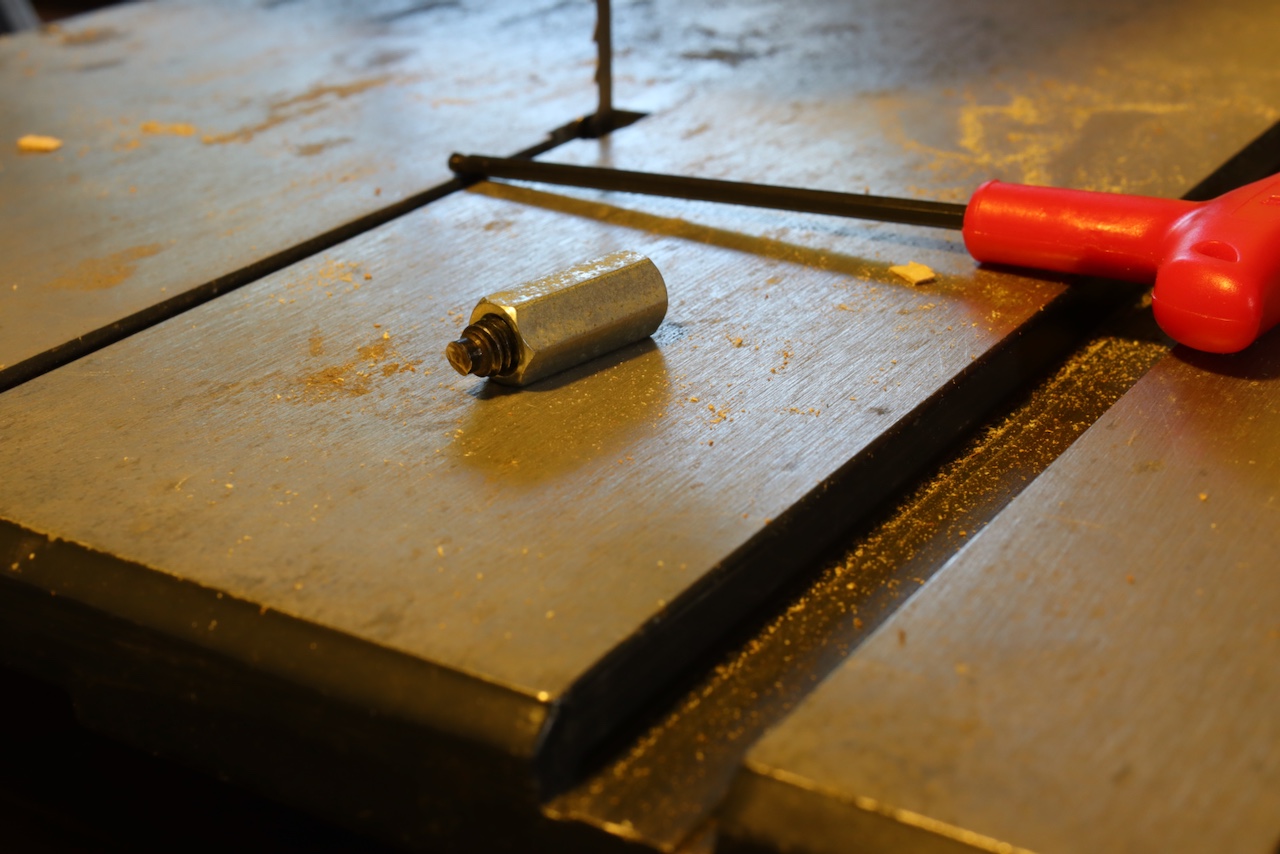
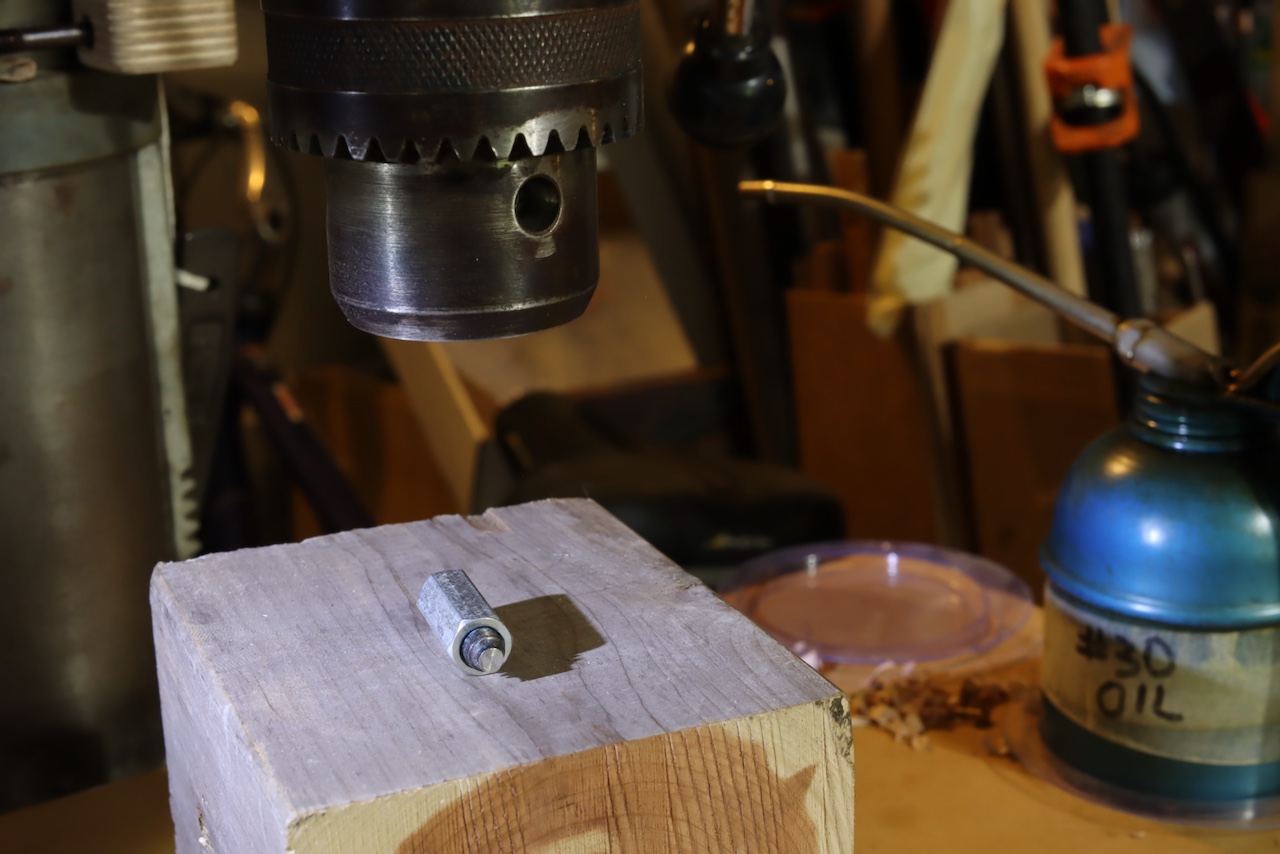
Next, I checked the specific cool blocks that came with this Saw model. These were flat-bottom set screws that could be retracted or advanced towards the blade. Due to misuse by previous owners, the set screws’ bottoms were grossly deformed, as the saw blade’s teeth ran directly into them. To reshape them, I initially thought of clamping them inside a drill press chuck, then turning on the drill press, introducing a file underneath, and gradually abrasively smoothing out the uneven surface until it was flat. However, to protect the set screws’ threads from damage from the chuck’s jaws, I inserted them inside a long nut, clamped the nut in the chuck, and began milling until they became flat and smooth.
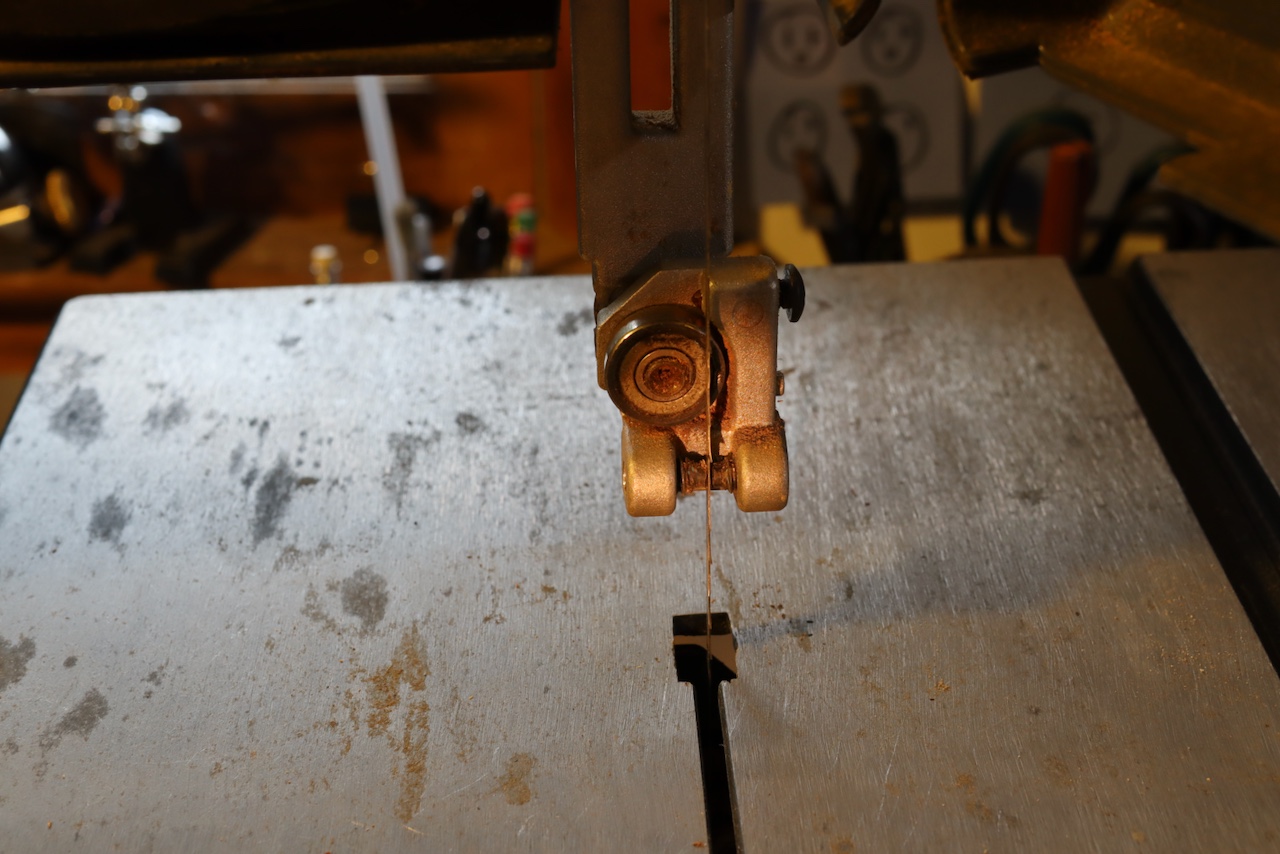
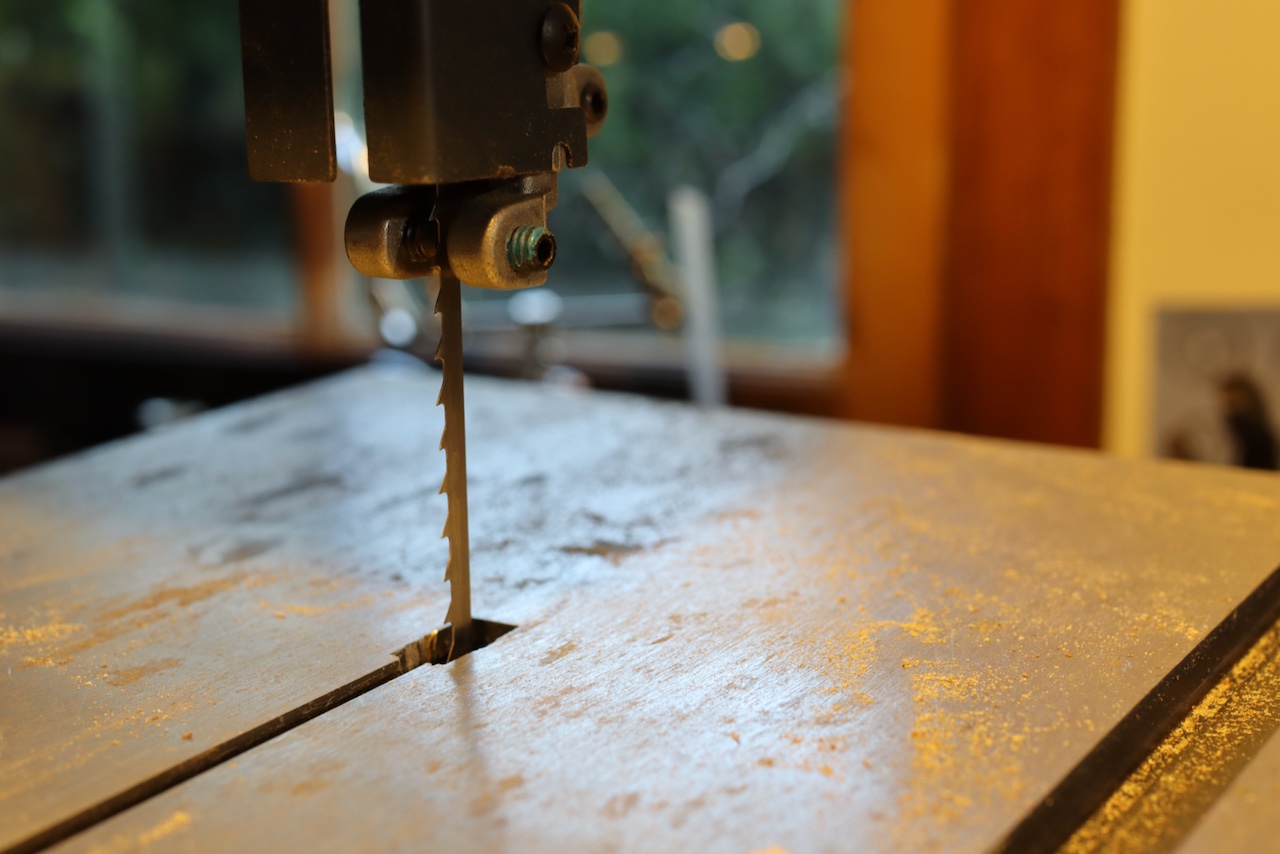
The cool blocks (in this case, flat bottom set screws) secure the blade and prevent it from twisting. Here is the top cool block assembly with its rear thrust bearing.
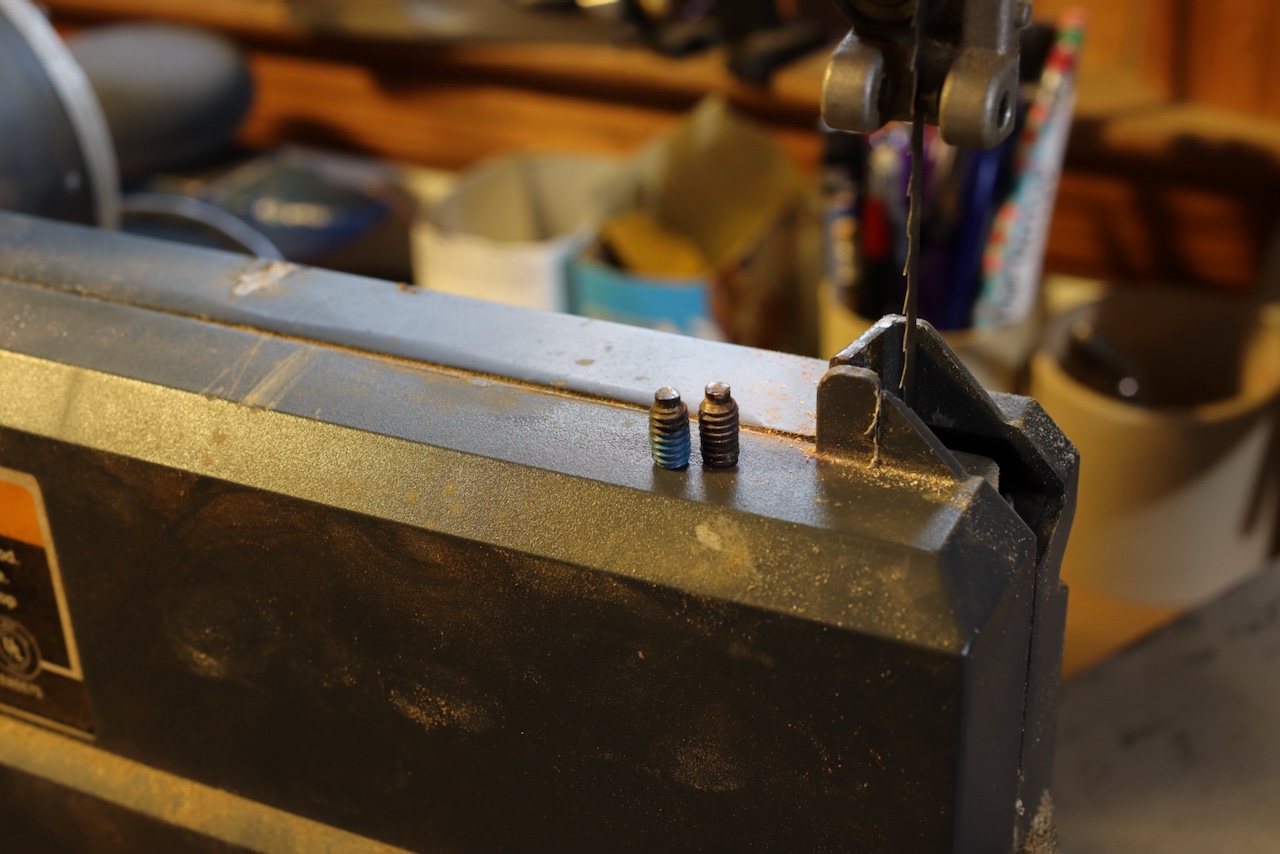
The set screws before resurfacing.

The newly surfaces set screw.
This approach proved very productive. I was able to re-mount the set screws and move them closer to the flat part of the blade. The aim is to keep the cool blocks at a minimal distance from the blade’s flat area and away from the teeth and gullets. While some users propose keeping a gap equal to the thickness of a bill between a “cool” block and a blade, or using a filler gauge, I prefer to trust my eyesight to keep the gap at a minimum.
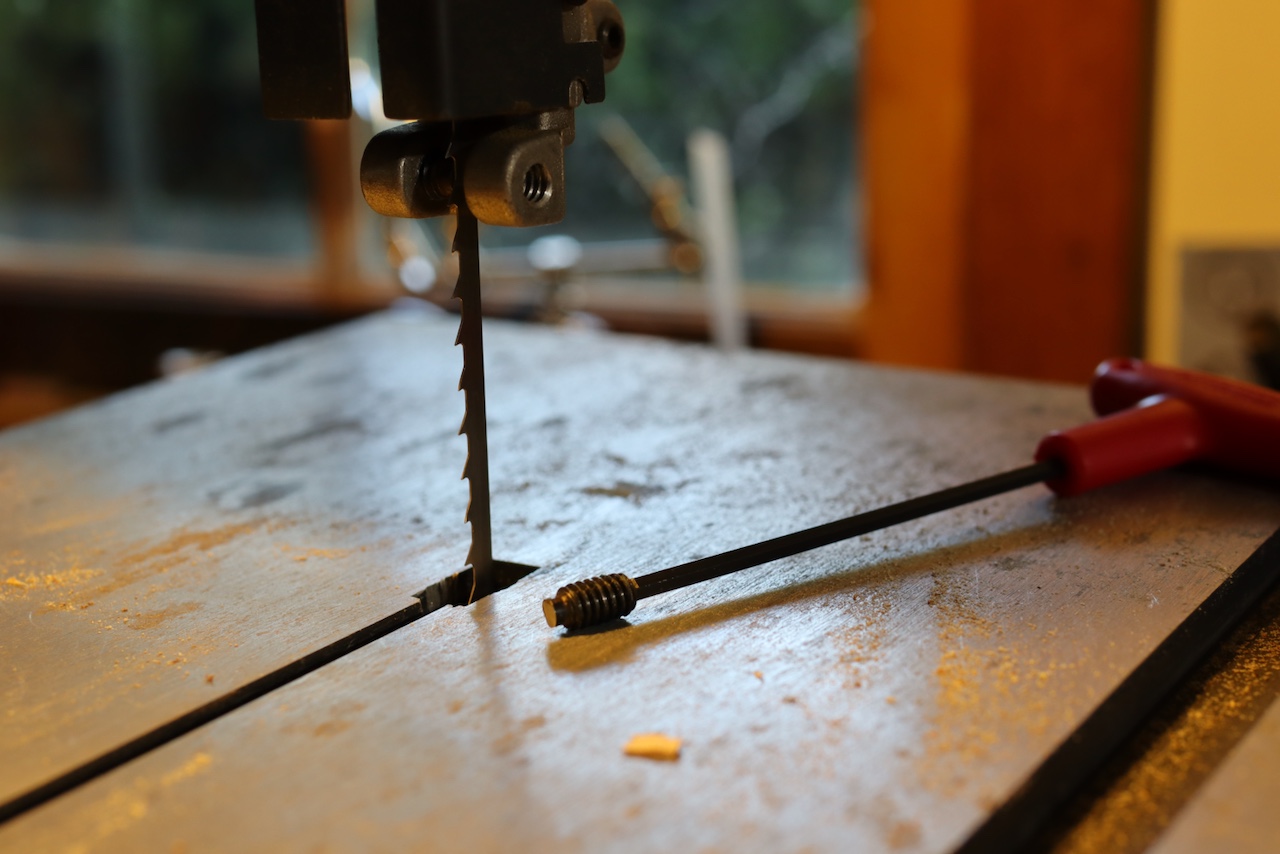
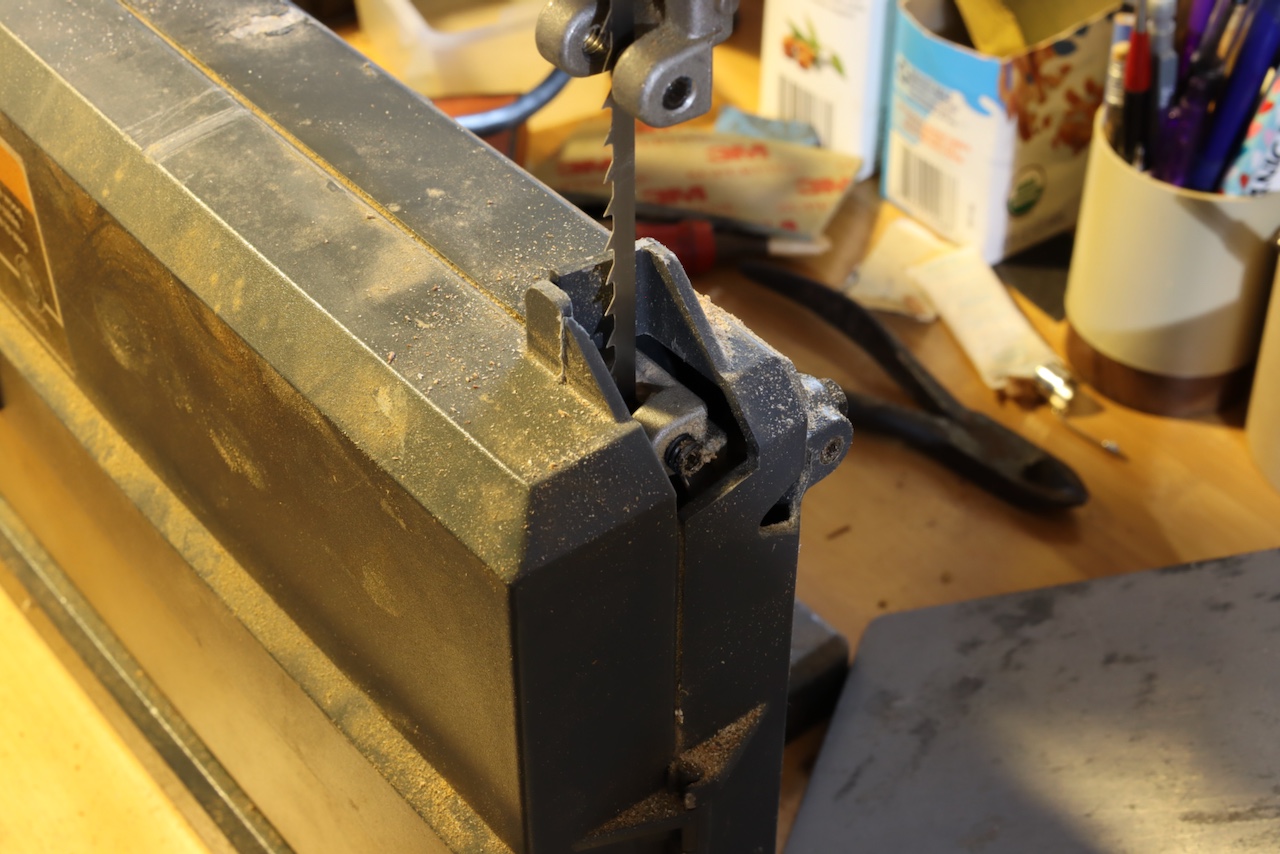
Remounting the set screw.
We also need to be mindful of the gap or the distance between the bearing behind the blade, both below the table and on the upper cool block assembly. The objective here is to allow the blade to engage the bearings for thrust support when the workpiece is pushed against it. When you turn the saw and introduce the blade to the workpiece, the blade will move backward toward the bearing, and the bearing will stop it from deflecting backward. But when the saw runs idle, the bearing will not be engaged.
To set the correct distance, rotate the band saw’s upper wheel by hand and advance the bearing towards the moving blade. When the blade starts engaging with the bearing, stop and retract it a bit until the bearings stop turning. Another crucial advice to increase safety and reduce blade twist is to set the cool block assembly at a minimum gap between the blade and the assembly (Cool blocks or rollers). I like to set the gap at around 1/2″ above the workpiece’s top surface, which is especially important with narrow blades 1/4″ and smaller to ensure the blade will not twist as we rotate the workpiece to cut curves.
I hope this two-part story helps many of you improve your saw performance. These principles also apply to bigger saws than this, where, instead of set screws, blade guides are composed of ceramic, rectangular steel cool blocks, or right and left bearings that flank blade support, which is becoming the industry standard these days.
Here are some supplies and tools we find essential in our everyday work around the shop. We may receive a commission from sales referred by our links; however, we have carefully selected these products for their usefulness and quality.