We may receive a commission when you use our affiliate links. However, this does not impact our recommendations.
How to choose, condition, and clean a finishing brush.
It’s really tempting to buy an inexpensive brush for finishing. Say you spend $4 on a standard paint brush and throw it away rather than taking the time to clean it. You may buy 40 such brushes over the next 10 years … that’s $160! A much better plan is to buy one or two high-quality finishing brushes (about $60) and take care of them. This is a win-win proposition: Not only do you save big bucks, your finishes will look like a million bucks, too.
A high-quality brush is a joy to use, because it distributes finish evenly, leaving a consistent layer on the surface, without any brush marks. It won’t lose bristles and it holds more finish than a standard brush, so you’re not constantly reloading it. Once you’ve used a high-quality finishing brush, you’ll never go back.
It’s true that cleaning a brush is a chore. Well, so is washing the dog, but he sure smells better afterwards! My point is that there’s a reward: Take care of your brush and it will last a lifetime. In fact, just like a good bottle of wine, a high-quality brush will get better with age. Here’s how to choose and care for a brush for applying film-forming finishes such as oil-based polyurethane varnish.
Features of a high-quality brush
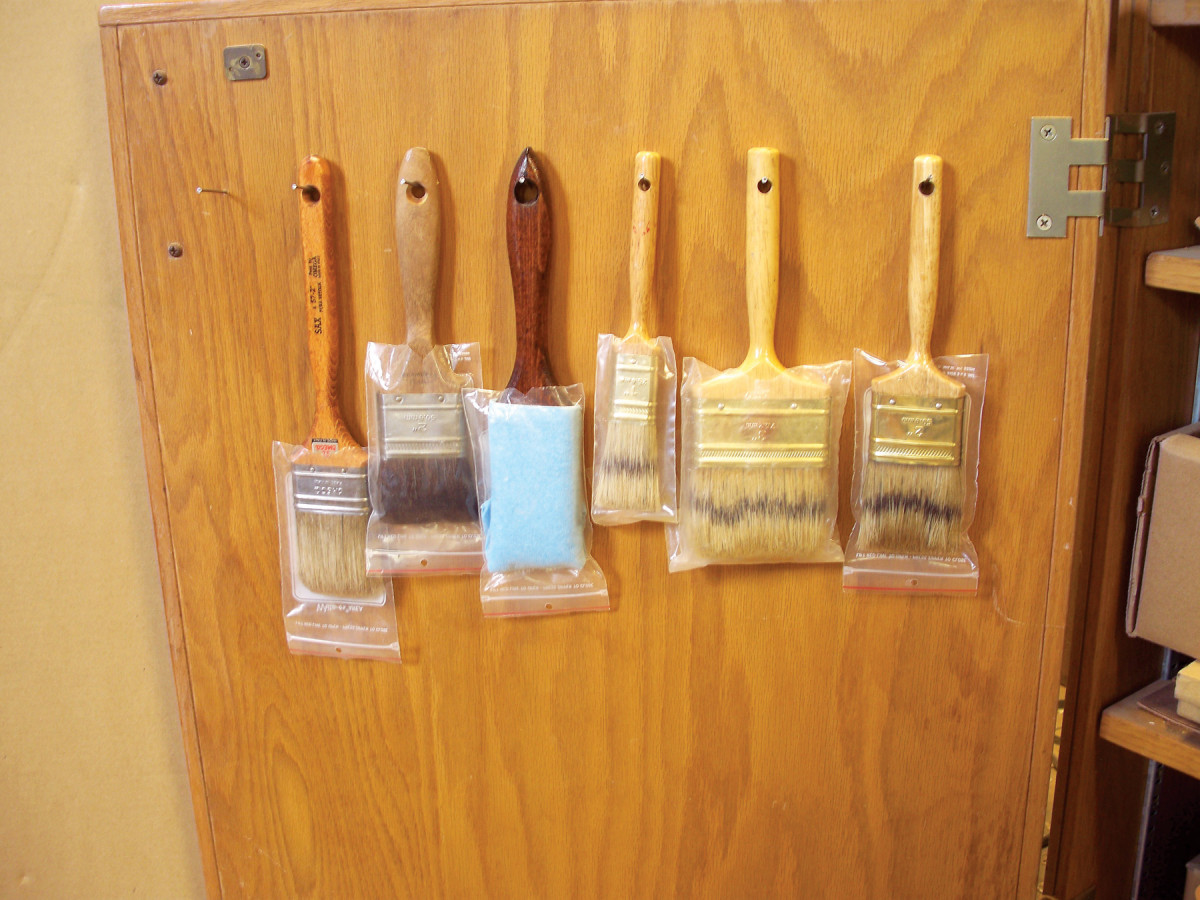
1. The head of a high-quality brush will be thick and hand-shaped to a chisel point. Look for bristles made from top-quality China bristle (sometimes called “imitation badger hair”) or ox hair.
A thick head. The more bristles a brush has, the more finish it can hold and the better it will flow the finish onto the wood. A high-quality finishing brush has a visibly thick head that probably contains three to four times the number of bristles in a standard brush (Photo 1). Standard brush heads have a hollow reservoir in the middle, because they’re designed to apply thick paint. Varnish is thinner, so a high-quality finishing brush has no such hollow space.
Soft, flexible bristles. The stiffer the bristles, the longer they must be to flex enough to lay down the finish. The longer the bristles, the more difficult a brush is to control.
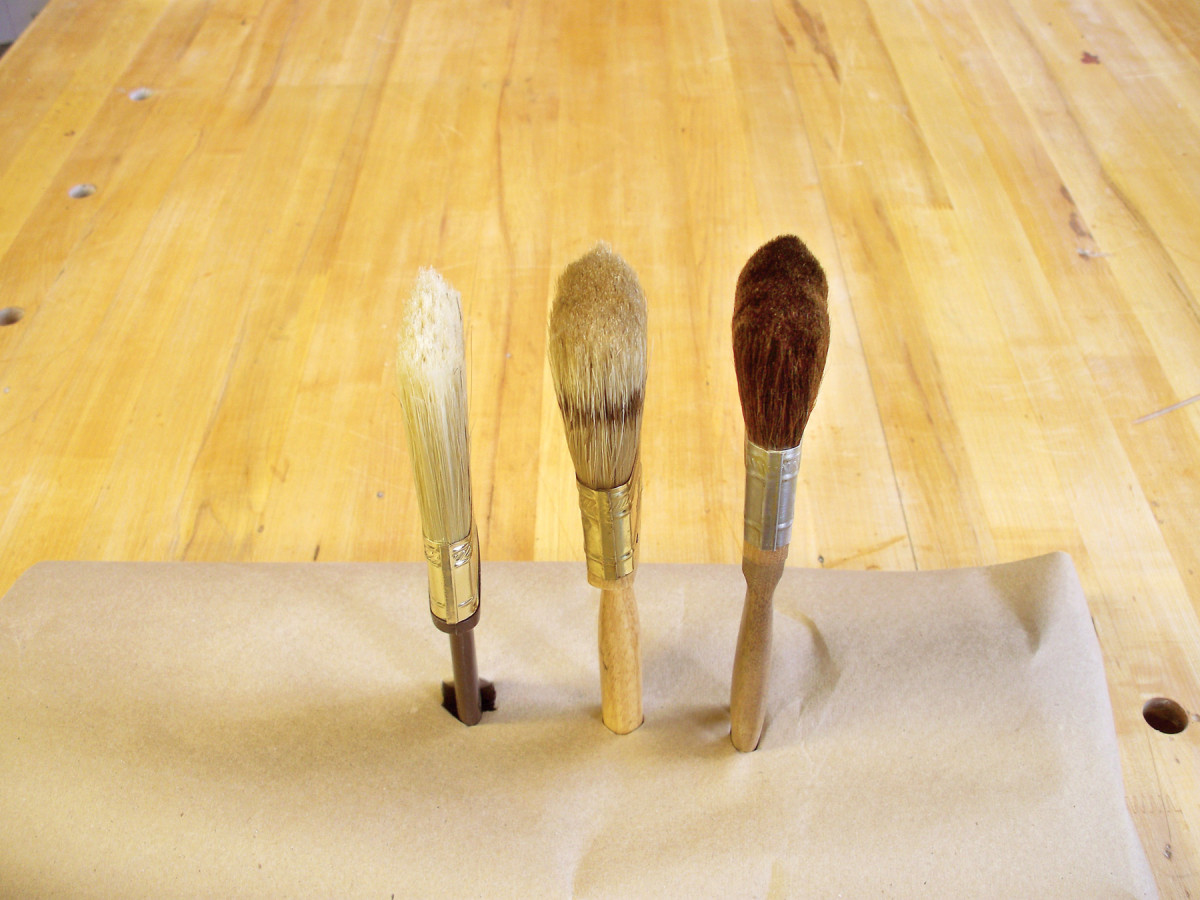
Choose a brush with natural bristles for oil-based varnish. Natural bristles are usually China bristle, ox hair or a combination of the two. China bristle is Chinese boar hair, a long, tapered hair that works well for oil-based varnish. China bristles are naturally black or white—the white bristles are a bit finer and softer. The best China bristles are sometimes dyed to imitate badger hair (a superb bristle that’s become so expensive it’s rarely used in finishing brushes). One of my favorite brushes has China bristles that are dyed this way.
Ox hair bristles are finer, softer and more flexible than China bristles. They’re usually shorter, too, to optimize control. Ox hair bristles are especially good for detail work, because they flow beautifully over and around contoured surfaces.
A hand-sculpted tip. A tip that’s chisel-shaped allows more bristles to contact the surface, resulting in a smoother flow of finish. The high-quality brush maker actually binds the hairs in this shape while forming the brush. Cutting the bristles to create the shape after the brush is bound defeats the advantage of using naturally tapered hairs.
Brushes that are 2″ wide are the workhorses in my shop, because they’re the most versatile. For large, flat surfaces, though, I often use wider brushes.
A heavy-gauge ferrule. High-quality brushes have thick ferrules made of metal that won’t rust; the best are stainless steel.
A quick soak conditions the bristles
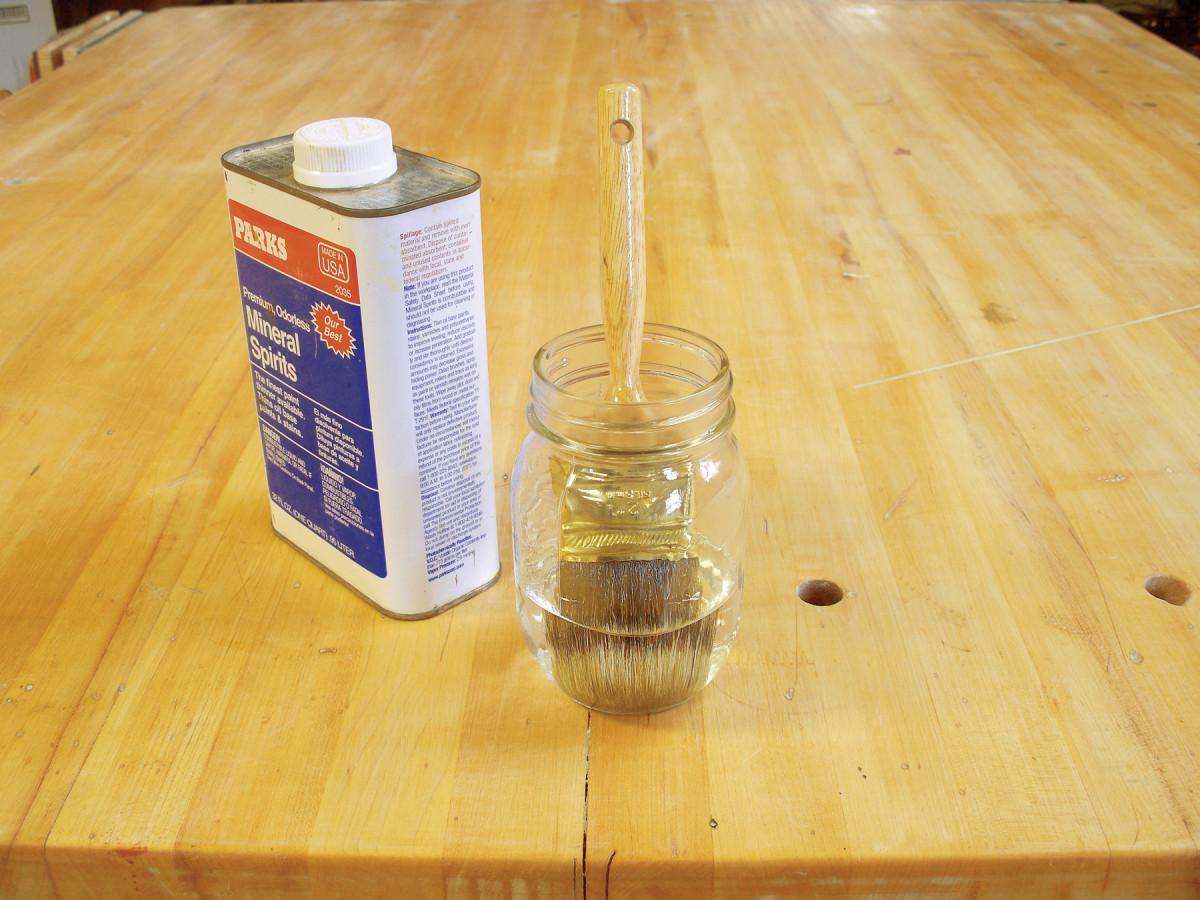
2. A quick soak before each use fills the bristles and coats them with mineral spirits, so the varnish flows easily from the brush onto the surface. Watch as you insert the brush—you can actually see the solvent wick up the bristles.
One simple step ensures the varnish will flow smoothly from your brush onto the surface. Before each use, soak the bristles in mineral spirits to fill them and coat them all the way up into the ferrule (Photo 2). After a minute or two, gently flex the brush against the side of the container to remove the excess solvent. There’s no need to shake or spin the brush, because the goal is to leave solvent in the bristles. Now your brush is ready to apply varnish. And cleaning is easier when the job is done, because the varnish won’t get up into the ferrule.
Tip: It’s best to use a brush for only one type of finish, so don’t use your varnish brush for anything but varnish.
Short term storage
There’s no need to completely clean the brush if you plan to use it again within a day or two. Instead, just complete Stage 1 of the cleaning process described above to remove all the varnish. Then suspend the brush in fresh mineral spirits. Make sure the bristles don’t touch the bottom. This is different from conditioning the bristles for a few minutes before using the brush (Photo 2). Letting the brush stand on the bottom of a container for an extended length of time will distort the bristles.
How to clean and maintain your brush
Cleaning isn’t glamorous, but it takes less than 10 minutes to do the job right, and it’s rewarding how soft and luxurious the bristles feel at the end of the process. It may help to whistle while you work.
Stage 1: Remove the varnish
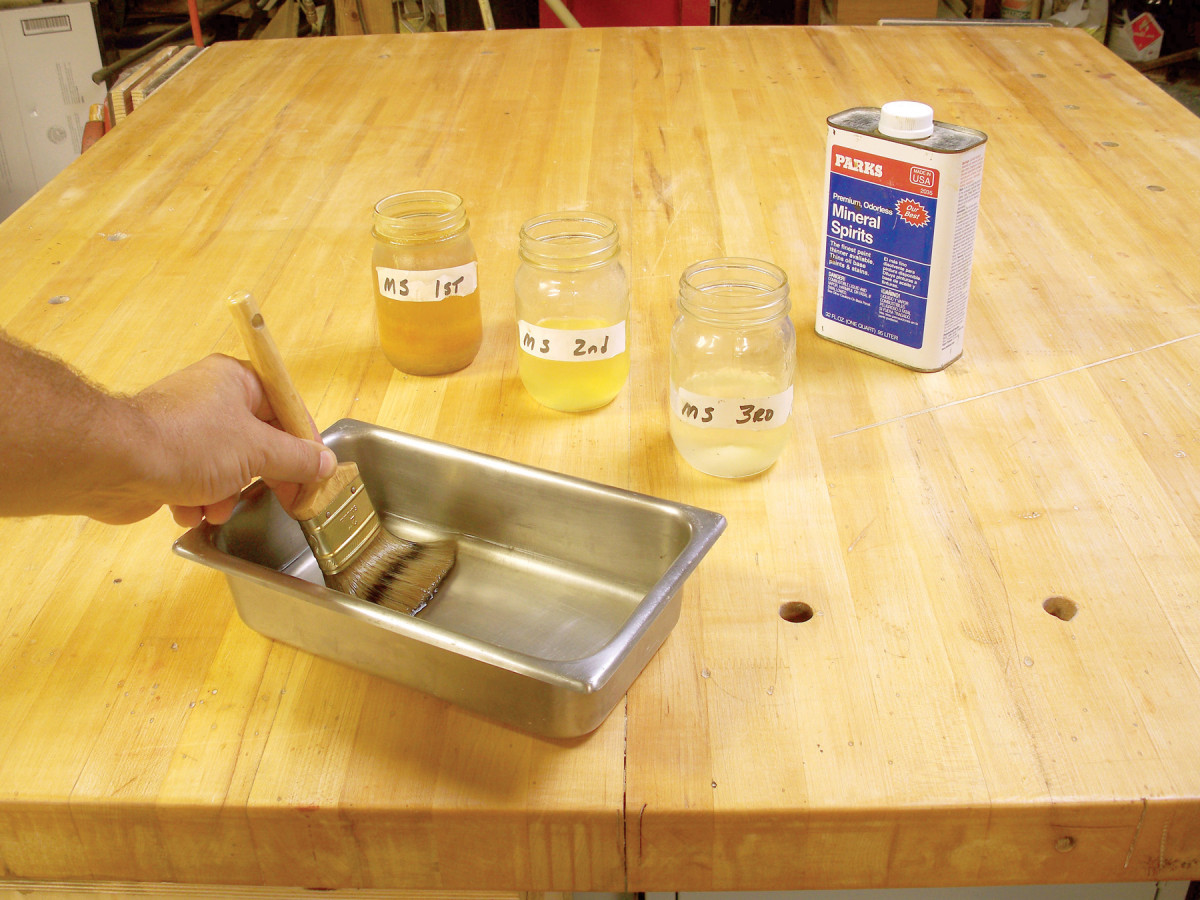
3. A four-step rinse with previously used mineral spirits removes the varnish. Notice that the solvent in the three rinse containers gets clearer as the brush gets cleaner. Use fresh mineral spirits for the last rinse only.
Start with a four-step rinse to remove the varnish (Photo 3). This system reuses mineral spirits from previous cleanings for all but the last rinse—and it cleans your varnishing pan at the same time. Tip: To keep from contaminating an entire can of varnish, always work from a pan rather than the can. And when the job is done, never pour the varnish remaining in the pan back into the can.
After emptying the pan, wipe it with a paper towel to remove any remaining varnish. Then gently pour a few ounces of the first-rinse mineral spirits into the pan. This previously-used solvent can be used again because it’s been stored long enough to let the varnish from the previous cleaning settle to the bottom of the container.
Vigorously work the brush in the mineral spirits. The goal is to remove as much varnish as possible. Sweep the bottom and the edges of the pan as you work. Shake out the brush and pour the dirty mineral spirits back into the first-rinse container. Then repeat the process using the second-rinse mineral spirits and again using the third rinse.
After three rinses the brush is nearly clean. Wipe out the pan with a clean paper towel and rinse the brush one more time, using fresh mineral spirits. When you’re finished, pour these spirits into the third-rinse container. If you see any color in the solvent after this fourth rinse, do it again. Store the three containers until the varnish has settled out, and they’ll be ready for the next cleaning.
Stage 2: Remove the mineral spirits
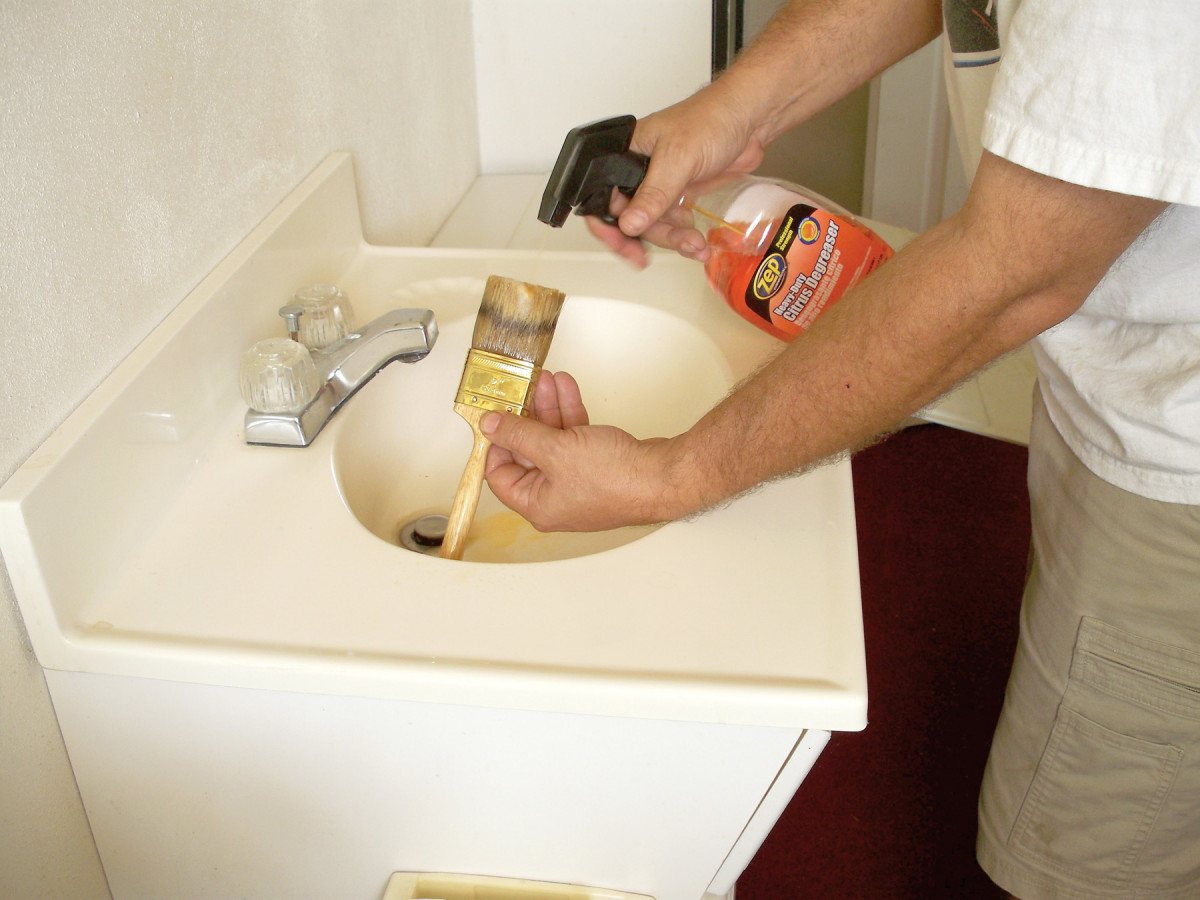
4. Citrus cleaner removes most of the mineral spirits. Spray it into the bristles and work it through. Then rinse it out.
Mineral spirits can leave an oily residue, so to thoroughly clean the bristles you have to remove all the mineral spirits. To do this, I recommend giving the spirits a double-whammy. Start by spraying citrus cleaner into the bristles, working it through the brush and rinsing it out with water (Photo 4).
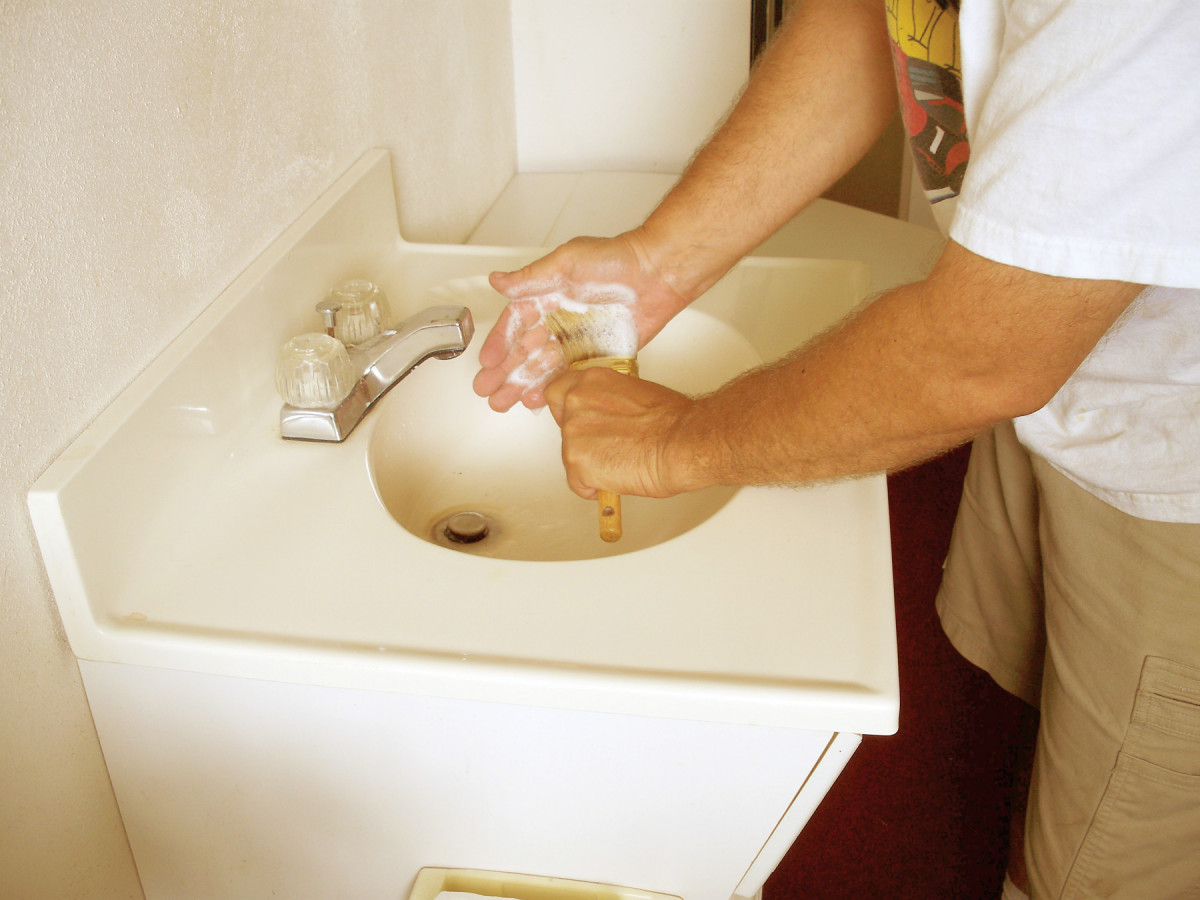
5. Dishwashing soap removes any mineral sprits the citrus cleaner missed. Work the bristles hard to work up a lather and dislodge any loose bristles. Then thoroughly rinse the brush.
Next, squirt dishwashing soap into the bristles and vigorously work them into the palm of your hand (Photo 5). It’s OK to really give the bristles a workout. Grab them and pull them, so the cleaning process also removes any loose bristles. Thoroughly rinse the brush and then repeat the process. The soap will lather much more easily the second time, an indication that the bristles are clean. Make sure to rinse all the soap from the brush before you proceed to the next step. Keep working the bristles even after you think the brush is soap-free—you’ll be amazed how long suds keep forming.
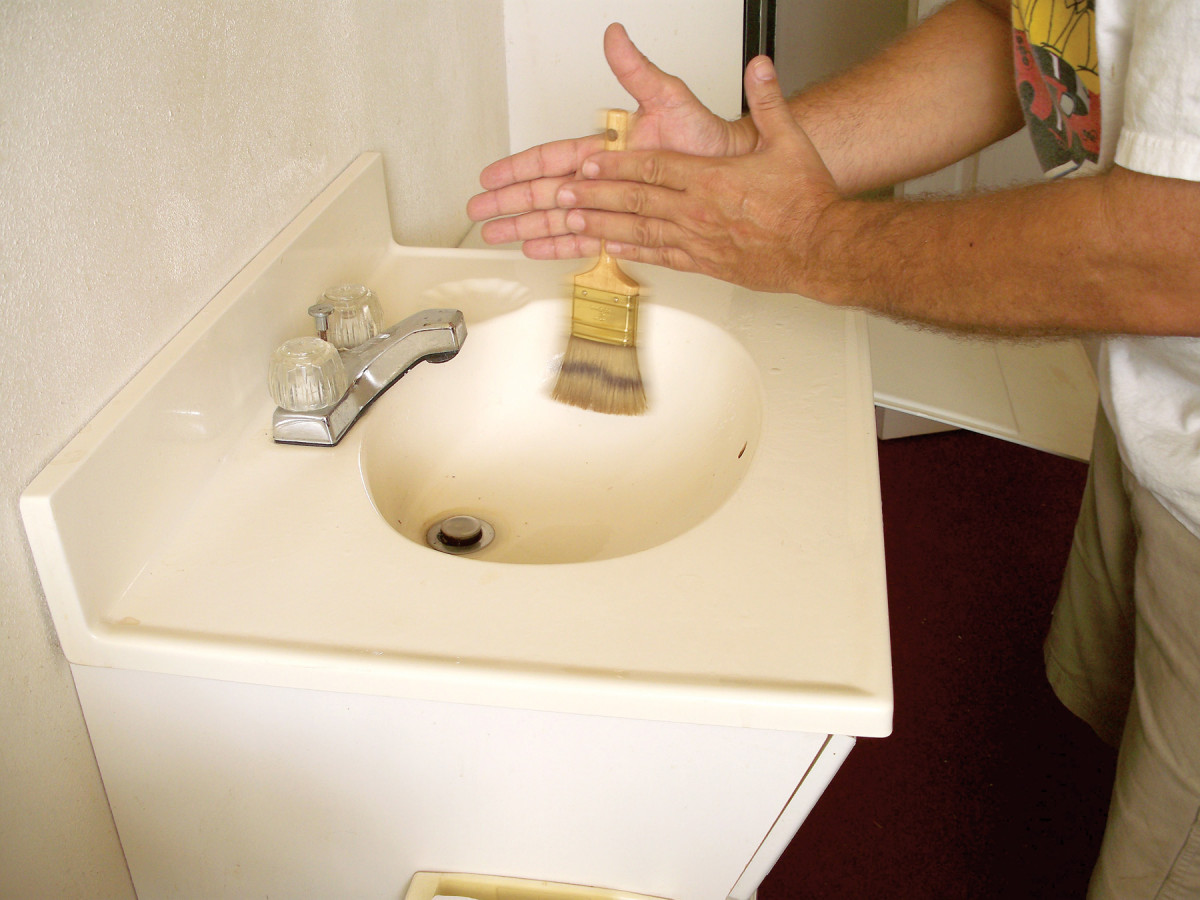
6. Spin the brush to fan the bristles and shed the excess water.
Shake out the brush and then spin it to remove the water it still holds (Photo 6). Spinning fans the brush head. Work your fingers through the damp bristles to reshape the head, or use a brush comb. Notice that the bristles feel soft and clean, like your hair feels after shampooing.
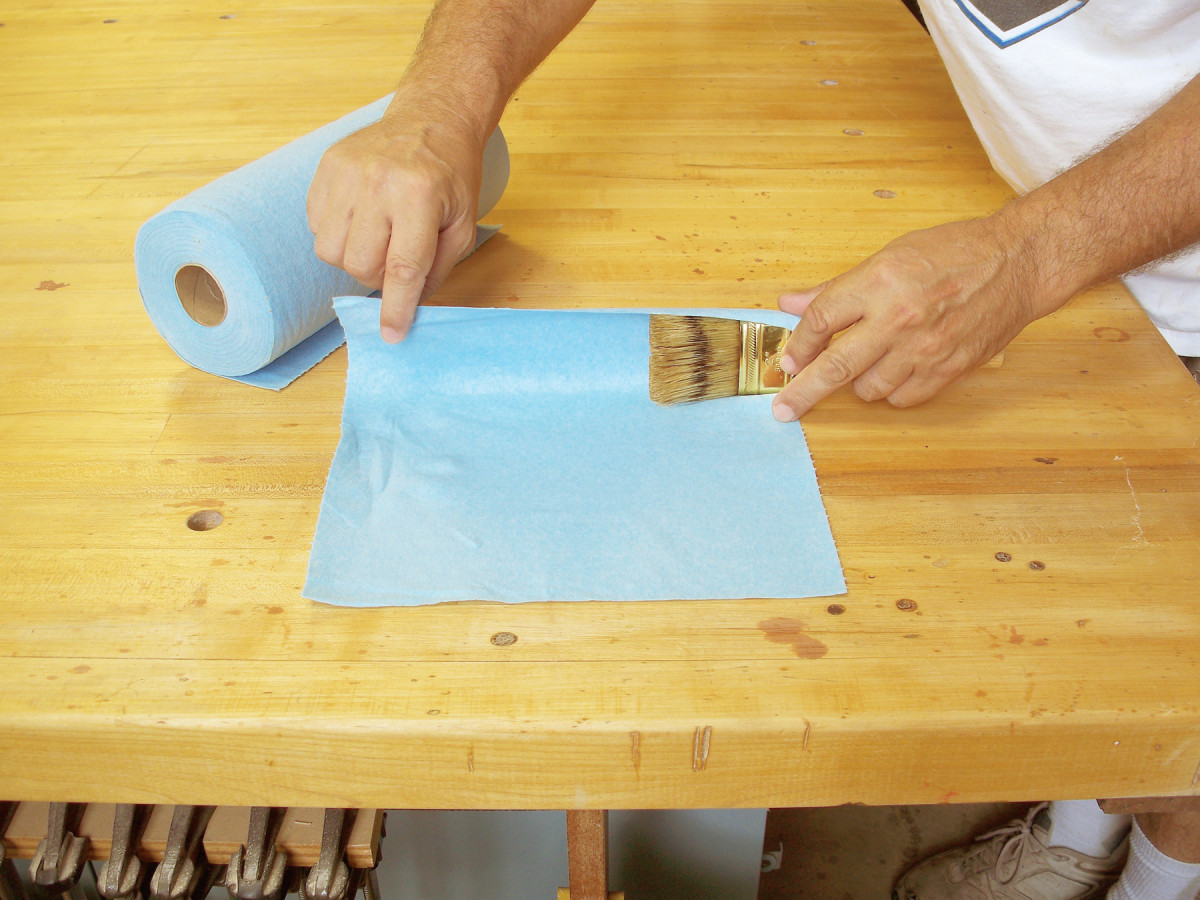
7. Wrap the brush in a shop towel to hold its shape. Then hang it up to dry.
Wrap the brush in a paper towel (Photo 7). Then hang it up and let it dry for at least 24 hours. As water makes natural bristles go limp, the brush won’t be usable again until the bristles are completely dry.
Keep the brush wrapped in the paper towel until the next use or transfer it to a cardboard or plastic sleeve for traveling to a jobsite. When you remove the brush, it will be soft and flexible, as good or better than new.
Here are some supplies and tools we find essential in our everyday work around the shop. We may receive a commission from sales referred by our links; however, we have carefully selected these products for their usefulness and quality.