We may receive a commission when you use our affiliate links. However, this does not impact our recommendations.
Simple & productive. The boring tools of the 18th century were like so many others we’ve come to know and appreciate; they’re outwardly simple, yet deceptively complex and thoughtful. In skilled hands they are capable of near-electric powered productivity.
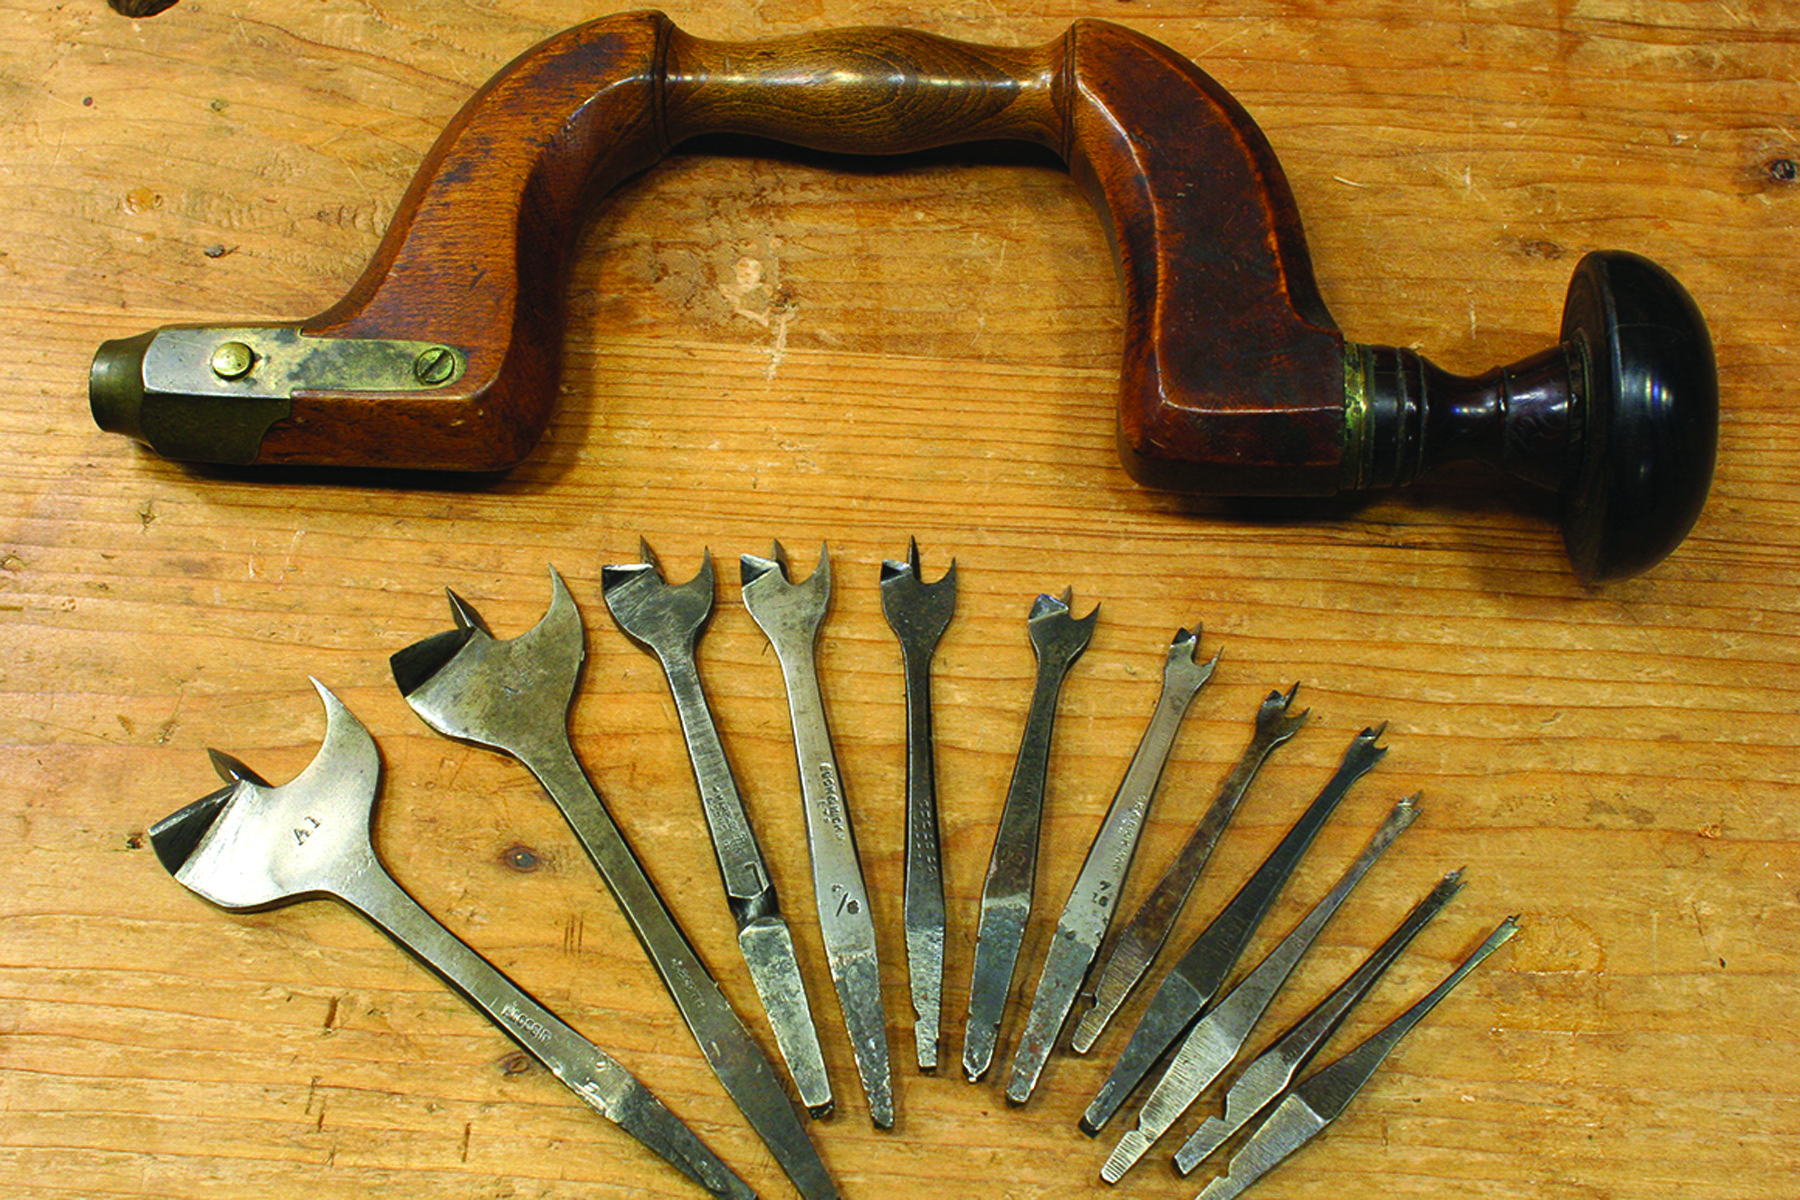
Today’s array of bits has nothing on historical practice.
In my attempts to recreate period work, I’ve many times come across the need to make holes that no modern tool can practically create.
My workbench has 16 1 1⁄2” holes bored into its beech top to house vise screws. I bored them with a framing auger. I use shell bits when I have to drill a hole from the back of a workpiece to the front. I typically do this to drawer fronts, positioning the lock on the inside of the drawer, and then drilling the hole for the keyhole from the backside to the front. Shells don’t typically break out fibers when they exit.
I use center bits for all kinds of inlay work. Most people would probably use a Forstner bit in a drill press for this. But I have neither and do just fine with a sharp center bit. I use gimlets and bradawls for nail and screw holes. I don’t use tons of fasteners in my work and these simple tools work well enough – and faster than some might think.
In this article I’ll review the boring tools I use in my shop. I realize you aren’t itching to trash your new cordless drill; I’m just thinking you might enjoy reading about the tools our great-great grandfathers used to drill holes, a task I think many of us take for granted.
What is an Auger?
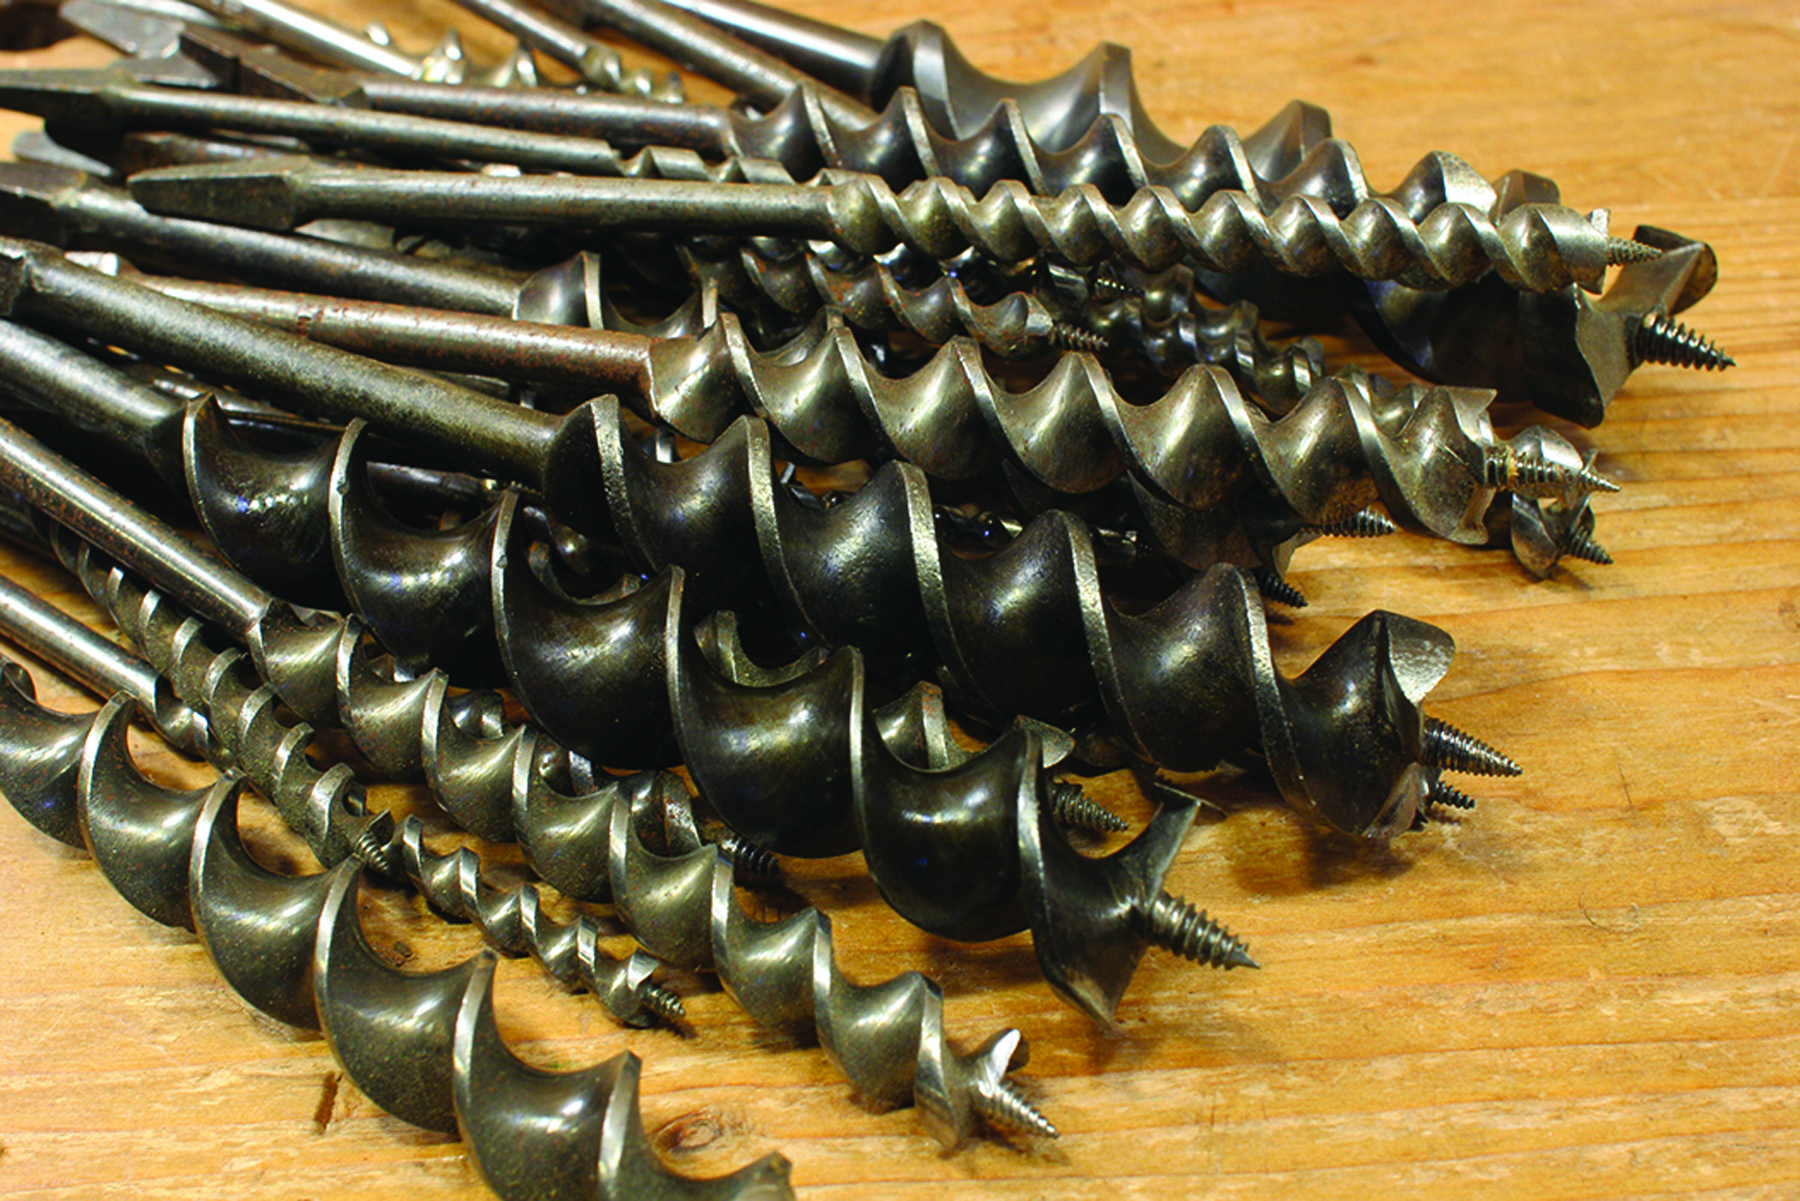
An OK tool. Augers have been the darlings of tool-collecting galoots for years; I have several sets. But in my opinion, they work only moderately well in softwoods. And even the best Jennings’ pattern (above) augers with fine lead screws are not stellar performers in hardwoods. Frankly, 18th-century craftsmen had better alternatives.
The augers we know today, those twisted things with the lead screws on the business ends, were not invented until the end of the 18th century. I don’t believe they were available to Anglo-American woodworkers much before 1800. And it would be a few decades into the 19th century before folks figured out how to mass-produce them efficiently in the versions we find today at flea markets and tool-swap meets.
Before their invention, “auger” was the term used for a range of different and often T-handled tools, dating from at least as far back as the Middle Ages. Some may have been twisted – but perhaps only once or twice if at all.
Spoon Bits
Spoon bits are hollowed semi-cylinders that were made in different forms for various jobs or trades. The best-known spoons are probably those used as chairmakers’ tools. Their blunt, rounded ends allow them to penetrate turned legs deeply, maximizing the tenon length. They are typically short (only a few inches long) and limited to the sizes required for chair work; that is, they are typically not much larger than 5⁄8” in diameter.
Thinner, longer spoons with sharply pointed ends were useful for creating the holes for drawbore pegs. Their pointy ends permitted precise starting locations.
Spoons, like shells, cut only at their ends. The sides of the cylinder, though sharp looking, are not cutting edges. The sides of spoons (and shells) are to help keep the hole straight.
Shell Bits
Shell bits are improbable-looking tools more closely resembling carving gouges than any kind of drill. Contrary to popular belief, they are not spoons gone bad, though it would be possible to grind a spoon bit into a shell. They typically have fingernail-shaped ends.
Though surviving bits in general appear to have been turned clockwise, shells are often found sharpened on both sides of the bit axis. The problem many have encountered when using shells is that there is no center on the bit by which to position the tool on the work. It has been my experience that a precise hole can be made by ratcheting the bit in the first few motions. Perhaps this is why they were originally sharpened on both sides.
Shell bits are fantastic, functional tools. They slice the material around the periphery of the hole leaving the untouched center to simply fall out. (Shells are almost an ancient version of today’s hole saw, but without the center drill.) This allows these bits to cut quickly in hardwood or softwood.
Like spoon bits, shell bits can drill holes at absurdly low angles. Some projects, 17th-century stools for example, call for angled pegs that essentially toenail the top to the legs. These are the sorts of bits that did that. I’ve never seen one much larger than 5⁄8” in diameter.
Nose Bits
Nose bits are shells with turned-in cutting lips at the end. The lip shaves the bottom of the hole. The cylindrical sides of the bit don’t cut, but rather guide the bit, keeping it traveling in a straight-ish line. I have found these bits to be good at cutting end grain, which is particularly difficult with any other sort of bit. They must be sharpened carefully.
Tapered Reamers
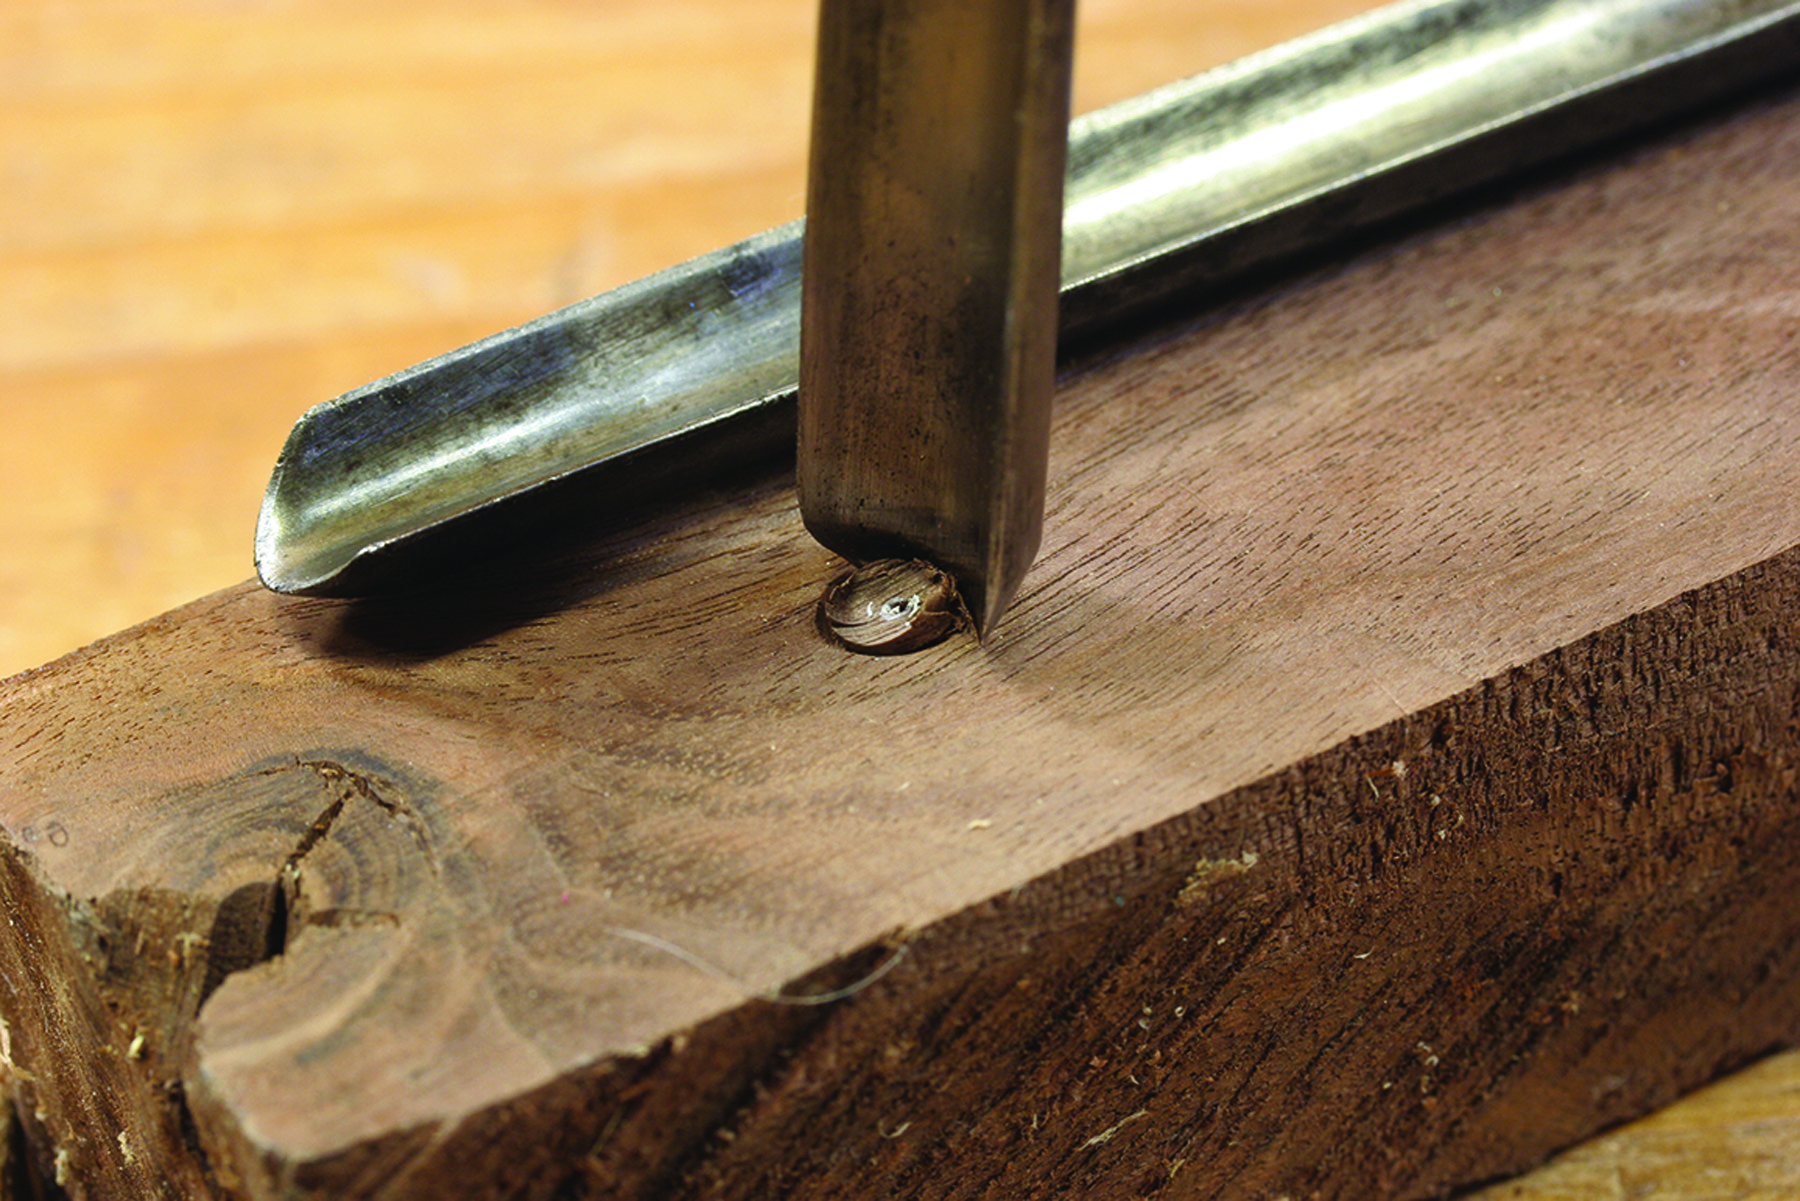
Ratchet motion. My trick for using shells is to ratchet the bit back and forth to position the hole where I want it. The gouge shape of a shell bit means I cannot simply center the bit on the chalked mark.
Taper shells are variations of normal shells. They can be used to enlarge holes in thin material, but more likely were used to make locking tapered joints such as plugs. When I first started using tapered shells, I thought I could simply taper a hole and that the new taper would follow the axis of the parent hole. Au contraire. If you are doing chair work, know that the taper is a do-over with respect to the angle of the hole. Also, tapers are reamers that cut the sides of a hole; they must be kept very sharp. As a result, the tapered hole can easily be cut out of round.
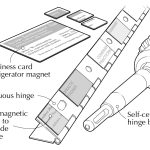
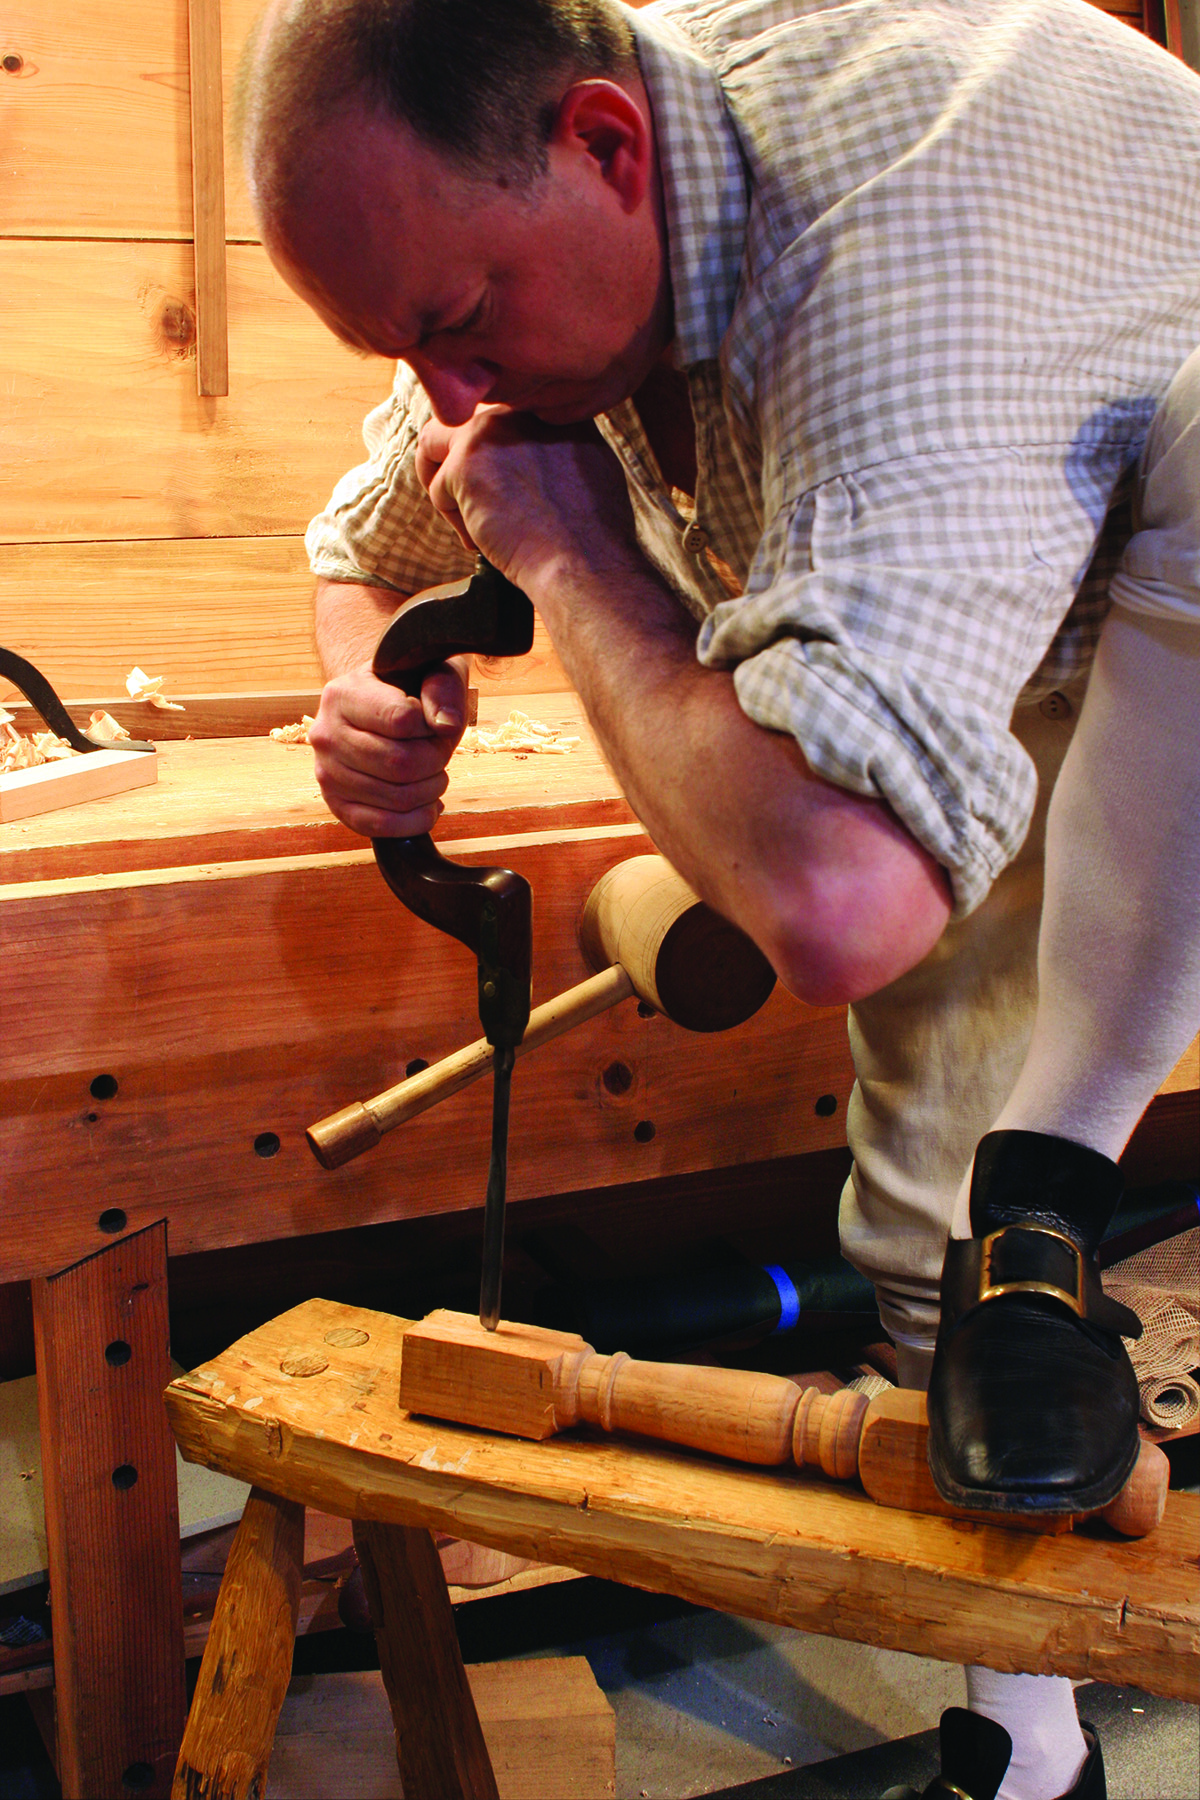
Using tapered bits can be uncomfortable. Period chair makers made wooden chest “bibs” that they wore around their necks – a carved hollow fit the brace head. Bibs reduced discomfort to allow chairmakers to exert force, and they helped steady the brace for precise drilling.
Center Bits
Though center bits first appear in the 1708 inventory of Charles Plumley’s estate (a.k.a. “The Plumley Inventory”), they are clearly highly developed versions of earlier bits. The modern spade bit is its closest living relative, but spade bits are horrible scraping disasters by comparison. The center spur functions in the same way a brad-point drill works; it easily registers into a knifed line or an awl-stabbed point. The side spur cleanly defines the hole diameter while the lip planes away the waste between the center and side spurs.
These bits make beautiful entries, only tearing wood when they are improperly sharpened. But never try to penetrate through with a center bit or you will surely tear out the backside. As soon as the long center spur penetrates the far side, move the other side of the work, locate the bit in the center spur hole, then complete the cut.
Center bits do a much better job of making large holes than any other period bit. They were available in fairly large sizes, easily up to 2″ in diameter.
Gimlets & Bradawls
Precision depth. I find center bits particularly useful for creating pockets for inlays or other jobs where precise depth control is important. Unlike tools with lead screws, they work easily in hardwoods. The lip cuts at a steeper angle than any normal auger.
Gimlets are used for making small holes for large nails or screws. Most feature lead screws that pull in shell-like reamers. Unless they are very sharp, they function more like bradawls, displacing and compressing wood more than cutting it. When sharp, however, they are a joy to use, far out-performing the later twisted versions
Bradawls are used primarily for preparing pilot holes for nails or small screws. Most often they are steel or iron rods (no taper) with double-beveled chisel ends. The sharpened end is placed perpendicular to the long grain to sever it, then pushed and twisted back and forth to produce a hole. They were made in a variety of sizes for different sizes of nails.
Period Stocks
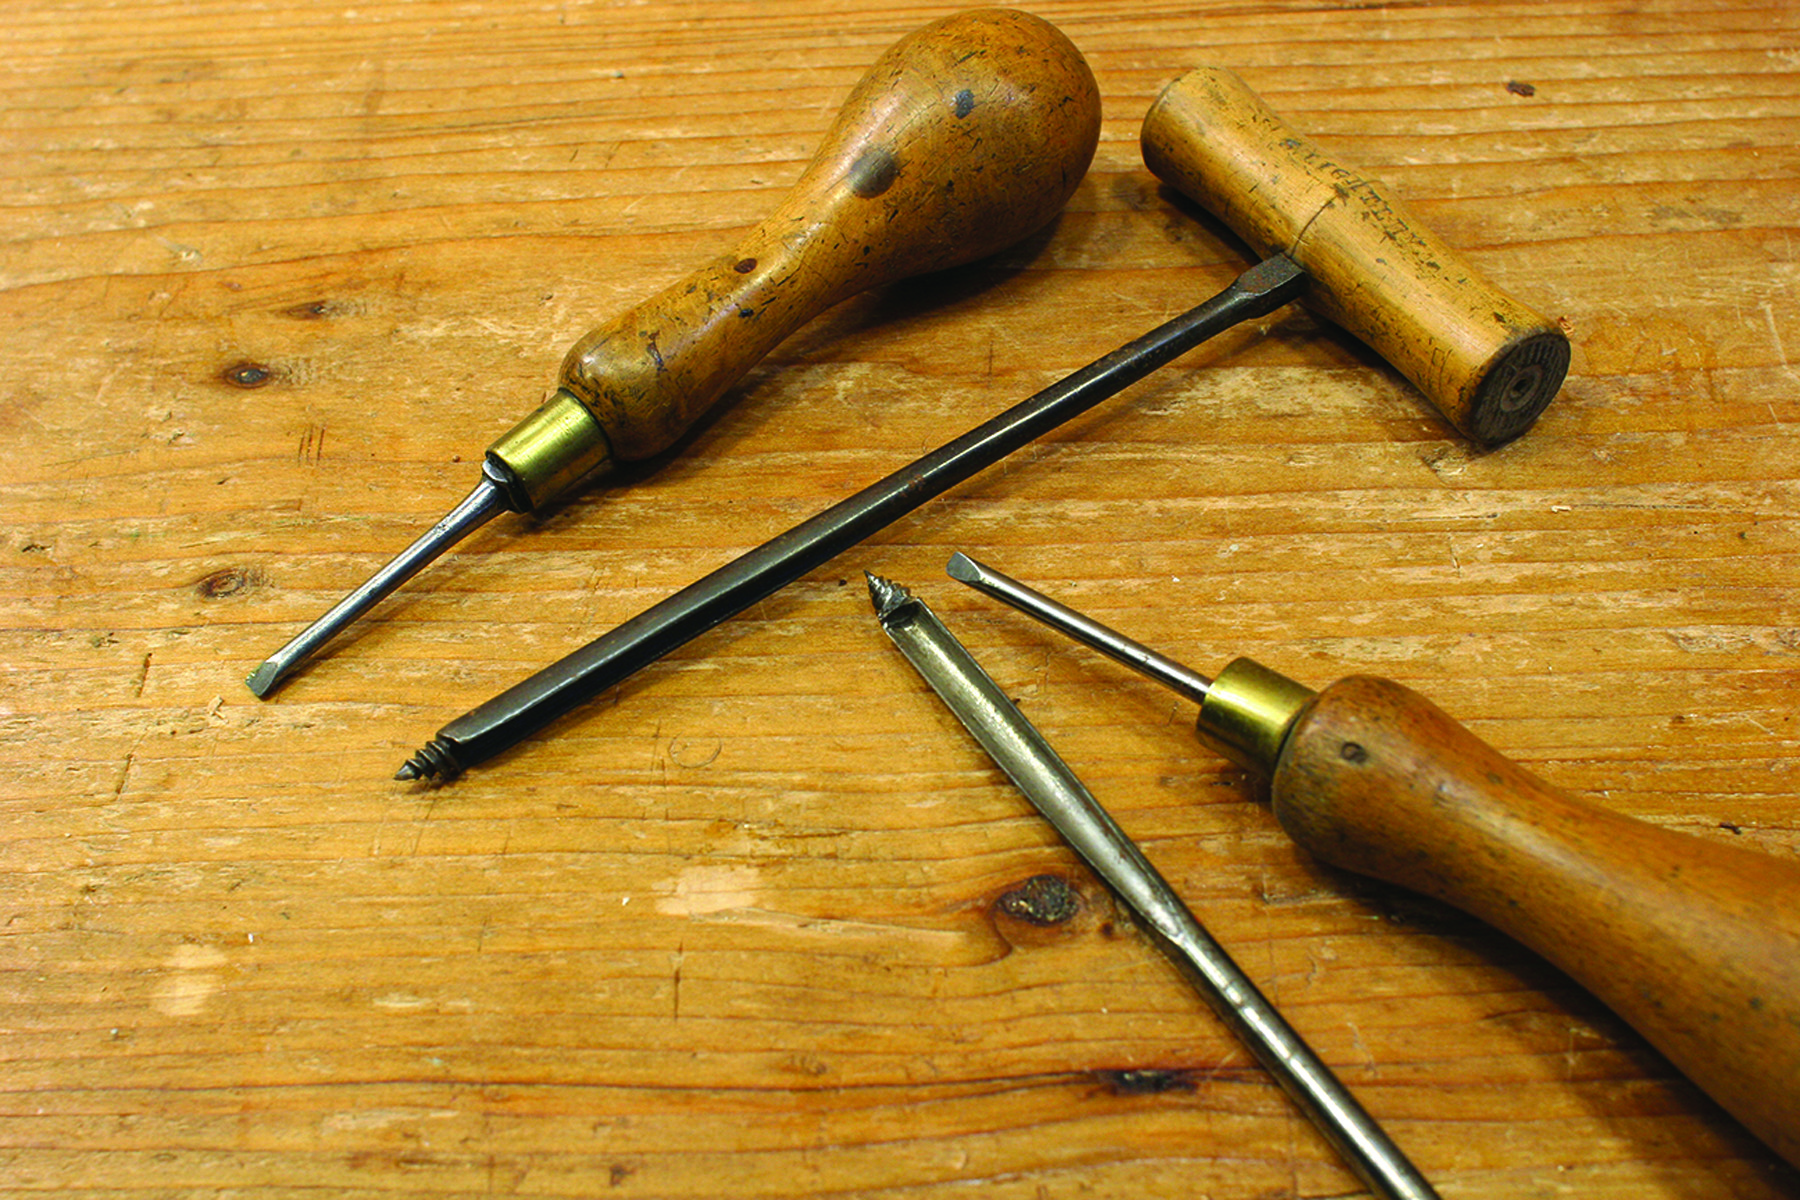
Small holes. Bradawls (top) and gimlets are used for small holes, such as pilots.
Wooden cranks used for rotating boring bits first showed up in Western Europe in the 14th century, possibly brought to Europe by returning crusader armies. In the 18th century, bit stocks (later called braces) were made from either wood, metal or a combination of the two.
The earliest bits had flattened, slightly tapered tangs, not unlike tanged chisels’ ends. These were fitted to tapered wooden pads which were then fitted to corresponding sockets cut into wooden stocks. Some craftsmen, such as chairmakers, may have found it more economical to simply make a separate stock for each bit, because they used only a limited number of bit sizes.
Metal pads, fitted to wooden stocks (sometimes reinforced with brass side plates) were later made to receive bits made to a standard square taper. An internal spring catch retained the bits.
Conclusion
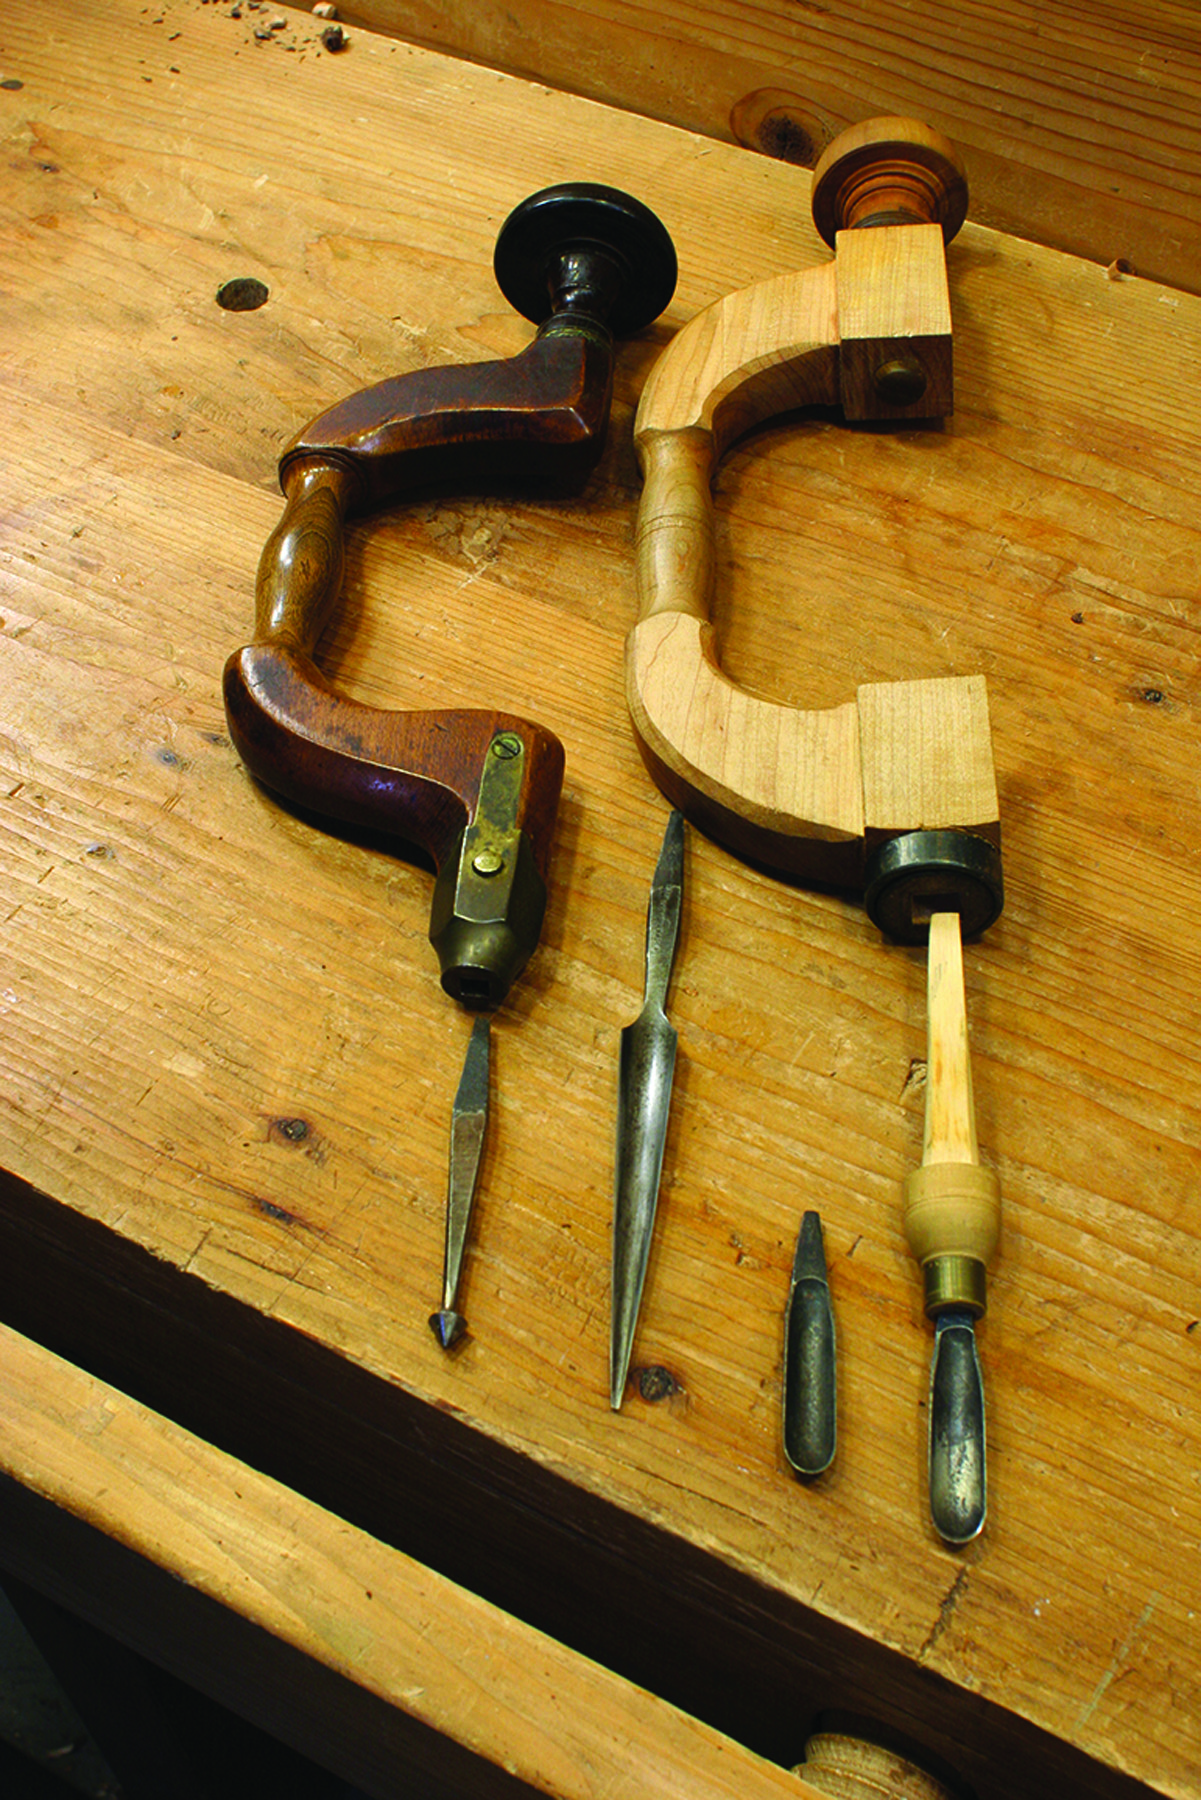
Different bit grips. A pod brace or stock (right) holds wooden pods that adapt flat-tanged bits to the stock. The brass-padded brace (left) relies on bits with standardized tapers.
Some of the bits highlighted in this article are the clear ancestors of modern tools, while others passed into extinction for no good reason other than machines and factories could not cheaply mass-produce them. You may find that some of these actually work better for you than modern bits.
Here are some supplies and tools we find essential in our everyday work around the shop. We may receive a commission from sales referred by our links; however, we have carefully selected these products for their usefulness and quality.