We may receive a commission when you use our affiliate links. However, this does not impact our recommendations.
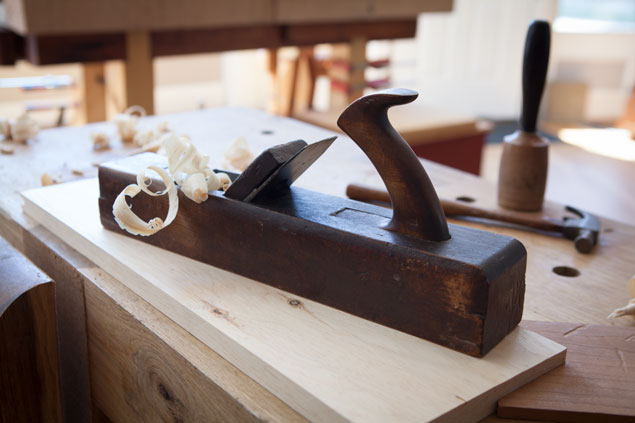
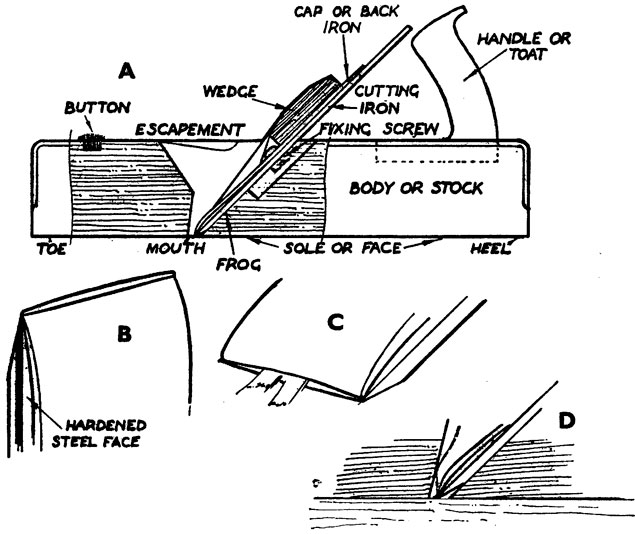
Handplanes that secure the cutter with a wedge need to be adjusted with a series of taps from a mallet or a hammer. The principles below apply broadly to all wedged planes, whether it’s a wooden jack plane, a delicate 1/16”-wide hollow plane or a wedged infill plane with a metal shell.
However, you need to use some common sense. Do you really want to beat that 1/16”-wide moulding plane with a bench mallet? Do you want to strike the rosewood body of your infill smoother?
Rule No. 1: Set the Wedge
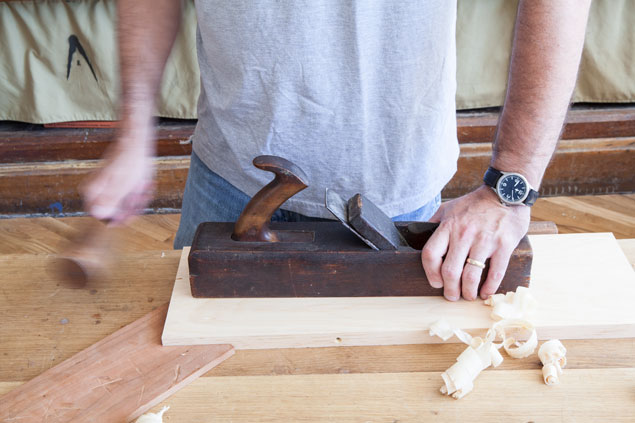
Whenever you make any adjustment to a wedged plane, the last step before you go to work is to tap the wedge with a wooden striking tool. This locks in the adjustment you made.
You need to do this because any time you tap the tool anywhere, there is a decent chance you will loosen the wedge’s grip on the iron. So don’t forget to set the wedge.
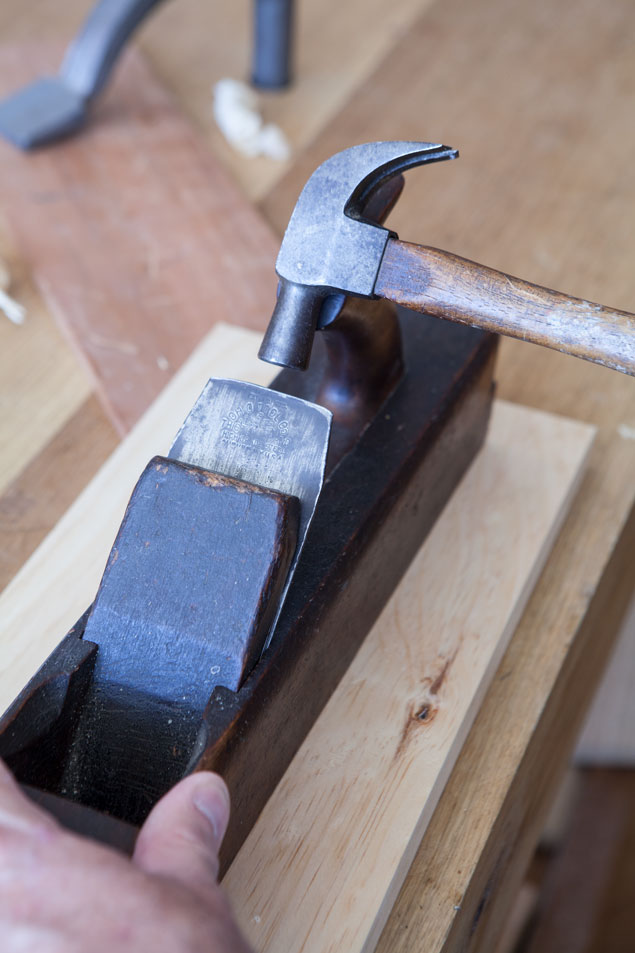
When striking the wooden part of the plane, use a wooden tool. When striking a metal part of the tool, use a metal tool.
Rule No. 2: Wood on Wood; Metal on Metal
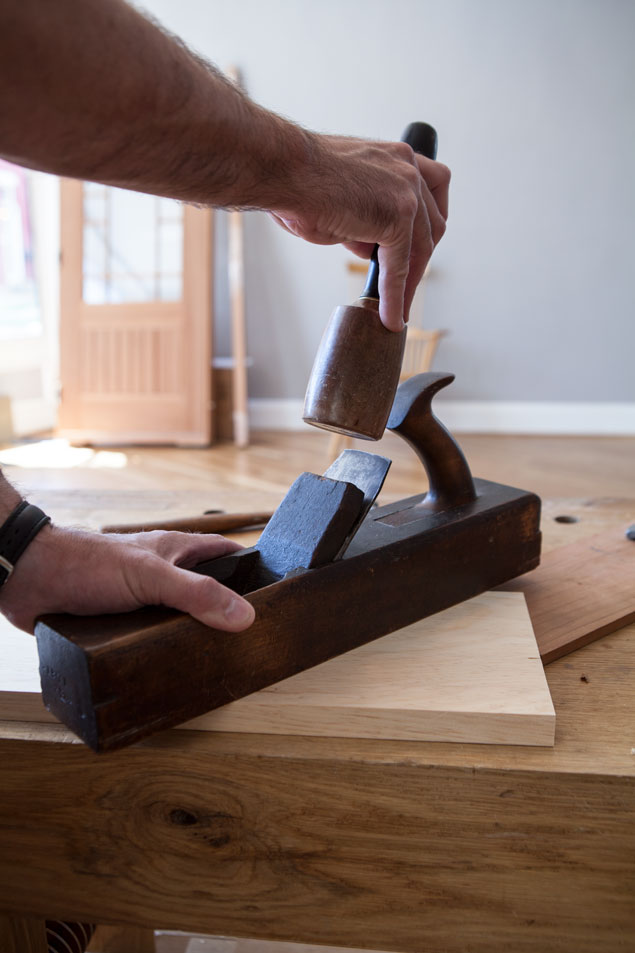
When you adjust a plane by striking its body or wedge, use a wooden-faced striking tool (such as a mallet or plane-setting hammer) to knock the wooden body. A metal hammer will dent and eventually split the body or the wedge.
When you adjust the iron, use a metal-faced striking tool (such as a hammer or a plane-setting hammer) to tap the iron. Using your mallet will reduce the life of your mallet and can give you mushy results as the mallet gradually disintegrates.
How to Take the Plane Apart
To release the grip of the wedge on the iron so you can disassemble the tool, strike the heel of the tool sharply with a wooden mallet (or knock the heel against your benchtop). Usually one or two blows will loosen the wedge’s grip. If the tool has a “strike button” on the top of the body near the toe, you can knock that with a mallet to release the wedge and disassemble the tool.
To disassemble delicate moulding planes, tap the top of the toe against your bench while pulling the wedge downward toward the floor. A second way to disassemble moulding planes is to tap the iron smartly until it passes through the mouth of the tool.
How to Make a Deeper Cut
Most people adjust the iron to take a heavier cut by tapping the back of the iron (then setting the wedge). You also can tap the toe of the plane while the sole is facing the floor (then set the wedge). I prefer to tap the iron as it seems more predictable.
How to Take a Shallower Cut
Some woodworkers prefer to make small adjustments only when increasing the depth of cut. So if they set a plane to cut too deep, they will knock the heel of the plane’s body hard to release the iron, pull the iron back and start over.
I strike the heel of the tool (or the strike button) once with a mallet (and not as hard as when I take the tool apart). Then I’ll, of course, set the wedge.
For delicate moulders, I’ll tap the top of the tool against the workbench, but not as smartly as when disassembling the tool.
How to Make Lateral Adjustments
To center the iron in the mouth of the tool, tap the left or right side of the iron with a metal hammer. Then set the wedge.
A properly functioning wooden plane should be easy to adjust. If the wedge won’t set or the plane won’t hold its settings as you work, you need to start investigating where the wedge meets the sidewalls of the plane body. For details on tuning up wooden planes (and constructing new ones), I recommend John M. Whelan’s “Making Traditional Wooden Planes” and “The Wooden Plane” (both from Astragal Press).
— Christopher Schwarz
Here are some supplies and tools we find essential in our everyday work around the shop. We may receive a commission from sales referred by our links; however, we have carefully selected these products for their usefulness and quality.




What about using a rawhide mallet instead of a wooden mallet. Bill Carter recommends the rawhide ones. My carvers mallet is a bit too large to easily tap the wedge, although I do use it. The rawhide mallets are made smaller.
For my metal striker I use a cobblers hammer, which I know some guys with metal planes favor. Flat, large surface I guess is the reason.
“To disassemble delicate moulding planes, tap the top of the toe against your bench while pulling the wedge downward toward the floor.” Since the toe and the wedge point in opposite directions; either you are hitting the toe upward against the underside of the bench or you are pulling the wedge up toward the ceiling. The sentence as written is confusing. Please clarify.
Thanks
I have several “classic” planes as well as a half dozen of H.N.T. Gordon’s and find some of them without peer in use. Especially the smoother and foreplane. They make planing as much of a pleasure as can be.
Chris,
you mention in the post “To disassemble… (see the section on moulding planes for details).” I take it this is an excerpt from a larger post or one of the books you mention in the piece – where can I find the “section on moulding planes”?
I follow the “always be tightening” rule – for wood planes, metal planes, and guitar tuning. This allows me to be lazy and just tap the appropriate part of the plane on the benchtop. I make a pass, tap, and make another pass in a pretty smooth motion, the way you would with the knob on the back of a metal frog.