We may receive a commission when you use our affiliate links. However, this does not impact our recommendations.
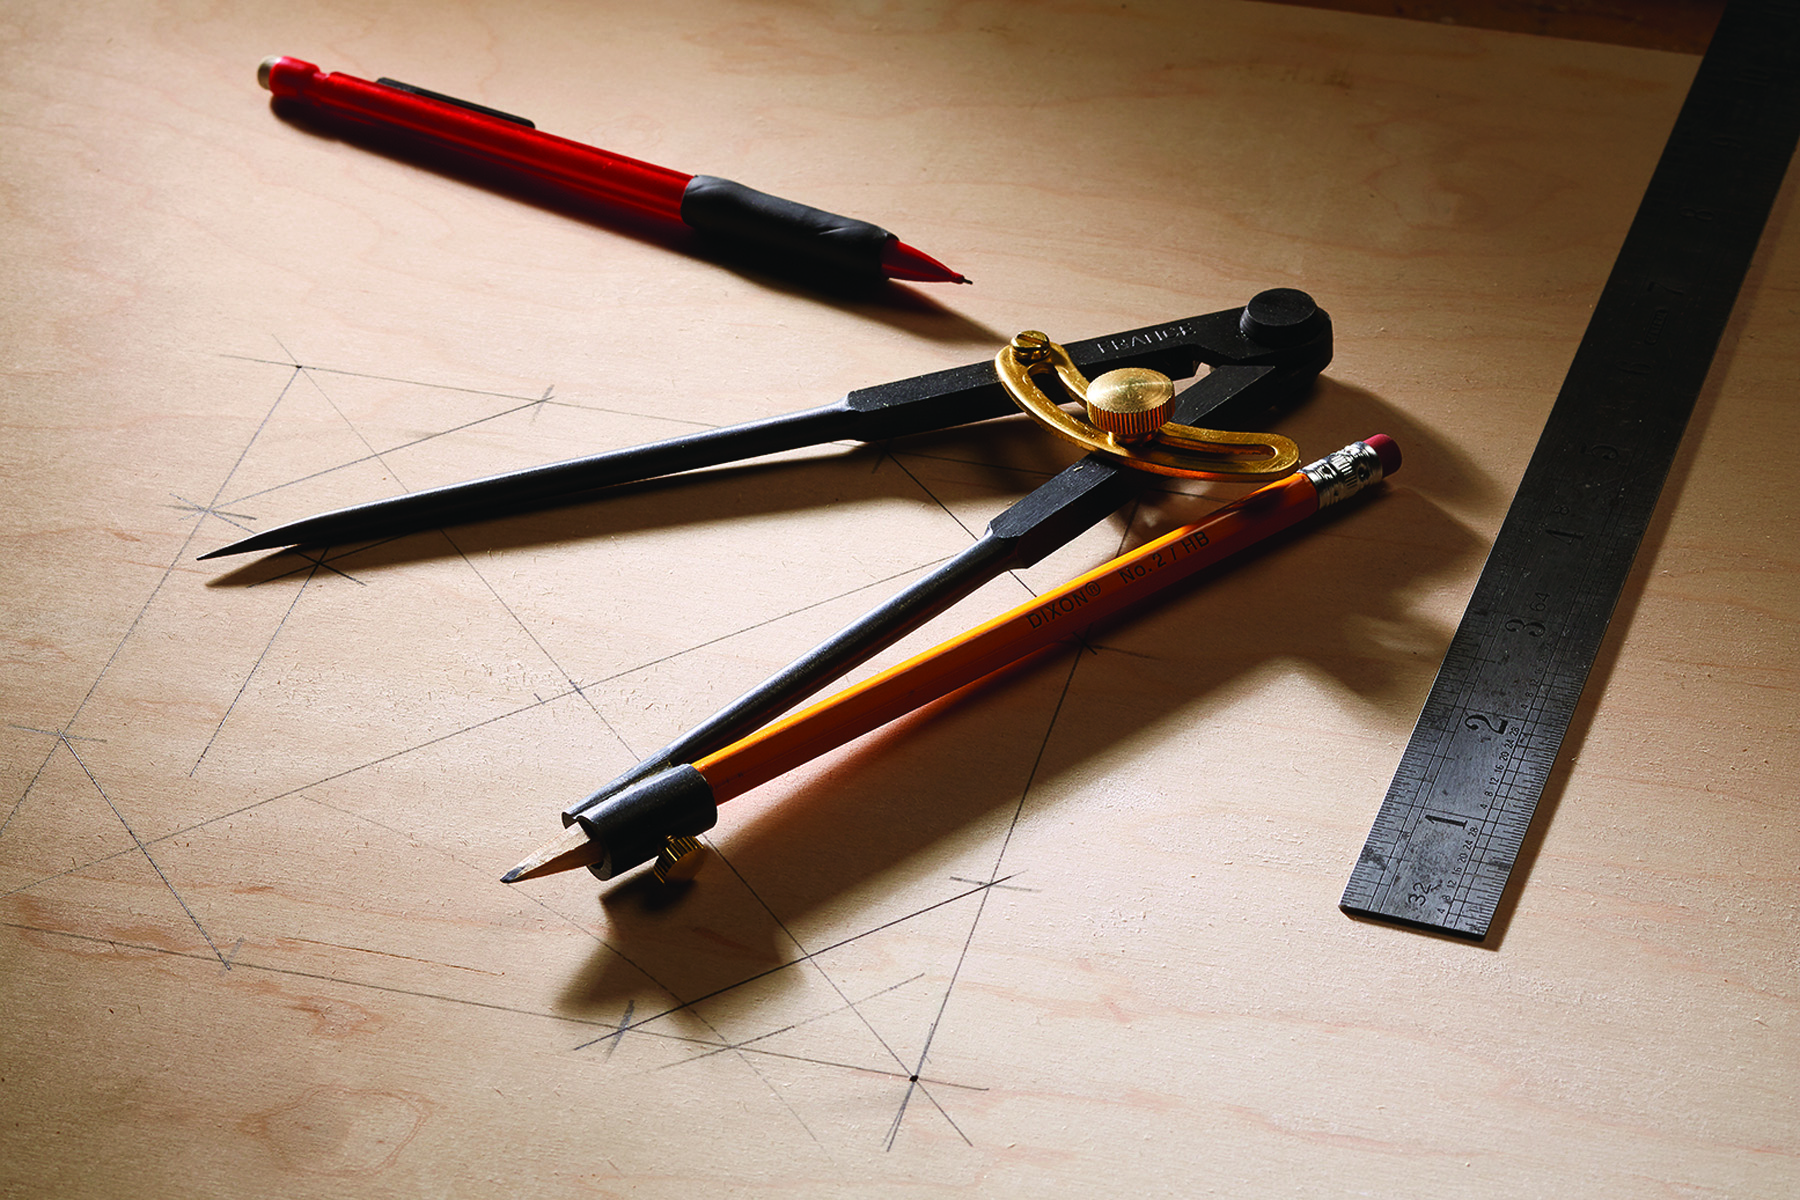
All shapes & sizes. With a compass, straightedge and pencil, you have a woodworking trifecta with which you can draw many geometric shapes.
A swing of an arc is the solution to many layout and construction problems.
If you think a compass is only for drawing circles, think again. This simple and inexpensive device can divide almost anything into precise and equal sections, construct complex polygons and find the precise settings for making miters on any angle. Most woodworkers own or have access to this incredibly powerful layout, design and problem-solving tool – but they don’t realize its capabilities.
Get your compass out of your toolbox and play along. If you have to, borrow one from the nearest grade-school student or buy a cheap one. By the time you reach the end of this article, you’ll likely want to get a nice one. At the very least, you’ll have a newfound respect for this simple device.
Divide by Two, Prove Square
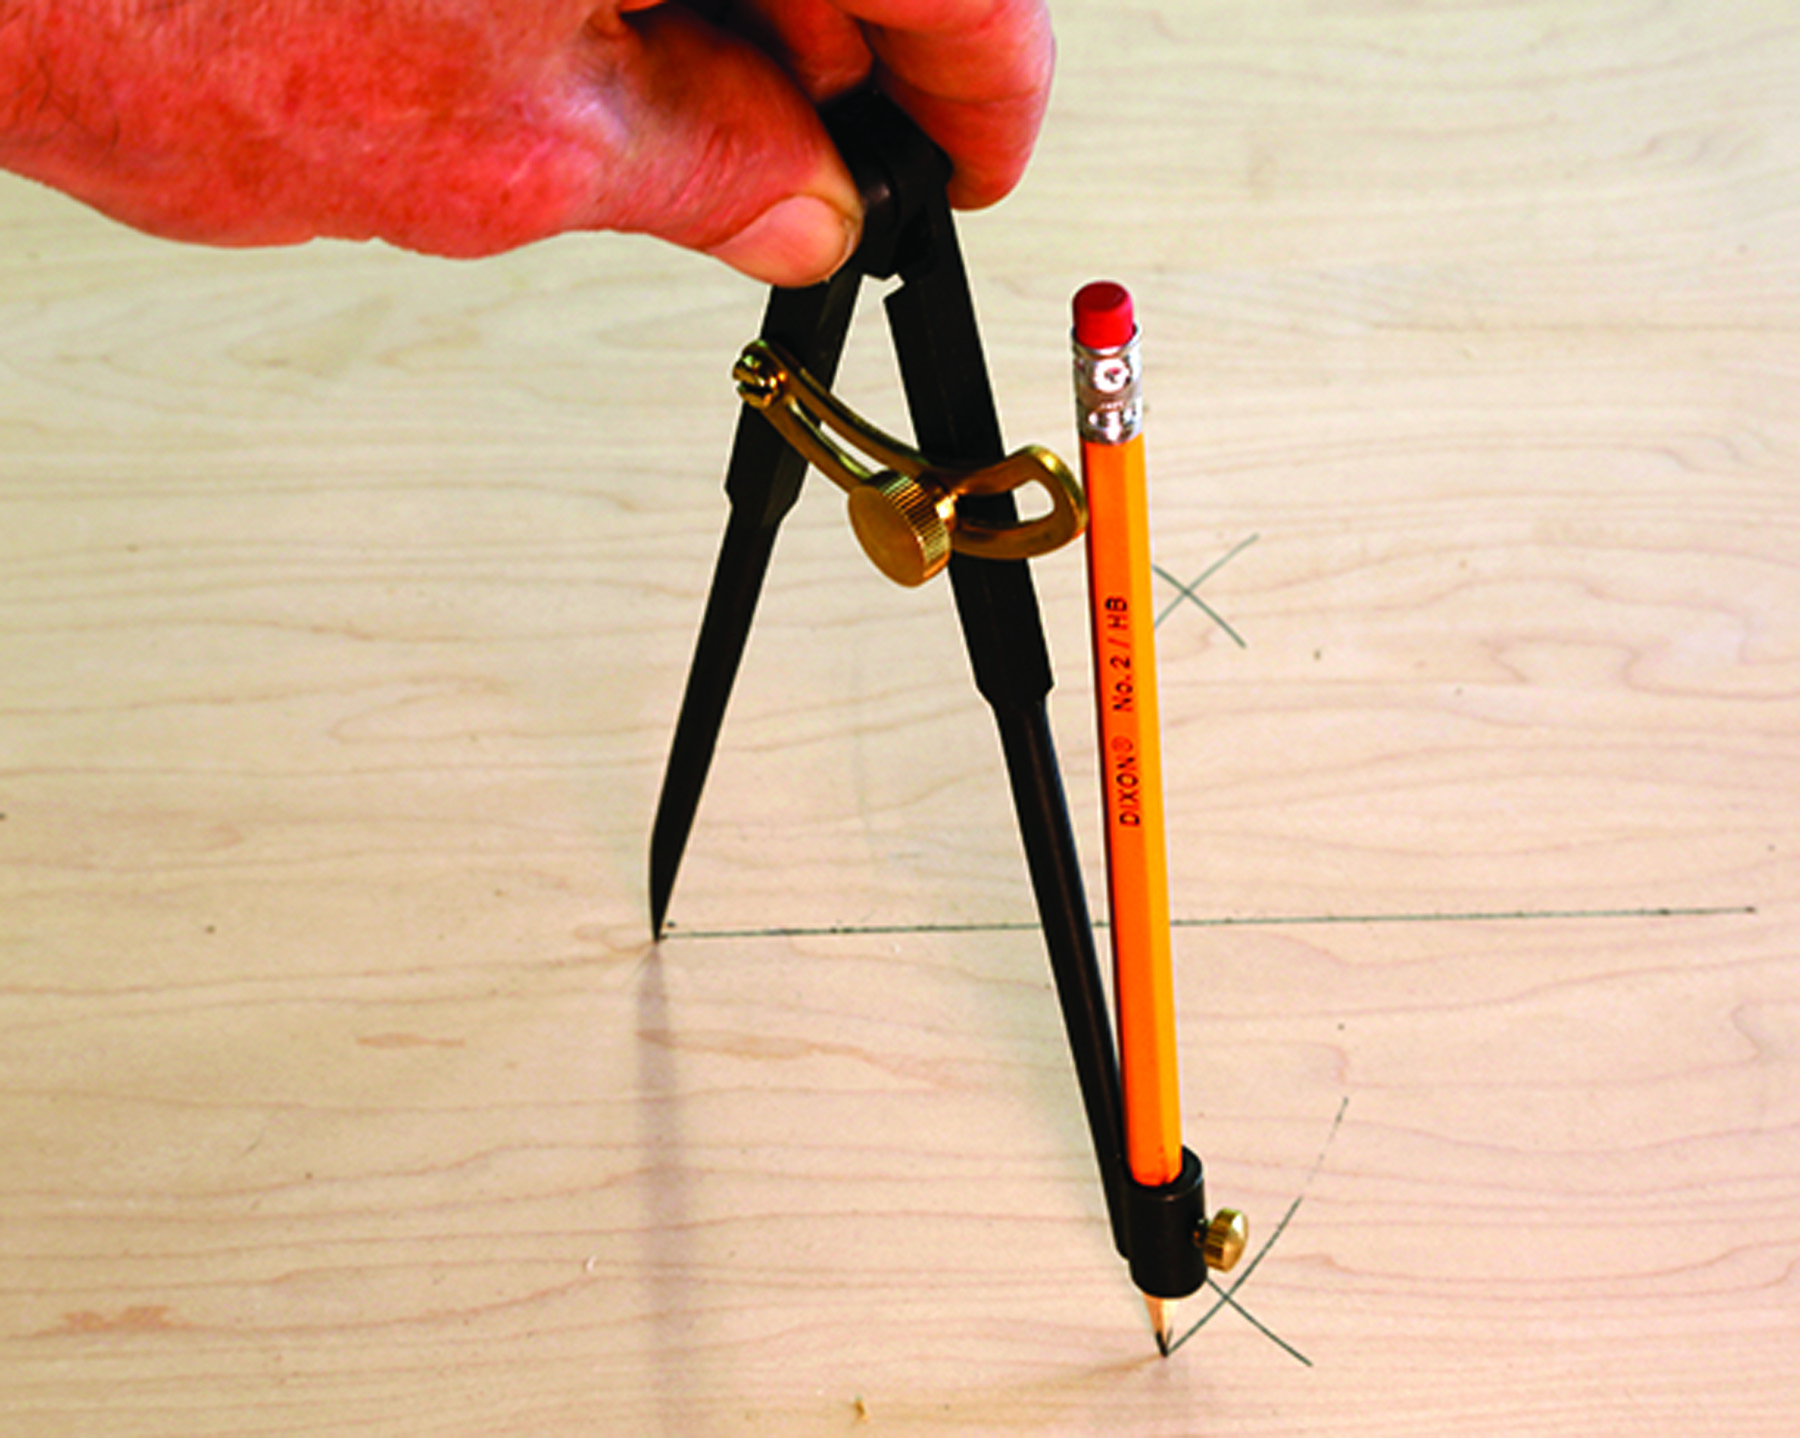
Above & below. Swing arcs above and below a line from both ends so they intersect. Connect those points to divide the line squarely into two equal segments.
People often turn to numbers when they don’t need to, and that can slow them down or lead to frustration. Where a compass really shines is dividing things in half. Many geometric constructions are based on two points being an equal distance from something else. The important part is that of equality, not the actual measurement.
Despite what you may have thought in high school, geometry is useful, relevant, and empowering. Let’s start with a straight line of any length. Stick the point of the compass on one end of the line, and set the other end to anywhere beyond the halfway point. It doesn’t matter how far. Don’t worry about it; just set the distance by eye and swing an arc above and below the original line. Without changing the settings, stick the point of the compass on the other end of the line and swing arcs above and below from there.
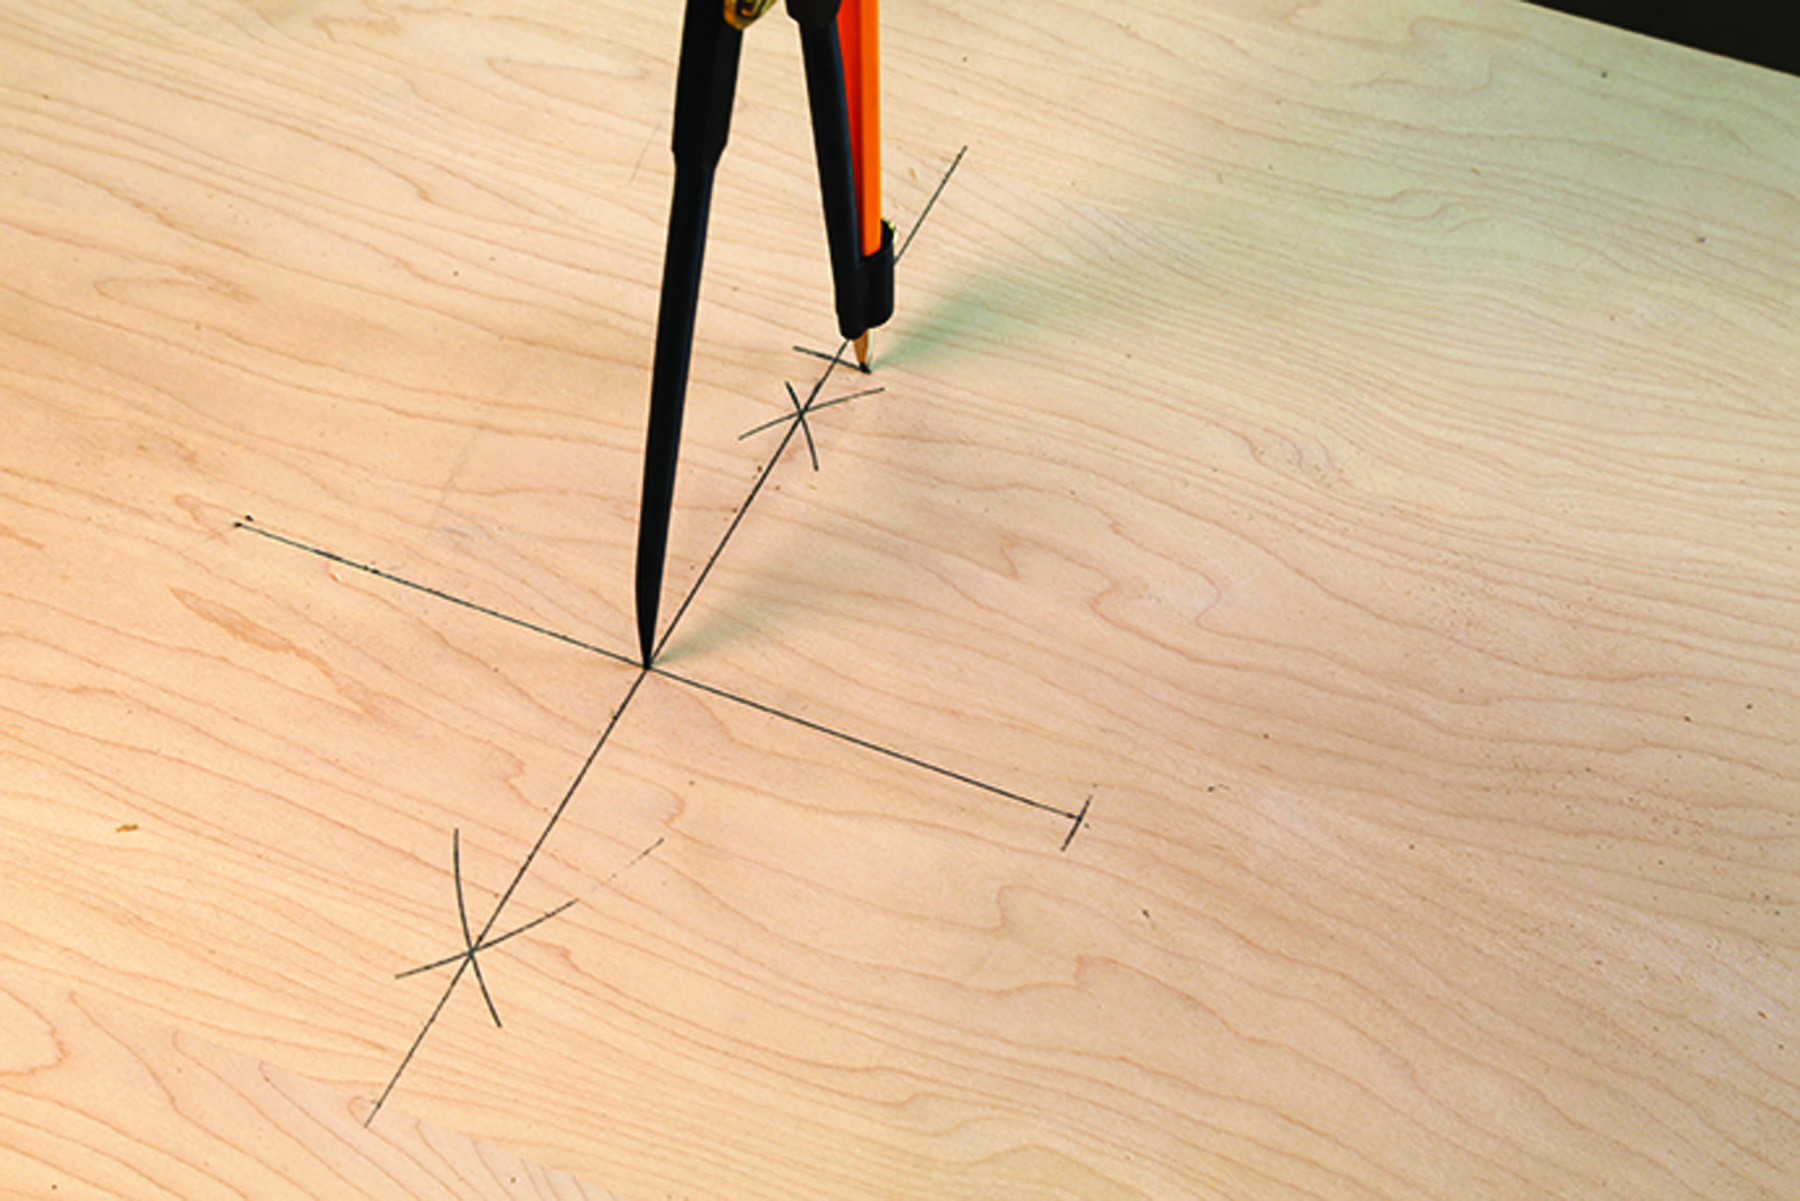
Connect the dots. Set the compass between the center and the end of the line, then swing an arc to cross the vertical line. Connect those points to make a 45° angle.
The intersections of the arcs are at equal distances from each end of the line, and when you use a straightedge to draw from intersection to intersection, the new line crosses the original line at exactly the midpoint. Even better, it’s at a right angle to the original.
Stick the point of the compass on the intersection of the two lines and reset the distance to put the pencil lead on the end of the original line. Now swing an arc across the perpendicular line. Connect that intersection with the end of the first line, and you have just drawn a perfect 45° angle.
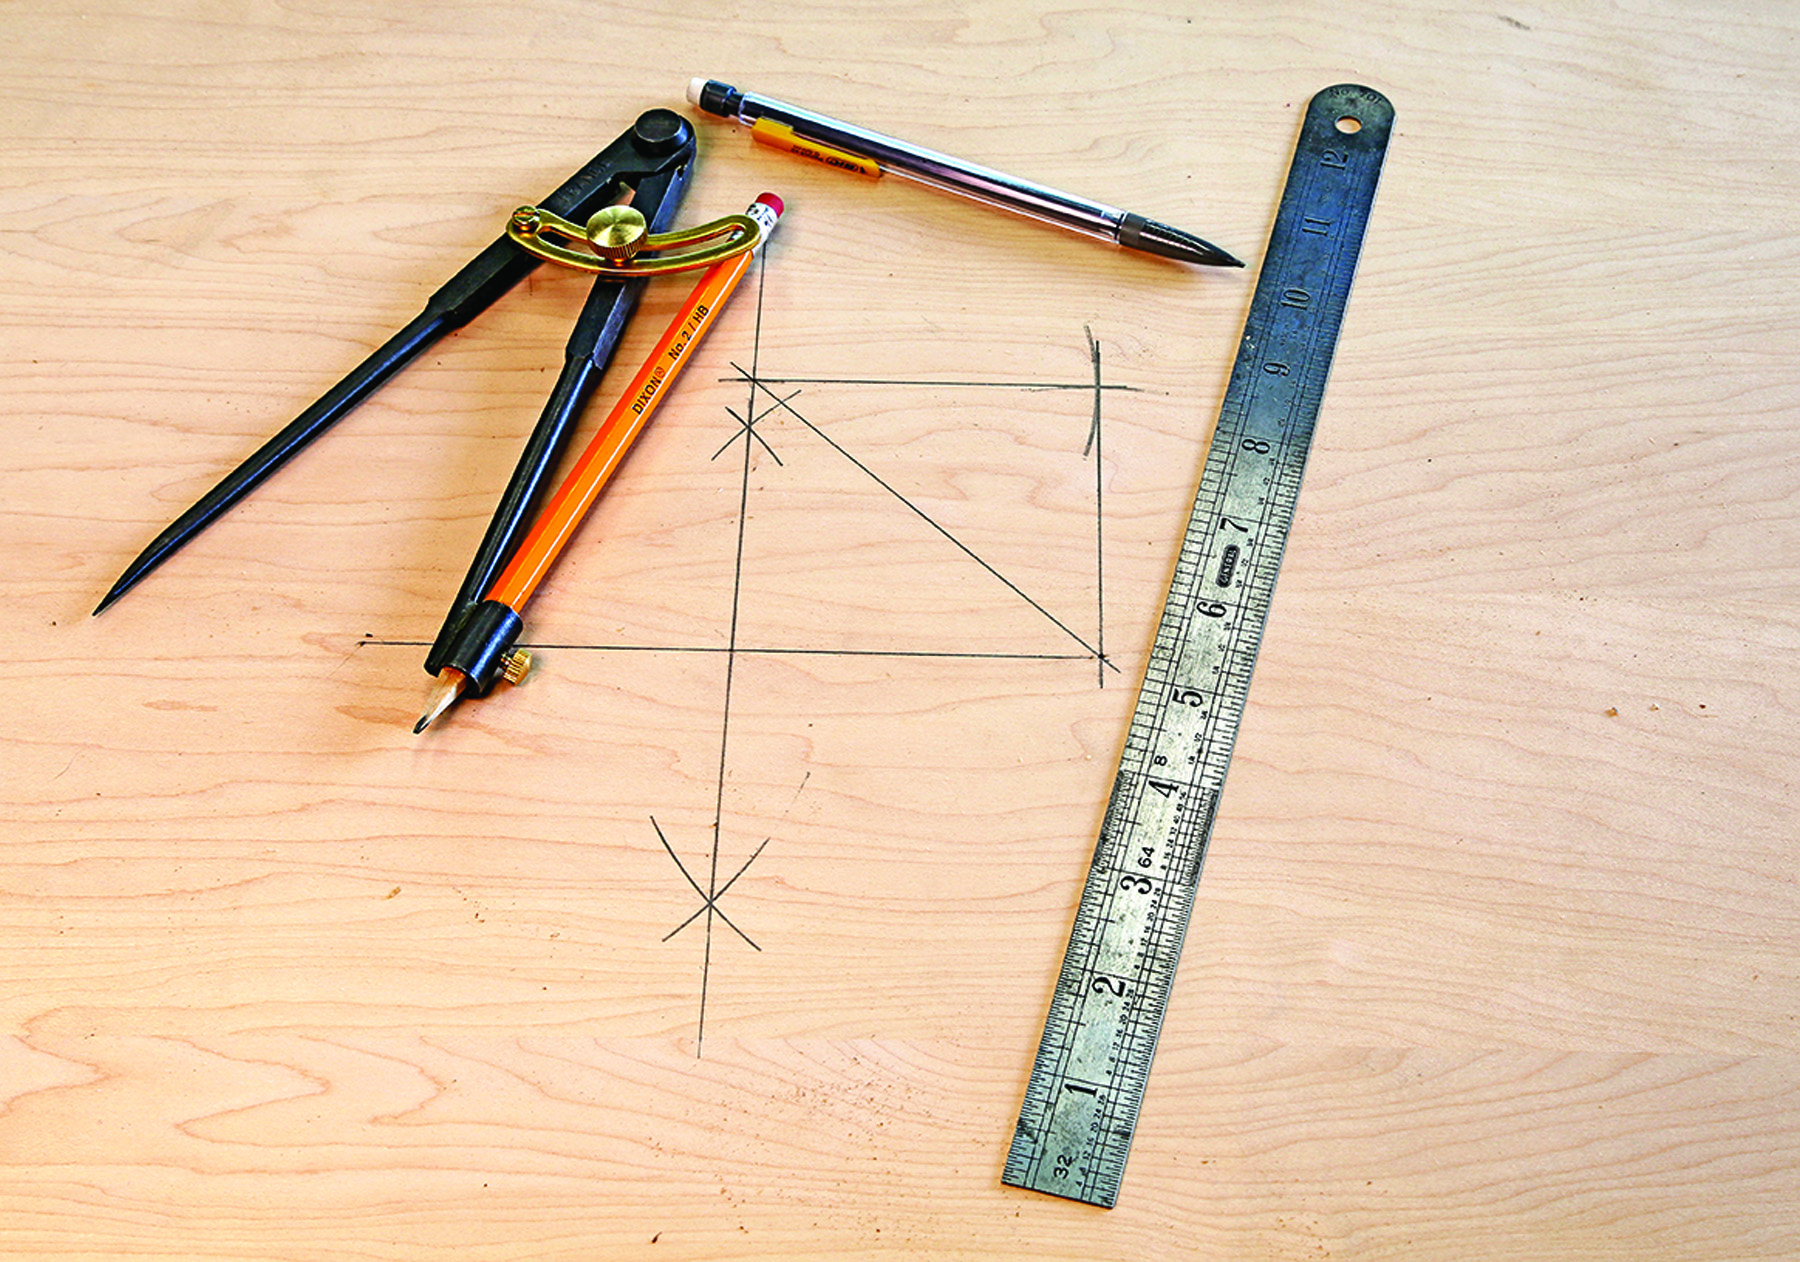
Now it’s square. Keep the compass set and swing arcs from each end of the angled line. Draw lines back to the ends of the diagonal to make a perfect square.
Without changing the compass setting, swing arcs from the ends of the 45° line so they intersect. Take the straightedge and connect that intersection with the ends of the angled line. One line is parallel to the first line and the other is parallel to the perpendicular line. The result is a perfect square.
Polygons by Compass
 If you need to make an equilateral triangle, set the distance between the compass points to the length of one side. Draw a line that length, and from each end swing arcs that intersect above the line. Connect the points to make the triangle.
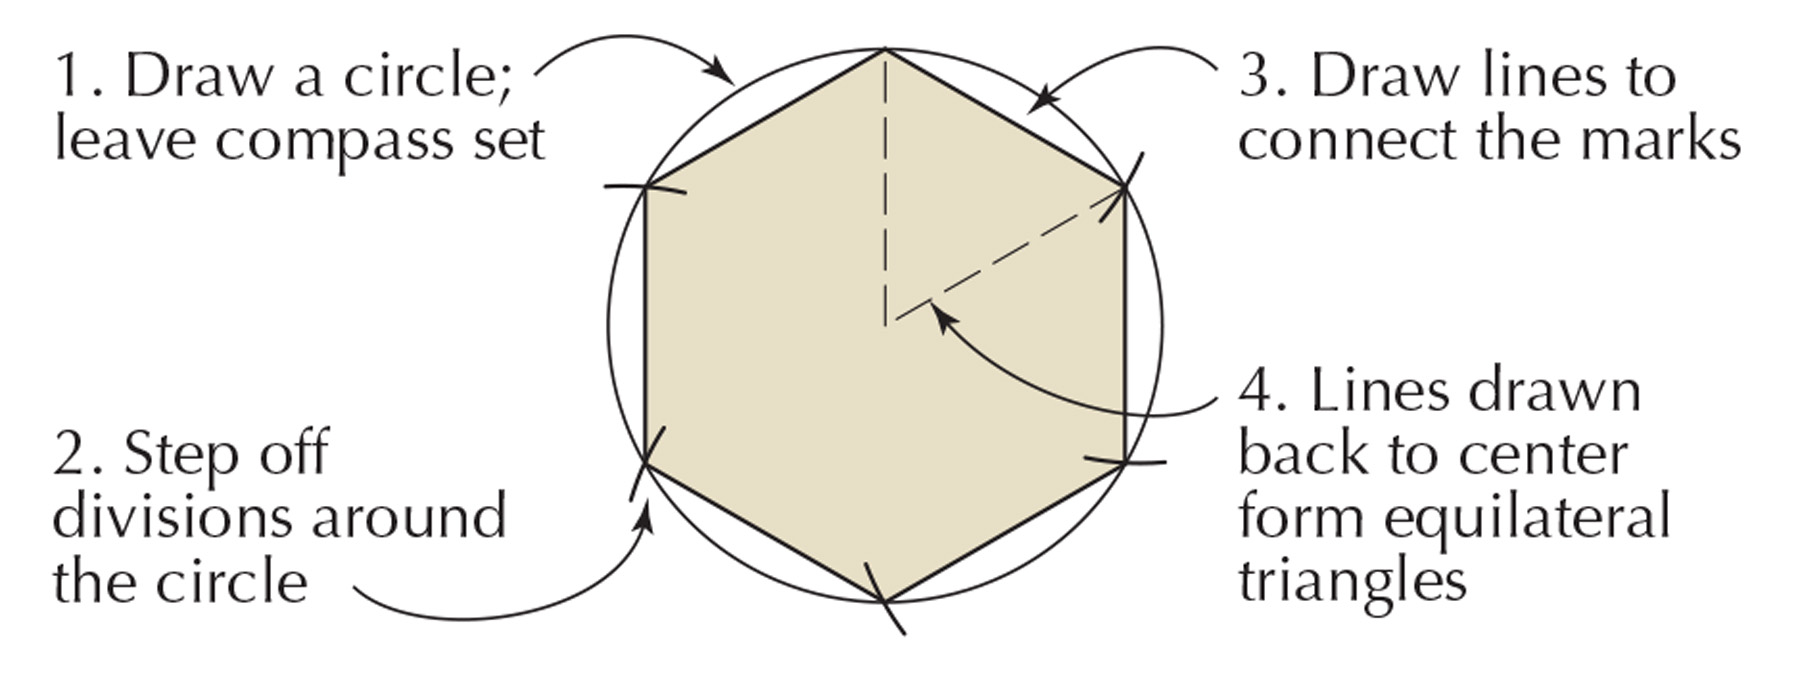 To create a hexagon, first draw a circle, and without changing the compass setting, set the point of the compass anywhere on the perimeter. Step off around the perimeter and connect the intersections with lines to make a hexagon. If you draw back from the perimeter points of the hexagon to the center of the circle, you will create six equilateral triangles along with a visual explanation of how (and why) this method works.
 You can easily clip the corners of a square and turn it into a perfect octagon. Find the center by drawing diagonal lines from corner to corner. Where those lines cross is the exact center of the square. Stick the point of the compass in one corner and set the lead to the center point. Swing two arcs from each corner to intersect with each horizontal and vertical line. Connect those points and you have an octagon.
 If you want to make a mitered frame in any of those shapes, you can determine the cutting angles using the method outlined in the article, but an even easier method is to draw lines parallel to the shape. This method also works if you want to miter two pieces that are of different widths. Draw from corner to corner and set your bevel gauge to the drawing. Use that to set up the cut, and don’t worry about how many degrees are in each angle.
Two Ways to a Perfect Angle
In addition to dividing lines exactly in half, you can also use the compass to bisect angles. This will be a lifesaver when you need to miter a wacky corner.
For practice, draw two lines from a single point at any angle. Set your compass to any reasonable distance, and swing arcs from the intersection between the two lines to cross each line. Move the point of the compass to each intersection and swing arcs into the opening between the lines. Draw a line from the point where the arcs meet back to the intersection of the two lines.
That splits the angle into two equal parts, and the drawn angle can be used to set your bevel gauge. Your bevel gauge, in turn, sets your saw to make the cuts, and to check the cuts after you’ve made them. A simple solution, no numbers were used, and no brain cells were harmed in the process.
Here are some supplies and tools we find essential in our everyday work around the shop. We may receive a commission from sales referred by our links; however, we have carefully selected these products for their usefulness and quality.