We may receive a commission when you use our affiliate links. However, this does not impact our recommendations.
 By hand or power? With a spring joint or not?
One of the most important joints in woodworking is the edge joint. Without it, our projects would look like they had been built from narrow popsicle sticks.
The joint bewilders many amateur woodworkers – perhaps because there are so many ways to go about it. Which method is best? Which tools are best?
The senior staff of Popular Woodworking circa 2009 rarely agreed on anything. And making edge joints was no exception. They did, however, agree on one principle when it comes to edge joints: You aren’t going to get consistent results by making your edge joints with a table saw blade.
Let’s travel back in time and see how those editors used other tools and machines to create edge joints that resulted in seamless seams and maximum glue adhesion.
First: Understanding History
This joint has always made woodworkers edgy (sorry). Early written accounts of making edge joints would tout a variety of approaches as the best to ensure the finished panel stayed together.
Some accounts recommended loose splines. Some recommended using a tongue-and-groove joint. There was even a special kind of nail that could be used for joining edges. More modern methods of reinforcement include dowels, biscuits, Festool Dominos and pocket screws.
However, we contend that if you have two surfaces that will mate perfectly then you don’t need additional reinforcement. A well-made glue joint is stronger than the wood surrounding it.
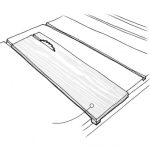
Another area of confusion: Other early accounts recommend using a “spring joint” when gluing up a panel. A spring joint is when the edge joint has a small gap (only a few thousandths of an inch) in the middle of the seam. When you clamp across the middle of the panel, it closes the entire seam.
The advantage of a spring joint is that you use fewer clamps to make your panels. Also, if your stock is a little wet, a spring joint can keep the ends tightly together as the stock dries out (end grain loses moisture much more rapidly than face grain).
Some opponents of spring joints say that the gap introduces some stress into the panel that could (in time) cause the joint to open. Other opponents say that spring joints are simply a waste of good shop time.
In our shop, the opinion is divided.
Publisher Steve Shanesy and Senior Editor Robert W. Lang don’t use spring joints. And so we’re going to show Lang’s approach, which uses a powered jointer without any special setups to introduce a spring joint.
Senior Editor Glen D. Huey likes spring joints as a way to reduce the number of clamps he needs to use. He figured out a fairly simple jointer setup and hand trick that makes spring joints an easy thing to do on the powered jointer.
And then there’s me. I like spring joints and I like making them using handplanes. And so I’m going to show you how to make an edge joint using historical methods I’ve dug up from the old books.
So step away from your table saw for a moment and take a look at these three time-tested techniques and decide which one would be best for you.
— Christopher Schwarz
Jointer – No Spring Joint
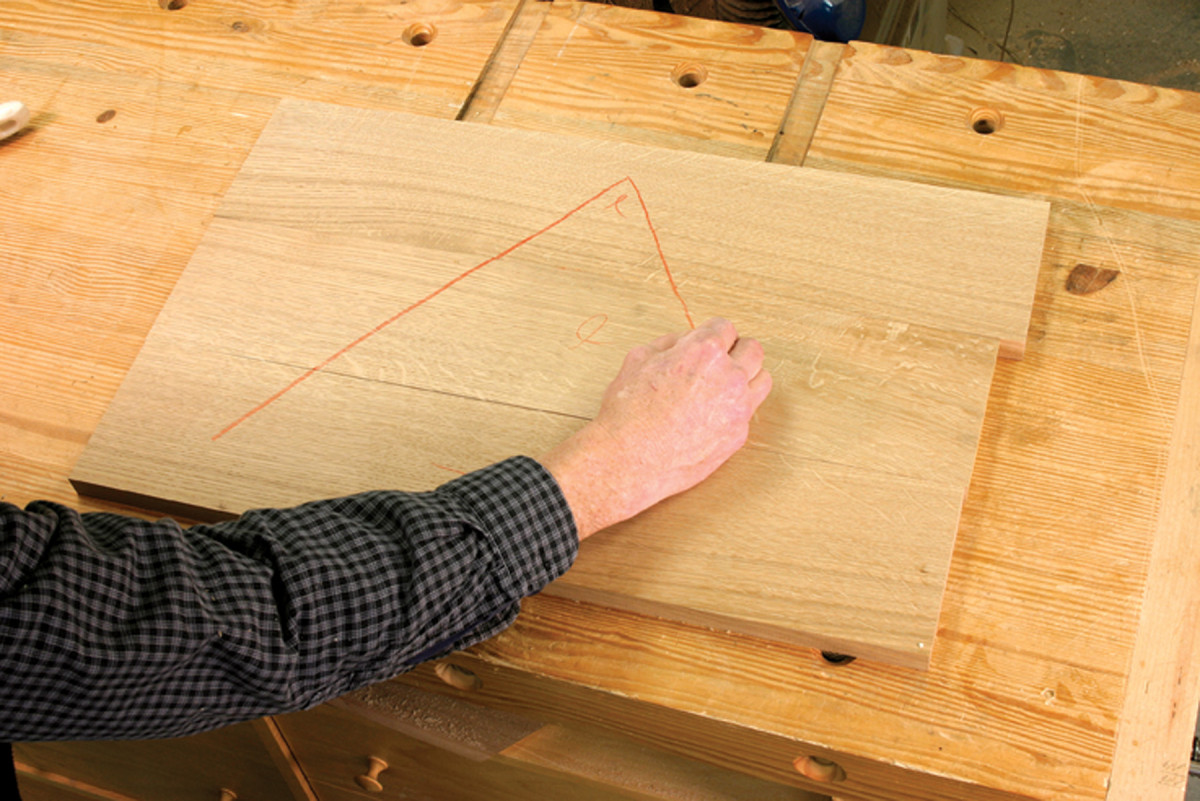
1. Best face forward. These three pieces came from the same board, and I mill them about 1⁄16″ thicker than I need. I also rip the boards wider – overall the three are about 1″ too wide and 3″ or 4″ too long. When I’m happy with the arrangement visually, I mark part of a triangle on the faces with a lumber crayon.
My approach to edge joining comes from my training in production shops, and my philosophy that a joint under tension increases the chances of failure in the future. I don’t use a spring joint, and I run edges over a well-tuned jointer just before gluing. There isn’t anything romantic or inspiring about my approach, but it works well, and it doesn’t take long.
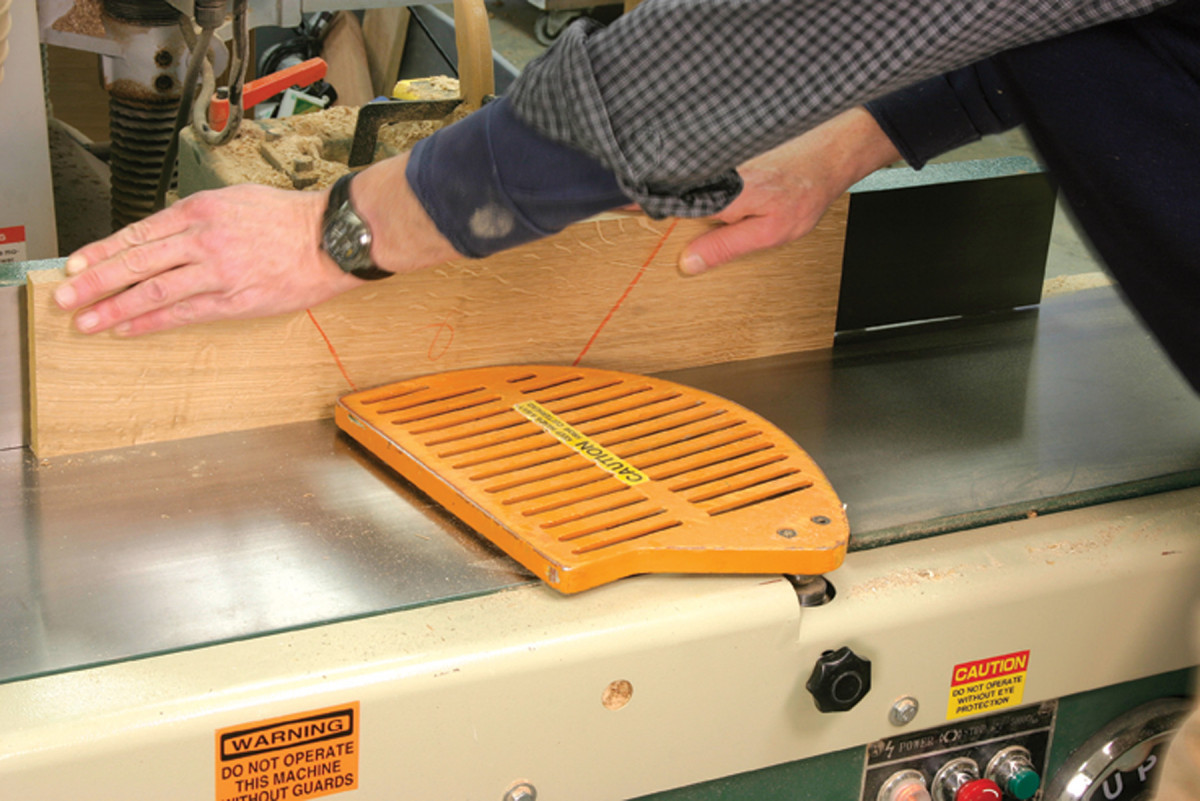
2. One in, two out. I run each edge to be glued over the jointer, alternating the faces to compensate for any small error in the jointer fence. Keeping track is simple. On the first edge the marked face goes toward the fence. On the next piece, the marked face goes out on both edges and on the last piece the marked face goes in.
I’m a bit persnickety about machine set-ups, and I get cranky if I have to remember what area of a machine is off a little, and in what direction that offset is. In truth, I have trouble remembering things like that, so it’s easier to have the jointer knives even with the outfeed table and the fence square.
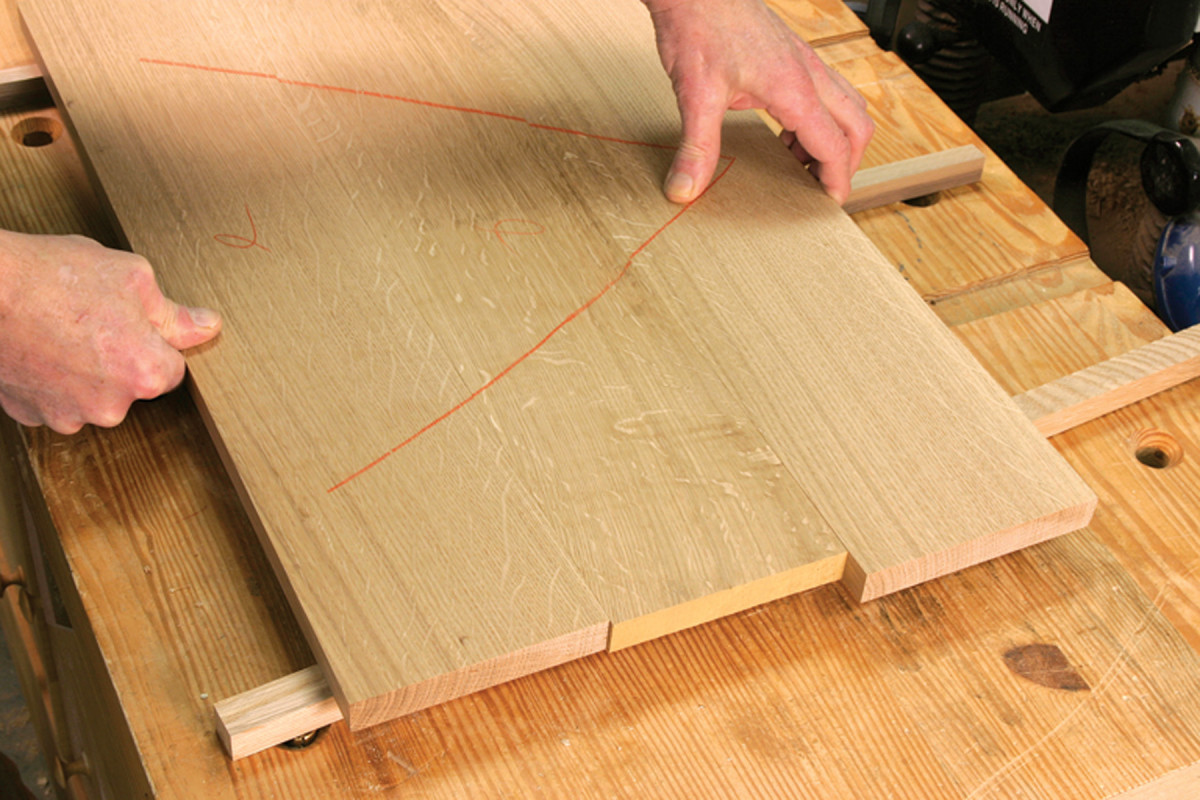
3. Check before gluing. I place the boards across small strips of wood to make it easier to align the faces, and to keep glue off the benchtop. I make sure these pieces are straight and exactly the same size. If the bench is flat, the support strips equal in thickness and the edges of the parts true, I can squeeze the parts together by hand and not see any gaps.
I select wood for panels and tabletops based on appearance. You can’t convince me that there is an advantage to alternating growth rings, or arranging the boards so they will be easy to plane later on. The goal is to make a pieced-together board look like it grew that way. If the material is prepared correctly I don’t worry about it warping, and if I need to fuss a little when doing the final smoothing, that’s OK.
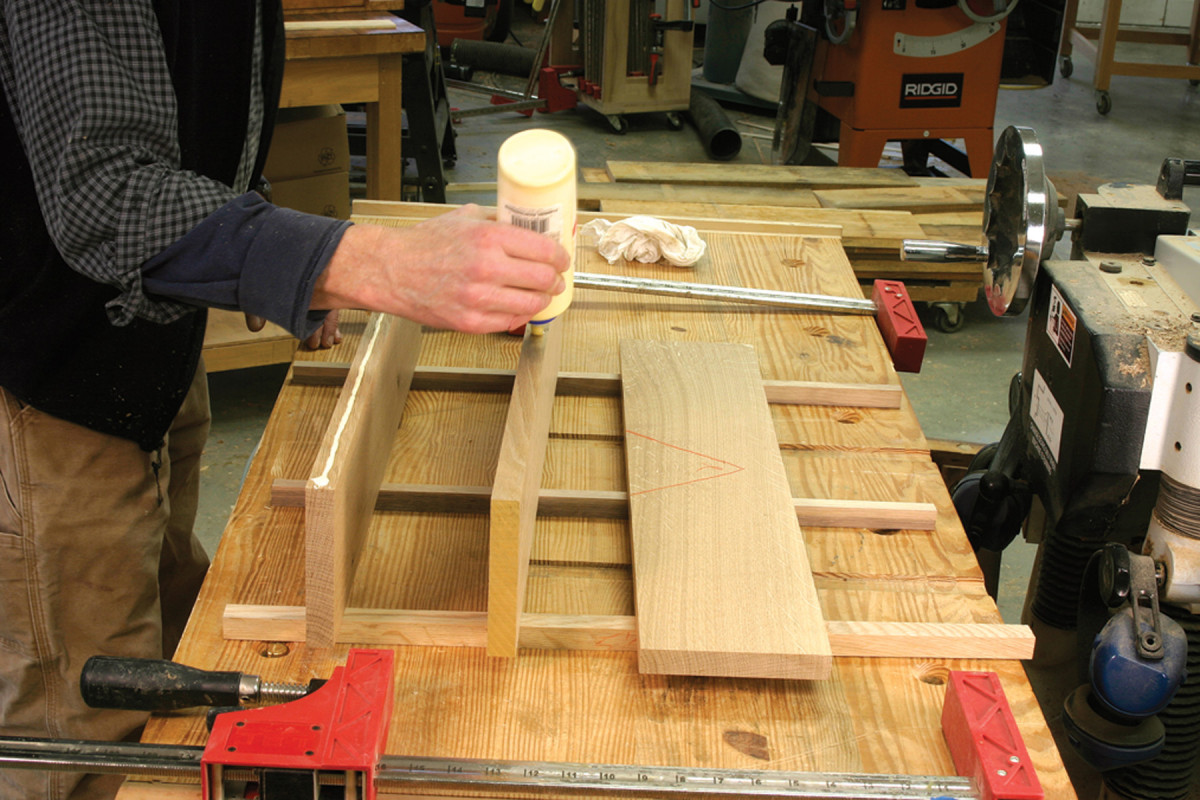
4. Edges up. I flip the first two pieces up on edge and apply a single bead of glue. I don’t need to apply glue to both pieces or spread it around. That happens automatically when the parts are clamped together.
This is an area where mastery of the fundamentals is the key to success. Dead-flat boards with straight and square edges are easy to put together.
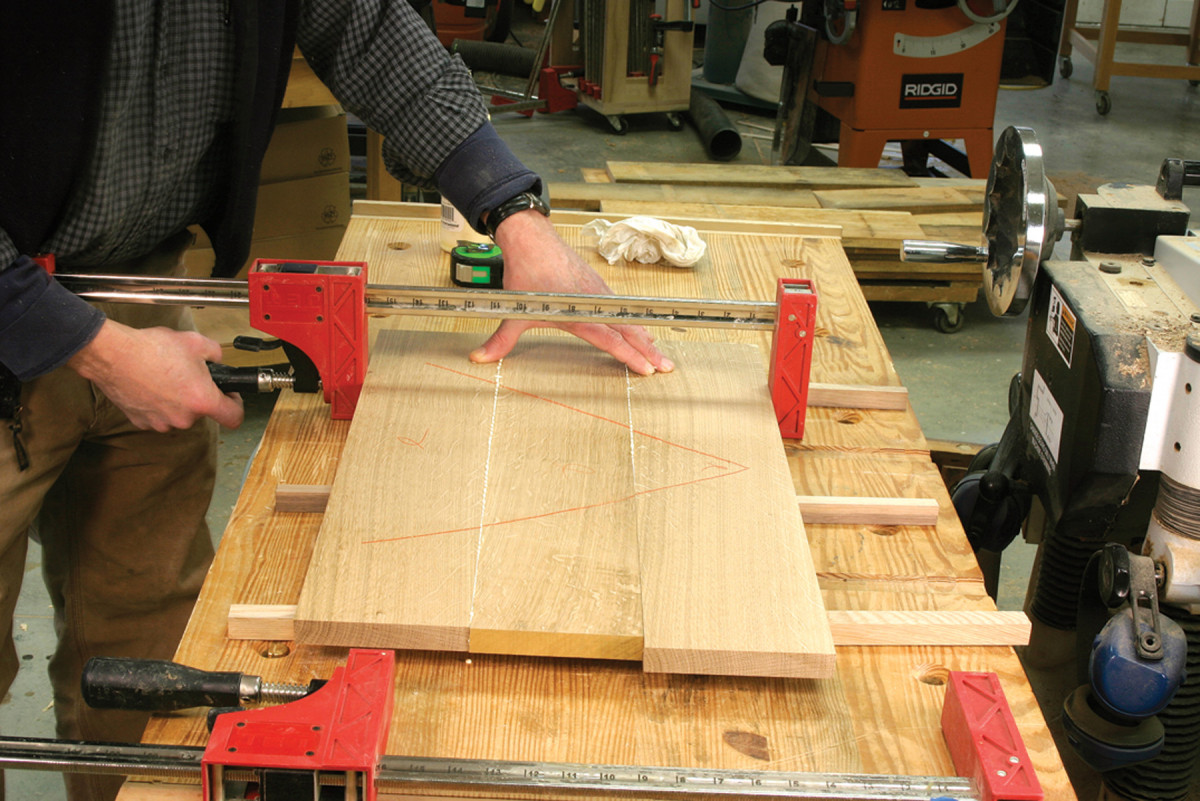
5. No wrestling. It doesn’t take much pressure to clamp the boards together. My left hand holds the boards down on the support strips to keep the faces in line. A small amount of pressure from the clamp will close the joint for most of the length – if the edges are straight.
Glue them together on a flat surface and it can actually be an enjoyable, relaxing experience. If the boards are straight and the thickness consistent before gluing, there is little to be done afterwards.
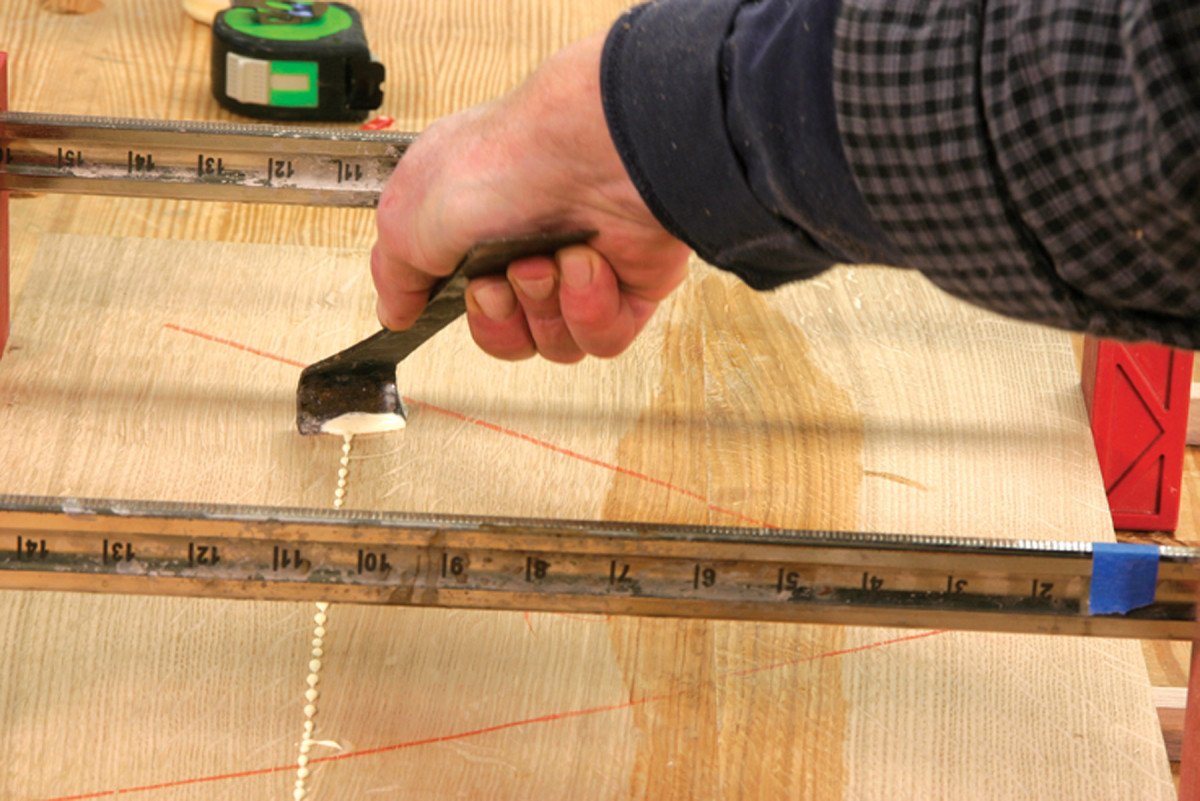
6. Clean up immediately. I scrape off the excess glue, then wipe with a damp rag. If the glue bead dries on the surface, it slows down the drying process, and traps moisture from the glue in the joint. I think it makes a weaker joint.
I crosscut the rough lumber to about the size I need, but when I surface, edge and rip I’m thinking WAP and TAP – “wide as possible” and “thick as possible.” This leaves some margin for me to work around defects or ugly spots without starting over. I try to keep parts from a single board together to make it easier to match color and figure.
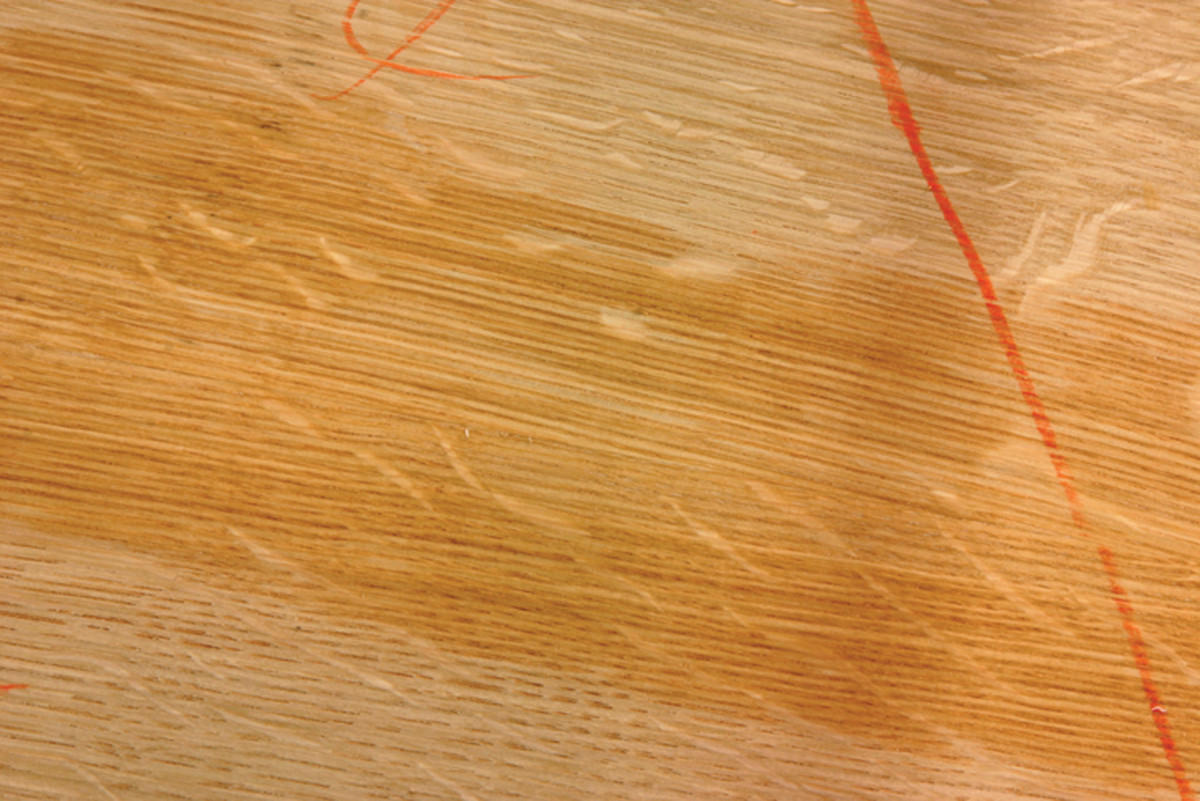
7. Good to go. The finished glue line is nearly invisible. After letting the glue dry for an hour, the clamps can be removed. Complete curing takes longer, so I let the assembly dry overnight before further surfacing. If I do it right, it only takes a few swipes with a card scraper to clean up the panel.
There may have been a time when a spring joint made sense, especially if the moisture content of the wood was too high. In this day and age, it makes as much sense as collar stays and celluloid dickies. — Robert W Lang
Jointer – With Spring Joint
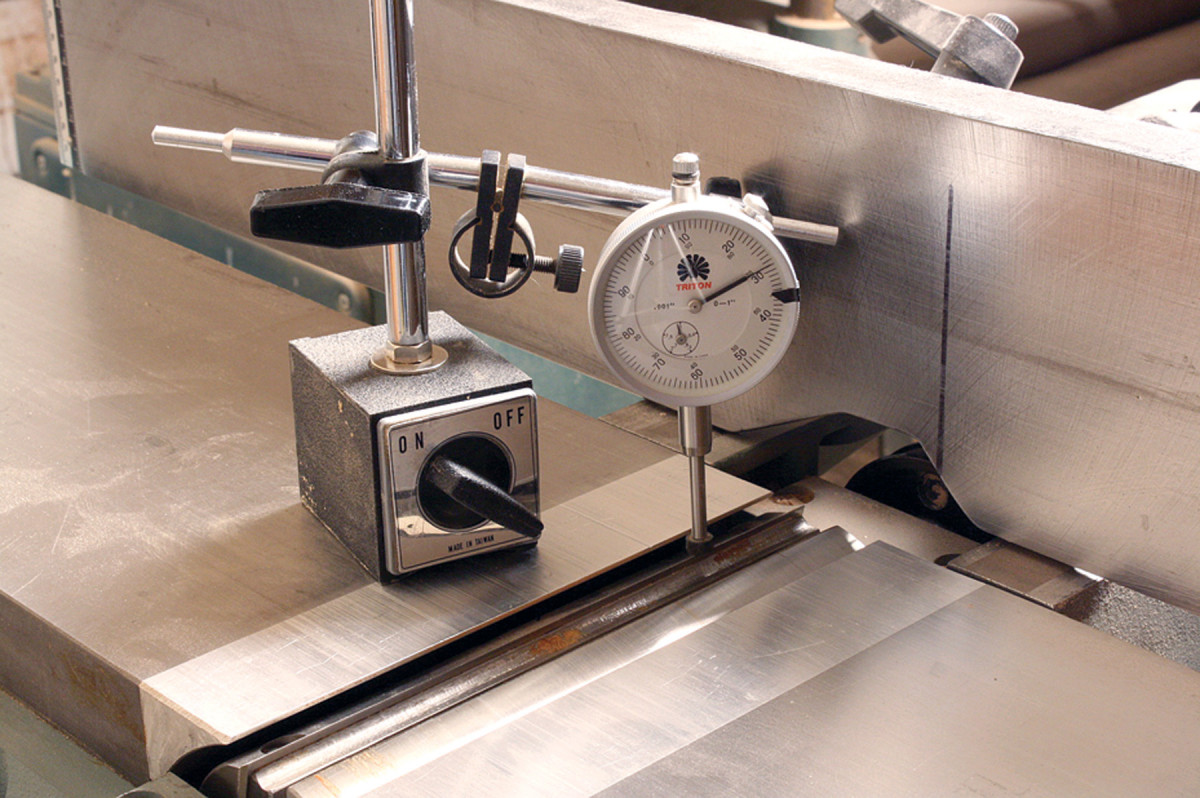
1. Bust the myth. Even if your jointer knives are set out of parallel to the outfeed table, sloped .030″ over the 8″ knife and set .015″below the outfeed table on the end closest to the operator, you’ll still gain a flat surface on the face of your stock because the knives are a straight edge. On a standard 3⁄4″ edge, the variation from side to side is a negligible .003”.
I prepare my edges with a jointer, but I also like a small spring in my joint. Because I’m not a handplane aficionado, I turn to a machine. As a result, I have to bend the rules.
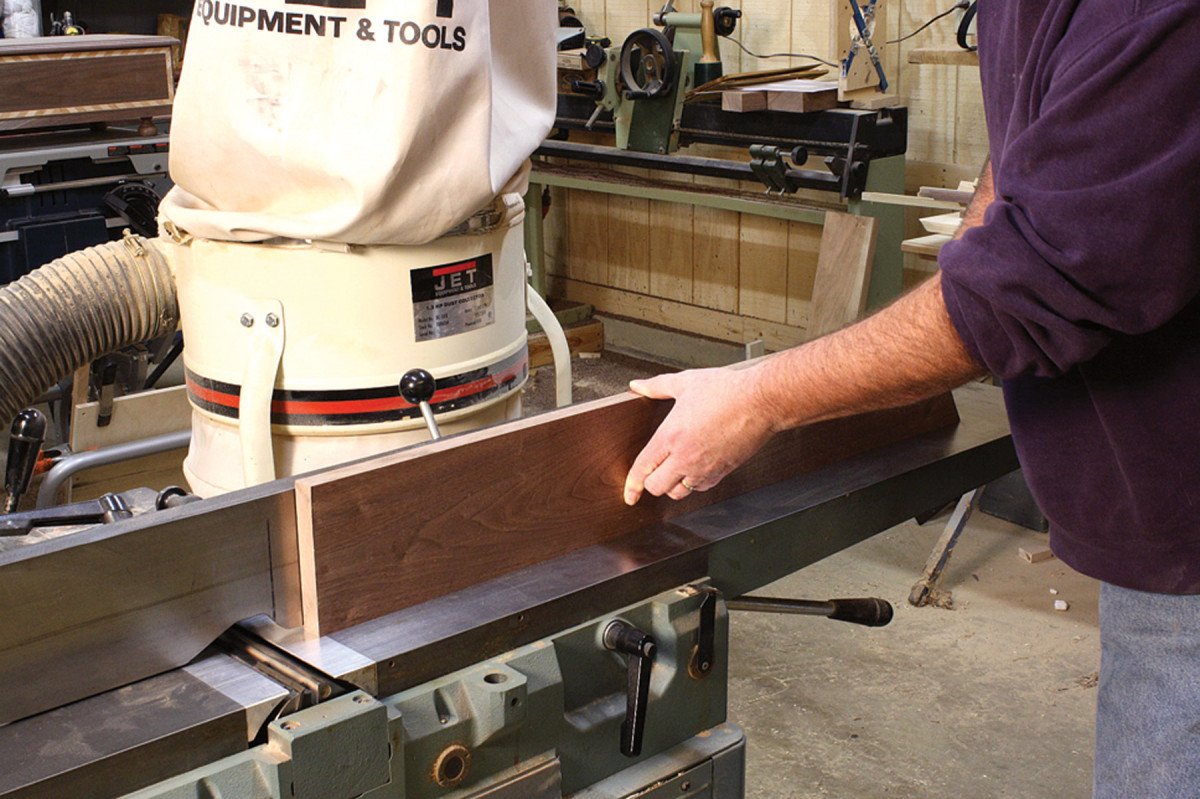
2. Hand placement is critical. After the knives are adjusted, if you transfer your hands to the outfeed table as a cut is made, you’ll get a tapering cut on the edge. With this setup you need to place your hold-down hand at the center of the board. As the cut is made the board rides up the higher outfeed table until your center-placed hand transfers the pressure to the outfeed side. Always place your pressure at the center of the board. Note: The guard has been removed for clarity.
In most articles on setting jointer knives you’re instructed to use a dial indicator to set the knives perfectly level and in line to the outfeed table. That’s bunk.
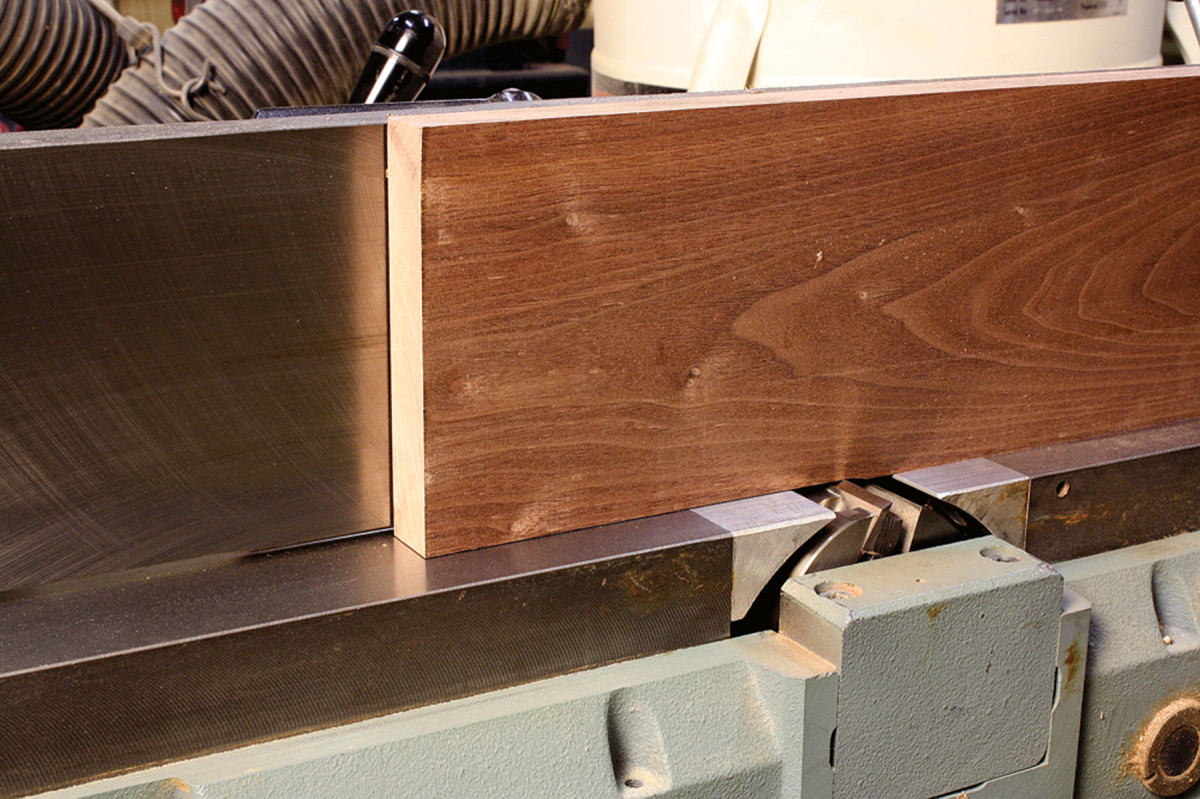
3. Up, up and away. Here you can see how the piece rides off the outfeed table as the cut progresses. If the resulting spring is too large, simply slide the fence back to decrease it. (Your fence position will vary with the board’s length.) After a couple passes you’ll find the sweet spot where the cut delivers the appropriate bow for a properly sprung joint.
While you do need to set the knives level to one another, alignment with the outfeed table is optional. I set my knives so there is .030″ of slope over the 8″ blade. The end of the knives closest to the operator are below the outfeed table by .015″. At the back they are .015″ above the outfeed table.
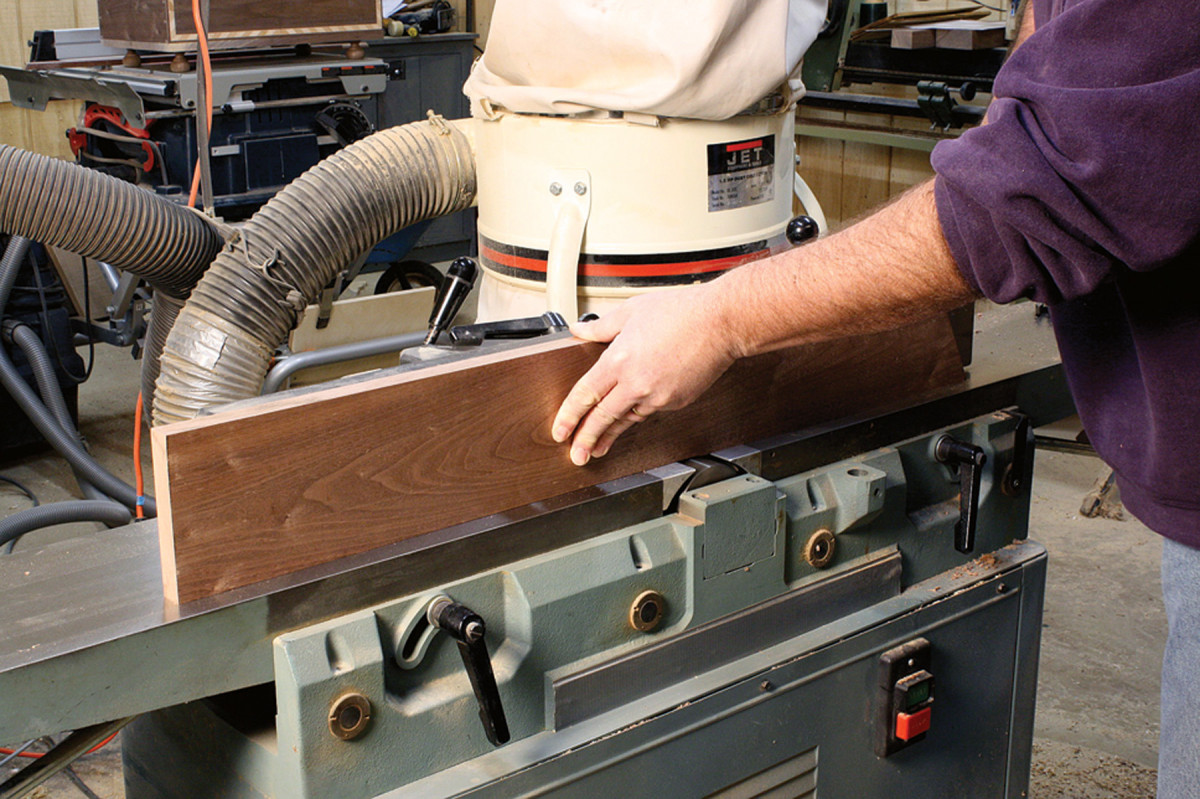
4. It happens automatically. As you move through the cut with your pressure placed at the board’s center, the transfer onto the outfeed table will happen in the middle of your pass. The transfer is gradual, so don’t expect a quick “slap” as the end returns to the table. With the transfer of downward pressure onto the outfeed table complete, a slight taper is created over the remaining length of the workpiece.
With the knives below the outfeed table, you’ll get a taper if you transfer hand pressure to the outfeed table as soon as there is ample surface to do so. That’s another rule I choose not to follow given my blade arrangement!
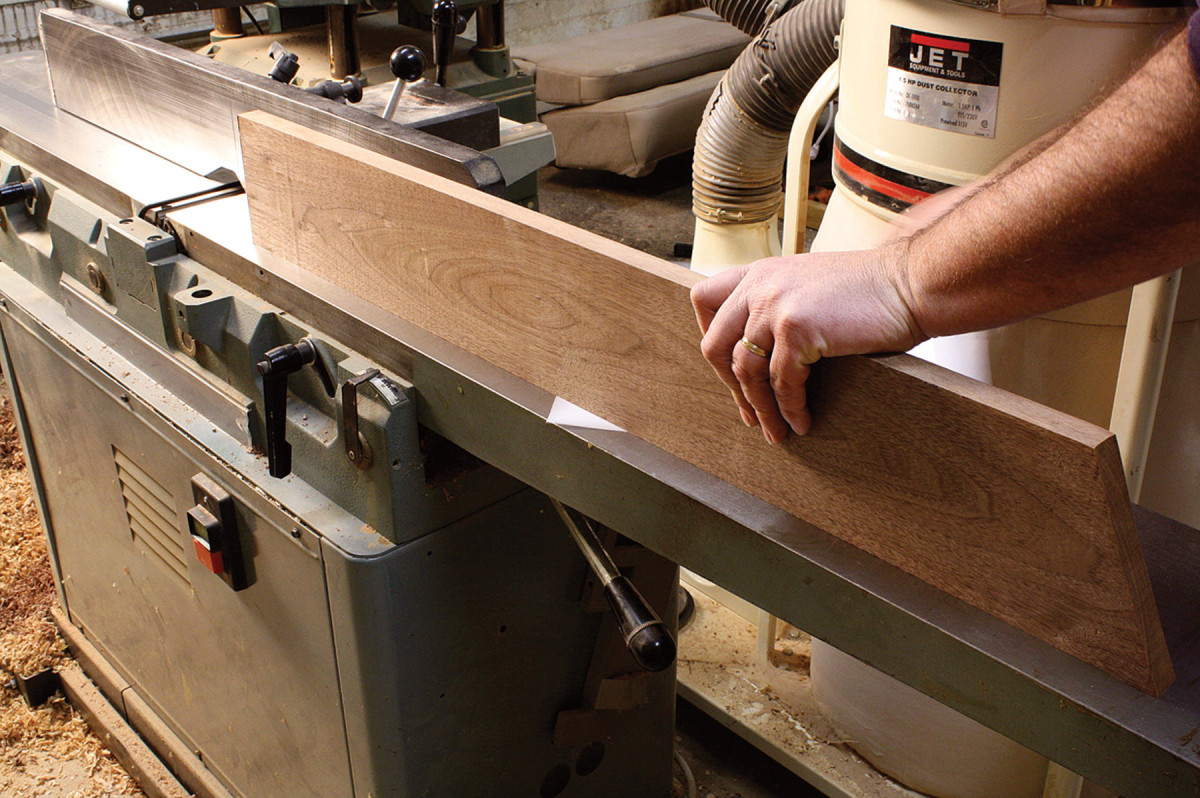
5. Keep it thin. The idea is to create a bow or spring in the board that allows the ends of the joint to be tight as the center gap is closed under clamp pressure. If you create a gap that’s too large, the pressure at the center of the board could become overly strong and cause stress at the glue line. And you don’t gain anything if the bow is too light. I find a sweet spot where a single sheet of paper slides while both ends are in contact with the jointer bed. Another test is to place no more than a playing card between two board edges as you dry-fit the panel.
When edge jointing, I keep my downward-pressure hand at the center of the board. As the board runs over the knives it climbs slightly above the outfeed table. At the center of the board my pressure transfers to the outfeed table and the slight tapering effect completes the cut. Bingo, a spring joint.
And don’t worry about flatness when face jointing. Because a jointed face is not the final surface when milling for thickness, any small variations are erased at a planer. And if you’re worried about the small bevel on the edge of a 3⁄4” board, you’re looking at less than a .003″ variation.
Bottom line: I can dial in my spring joint by adjusting my fence position along the blades. When everything works as planned, I need only one clamp for most panel assemblies, but I generally use two. — Glen Huey
Handplanes
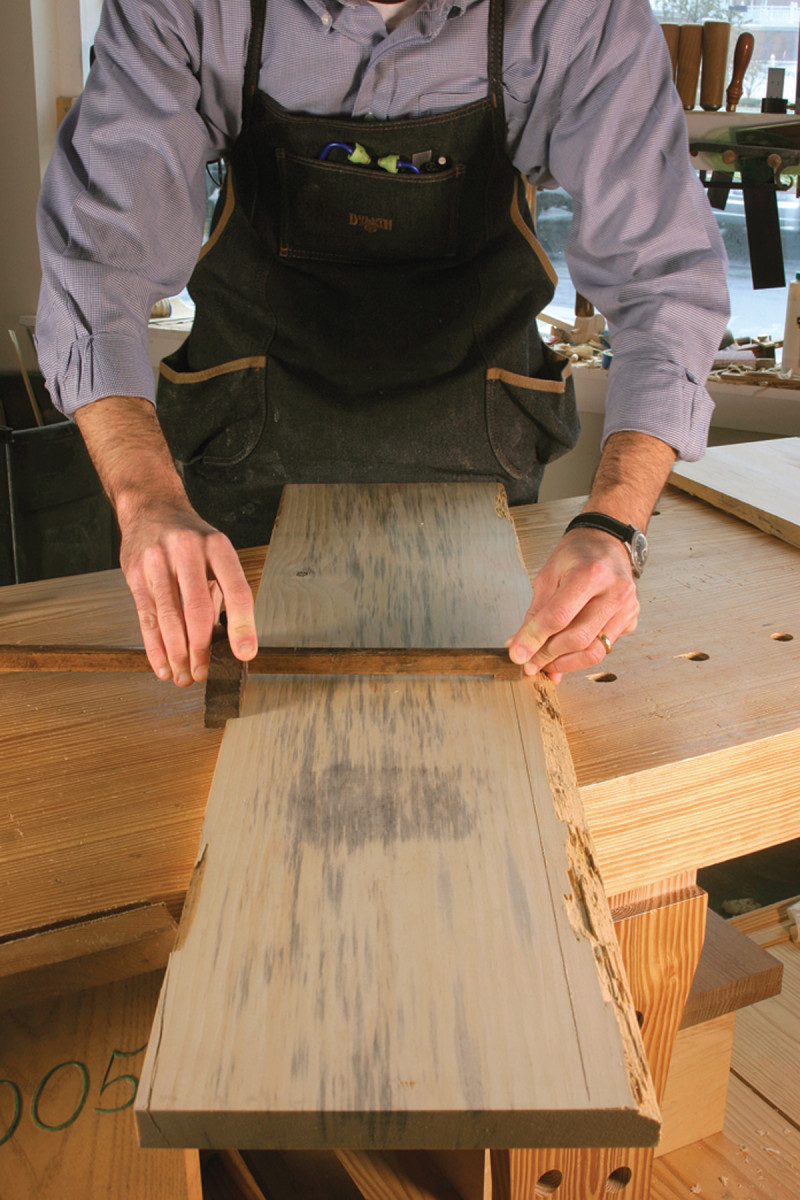
1. Gauge your width. I use a panel gauge to scribe the final width on my boards. Scribe the width on both faces of the board.
Though I first learned to prepare edge joints by machine on a powered jointer, I prefer to do it by hand whenever possible. When I’m working for myself and time isn’t a concern, I’ll use the pure hand-tool methods shown here. It’s a bit slower than the power-tool methods, but I enjoy it immensely.
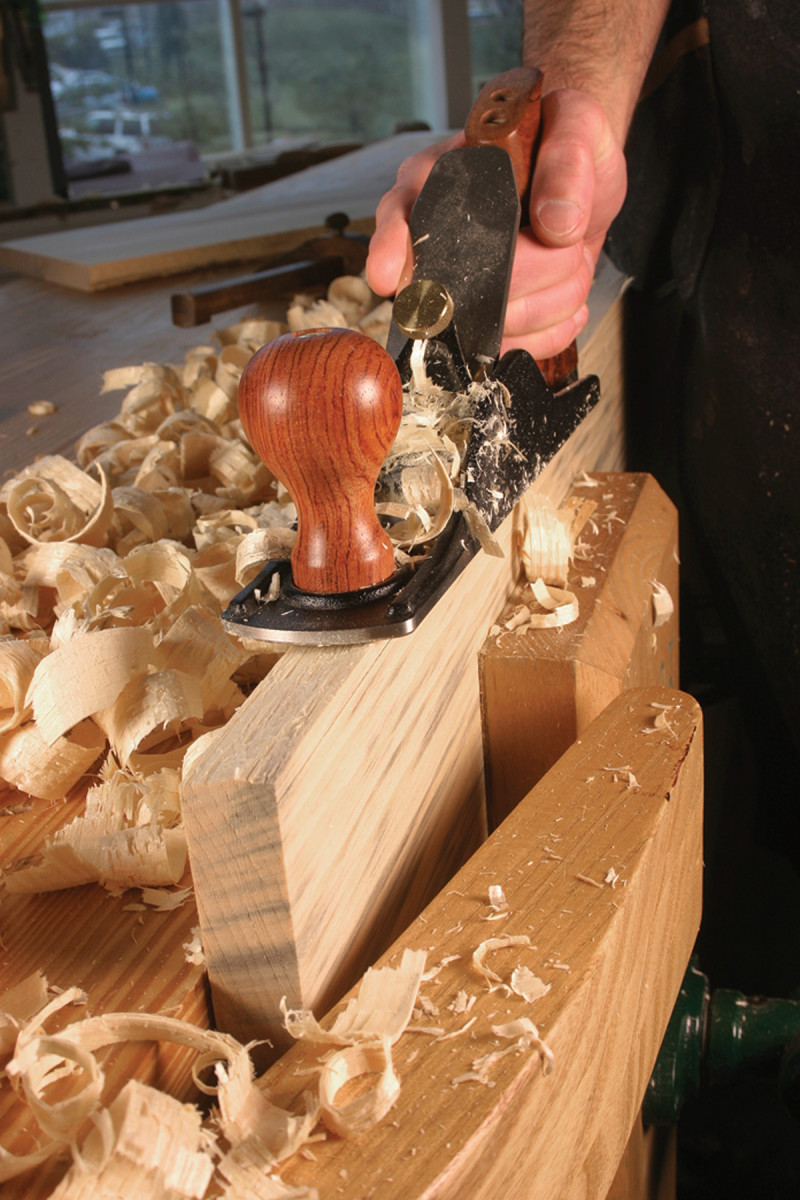
2. Rip with a plane. I use a scrub plane to work down to the line left by the panel gauge. Use short choppy strokes and each pass can remove 1/16″. I reduced this board by 1″ in width during one pop song on the radio.
When every second counts, however, I’ll prepare my edges on a power jointer and then use a jointer plane to introduce the spring joint. You can mix and match the hand and power methods any way you see fit.
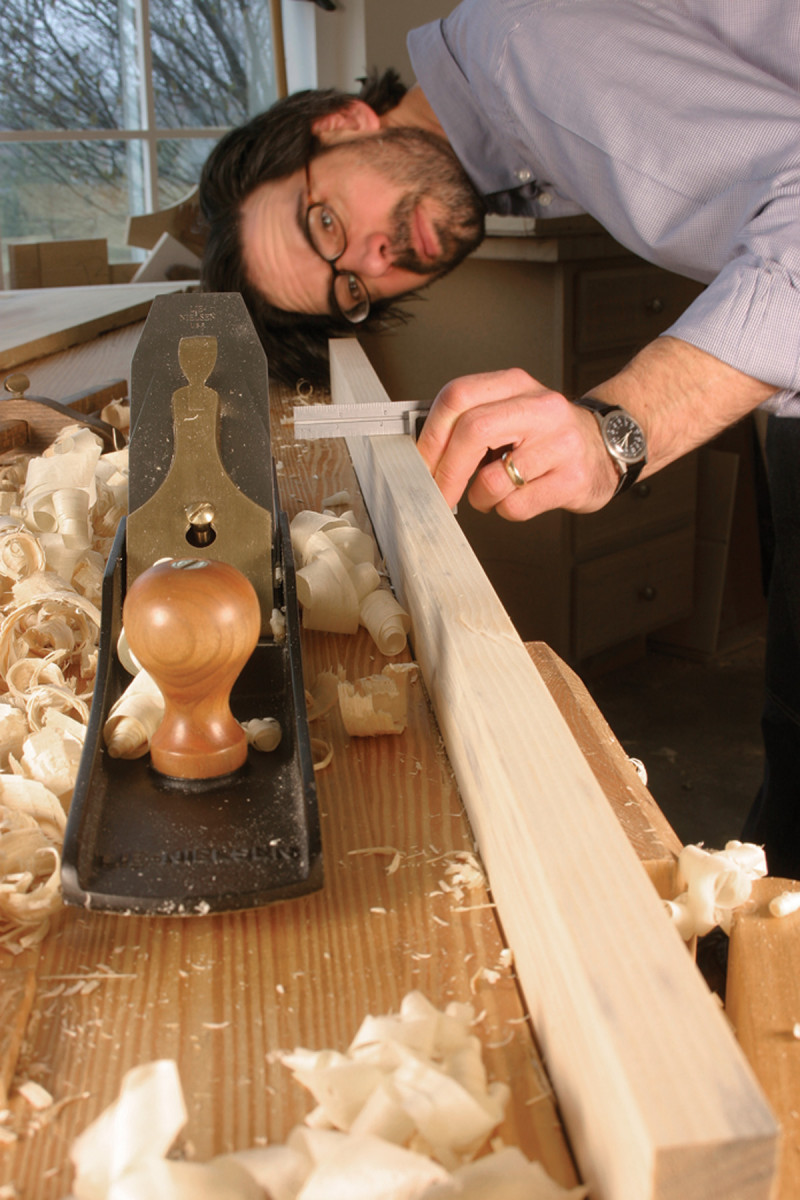
3. Joint and check. Dress your edge with a jointer plane, then use a square to confirm that your edge is true to one face of the board.
Here are a couple details and subtleties of my process. Though I use a scrub plane to dress my rough edges, you can also use a table saw, band saw, drawknife or a hatchet for the coarse removal of material.
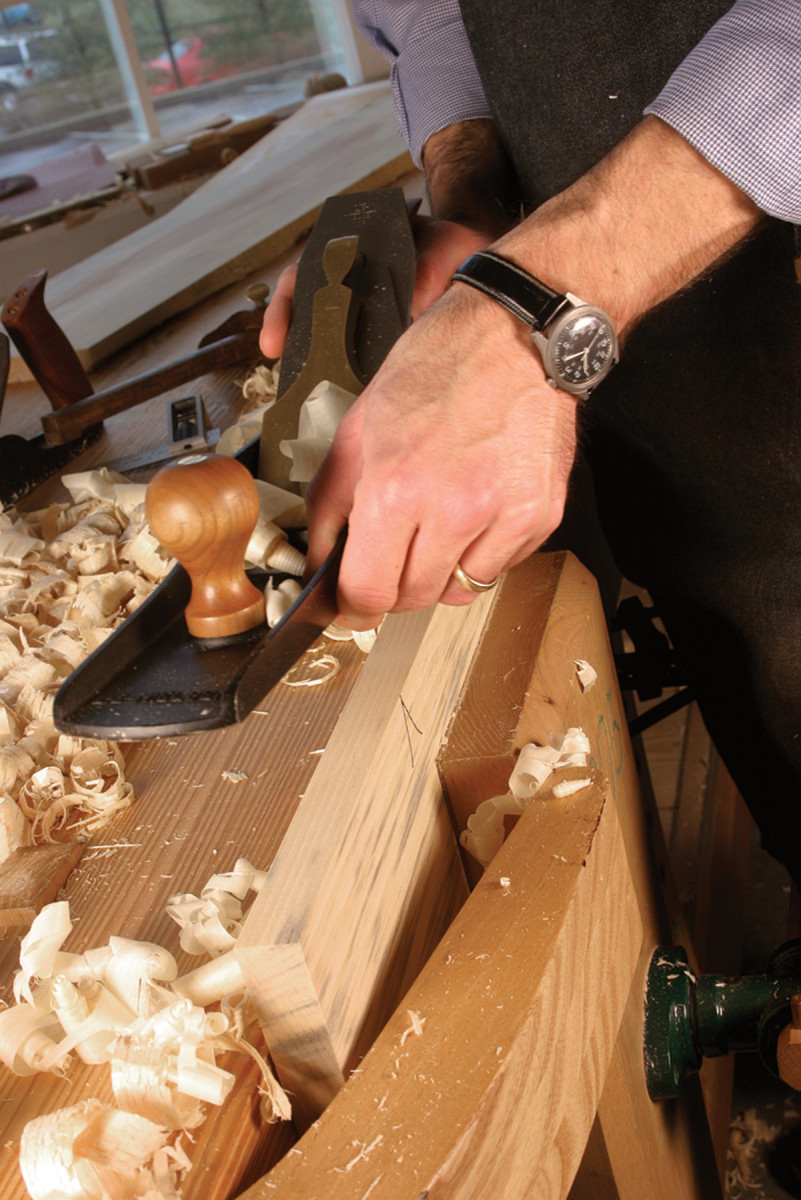
4. Spring the center. Here’s the fun part. Joint the edge, but begin the pass about 5″ in from the end of the board and lift the plane off about 5″ from the other end of the board. This is called a “stop shaving” because it doesn’t run the entire length of the board. One pass (or two) should be all you need, depending on how deep your cutter is set.
Also, the cutter in my jointer plane has a very subtle curve on its edge. This allows me to correct an out-of-square edge by shifting the plane left or right on the edge of the board.
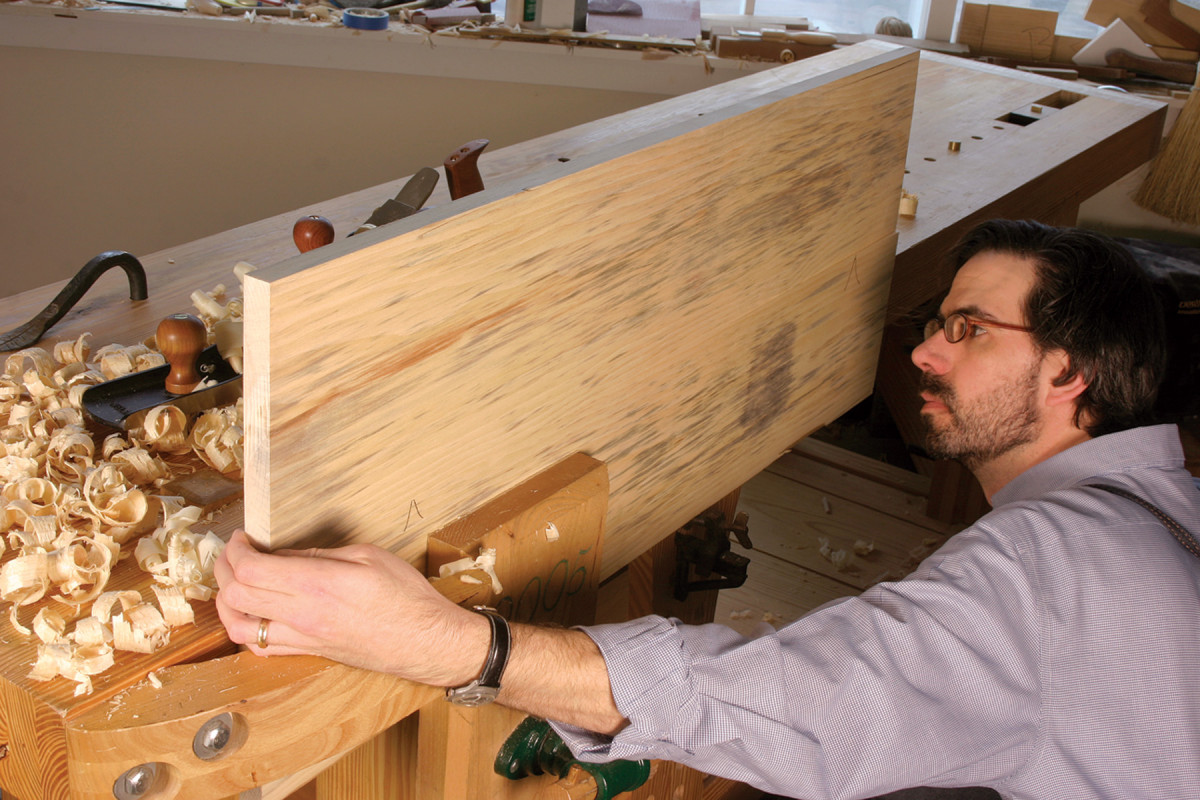
5. Do they mate? With one edge spring jointed, put the board’s mate on top of the first board. Wiggle the top board at the end. If you can feel drag at the ends you have a spring joint. If the top board pivots easily at the center you have a hump in the middle of one (or both) edges and you need to try again.
But the curve is not so pronounced that it produces a curved edge on the board. The edge looks flat to a try square.
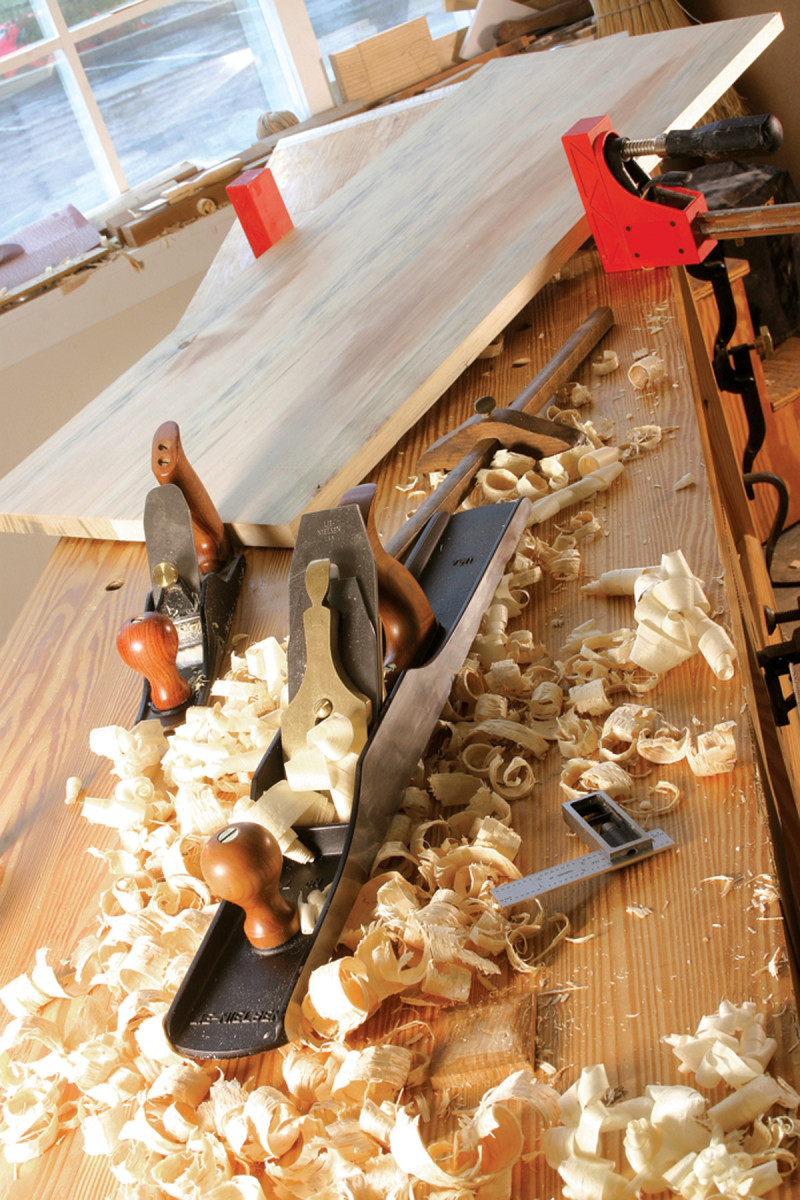
6. Results. With small panels (up to about 36″ long) I can get away with using one clamp in the center. Larger panels will require clamps on the ends of the panel as well. pw
You can read more about this process in the August 2005 issue (#149) of Popular Woodworking in an excellent article by David Charlesworth titled “Learning Curves.” — Christopher Schwarz
Here are some supplies and tools we find essential in our everyday work around the shop. We may receive a commission from sales referred by our links; however, we have carefully selected these products for their usefulness and quality.


 By hand or power? With a spring joint or not?


