We may receive a commission when you use our affiliate links. However, this does not impact our recommendations.
 Giving a little bit of attention to the flooring in your shop can make your shop more inviting and more comfortable to work in.
 Giving a little bit of attention to the flooring in your shop can make your shop more inviting and more comfortable to work in.
 When’s the last time you took a good hard look at your shop floor? I know that’s an odd question. But if you think about it, it’s the one thing in your shop you’re always touching. If you’re like me, you’re used to working in a shop with an old, cracked, cold concrete floor that’s unsightly and hard on the joints. But, that doesn’t mean you have to be stuck with it. Here, I’m going to offer up a few options to brighten up your space, and make it a bit more comfortable to work in.
The Flooring Surface
Now, I’m going to make an assumption to start that most of us are working on concrete floors. If you have something different, you can skim over this part.
Concrete is a great surface. It’s hard, durable, and can support the weight of all your tools. However, those same properties make it not-so-nice to stand on. Plus, it can get really cold in the winter. Just because you have a concrete floor doesn’t mean that you’re stuck with it.
A great option for some shops is the ability to lay sleepers and a sub-floor. Take a look at the photo below on the next page. Sleepers are basically two-by material, laid on their face on the existing floor (obviously, with proper moisture barriers in place, depending on local codes). A sub-floor is then laid over top of the sleepers.
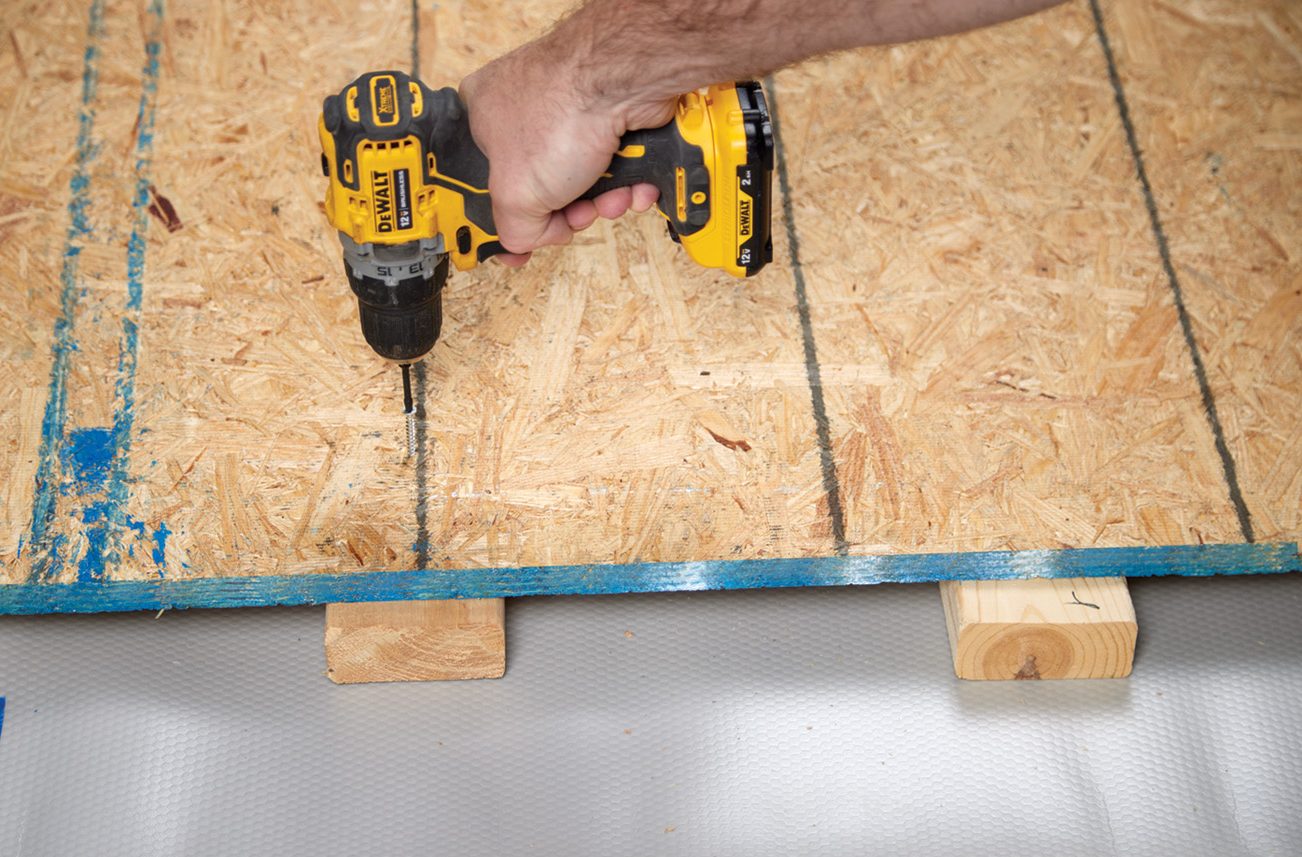
1 A sub-floor is a great option to make your shop warmer, more comfortable to stand in, and offers many options for flooring on top of it.
Why, might you ask, would you add wood over a concrete floor? Well, first off the sub-floor is much easier on your knees and back for working in the shop. The slight give of the floor is a much nicer working surface. The voids created by the sleepers also offer up a space to run stuff such as electrical, insulation, and even dust collection lines (depending on sleeper orientation). In addition, the sub-floor model can actually help deaden sound in your shop, especially if you insulate underneath.
Now, I wouldn’t say that a plywood floor is the greatest looking floor in the world. But, the sub-floor route leaves you with a bunch of options if you want to add something on top of it. If I was going to build my dream shop, it would be covered in some wide-plank, heartwood pine floors. And hardwood is certainly an (expensive) option. Paint, vinyl tile, laminate, and even carpet are all options to go on top of a sub-floor in the shop. Each has its own considerations that the end-user needs to weigh. The biggest downside to running sleepers and a sub-floor is the price and labor required to install it.

2 A painted concrete floor is a good, inexpensive way to brighten up your shop space.
Concrete, But Nicer
If you don’t like the idea of adding a sub-floor, the next best option is to give your shop floor a facelift. Most often, this is done with the application of some form of concrete sealer, paint, or epoxy coating. I think the most obvious benefit of this is that it can really brighten up your space, and add a lot of light back into your shop. In the last decade, the quality of concrete covering options have increased ten-fold, and offer great visual appeal, as well as protection. Metallics, solid colors, vinyl-flake coverage — the possibilities are endless.
You have the option of having this type of floor professionally installed, or purchasing a DIY kit. Obviously, you’ll pay more to have professionals come in and install your floor. You’ll also need to move all of your tools out of the shop for several days while they’re in there to work.
With a DIY kit, you’ll still need to move your tools, but you can do the shop in sections. Just be aware that the surface prep can make or break the flooring. Fresh concrete floors may only need an acid etch. Older floors may need cracks repaired, settling fixed, and mechanical grinding to create a surface that is appropriate for finishing.
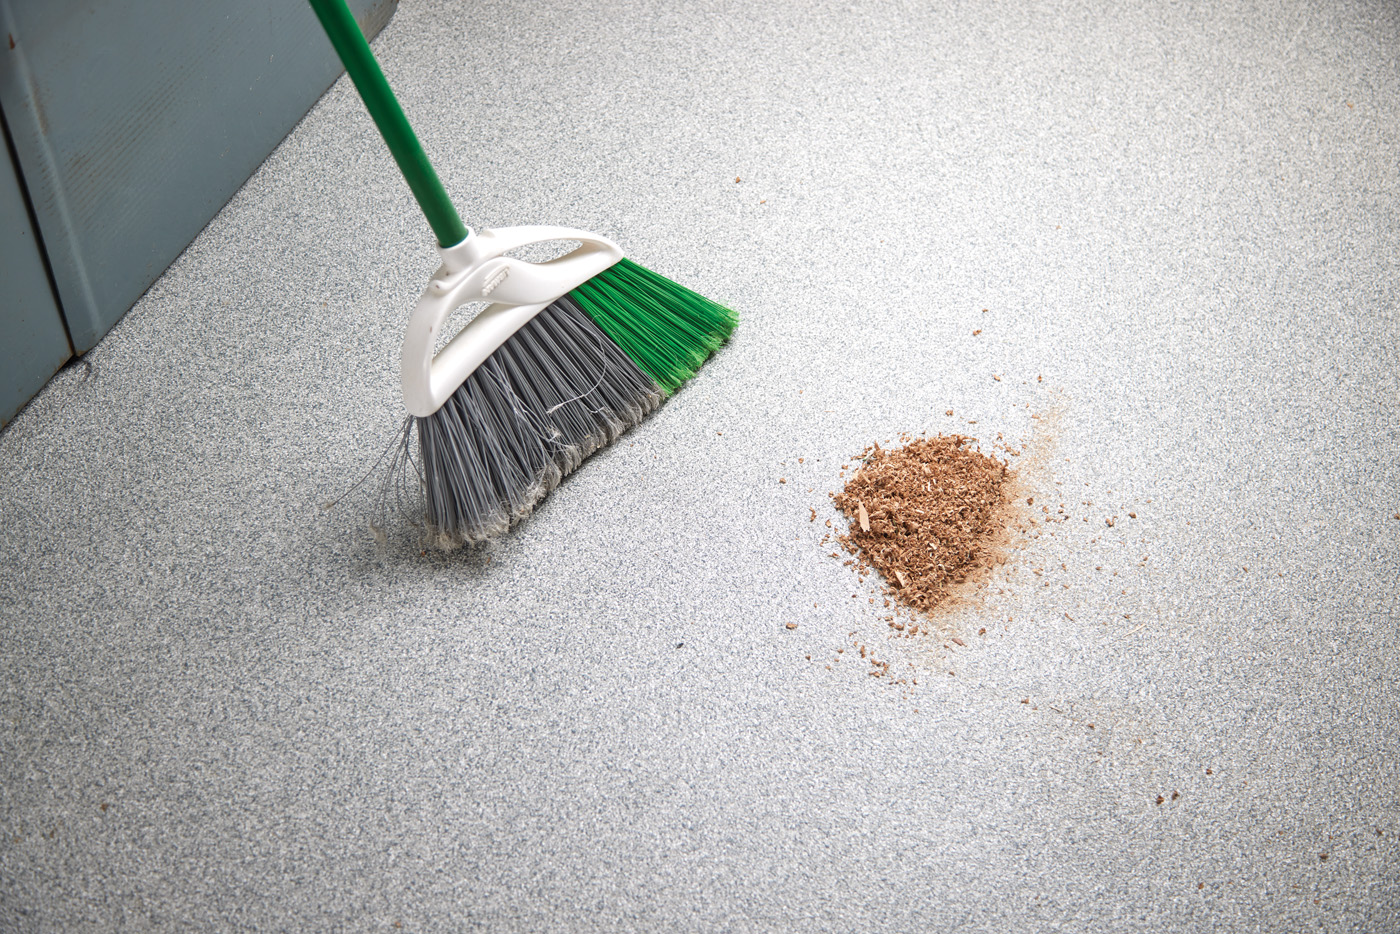
3 The full-flake epoxy flooring we installed is textured enough that it’s never slippery, but it still is easy to sweep up.
With all of this said, this is the type of floor that we chose to put in our shop. It’s a DIY kit from a company called Spartan Epoxies, and is a full-flake coverage epoxy that looks like granite. Not only does it look great in person (and in photos), but it’s non-slip, slightly “squishy” (for accidental tool drops) and durable. You can read more about it in the bonus section at the bottom of this article. In short, it’s a two-part epoxy, with a full-coverage vinyl flake. The top coat is two layers of satin clear coat to seal it down.
As I mentioned, the biggest downside of an epoxy or painted floor is that everything hinges on the surface prep. Epoxy floors can range in pricing — anywhere from $0.50 per square foot for a DIY paint kit, to over $10/square foot, for a professional install.
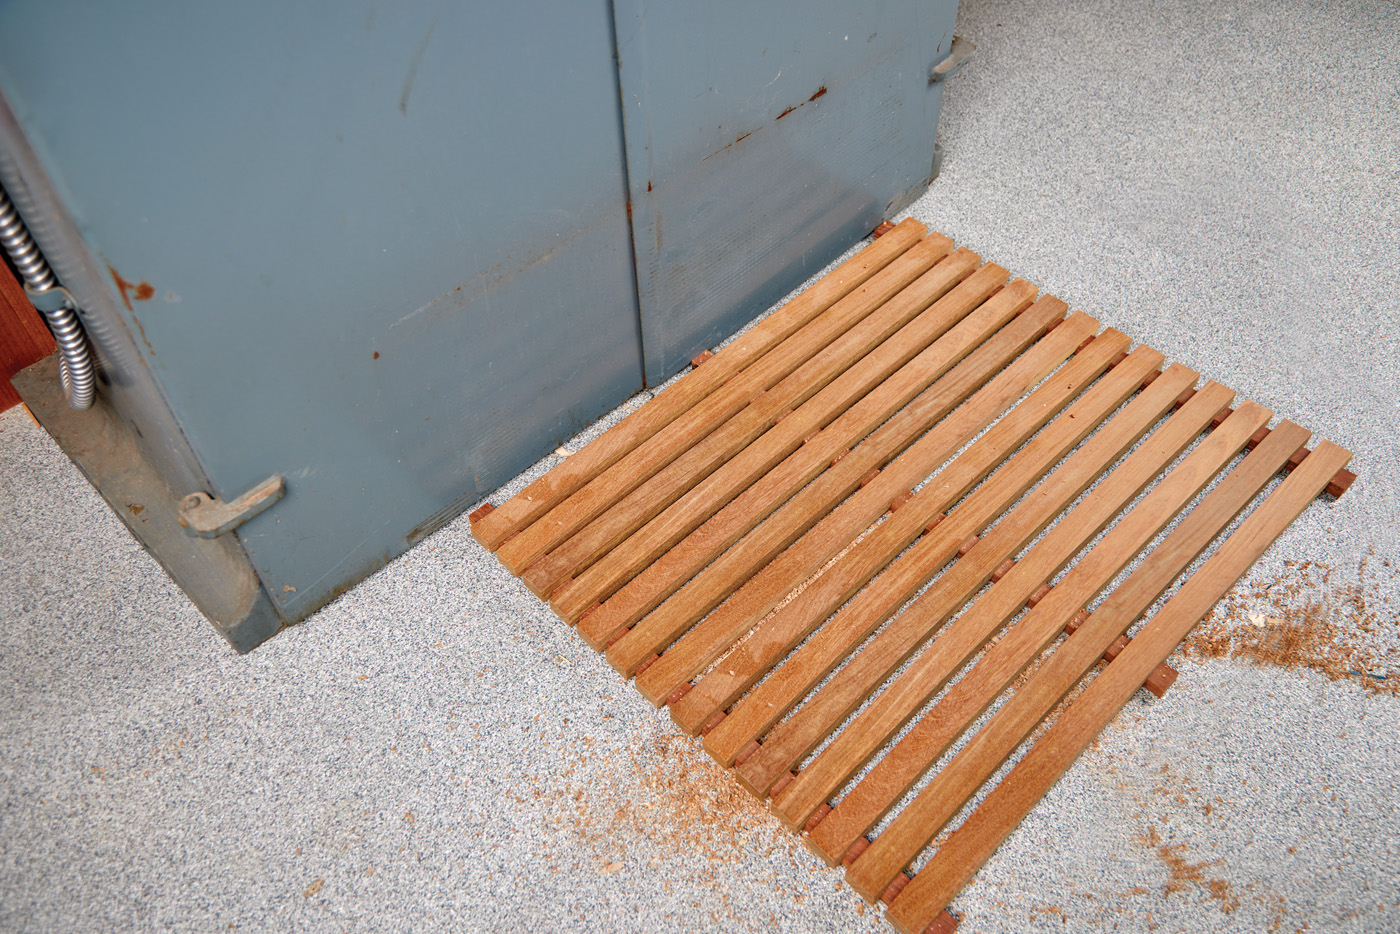
4 Machine shops used shop-made wood mats because oil and chips could fall under your feet, and they’re comfortable to stand on.
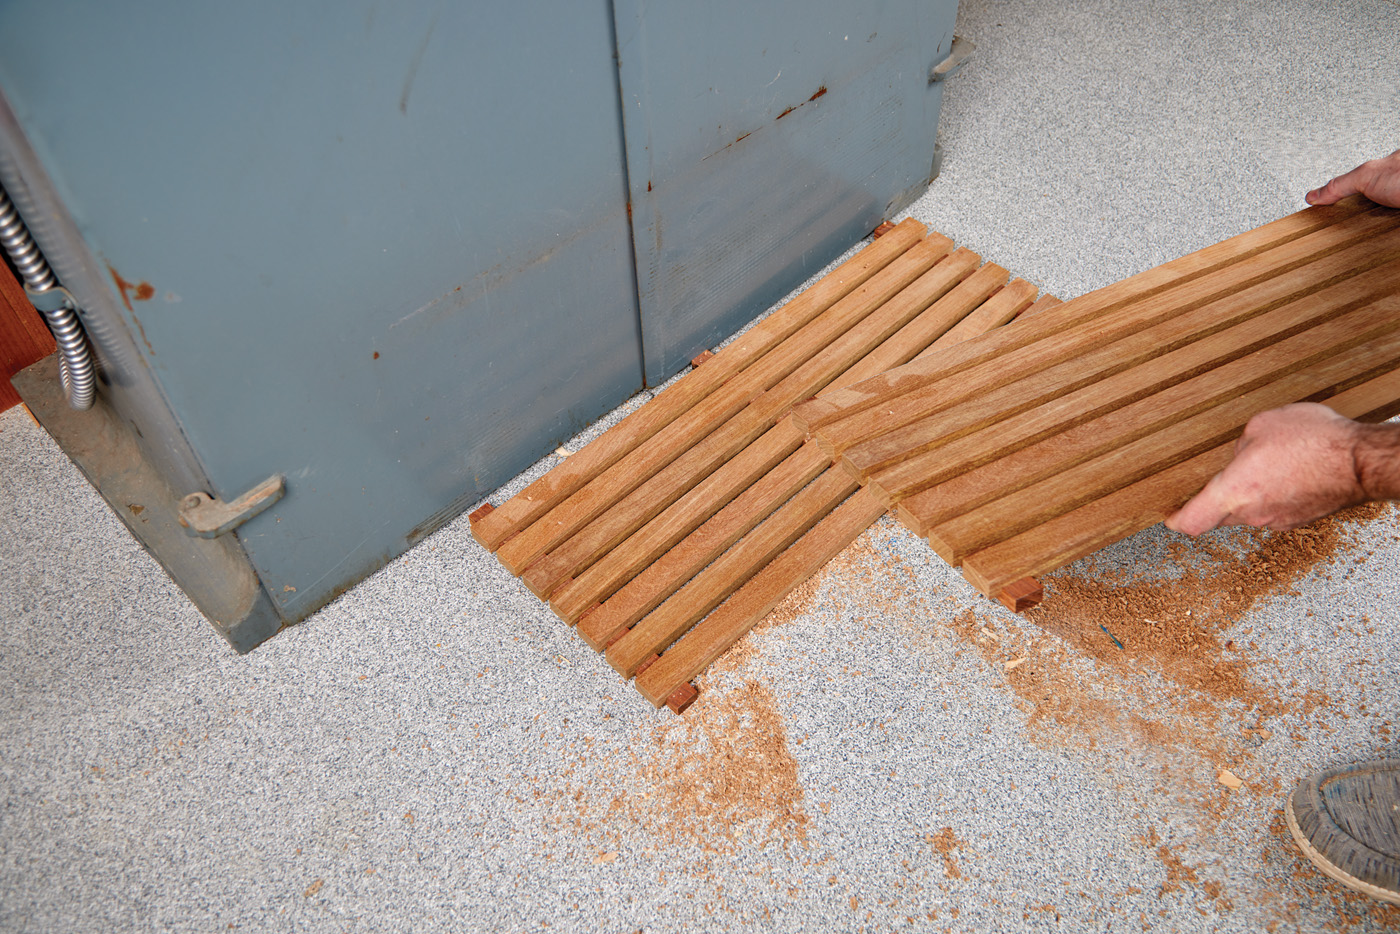
5
What About Comfort?
Having localized anti-fatigue mats in the shop can help reduce some of the pains that I’ve mentioned. While there are commercial mats available, and I’m sure they’re good, I tend to be a little thrifty with my mats. A good option for shop-made mats is shown in
Photos 4 and 5.
For my table saw, I use a thin, rubber yoga mat (my wife seems to get a new one every few years, so I gain another mat). These are lightweight and easy to move, but they don’t have a ton of cushion.
6 Old yoga mats are lightweight and provide a bit of cushion.
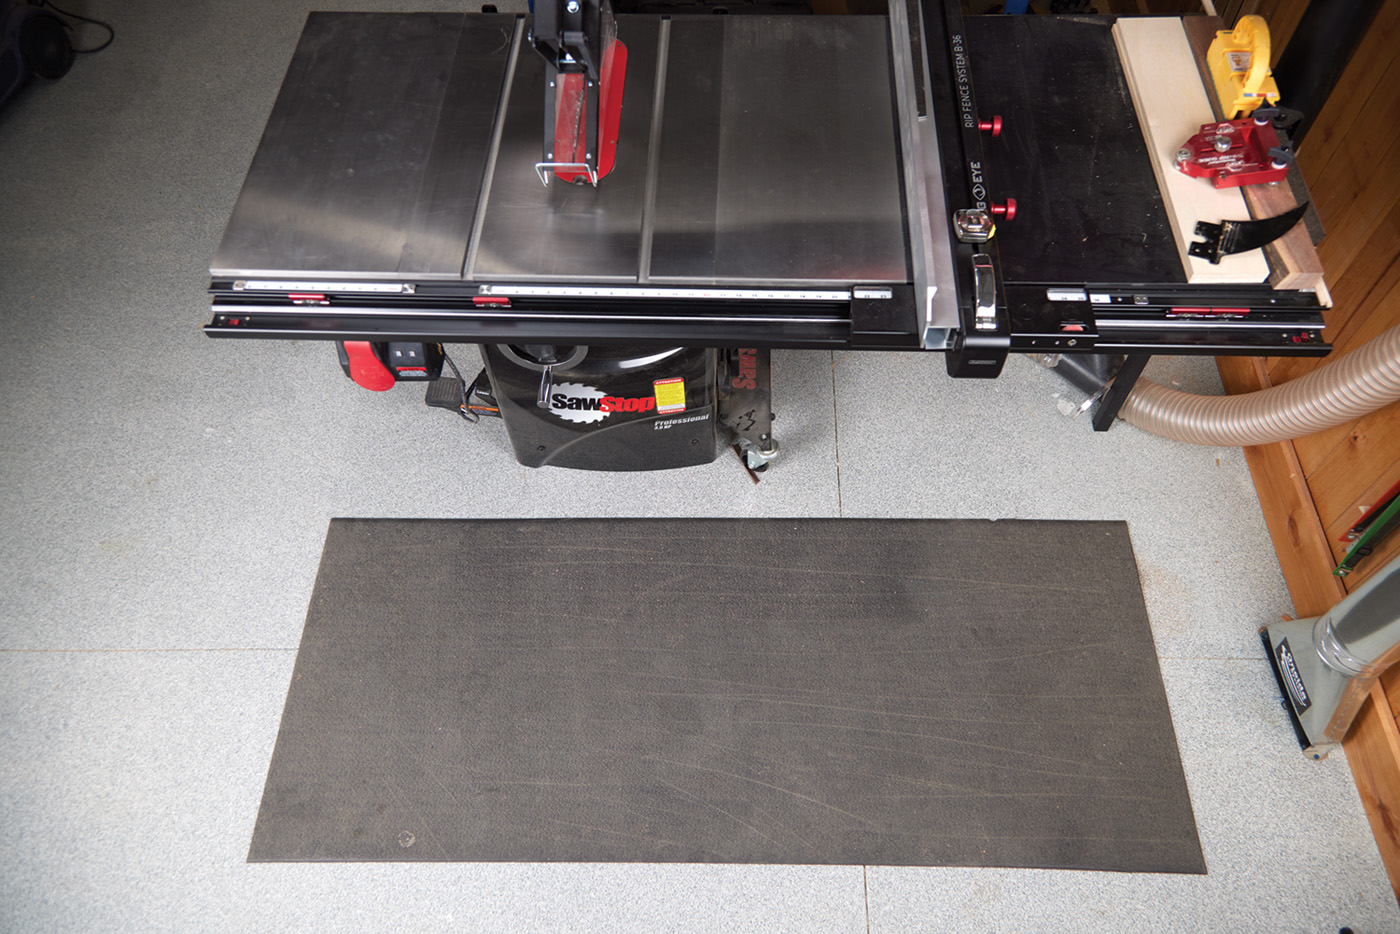
Another good option is a used workout mat. You can see mine at the lathe in Photo 7. These are heavy rubber mats and are usually at least 1/2“ thick. Often, these come in rather large pieces, so you can get two or three mats out of each one. Be warned, they are heavy though!
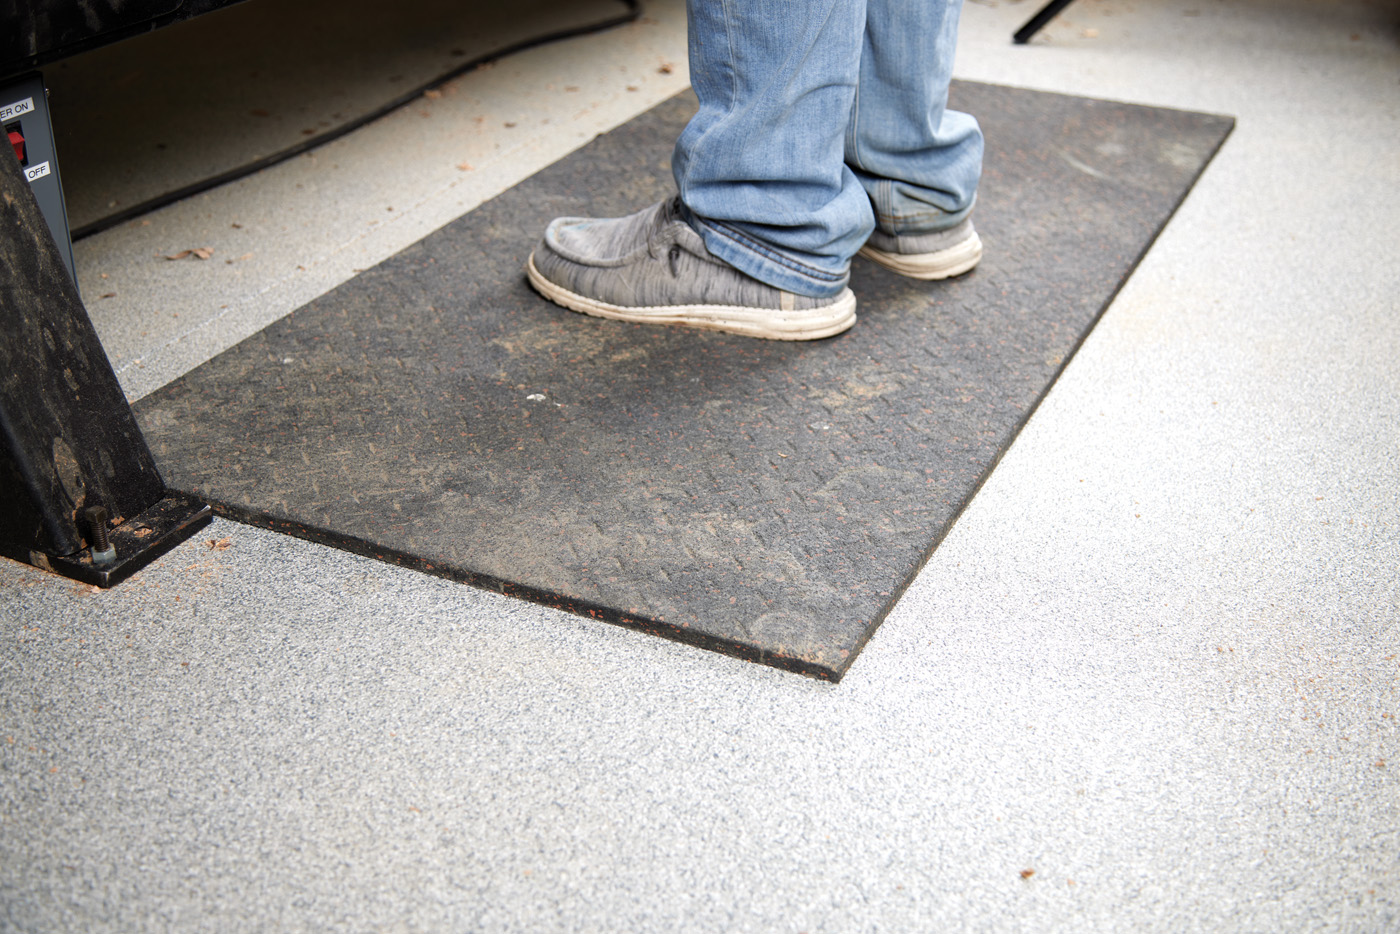
7 Thick workout mats are heavy, so they stay in place while working and sweeping.
Bonus: DIY Floor Epoxy
Seen by many as the ultimate shop flooring, an epoxy floor looks great and is durable. For our shop, we chose a full-flake coverage epoxy from Spartan Epoxy (SpartanEpoxies.com). The HDPRO is a tough, DIY kit that goes on smoothly with a little planning.
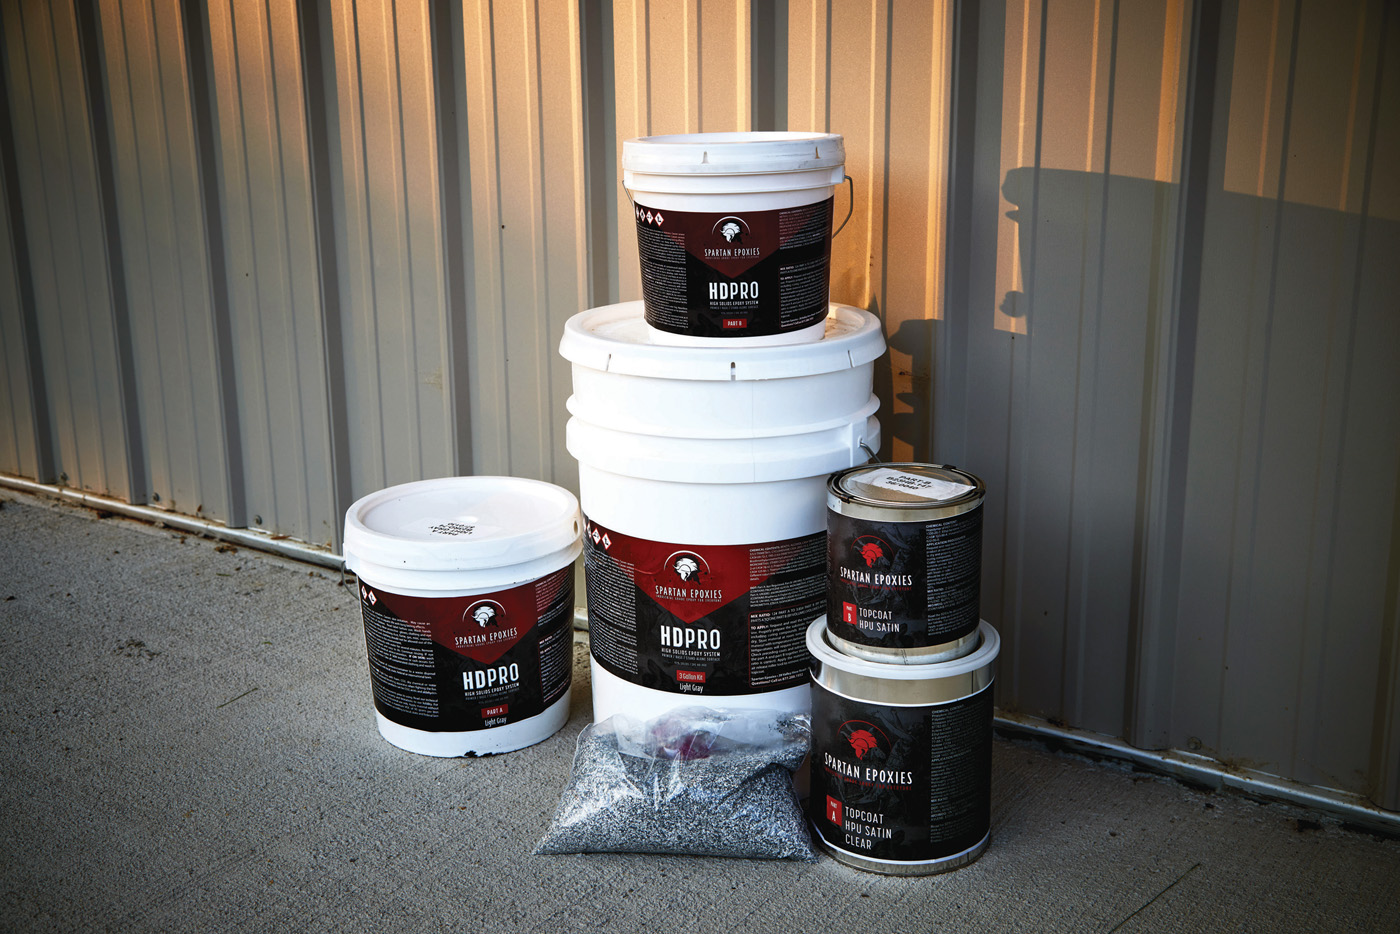
A The epoxy we used came in a DIY kit, and took a few hours to install.
With any epoxy, surface prep is key. Grinding the concrete is best, but because this was a fresh slab, we chose to etch the concrete with muriatic acid. You’re looking to open up the pores of the concrete to allow the epoxy to bind to it.
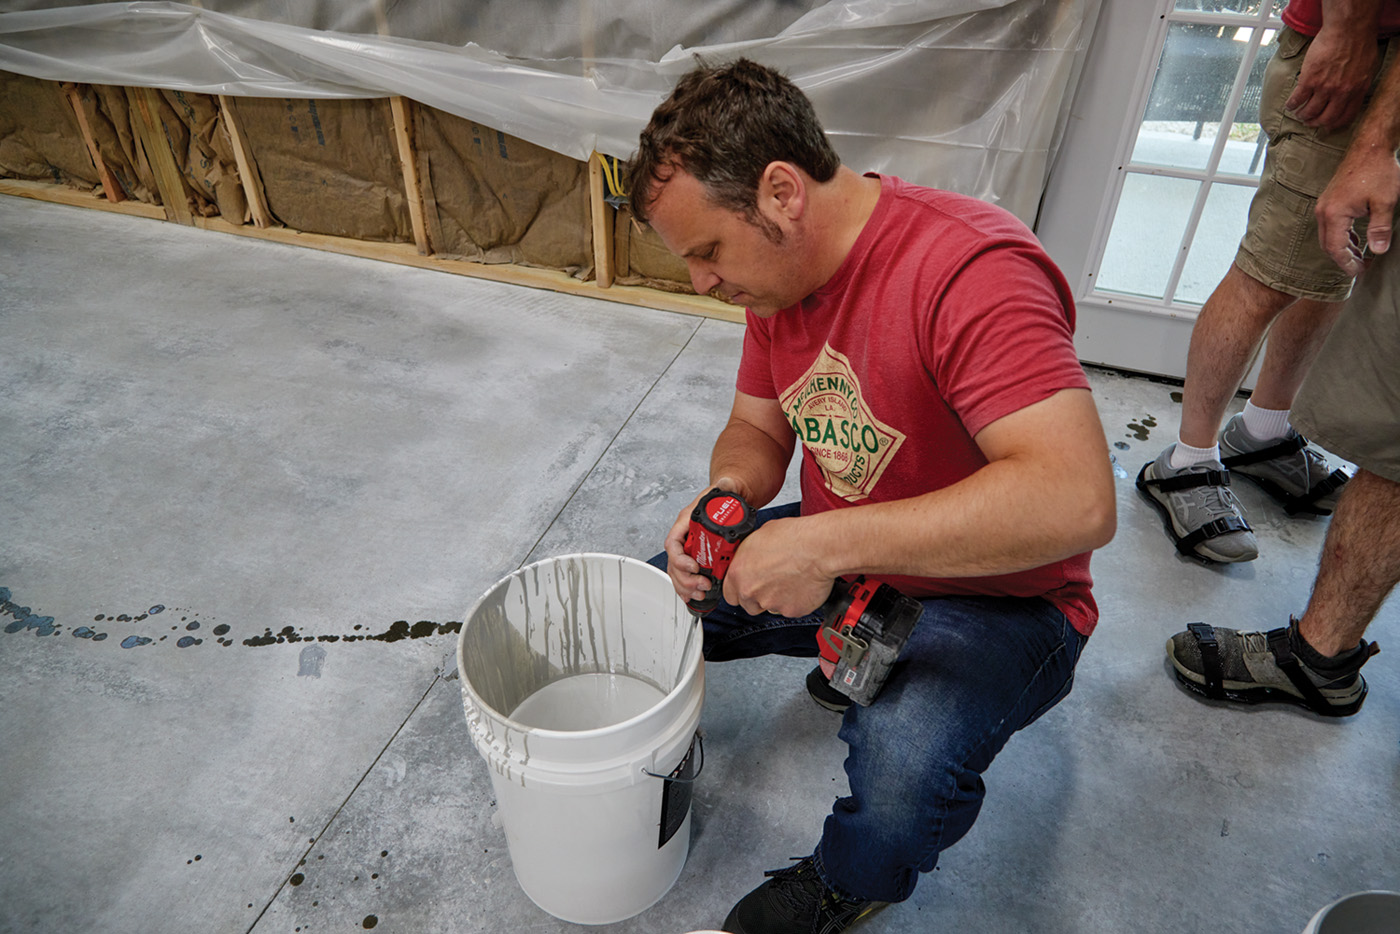
B The HDPRO is a two-part epoxy. The colored base is mixed in batches.
After drying for several days, the work can commence. The epoxy is mixed together and spread out in about 200sqft sections. Three people are key — one mixing, one squeegeeing the epoxy out, and another back rolling.
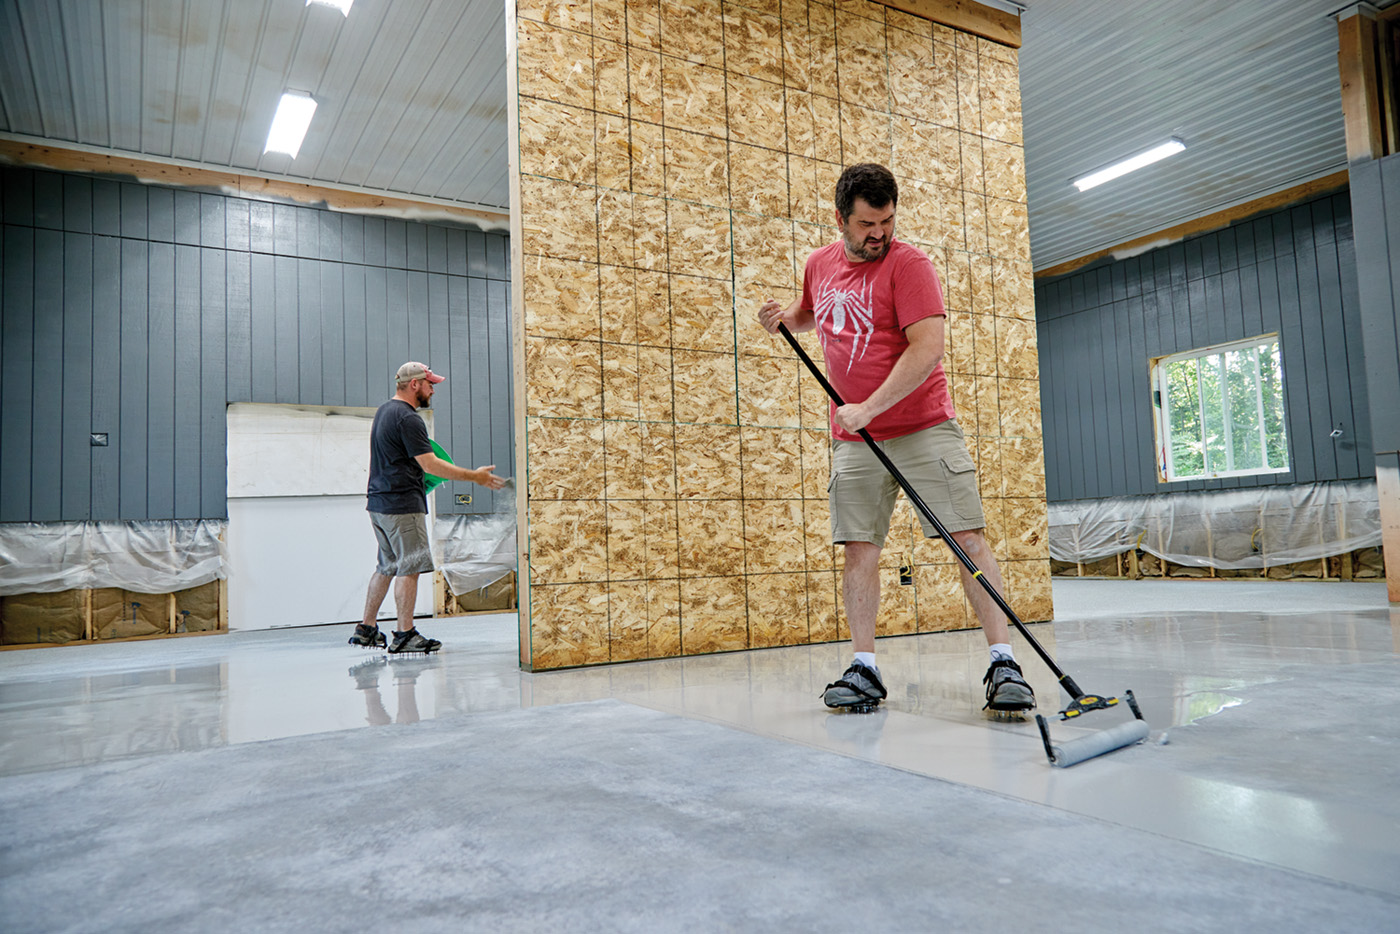
C After mixing, the epoxy is spread using a 12mil notched squeegee, then back-rolled.
The final surface is covered with vinyl flakes while the epoxy is wet. Once cured, the flakes are scraped to remove loose material, before applying a top coat (the HPU Clear, seen at right in the above photo).
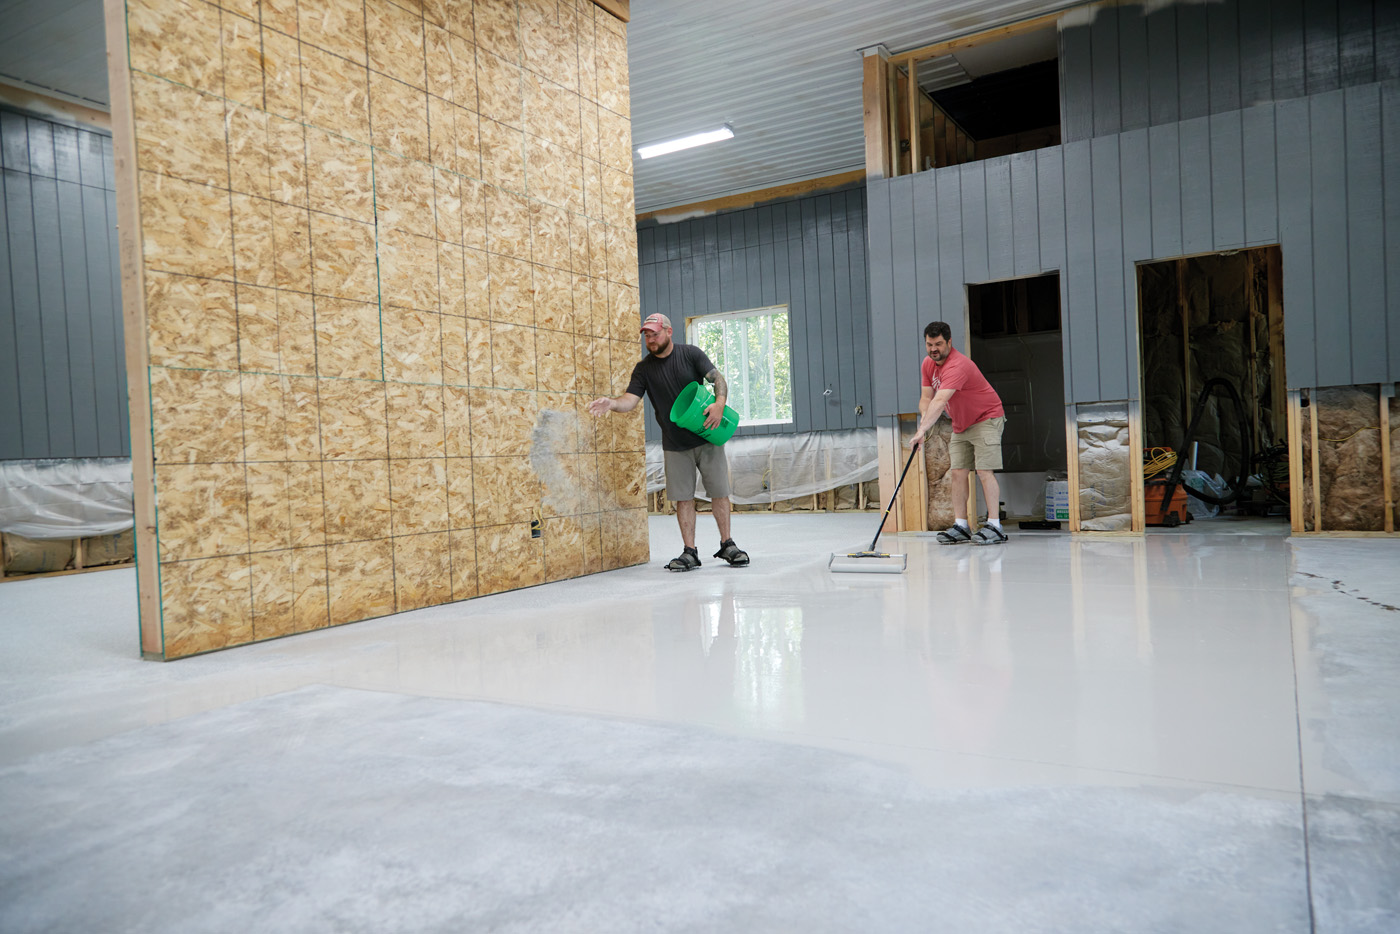
D We opted for a full-flake coverage floor. With the epoxy still wet, vinyl flakes are broadcast over the entire surface. Three hundred pounds over our 1600sq feet. After a final scraping, a clear coat is applied.
The entire process goes smoothly with proper planning. The durability has been fantastic, as the surface is scratch resistant, slip resistant (even covered in saw dust), and no chemicals we’ve spilled have touched it. Check out the video below to see the install process.
Here are some supplies and tools we find essential in our everyday work around the shop. We may receive a commission from sales referred by our links; however, we have carefully selected these products for their usefulness and quality.