


We may receive a commission when you use our affiliate links. However, this does not impact our recommendations.
 Shooting boards are one of those hand-tool jigs that people talk about (a lot) but few people actually know much about. Whenever I teach, students always clamor for a demonstration of the device, even when I’m teaching something that doesn’t directly relate (sawing tenons, sharpening, steaming salmon).
First things first: Why do you need one? Shooting boards are one of the most powerful trimming tools in my shop. They are the only tool, machine or jig that I have that reduces the length of a board in .001″ increments. They adjust the ends of boards so they are square, even if you have only 1/32″ or less to remove. Trimming cuts like this can be tricky on power equipment because the spinning saw blade can deflect in the cut, giving you an inconsistent cut through the thickness.
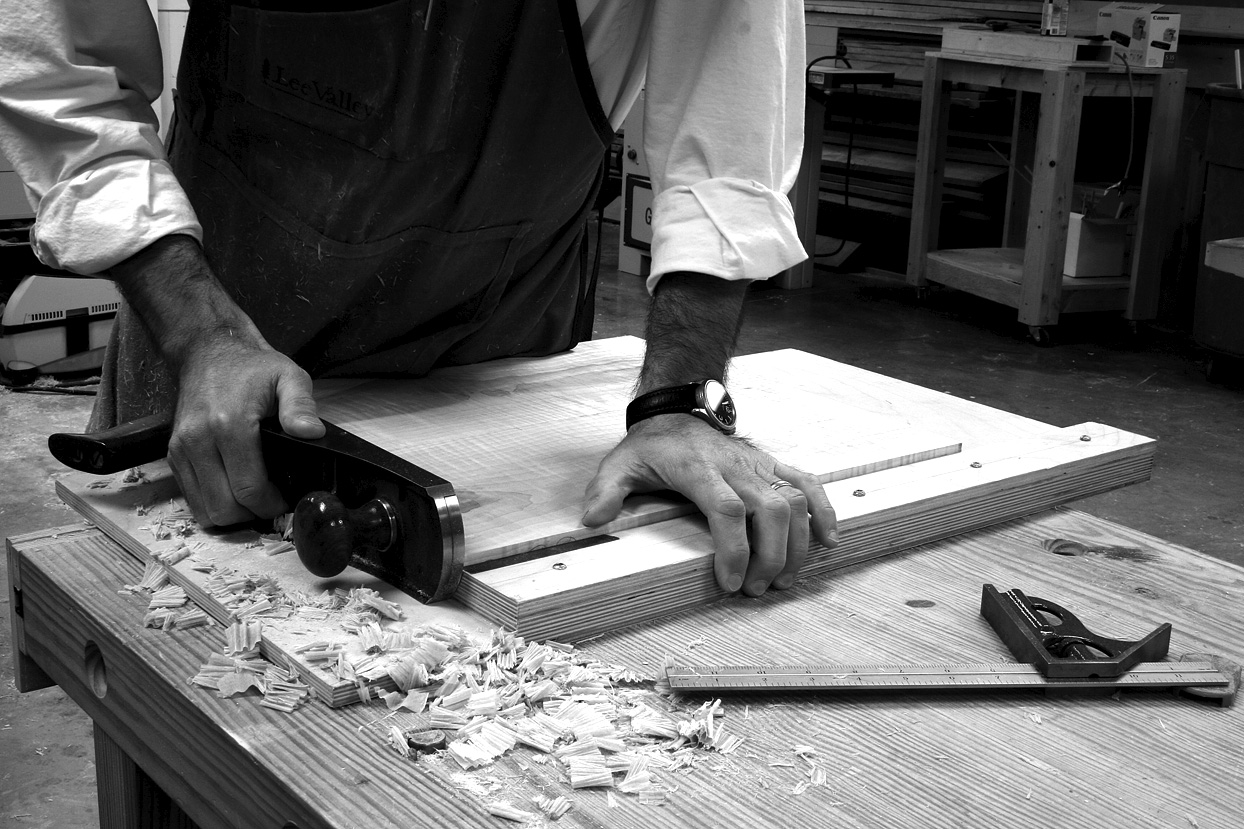
The shooting board (some call it a “chute board”) holds your work in position and 90° to a track that a handplane rides in. Push the plane in the track and it will trim the end of the board until it is square. (Note: There also are shooting boards designed for long grain, but I generally plane these freehand or use the tail vise and dogs to do the job, but that’s another story.)
Shooting Board Use
There are many ways to go about using a shooting board. David Charlesworth has an excellent video on the topic that explores his simple shooting board and the techniques to use it. I’ve used his shooting board and his techniques with excellent results. But perhaps because of my American-ness, I do it differently. Charlesworth takes a pass with the plane, then pushes the work up against the sole of the tool and makes another pass. He repeats this until he makes a full-width cut and is at his destination length. I usually use his technique when reducing boards in length, but do it a bit differently when correcting the angle on the end of a board.

So I start with my out with a board I’ve trimmed on our out-of-whack (surprise!) miter saw. It’s out by a couple degrees. I put plane in the track (I always use a heavy plane with an iron that is sharpened straight across). Then I put the jointed edge of the board against the shooting board’s fence and show the wonky end to the plane’s sole. That shows me which corner is high and which corner is low.
Now relieve the corner of the work that will go against the fence. Cut a tiny bevel with a chisel to reduce blow-out on the end. If I am working to a knife line I’ll chisel the corner to that line.

You can even use a bench hook as a shooting board.
I take the plane off the track and position the board so the low corner is flush to the track and the high corner stick out over the track. Then I push the work against the fence (push hard!) and then place the plane in the track and begin planing. Focus on pushing the plane down and forward. Use just enough force against your workpiece to keep the tool in the cut. If you push too much to the side you’ll push the work out of position instead of cutting it.
When the plane stops cutting, the edge is square. Check your work to confirm.
Editor’s Note: This article was originally published on popularwoodworking.com in August 2007.
Here are some supplies and tools we find essential in our everyday work around the shop. We may receive a commission from sales referred by our links; however, we have carefully selected these products for their usefulness and quality.


Chris,
Before the advent of the electric thickness planer, woodworkers used handplanes to dimension boards into workable planks. I own several hand planes but no electric thickness planer. Therefore, many of the shooting boards I’ve seen are for planing either the end grain or the sides of the board, reserved for jointing. I would like to see a shooting board for planing the tops/bottoms of boards, short of designing one from scratch. Are you aware of the existence of such a jig? If so, please share. Thanks.
Sincerely,
Jim Bellas, Cincinnati, OH
Cris, In “Making Woodwork Aids & Devices” Revised Edition by Robert Wearing. He describes an improved shooting board on page 76 figure 98. It has a bridge like support side that supports above and below the blade. Do you have any thoughts on this device and have you seen one in action?