We may receive a commission when you use our affiliate links. However, this does not impact our recommendations.
Ready-to-carve 3D images make it easy to produce finished machine carvings or hand tool ready roughouts.
Creating stunning carved woodwork has never been easier with a CNC router. Think of all the creative possibilities for carvings: door panels, box lids, frieze boards, emblems, awards, artwork, signs or having your signature carved into the back of a project. The more you use your CNC router to carve the more projects you will find for it.
Not only can the CNC router add beauty and interest to your work but it’s a blast to watch as the machine dances along the workpiece methodically and precisely revealing a beautiful carving. Not into digital carving? That’s OK, the CNC router can also be a tireless shop helper for hand woodcarving. (Yes, really.)
Three Elements
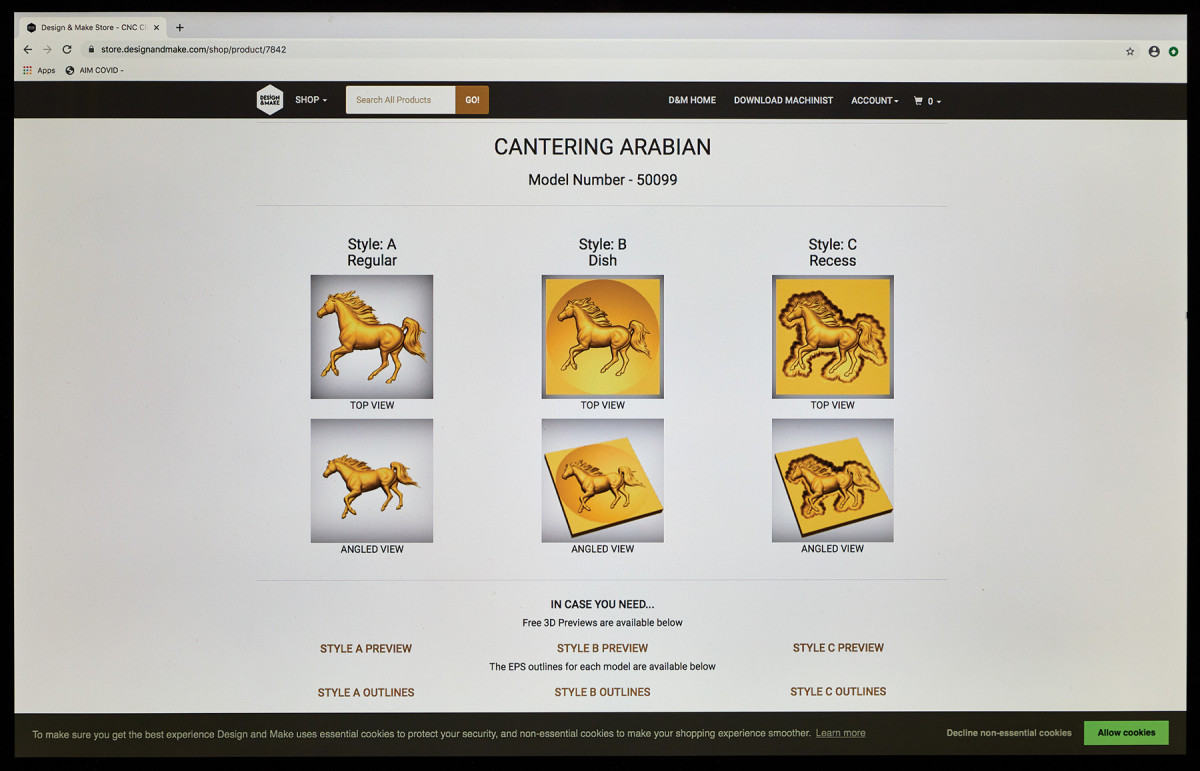
1. There are lots of images available online, especially on CNC-focused websites.
So how do we start creating carvings with our CNC router? There are three main elements to consider: the artwork, the type of work, and the carving process. First, we need a digital image. You can create your own or find one online. To create a 3-dimensional image suitable for a carving requires specialized software. Vectric Aspire, Rhino and 3D Systems Geomagic Freeform are some of many examples of software capable of creating 3d models suitable for carving. A simpler solution for those of us who want to incorporate CNC carvings without mastering the drawing software is to use 3d clip art available online. There is an amazing variety and amount of 3d clip art ready for you to download so plan on spending several hours online being awed by all the choices.
Creating cut files for carving requires CAM software capable of working with a 3d digital image. If you have CAM software limited to 2D projects you may want to consider using clip art from www.designandmake.com which offers free downloadable software for use with their 3d images. Once you have found a 3D image file and have downloaded it into your CAM program the model can be scaled larger or smaller, deeper or shallower, narrower or wider, taller or shorter to fit your application.
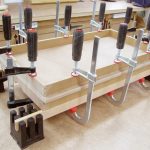
2. A finished rough carving done on the CNC, ready for some handwork.
CNC router carving is typically of the high relief style. The carved area can be set below the surrounding surface in a pocketed or dished area or it can be cut to sit proud of the surrounding surface. Another option is to create carvings that are cut out from their parent stock and can then be affixed to panels, architectural elements and so forth.
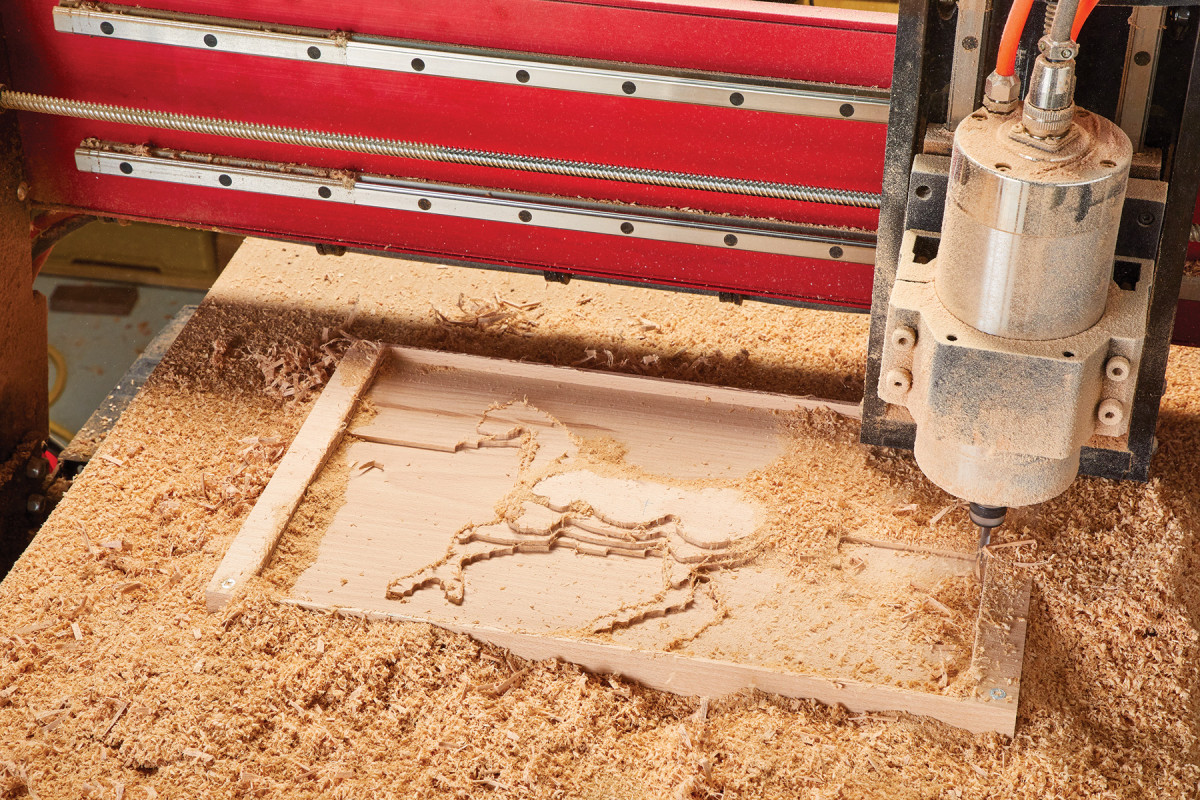
The third step is setting the parameters and creating the instructions (G-code) for your CNC router.
Milling a 3D carving is typically done in two stages. The first is a roughing cut in which the bulk of the material is removed leaving a recognizable but low-resolution image. A straight spiral upcut bit is the right choice for this operation because it efficiently cuts and clears away debris.
The second step is a finishing cut for which ball nosed bit is used because of its ability to make smooth precise cuts. Depending on the size and detail level of the carving combinations of a 1/4“ roughing bit and 1/4“ ball nose finishing bit, 1/4“ roughing bit and a 1/8“ ball nose finishing bit or 1/4“ roughing bit and 1/16“ tapered ball nose finish bit is common. For smaller work a 1/8“ roughing bit may be best with a 1/32“ ball nosed bit for the final cut.
There’s more here than just selecting a bit combination. The difference between a stellar a cut and a so-so cut comes down to managing the stepover and lateral velocity when setting up the cutting files. Stepover is the sideways distance the bit moves once it completes a cutting circuit. The larger the stepover the faster the cutting process but with less resolution. A smaller step means a longer process time but higher resolution. Generally, the roughing cut can be managed for speed using the maximum stepover and lateral velocity. The finishing cut, however, requires a bit of judgement to balance the level of detail and production time. To get the quality you want without wasting time needlessly covering the ground at a slow rate. (A final piece of advice, when you change from the roughing bit to the finishing bit do remember to re-zero the z-axis height!)
CNC & Hand Tools
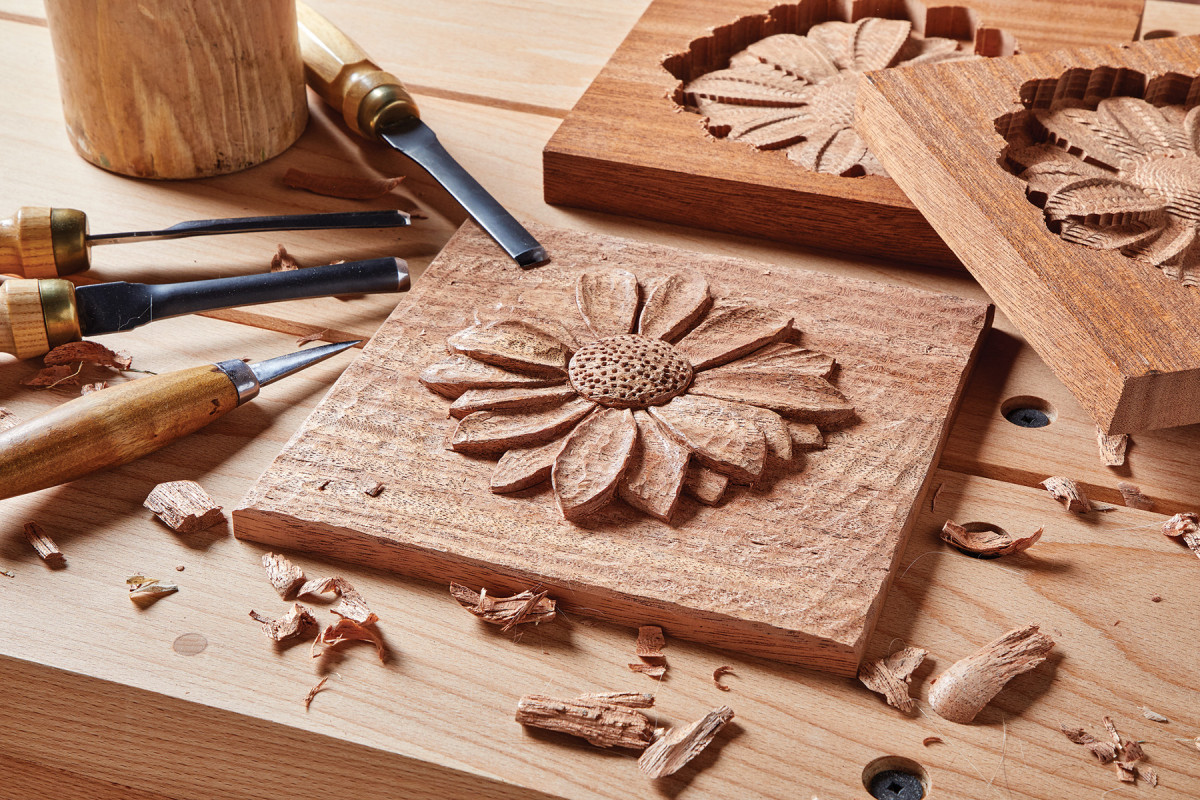
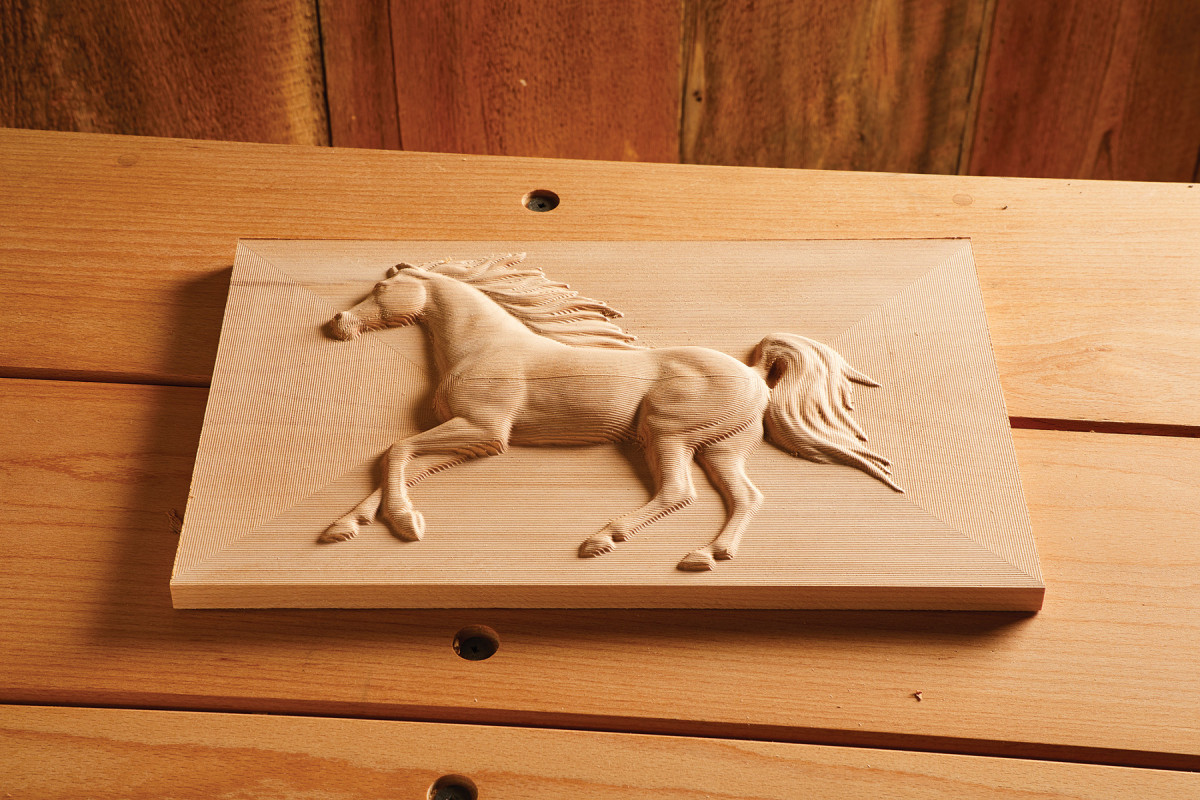
3. Taking a CNC rough out to a final, hand-finished carving lets you make each piece unique.
Confession time: I’m a hand tool woodcarver at heart but I have found that a CNC router can be a great shop helper in prepping materials (much like a bandsaw). Let’s say that you have a dozen box lids to carve for Christmas gifts. You can program the CNC router to just rough out the design. Now your task is to bring the carvings to life in a way machines can’t with crisp details, undercutting and hand texturing.
Many carvers I know already use a handheld router to speed the process of cleaning out the background when making signs. The CNC router can take care of that task with less chances of mistakes, less mess and more consistency giving you a blank ready to carve.
One final way to have a CNC router improve your hand carving is to transfer layout lines from a downloadable file. Using a small straight bit or v bit complex layout work is easily transferred form image to workpiece.
Whether you are asking the CNC router to produce a finished carving or using it to for speed and convenience in your own hand work look at all it has to offer. You may be surprised at what this digital shop helper can do.
Here are some supplies and tools we find essential in our everyday work around the shop. We may receive a commission from sales referred by our links; however, we have carefully selected these products for their usefulness and quality.