We may receive a commission when you use our affiliate links. However, this does not impact our recommendations.
As a professional woodworker, I know firsthand the significance of capturing the beauty and craftsmanship of our projects through photography. Whether it’s for showcasing our portfolio, creating content for clients, or sharing our work with the world, having high-quality photographs is essential. In this blog post, I’ll share the tried-and-tested setup that allows me to shoot small woodworking projects like a pro right in my woodshop.

Creating the Photography Platform
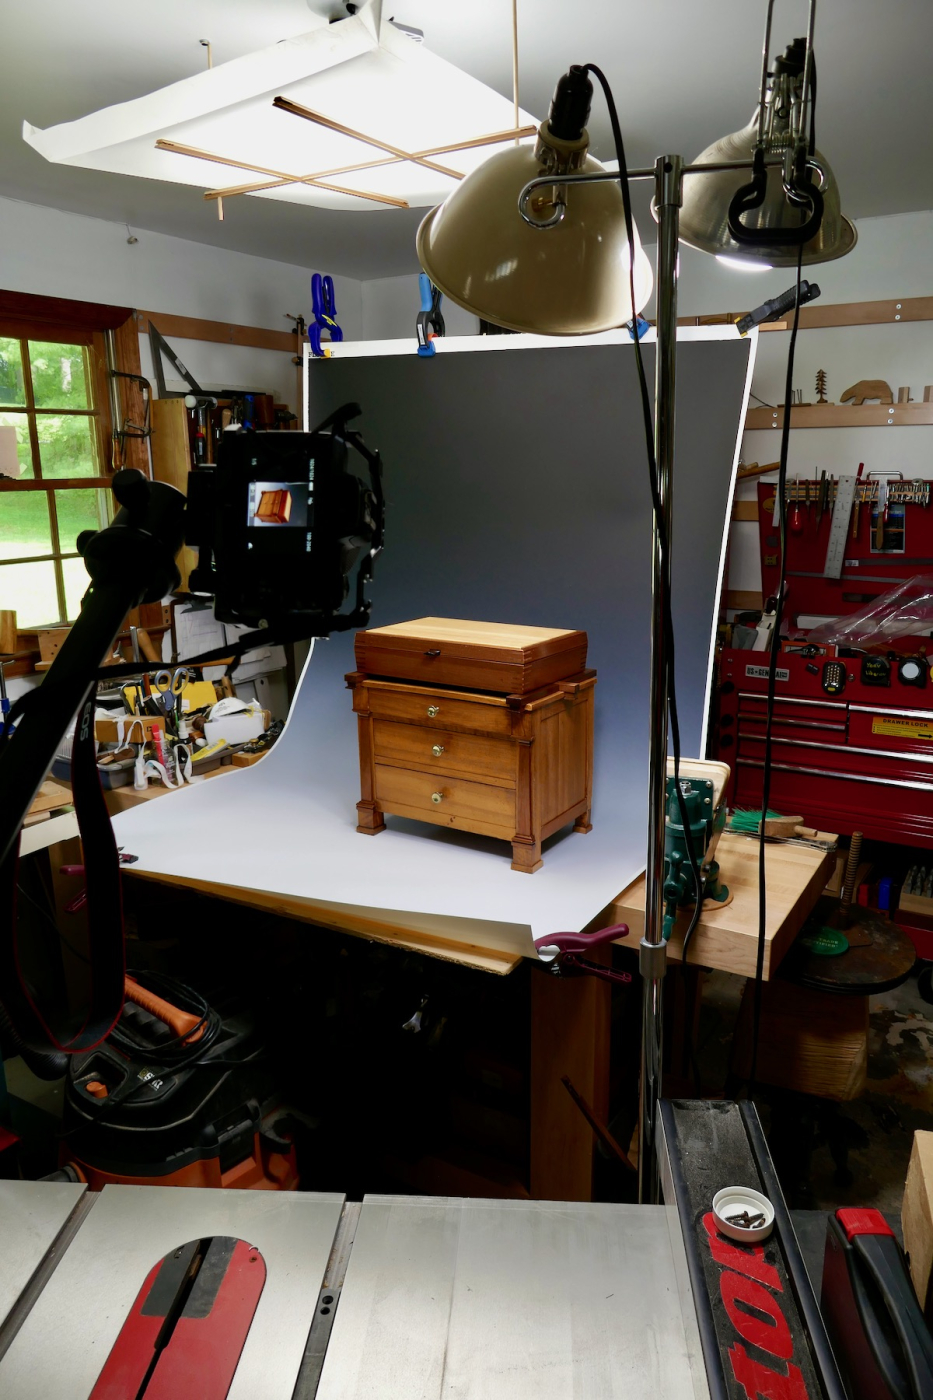
One option to achieve a sturdy and adjustable photography platform is to connect two sheets of plywood or MDF—one horizontal and one vertical—using a hinge and a rope to keep them open at about 95 degrees. This provides a stable surface to capture the perfect shot of your woodworking projects. Alternatively, you can simply secure the horizontal platform to your workbench and the vertical one in your vise. Choose the method that suits your workshop setup and preferences.


Choosing the Right Backdrop
Selecting the right backdrop or background is crucial for creating a professional look. Plenty of backdrop options are available, including paper, plastic, and fabric backgrounds. Backgrounds can come in various colors or have a graduation effect, such as transitioning from black to white. It’s essential to consider the cost and durability of different materials.
Plastic backdrops tend to be more expensive but offer the advantage of lasting longer and not developing folds. On the other hand, the least costly option is using a roll of thick paper or a sheet of white paper, which you can easily find at an office supply store. For a budget-friendly yet practical approach, I typically clamp the backdrop to the L-Platform using a few spring clamps. This setup provides a clean and seamless backdrop that beautifully complements the woodworking projects without breaking the bank.

Perfecting the Lighting
Proper lighting is crucial for capturing the true essence of your woodworking projects. In my woodshop, I’ve crafted a custom diffuser for the intense ceiling light, an 80-100W LED bulb, which has not only improved working conditions in my garage but also proved incredibly beneficial for photography. I previously shared how I built this diffuser for the fanned-out LED bulb in my garage. This addition softens the light, ensuring even lighting across the scene and minimizing harsh shadows. Its simple implementation allows me to achieve professional-looking photographs without the need for expensive lighting equipment.
If your ceiling light isn’t strong enough, consider using the secondary light source as your primary one. Load the stand with more soft LED bulbs to compensate for the lack of light. Alternatively, you can get a stronger bulb to mount on your stand, but remember that these stronger bulbs may not come with a diffuser. In that case, building one or using a white photography umbrella will help soften the light and achieve the desired effect. This solution lets you make the most of your existing equipment.

Now, let’s move on to the secondary lighting setup that adds depth and highlights the intricate details of your woodworking project. With these improvements in your lighting, both your woodworking projects and photography endeavors will thrive in your garage workspace.
Secondary Lighting Setup
To add depth and highlight the details of your woodworking project, include two secondary lights placed at 45-degree angles. I use 35W LED bulbs housed in diffusing capsules to emit soft and even light. Opt for “cold” 5000K daylight spectrum bulbs, as they accurately represent the colors of the wood. My resourceful approach includes using inexpensive clamp lamp light fixtures to house these secondary bulbs, adding to the overall cost-effectiveness of the setup.


A Convenient Light Stand – The Versatile IV Pole
Having a movable light stand is crucial for positioning the secondary light fixtures precisely. And here’s where the versatility of the IV pole comes into play! I found an IV pole on the side of the road, and it has become an indispensable tool in my woodshop. I repurposed it to serve as a practical light stand, allowing me to roll the pole and lights around effortlessly to illuminate different angles of my projects during photography sessions. The same IV pole serves me well for other shop-related tasks, making it a valuable addition that enhances both my woodworking and photography experiences.

Shooting the Project
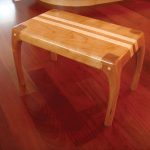
With the photography platform and lighting ready, it’s time to focus on capturing your woodworking masterpiece. Whether you use a DSLR with adjustable settings or a smartphone with advanced shooting options, the key is to take multiple shots from various angles to showcase the intricate details of your project. A pro tip: Don’t worry too much about minor “background noise” or elements of the shop that may be included in the frame. As long as your object is engulfed by enough intentional backdrop, you can crop out any access noise later during post-processing. This will allow you to create a professional and visually appealing final image.

In this picture, you may notice some of the shop backgrounds inadvertently creeping into the frame. However, with a simple touch of post-processing, I was able to crop it out, ensuring the focus remains on the beautifully showcased woodworking masterpiece.

As a professional woodworker, showcasing your work through captivating photographs is essential for building your brand and attracting clients. With this inexpensive and effective setup, including a custom ceiling light diffuser and the versatile IV pole, you can shoot your small woodworking projects like a pro right in your woodshop. So, the next time you complete a masterpiece, use these tips to capture its true beauty and share it with the world. Happy shooting!
Here are some supplies and tools we find essential in our everyday work around the shop. We may receive a commission from sales referred by our links; however, we have carefully selected these products for their usefulness and quality.