We may receive a commission when you use our affiliate links. However, this does not impact our recommendations.
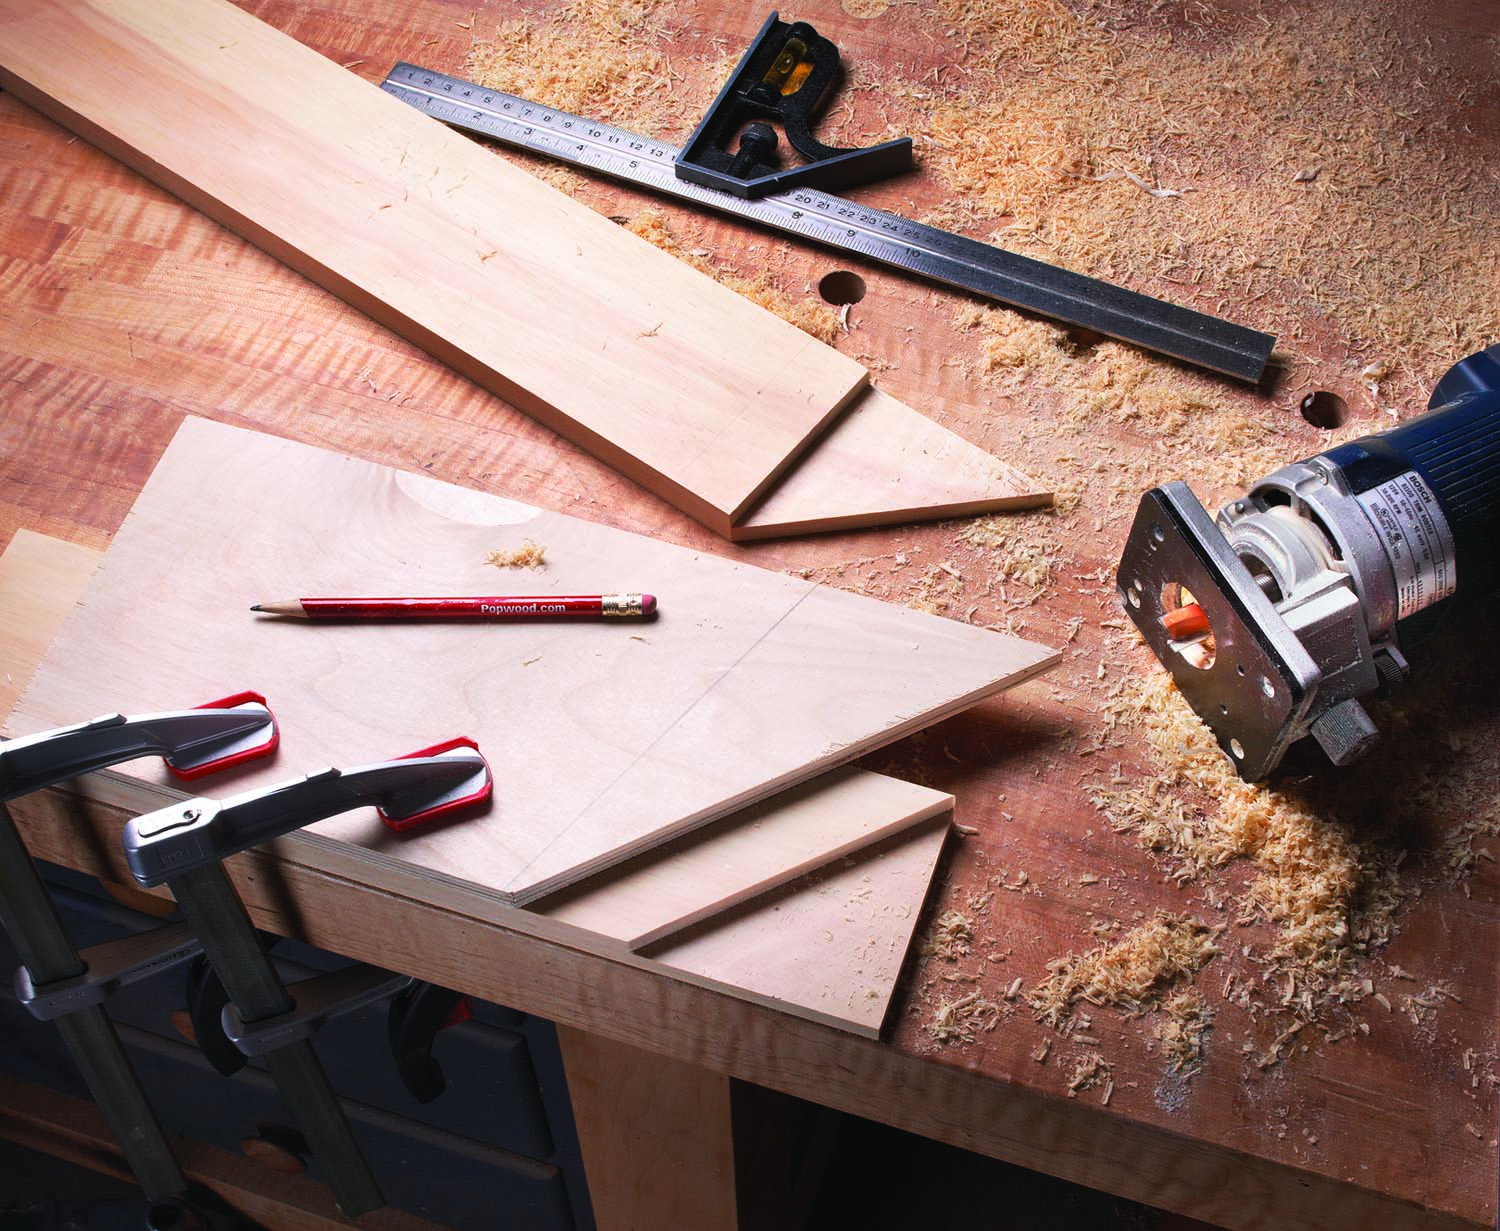
Not often considered. Mitered joints are a common woodworking joint. Most are splined or joined with biscuits and lack real strength. With a quick setup that uses your router, you can master the mitered half-lap. When assembled, this joint rivals a tightly fit mortise-and-tenon.
With a router, straight bit and plywood scrap, turn a weak joint into a superhero of strength.
One of the strongest joints in woodworking is a properly fit mortise-and-tenon and the opposite in strength is a simple butt joint. For years I built base frames with mortise-and-tenon joints at the rear and mitered corners at the front. The miters were joined with biscuits. The rear joints were much stronger, so I wanted to add strength to those mitered front corners, but how?
Not with mechanical fasteners; screws were out. I needed something quick to create and when assembled, I wanted the joint to retain a mitered look. The answer was a mitered half-lap joint. With a half-lap, there is plenty of flat-grain glue surface, and that increases the holding power, big time.
Tools for the Task
Quick means simple in my book, so if a bunch of tools are needed, forget it. Goodbye, handtools. The process I came up with works with a router, a straight bit and a piece of plywood that’s a couple inches wider than your workpiece and long enough so it’s easy to add clamps. Trim one end of the plywood to a 45º angle to make things easier.
With this technique, the router sits on top of the workpiece and kisses the fence on the final pass. It’s best to have a straight edge on your router’s base plate, or make sure you have accurately adjusted a round base plate so the bit is centered. An off-
center base plate, depending on how you hold the router each time it’s picked up, allows the possibility that you’ll miss the layout line as you plow out the waste.
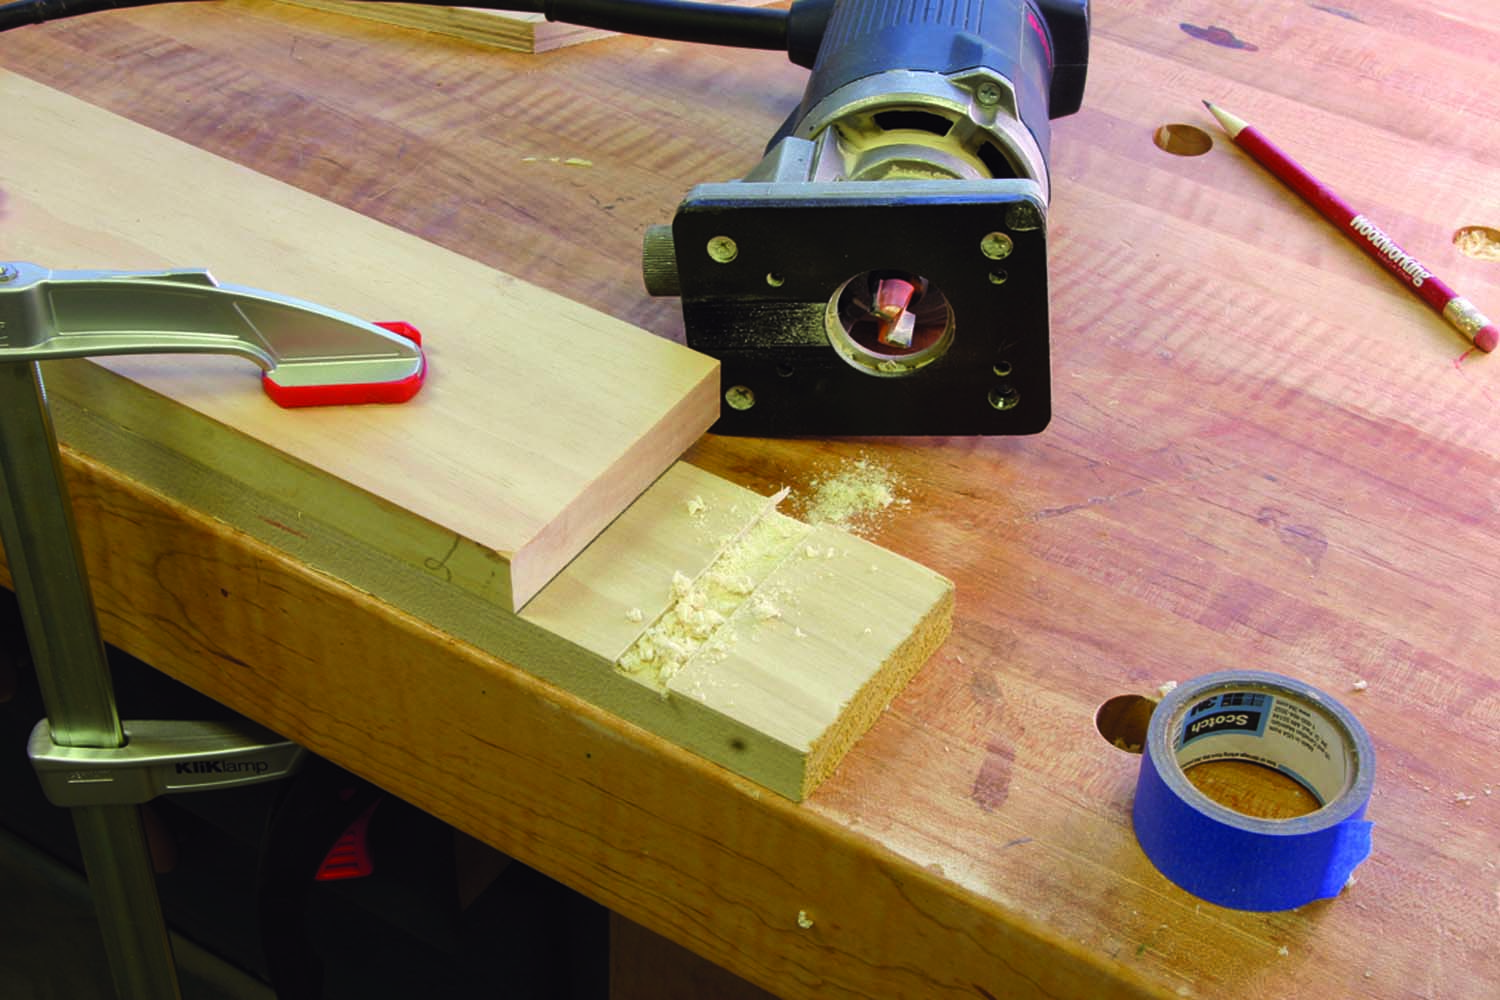
Get it exact. The key to this technique is accuracy. Find the precise offset measurement through a sample cut to ensure you’ll have a perfect fit.
The straight bit can be any straight bit that you have in your arsenal. You’re only going to use the end of the bit, so even a top-mount bearing-guided bit works. A smaller-diameter bit is a bit easier to use, but because the cut is most often 3⁄8” in depth (half the thickness), a larger diameter bit is no problem.
Keep the Players Straight
To begin, cut your pieces to their finished length. For a base frame, miter the ends of the front rail at 45º – the adjoining returns are left square.
Chuck a straight bit into the router and set the depth of cut very shallow.
Grab a couple pieces of scrap and position one on top of the other leaving a few inches to the right of the top piece, as shown above right. This makeshift fence allows you to find the exact offset from the edge of your base plate to the edge of the straight bit. Make one pass with the base riding along the fence then measure the distance from the fence to the dado. This is the offset measurement. Remember it.
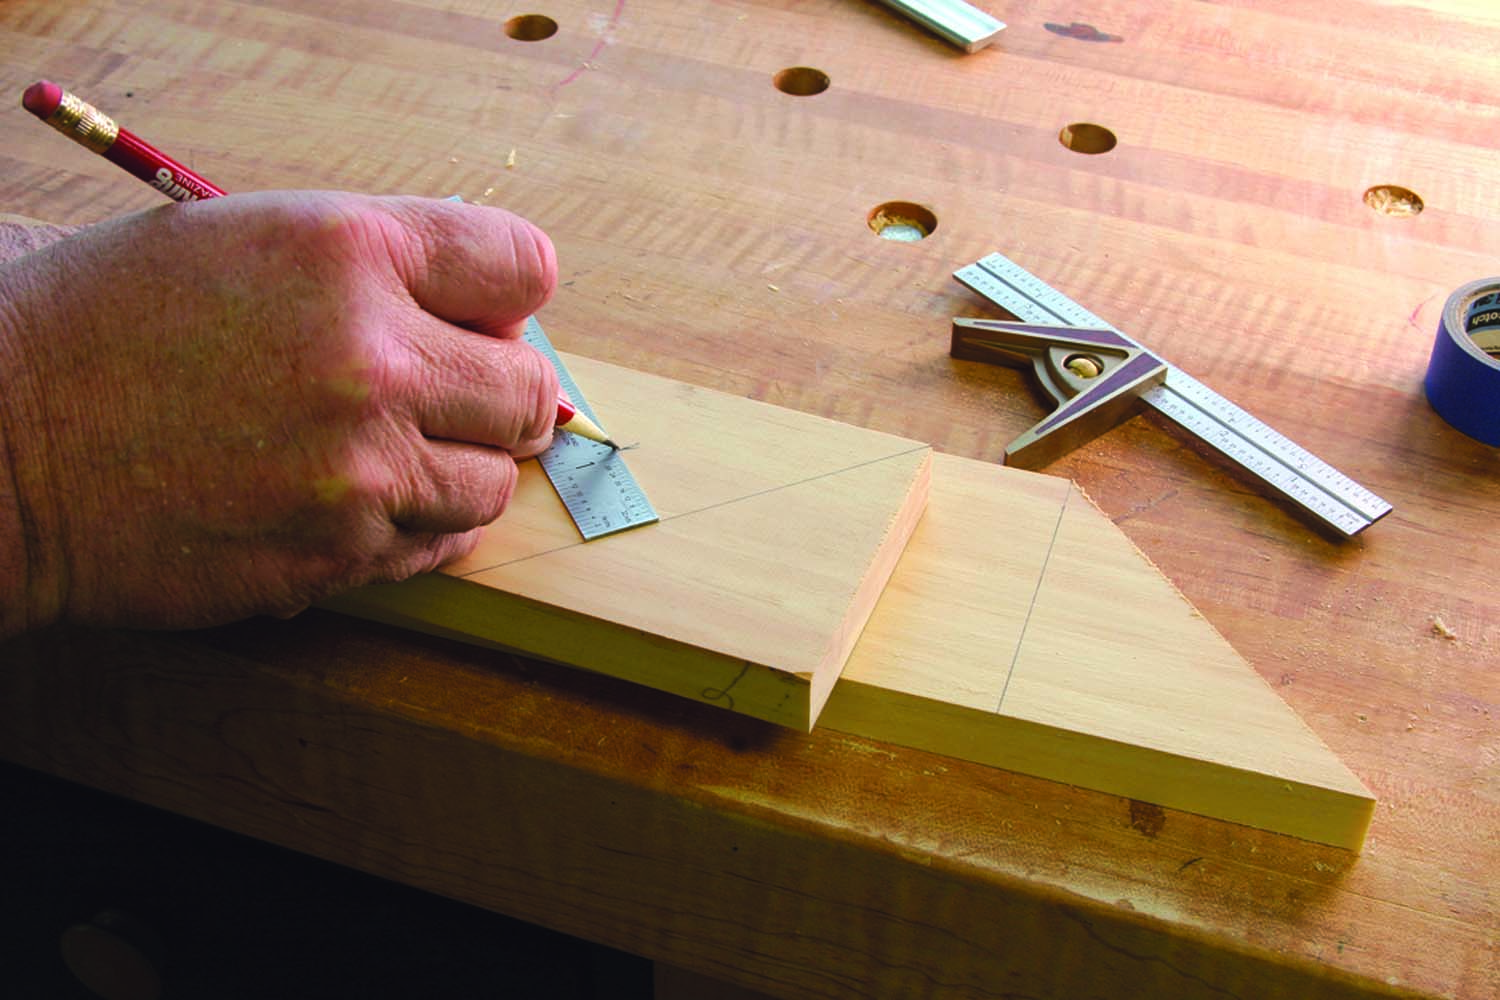
Offset and go. Whether it’s an angled line on a square end or a square line on an angled end, the offset line is king. Plus it’s where to position your fence.
Layout is key. Form the half-lap on the wrong face of the pieces and you’ll lose the mitered look, so mark the faces to remove the bottom half of the miter-cut end and the upper half of the square-cut ends.
Draw an angled line (45º) on the squared ends beginning at the corner then square a line across the mitered ends beginning at the edge of the cut. Draw a second line, offset by the earlier measurement (the one I told you to remember), that’s parallel to the first lines.
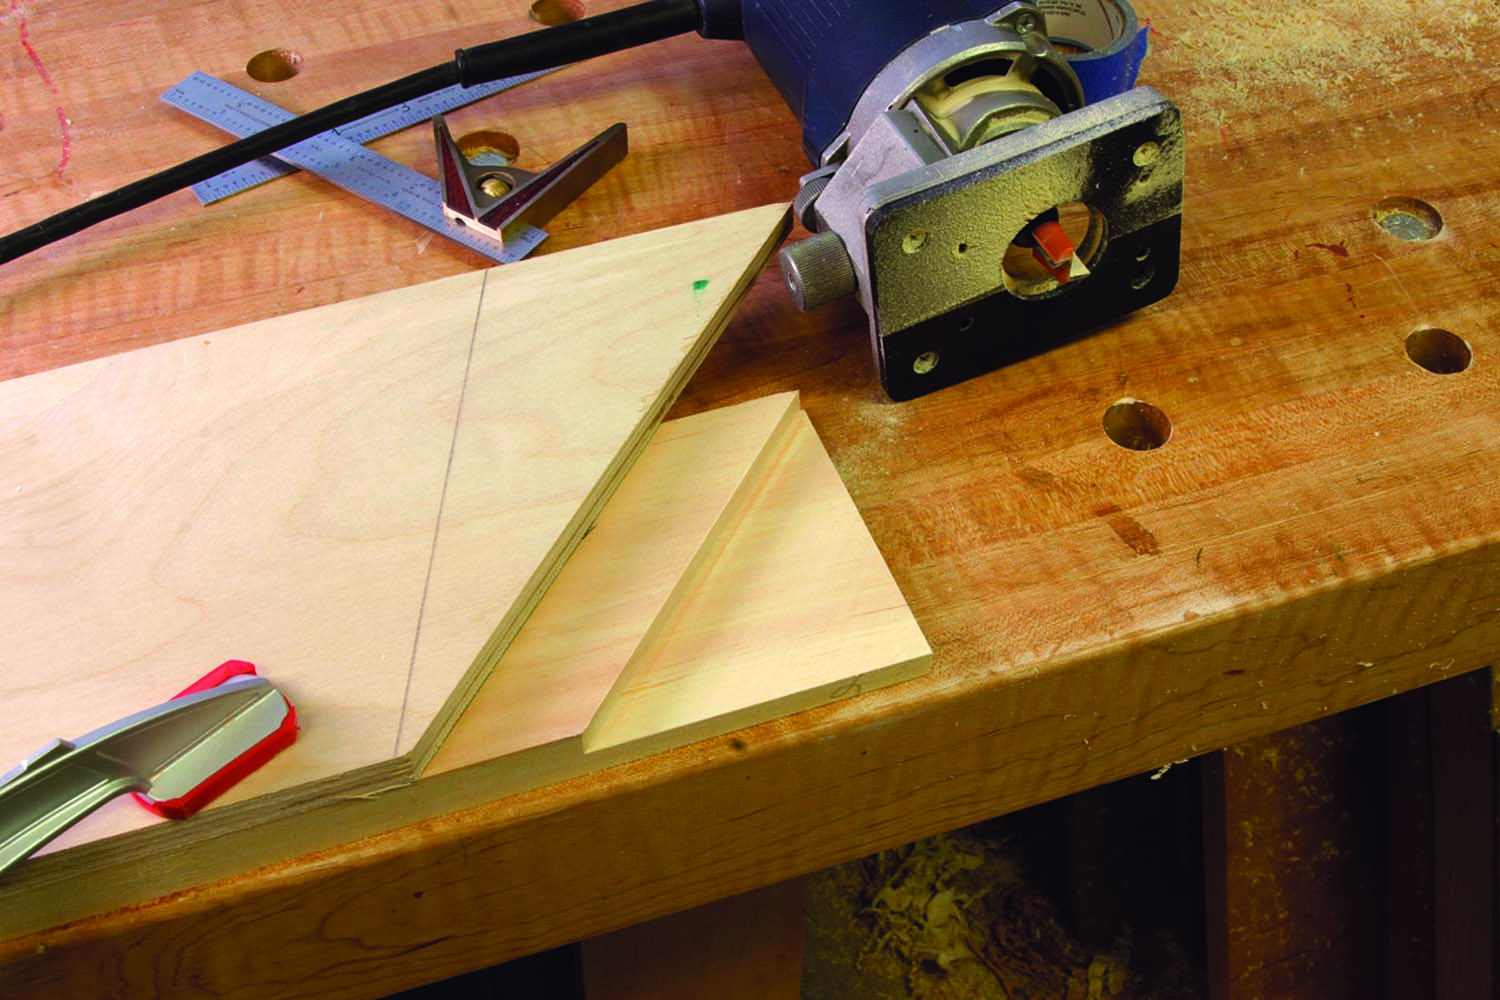
It’s a keeper. With accurate layout and routing, the completed portion is perfectly cut to accept its half-lap mate.
Position your plywood fence at the second layout line with the angled end toward the mitered end of your workpiece. Hold the fence flush with the bottom edge of the workpiece then clamp the fence in place.
After you adjust the bit to remove half the thickness of your workpiece, nibble away the waste beginning at the end of the workpiece and working toward the plywood fence.
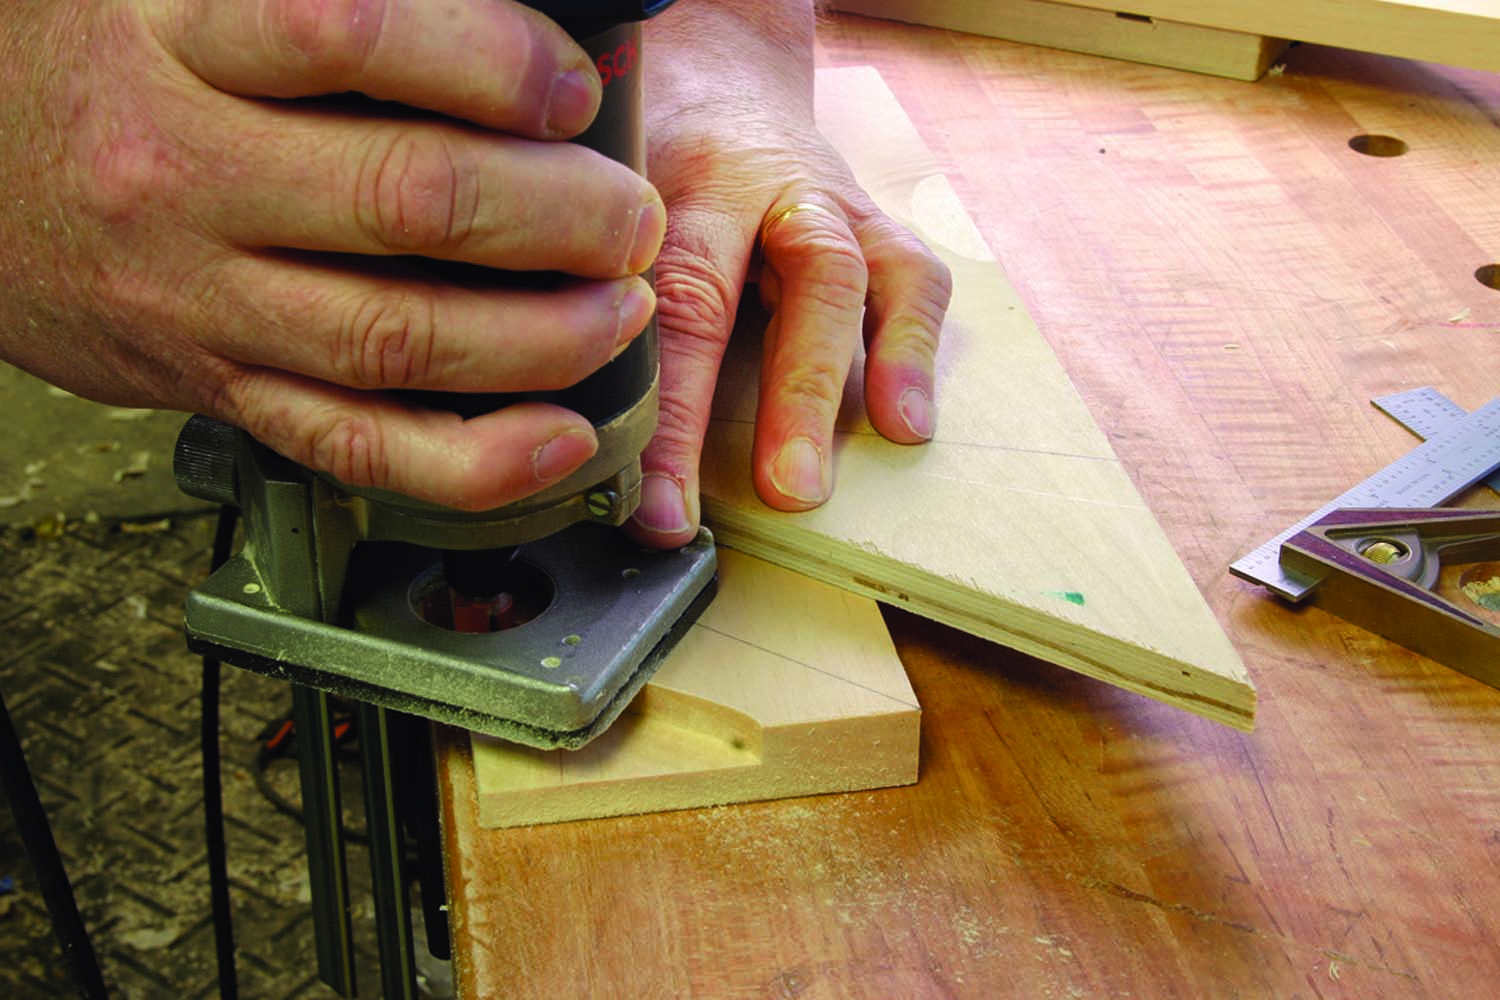
Nibble away. If you’re comfortable with your router abilities, remove waste using a climb-cut, as well as in the traditional left-to-right manner.
On your last pass, hold the router base tight to the plywood. At the end of the cut, the router base plate hangs mostly off the edge of the workpiece, so maintain pressure to keep the plate tight on the workpiece.
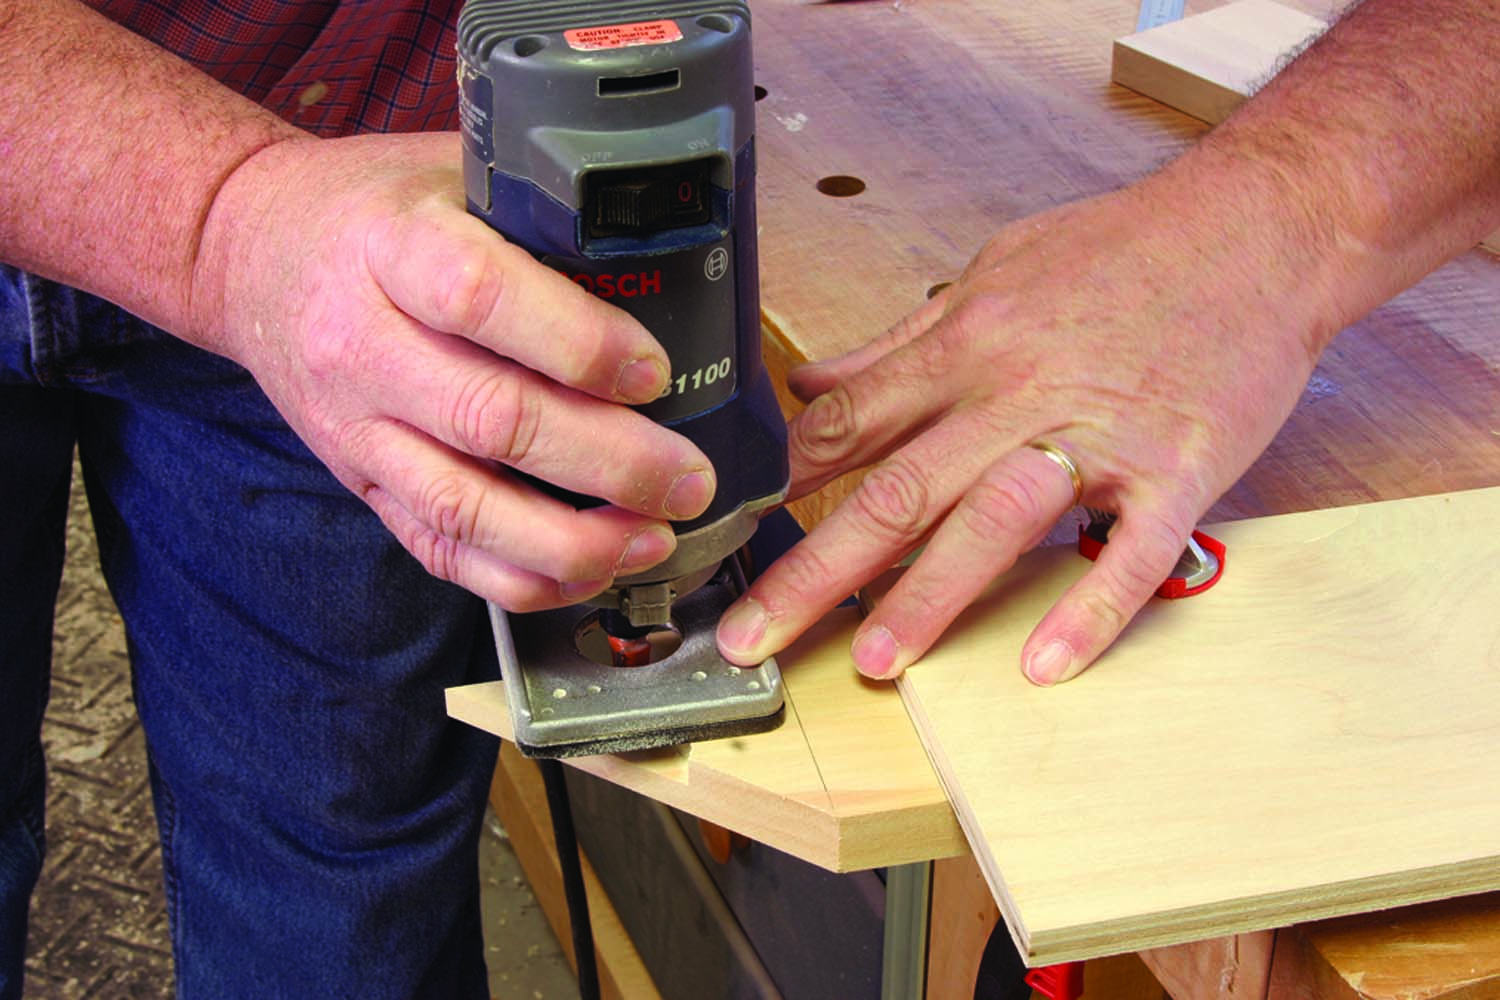
Oh the pressure. It’s easy to allow the router to tip into the cut portion as you work. Keep downward pressure on the base plate with one hand while steering the router with other.
To clean the bottom waste from the miter-cut piece, align your fence with the square offset line, hold the bottom edge flush with the workpiece then nibble away the waste. Work slowly from the point to the fence.
With the waste material removed from both workpieces, your joint will slip together with both shoulders tight. The increased glue surface adds strength to the joint and when viewed from the top, the joint appears to be mitered. This is a great technique for base frames, picture frames or anywhere else your woodworking calls for a mitered corner.
Video: Watch how to build and use another dirt-simple router jig.
Here are some supplies and tools we find essential in our everyday work around the shop. We may receive a commission from sales referred by our links; however, we have carefully selected these products for their usefulness and quality.


