We may receive a commission when you use our affiliate links. However, this does not impact our recommendations.
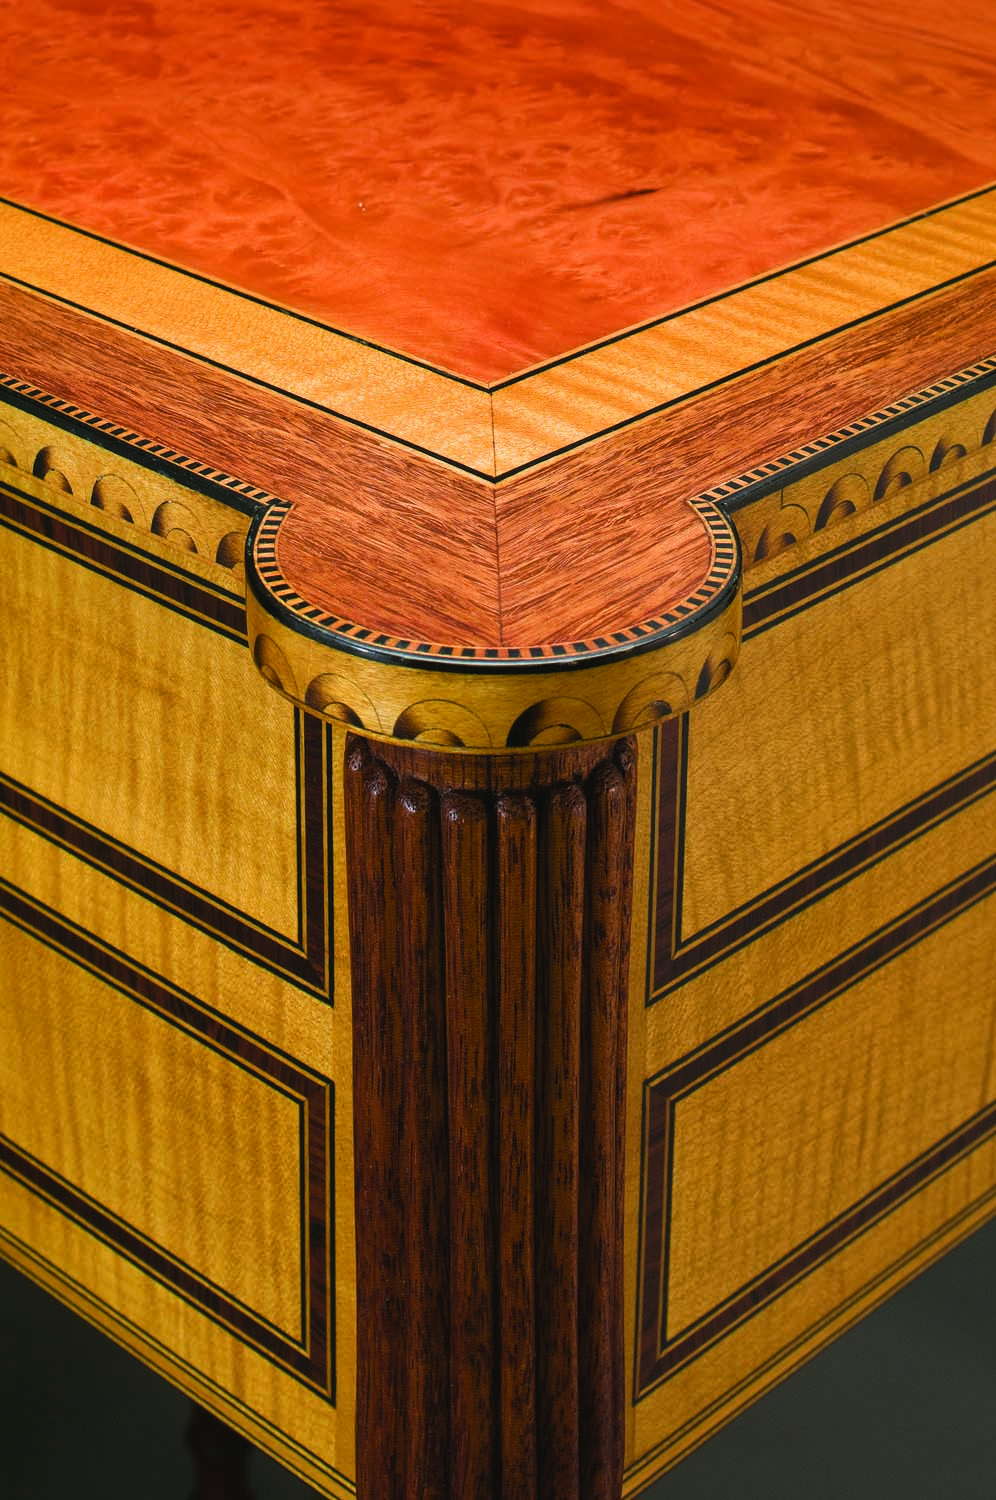
Striking additions. Exquisite and detailed inlay, as on the turret of this Federal-period worktable, adds visual interest to furniture. To obtain a perfect fit, you’ll have to follow a couple curves.
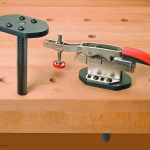
A trip to the hardware store yields clamps that put the bend in inlay.
Inlaid bandings are a time-honored technique to embellish furniture, as are curves. Combining the two is surely a way to take your furniture to the next level. But to take straight sections of banding and curve them to fit isn’t easy, nor is the outcome often successful. This is especially so when banding is fit in a rabbet at the edge of your project.
When you attempt to bend a banding into a groove, the task is made easier because the banding is somewhat restrained from springing back. Still, stiff bandings can be difficult to coax into a tight radius without fracturing or crushing the edges of the groove while the banding is being pressed into place.
Some years ago I made a Federal-period worktable that featured turret corners on which the perimeter was adorned with a moderately complex banding. By using heat, moisture and strategically placed kerfs, I successfully got the banding to conform to the turret. Despite that success, adding kerfs seemed a crude way to bend inlay. I decided to make the banding in a circular form in the future.
Get Curved Banding From a Straight Form
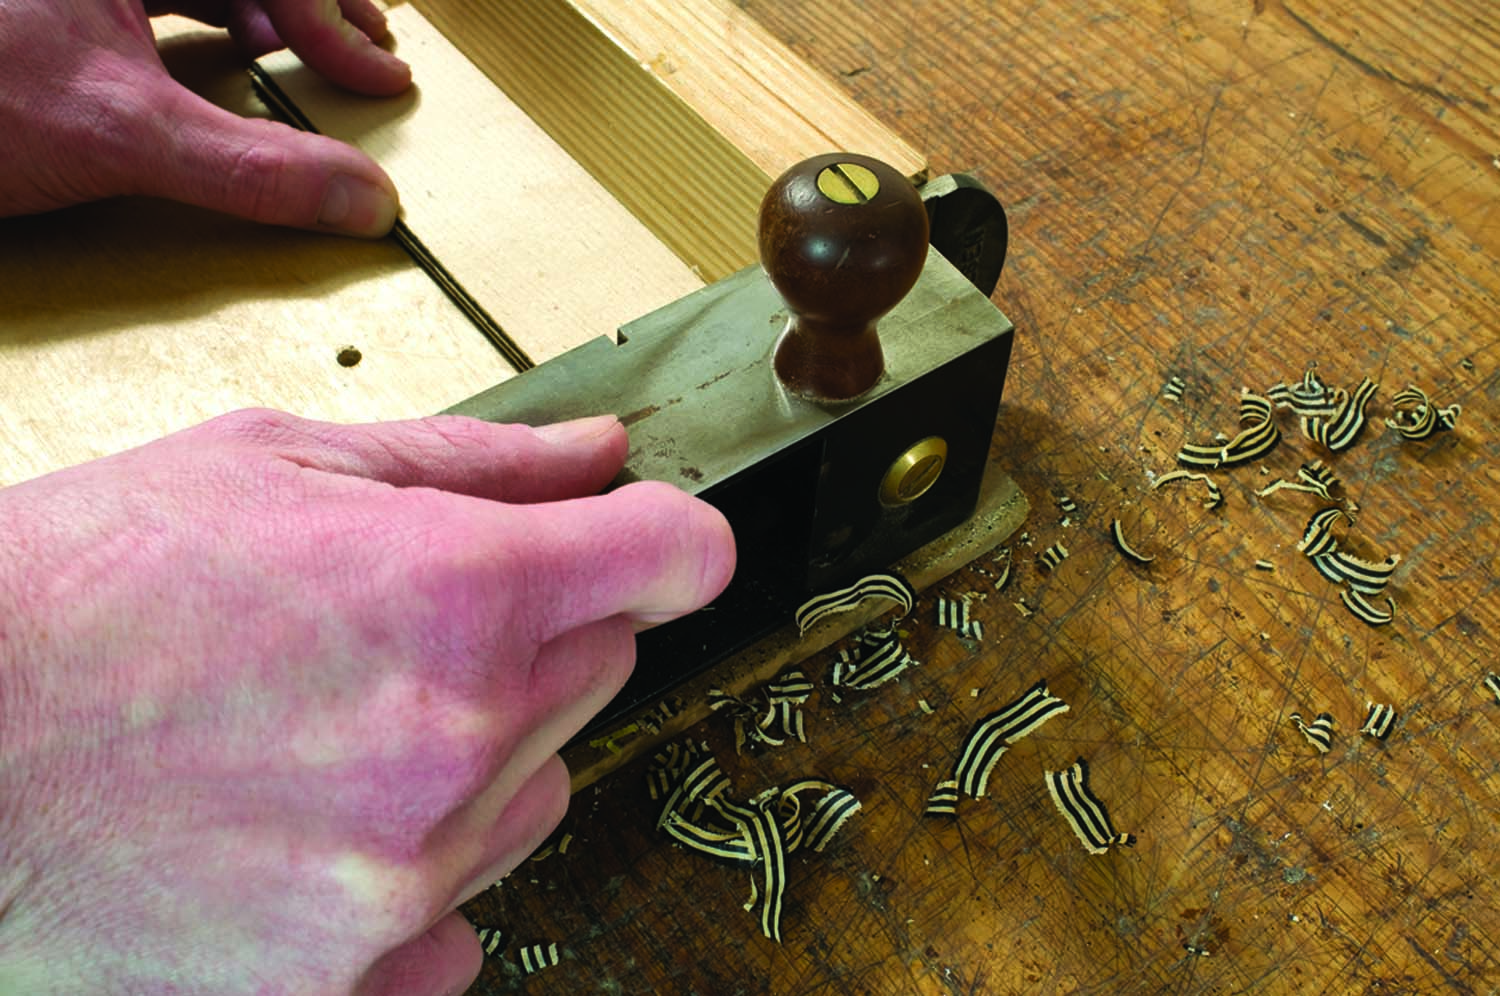
Eschew the skew. A low-angle block plane makes short work of producing an accurately sized cylindrical form.
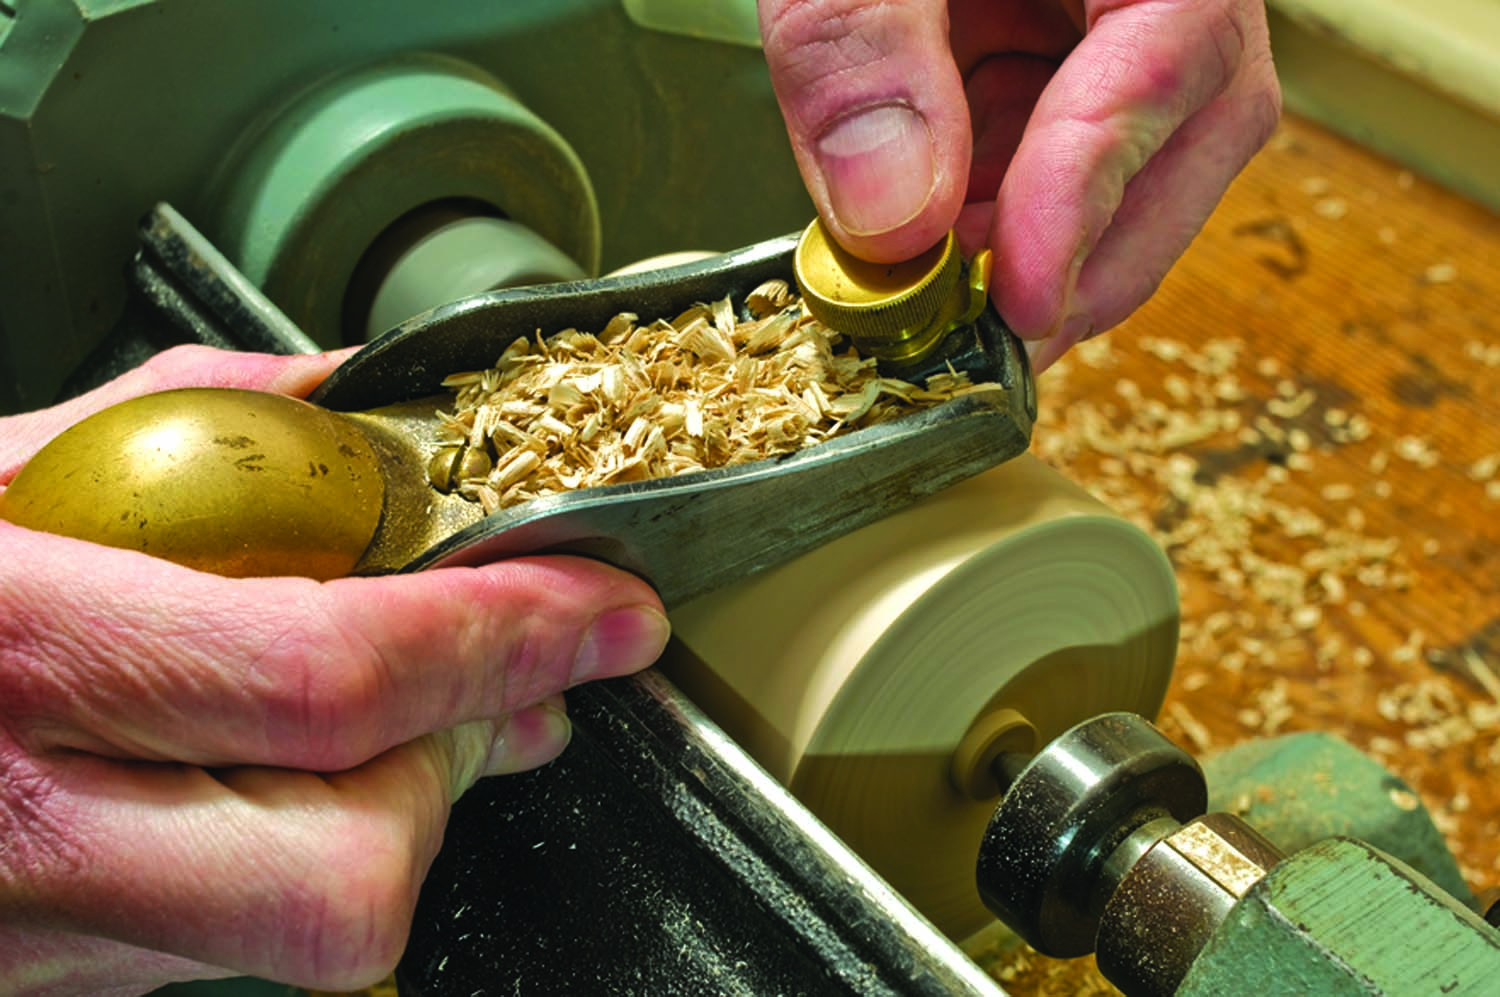
To make circular banding, begin by turning a form at the lathe. A uniform-diameter form is important, so after establishing the proper diameter with a cut-off tool and caliper at intervals along its length, a block plane smooths the form to its final size. This is more accurate and easier than using a skew chisel.
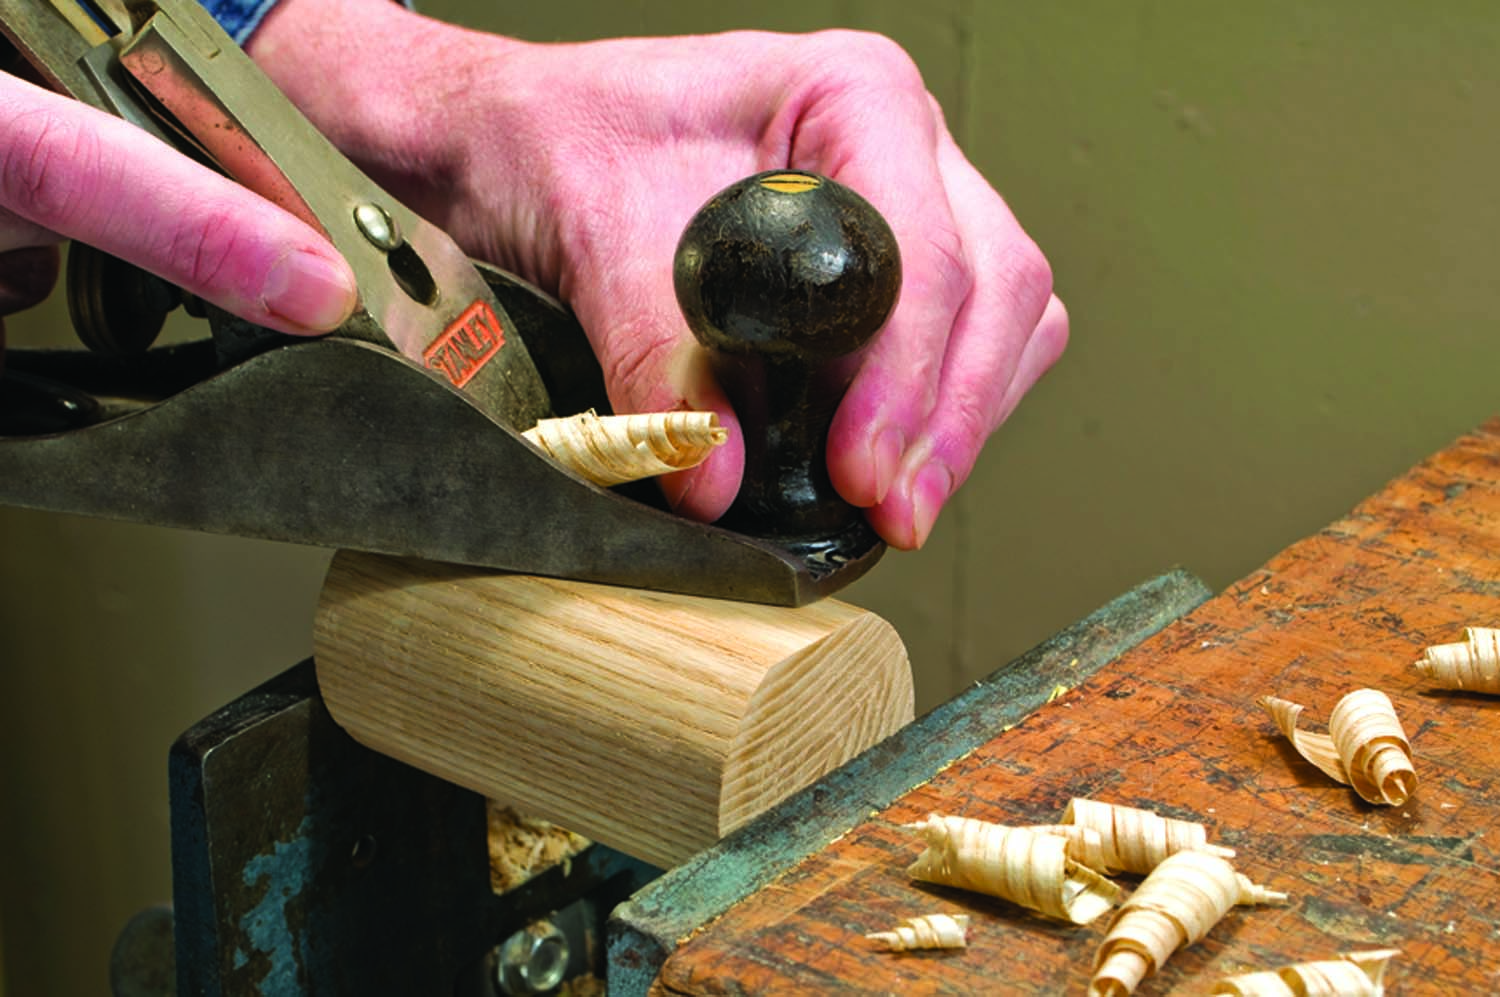
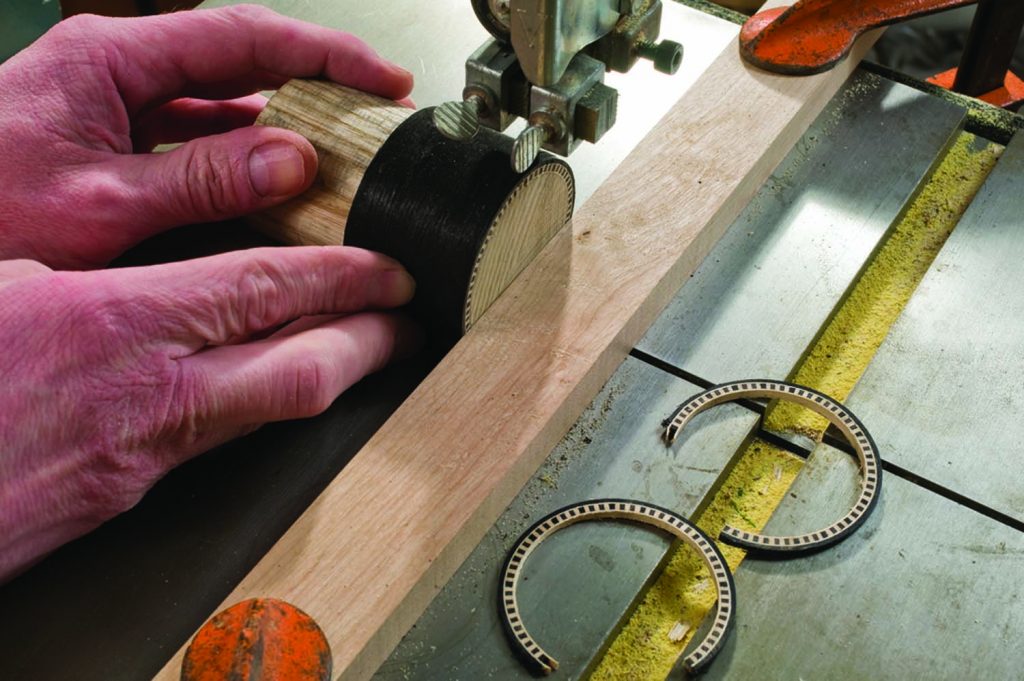
Keep it safe. A flat is planed on the form to provide stability as the inlay is later sawn at a band saw.
To my surprise, there is very little springback when banding is released from a form, but it is better to make the form 1⁄8” – 1⁄4” less than the finished diameter to compensate for any possible springback, and to avoid having to force the banding to a tighter radius during the inlay process. The length of the form should be 4″ to keep your fingers safely away from the band saw blade as the rings are sawn free.
While not essential, I like to square one end of the form on the lathe to aid in planing a flat on the cylinder. This flat rides on the table of the band saw, providing a safe bearing surface while sawing the rings. Wrap the form with packing tape to ensure your banding won’t stick to the form. Slice your pieces at the saw – bandings, tape and form.
Assemble Your Pieces
The turret banding begins as a 2″-wide stack of six alternating layers of 1⁄16” maple and blackdyed veneer. Even simple bandings become difficult to make if too wide, so 2″ is a good compromise between yield and ease of manufacture. The veneer layers are glued together and clamped between boards until dry. Make sure you have complete contact between the layers. When the glue has cured, joint one edge and square up the ends of the stack.
 Making bandings requires tight tolerance work, necessitating the use of a dial caliper to measure the various components of the banding. Begin by measuring the thickness of the veneers that enclose the strips sawn from the stack. Those strips will be sawn to the difference between the thickness of the enclosing veneers and the finished thickness of the banding (here, the veneers measured .102″ and the finished banding is 3⁄16” or .1875″, rounded up to .188″, thus we cut the strips at .086″).
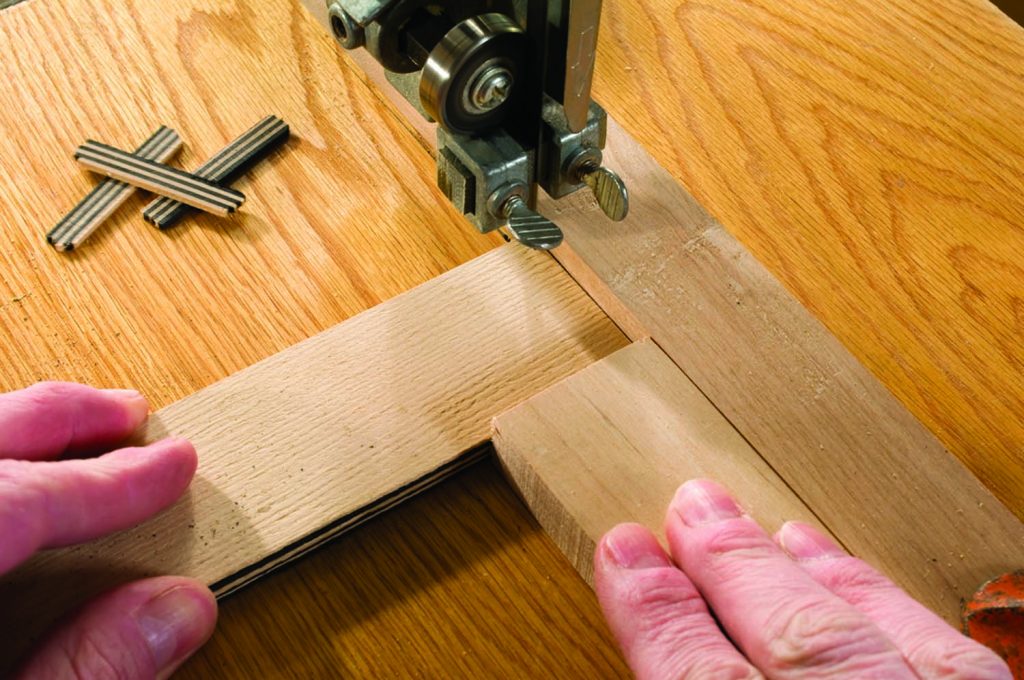
Keep a light touch. Hand placement and feed pressure are the keys to accurate sawing.
The strips are sawn at the band saw using a .014″-thick blade to minimize waste. Setting the fence is an exercise in trial and error. I’ve found that setting the caliper to the required size and using it to eye the fence setting is amazingly accurate. So as to not waste the stack, the test cuts are made using a block on which the density is similar to the stack. The key is consistent hand and feed pressure.
True your end. After a few strips are cut, you need to square up the ends of the stack at your shooting board.
The hand pushing from the side should apply only enough pressure to keep the stack in contact with the fence while the other hand, aided by a push block, feeds only fast enough to keep the blade cutting. Feeding too quickly or too slowly causes the blade to wander, but a happy medium is reached after a short learning curve. Approximately four or five strips can be sawn before the ends should be trued up at the shooting board. Measure each strip and discard those that don’t meet a tolerance of .003″. There may be some minor splintering on the strips that can be removed with fine sandpaper.
Work fast. Once the glue is brushed on, it starts to curl the veneer, making assembly frustrating.
Sticky Trick Ensures Success
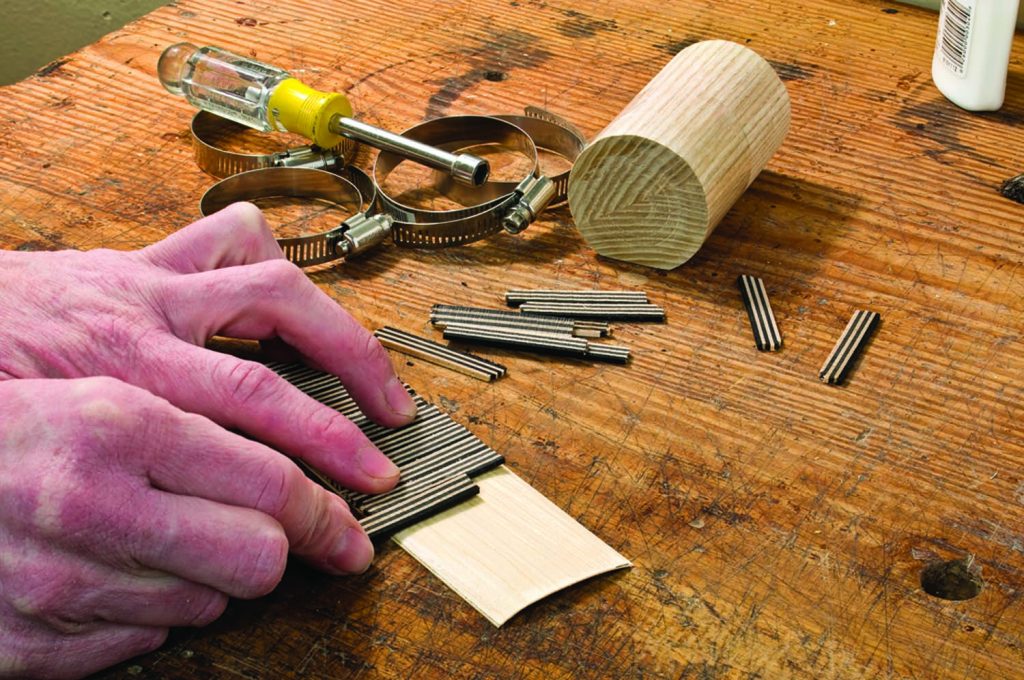
The banding is glued up in three stages. Use white glue (which allows more open time to position the pieces) to affix the strips onto a piece of maple veneer and pay attention that the pattern is maintained. Once the glue is applied, you have to work quickly before the veneer curls from the moisture.
Because the end-grain faces of the strips are glued, more glue is required – but not so much that the strips slip out of position. It’s best to clamp the assembly between flat boards for a very short time. This adheres the strips to the veneer, but they are still flexible enough to then wrap around the form with the strips facing the form. Hose clamps supply the pressure as the glue dries. Because they are made from stainless steel, there is no danger of the clamps leaving iron stains on the wood.

Who would have thought? Hose clamps from a hardware store supply all the clamping pressure you need – and then some.
The clamps are positioned close together and not skewed, with the worm screws placed at the flat of the form. There may be some minor cracking between the black and maple veneer as the clamps are tightened, but this won’t be noticeable on the finished banding.
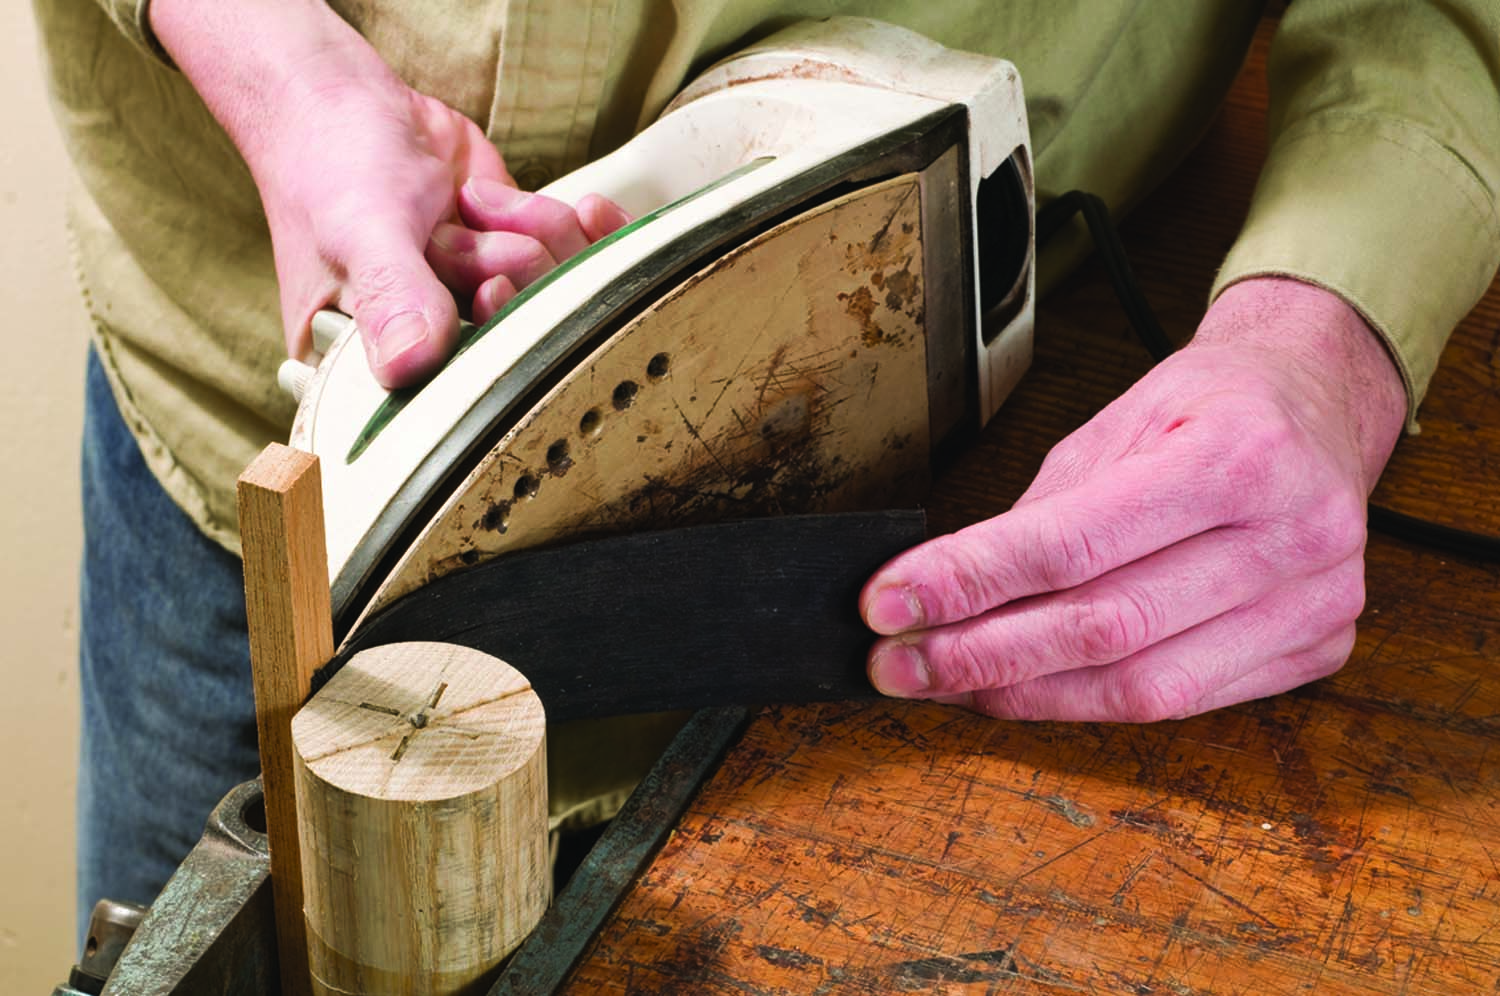
Tailor-made veneer. Using moisture and heat to bend the outer layer of black veneer is as easy as pressing a collar.
A wee-bit thicker. Individual rings are sawn oversized at the band saw, then planed, scraped and sanded flush.
After the glue dries, the next layer of maple veneer is glued on the concave side. This time, add sufficient glue to the inside of the assembly, not the veneer itself. The veneer is carefully positioned to the stack, slid onto the form then the hose clamps are re-applied.
The final layer is 1⁄16” black-dyed veneer applied to the outside of the ring. The dyed veneer is first bent around the form using a spray of water and the heat from a clothes iron. After your veneer cools, apply glue to the stack and position the dyed veneer. Again, the hose clamps provide the pressure while the glue dries.
With all the layers in place and the glue set, remove the clamps and trim the ends of the ring so the flat of the form bears fully on the table. Even with the accurately planed flat, a precise thickness is difficult to maintain, so the rings are sawn thicker than needed then planed flush after installation.
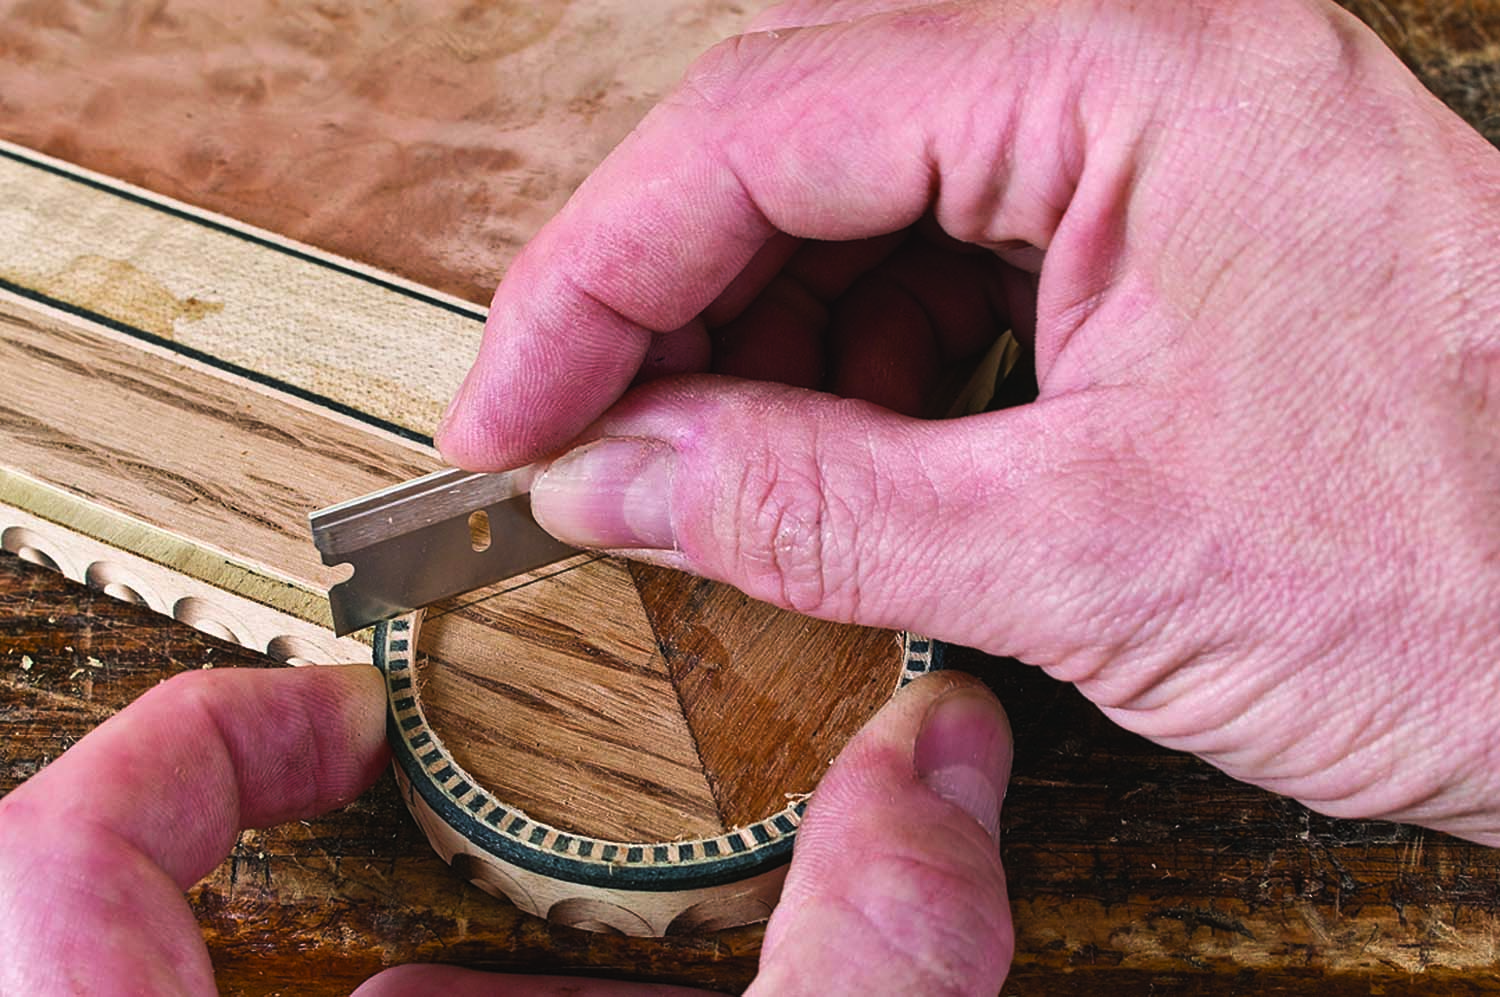
The eyes have it. Where the curved inlay meets the straight run of inlay, mitered corners are best done by eye.
Compared to the process required to finesse a straight banding to follow a curve, installation of a pre-formed ring is a picnic. Place the ring on the turret and then miter the ends with a fresh razor blade. Your eye is the best layout tool.
The ring is glued in place with hot hide glue. It’s best to use low-tack painter’s tape as a clamp; it’s quick and easy.
Another Curvy Application

Doing the impossible. Bending a wide satinwood banding to a tight radius would be quite difficult. But formed as a circle, installation is easy.
Wider bandings and/or bandings made from difficult-to-bend woods can be made in a similar fashion. A recent project called for 3⁄16“-wide triple-line satinwood and black-dyed veneer inlay to be bent to a 21⁄8” radius. Satinwood is a stiff and brittle species not known for its bending qualities, so bending it to a tight radius from a straight section would have been quite difficult. To have any hope of it bending, the sections would have to be about 1⁄4” thick because it’s difficult to bend any inlay that is wider than it is thick.
The satinwood was sawn slightly thicker than desired then sanded to the precise thickness at a spindle sander (or a sanding drum attachment mounted in a drill press). The strips are then steamed for 45 minutes (probably overkill, but satinwood is brittle).
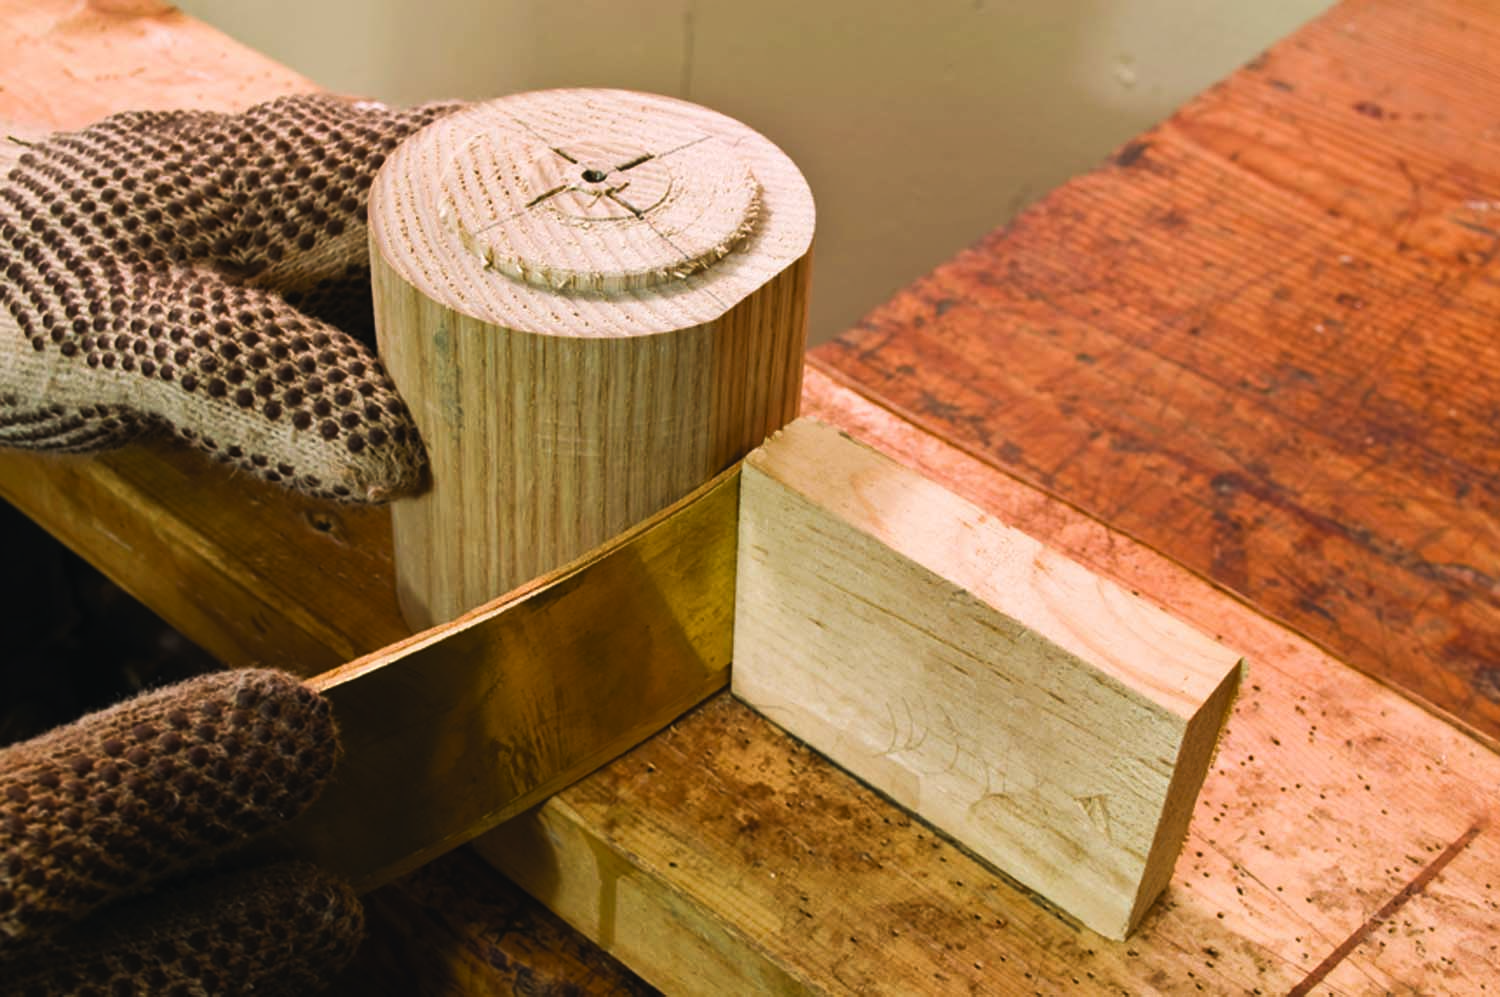
Back-up plan. A thin piece of shim stock compresses the wood fibers and takes the pressure off as you bend the inlay.
The form is screwed to a board. A block is secured to the board just opposite the form’s flat. The gap between the two is equal to the thickness of the two satinwood strips, a backing piece of brass shim stock and a hose clamp. The shim stock prevents the outer strip from breaking out by keeping the fibers in compression. Have the hose clamps, nut driver and brass close at hand, because once the wood is removed from the steamer it cools quickly. With gloves on, remove the strips from your steam setup and place them and the brass in the form while firmly and quickly bending the satinwood to the form. Tighten the hose clamps and leave the strips to dry for 24 hours.
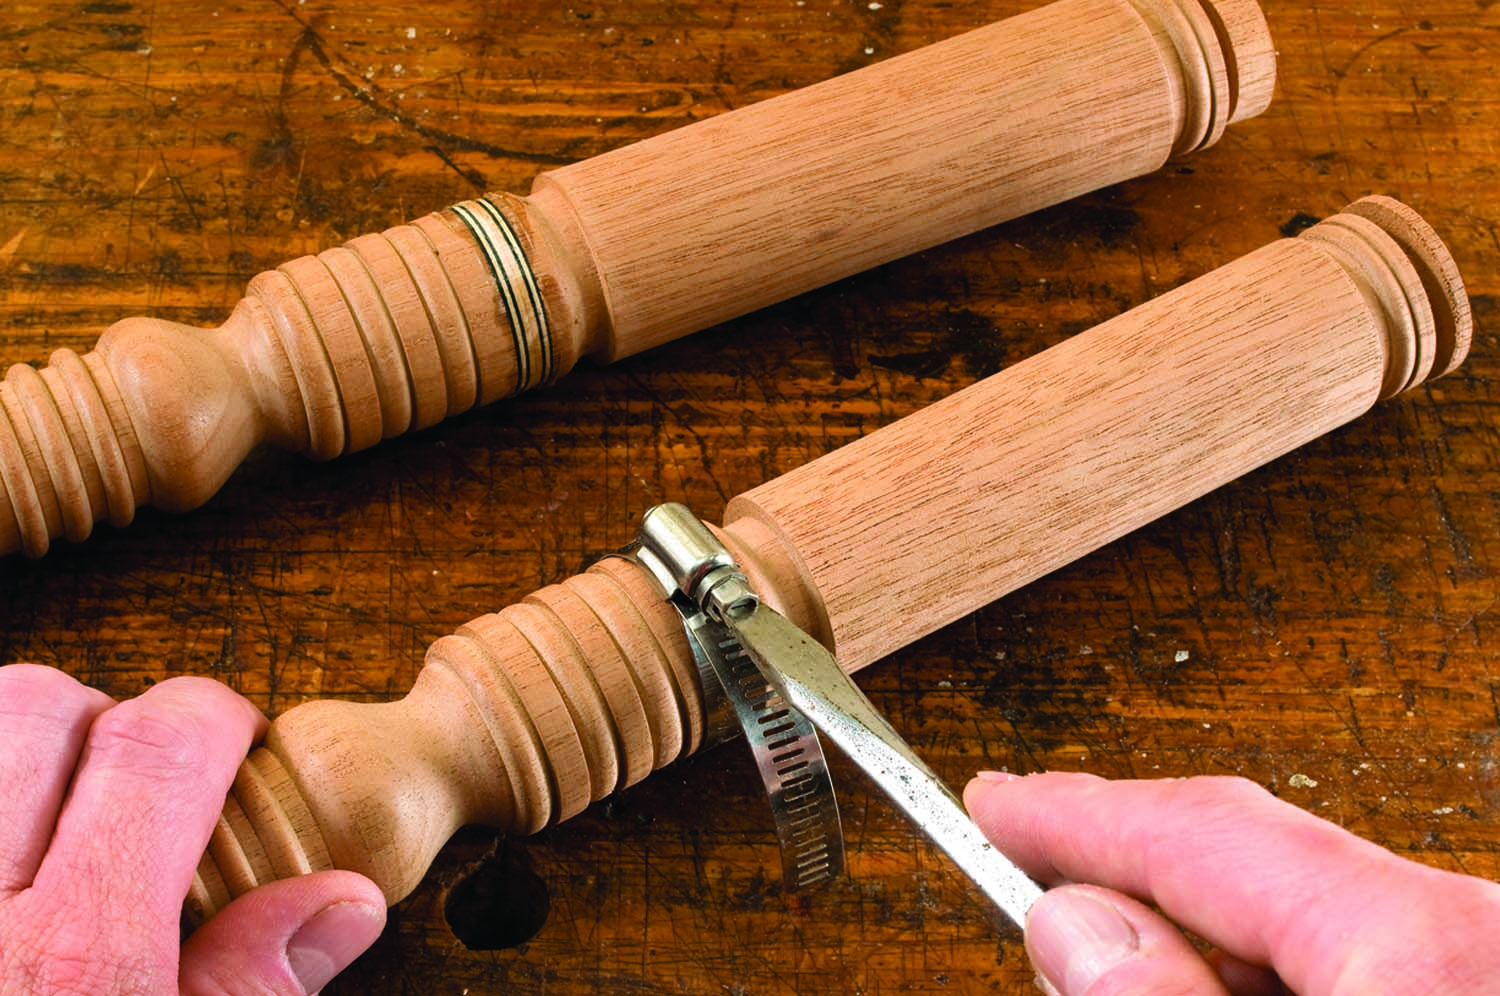
Stronghold for curves. The ever-versatile hose clamp again proves its worth as banding is fit into a turned leg.
The black-dyed veneer is not steamed because it is not as stiff as the satinwood, and the steam could cause the dye to leach out and discolor the surrounding wood. Instead, just as in our earlier example, a few squirts of water and the heat from an iron do the job.
The three bent strips are glued together with white glue and clamped with the hose clamps as before. The individual rings are sawn as before.
We’re Not Done Yet
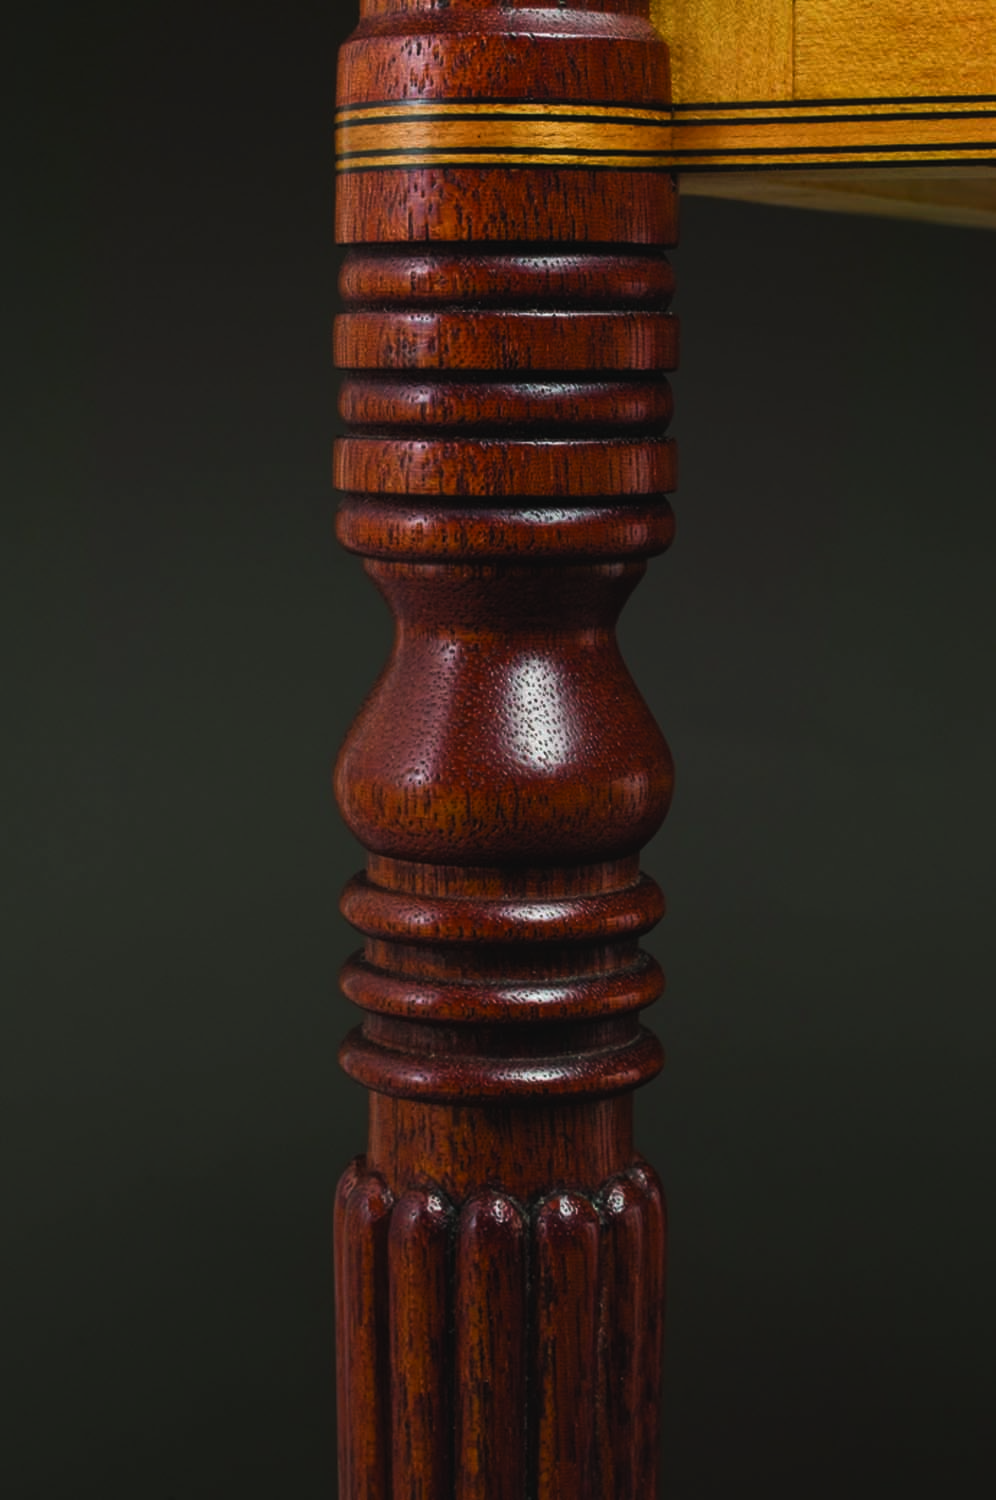
Finished leg. Even with a highly decorated leg, the curved banding adds visual interest.
Hose clamps are also used when a banding runs around a leg. Here a groove is formed on the lathe. A thin strip of banding is sawn on the band saw. Depending on the species, the banding may need some dry heat from an iron or a heated rod/pipe of the proper diameter to relax it enough to bend around the leg. A backing piece of shim stock eases the bend and keeps any fracturing to a minimum. Brush some hot hide glue in the groove, slip the banding into place and apply the hose clamp.
The only difficulty is that the hose clamp obscures the inlay, so you have to be sure that it remains in your groove while clamping. Fortunately, hide glue gels quickly and can be easily reactivated with heat, so after a few minutes you can temporarily remove the clamp to inspect the positioning and make any necessary changes. The area of the leg where the banding fits is left slightly oversized, so when the glue has dried it is remounted at the lathe and turned to the finished diameter.
Techniques such as these are my favorites. Take a seemingly complex detail and make it simple – and all the while you’re adding considerable visual interest to your furniture.
Here are some supplies and tools we find essential in our everyday work around the shop. We may receive a commission from sales referred by our links; however, we have carefully selected these products for their usefulness and quality.