


We may receive a commission when you use our affiliate links. However, this does not impact our recommendations.
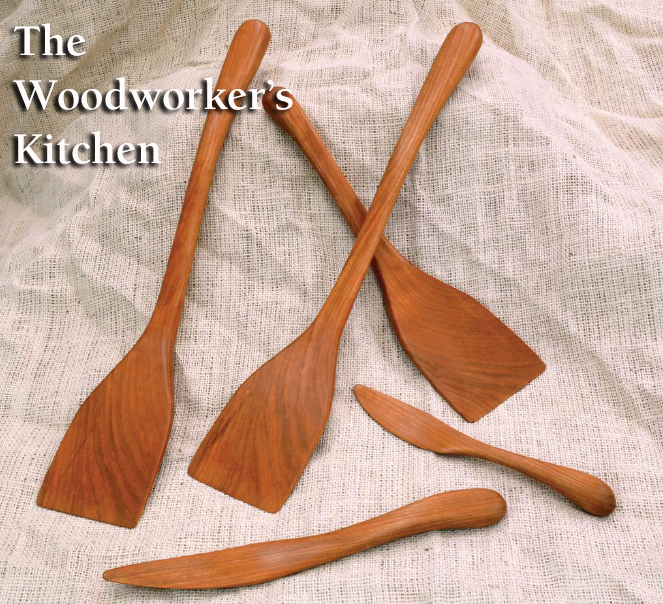
Show off your woodworking skills at your next dinner party with these beautiful hardwood kitchen utensils (instructions excerpted from “The Woodworker’s Kitchen: 24 Projects You Can Make” by A.J. Hamler).
Hardwood kitchen utensils, often called treenware, are a staple of high-end craft markets and upscale kitchen shops. Guess what? As elegant as these are, they’re not difficult to create at all. Cherry is probably the most popular wood used for these, followed by walnut and maple, but any closed-grain hardwood is fine. This is a food-contact item, so open-grained woods aren’t suitable.
Beginning thoughts
You can use any big chunk of wood to make utensils, but you’ll find it easier, more efficient and even safer if that chunk is square or rectangular in cross section. With that in mind, if your main workpiece isn’t square, head over to the jointer or planer and make it so.
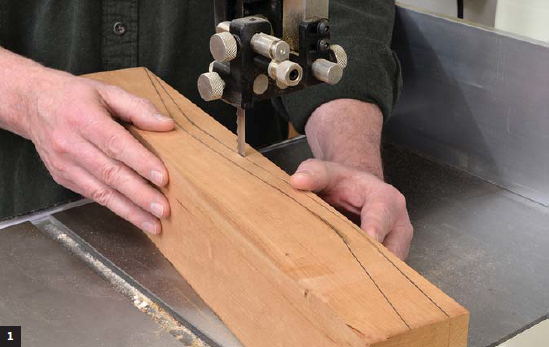
Start by drawing the first pattern on the wood along one edge. Now, head over to the band saw and cut the pattern out, as in Photo 1. Two passes through the blade is all it takes for this first step.
Mark the second spatula below where the first utensil was just cut out. The side profile of this second will be slightly different, since the bottom edge of the first one now becomes the top edge of the second.
Before cutting the second out, I like to give the cut face a quick rudimentary sanding, as in Photo 2. With the workpiece still basically square, I find that sanding this face now saves a bit of time later and makes that edge easier to see and follow when cutting the next piece.

Back on the band saw, cut out the second utensil. (Photo 3)
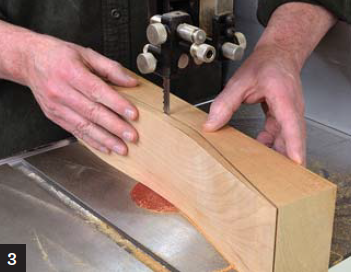
Although almost the same pattern this second one isn’t an exact copy, but rather a sequential copy. For that reason they nest together perfectly atop each other, just as they were originally within the block of wood. For the next few steps let’s return them to that state by taping them together, as in Photo 4.
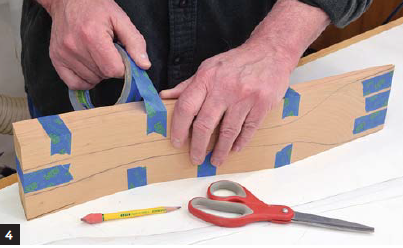
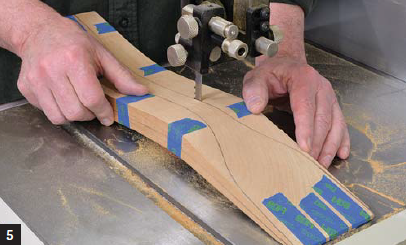
Transfer the profile pattern to the top of the taped and stacked workpieces, then move over to the band saw again and cut them out at the same time. (Photo 5)
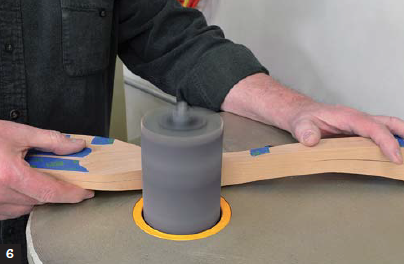
With the two spatulas still taped, refine and smooth out the profile on a spindle sander or with a sanding block. Note in Photo 6 that I’ve taped one side of the stack while I sanded the other. I then swapped the tape and sanded the other side.
Shaping and forming
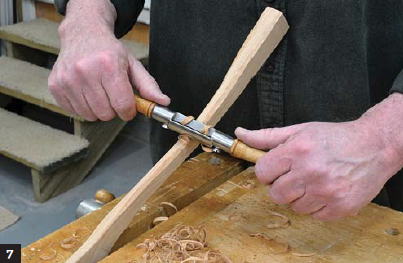
Untape the stack and secure a spatula in a vise or clamp it to your workpiece. Begin the rough shaping with a block plane, drawknife or spokeshave, as in Photo 7. Work your way around the utensil, reclamping and adjusting the position as needed. Don’t try to fully form the utensil at this time or you may take off too much material; the idea here is to get the basic shape all around with a blade before refining it with sanding. As you work with the spokeshave, you’ll want to switch direction periodically depending on where the curve puts the end grain.
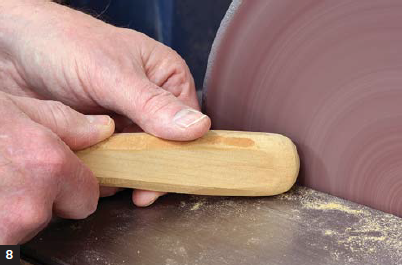
With everything roughed out, use a disc sander to further shape the convex curves. (Photo 8) Now move to the spindle sander and work the concave surfaces by simultaneously running the utensil back and forth at the same time you rotate it against the spindle. You’ll be surprised at how fast the shaping goes. This sanding is dust intensive, of course, so adequate dust collection for your machines is highly recommended.
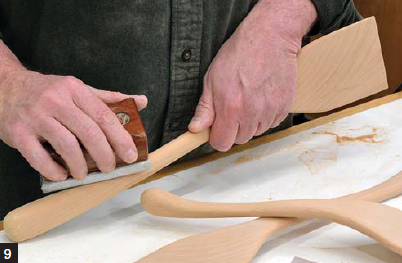
When satisfied with the shaping on the machines, switch over to a sanding block and thoroughly go over all surfaces. (Photo 9) For this phase I started with #80-grit to do the final refining of the shape, then it was just a matter of smoothing, smoothing, smoothing. Progress through #100-, #150- and #220-grit paper on your sanding block, then sand with a folded piece of #220-grit paper to hug the curves. Finally, give everything a good once over with #320-grit for an almost glass-like surface and you’re done.
An oil finish works best for hardwood utensils, and really brings out the color of woods like cherry and walnut. I gave mine several coats of boiled linseed oil, allowing 24-36 hours between coats. After the final coat had cured for several days, I went over the utensils with some #400-grit paper and gave them one more coat. After a few more days curing time, a final rubbing out with a crumpled piece of brown paper torn from a grocery bag buffed them to a nice shine.
 For more great woodworking projects for the kitchen and dining room check out “The Woodworker’s Kitchen” by A.J. Hamler, available now.
Here are some supplies and tools we find essential in our everyday work around the shop. We may receive a commission from sales referred by our links; however, we have carefully selected these products for their usefulness and quality.


No, Boiled Linseed Oil is certainly not food safe for wooden kitchen utensils or cutting boards. Olive oil is food food safe but will only dry to a sticky gum, even after years of exposure to air in a hot kitchen. Canola oil is capable of drying but VERY slowly without metallic siccatives. Walnut oil sold as wood finish is a better choice as it does dry after a month or so and produces a very durable oil finish on hardwoods.
My problem with this tutorial is that the author did not employ a 50K large format CNC router to make his wooden spoons and spatulas. CNC leaves the woodworker so close to his work. He only used his band saw, oscillating spindle sander, stationary disc sander and cheapo Lie Nielsen spokeshaves. I guess I do it all wrong with a small chip carving knife.
Boiled Linseed oil? Is it really food safe? Even if it is, do I really want boiled linseed oil flavor seeping into my food as I stir it?
I use a known food safe oil — usually olive oil. It rubs in perfectly, and of course almost every kitchen has a bottle of olive oil to refresh the finish whenever needed.