We may receive a commission when you use our affiliate links. However, this does not impact our recommendations.

 Three years ago while teaching a woodworking class at Peters Valley I met Blacksmith Eric Dennis, who was at the time the studio assistant in the iron shop. When I entered the noisy, coal-smoky, old building, Eric was in the middle of forging some impressive looking tool. Coincidentally, that very summer I was trying to buy (or custom ordering) a small straight blade adze for green-wood carving. There are a few straight blade hand adzes on the market but hardly any of them have an up-facing bevel, like the typical bowl carving adze. So after Eric laid down his hammer, and the hammer-anvil smithing, “Rhapsody in black” subsided, we talked for a while. Then I asked him if he would be able to forge an adze for me. He relayed that he would be delighted. He also mentioned that he’s going to laminate the head, making the cutting edge made from high-quality tool-steel, while the rest of the head will be made of softer, yet more shock resistant steel.
![]()
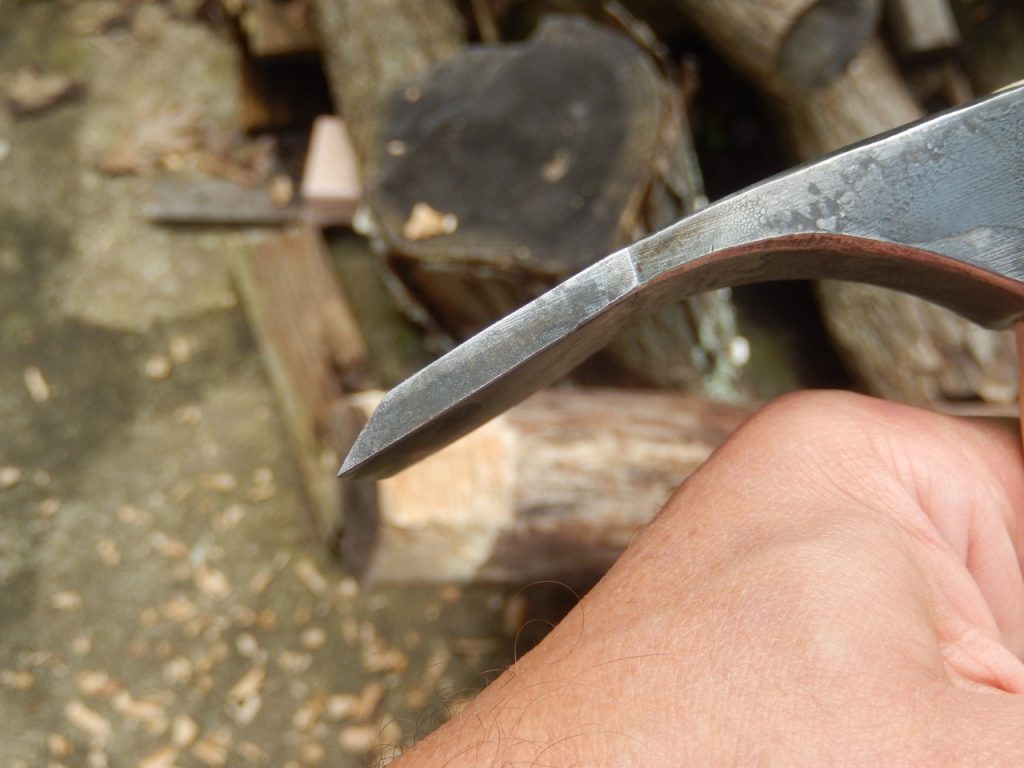
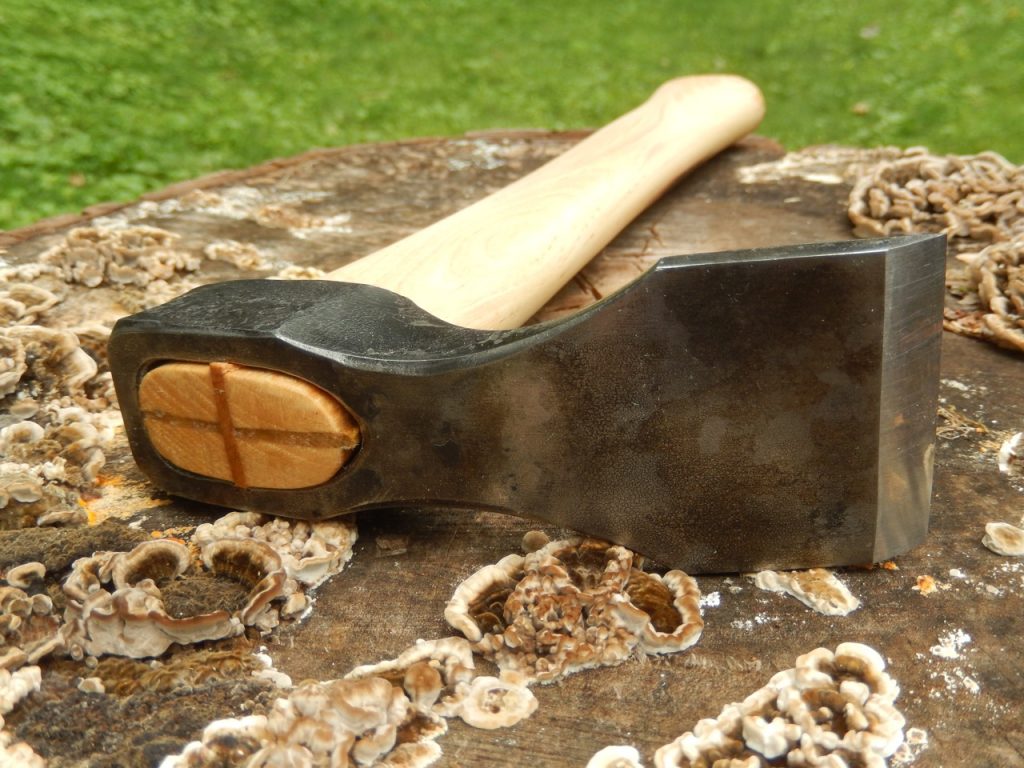
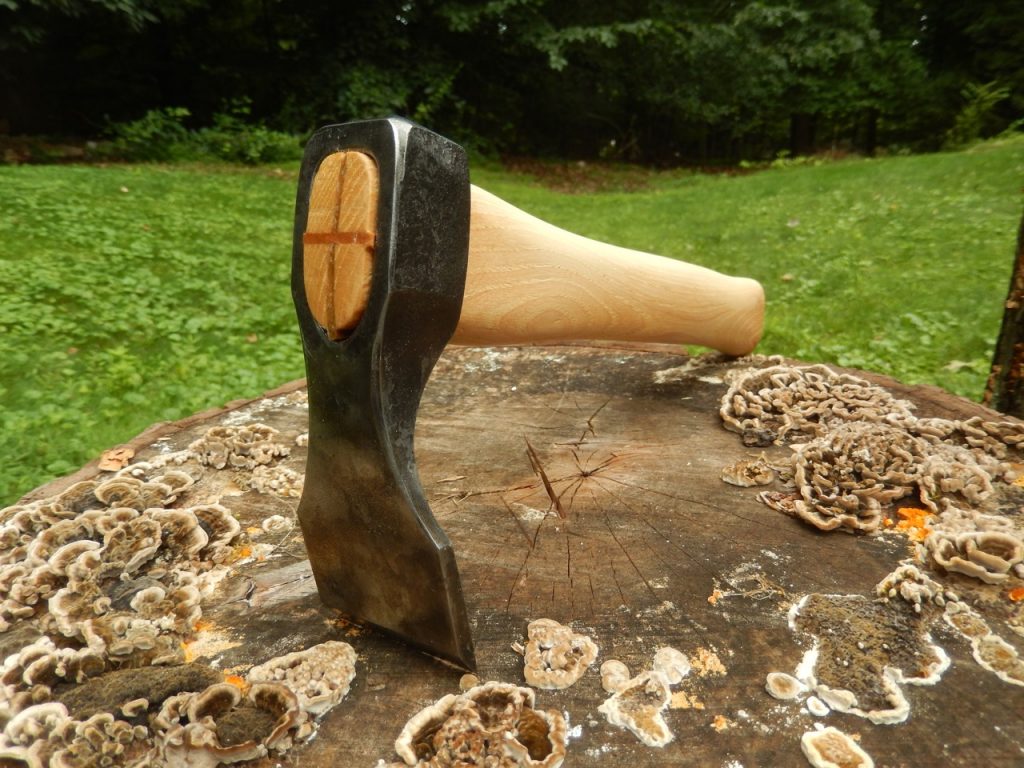
![]() A few months had passed, by then Eric had moved back to Vermont and opened his own blacksmithing business. After exchanging some drawings and going back and forth on the size and shape of the head and the eye, he began smithing the adze. A few more weeks had passed and finally, a package arrived in the mail cradling a beautiful one-of-a-kind adze head. Eric could have of course shaped and hung a wooden handle on the head, but I decided to do it myself.
A few months had passed, by then Eric had moved back to Vermont and opened his own blacksmithing business. After exchanging some drawings and going back and forth on the size and shape of the head and the eye, he began smithing the adze. A few more weeks had passed and finally, a package arrived in the mail cradling a beautiful one-of-a-kind adze head. Eric could have of course shaped and hung a wooden handle on the head, but I decided to do it myself.


 To make the handle, I used a piece of wood that I got from a friend. At first, I thought the wood is ash, but now I am not that sure. Looking at the finished handle, it does look very much like a hickory handle.

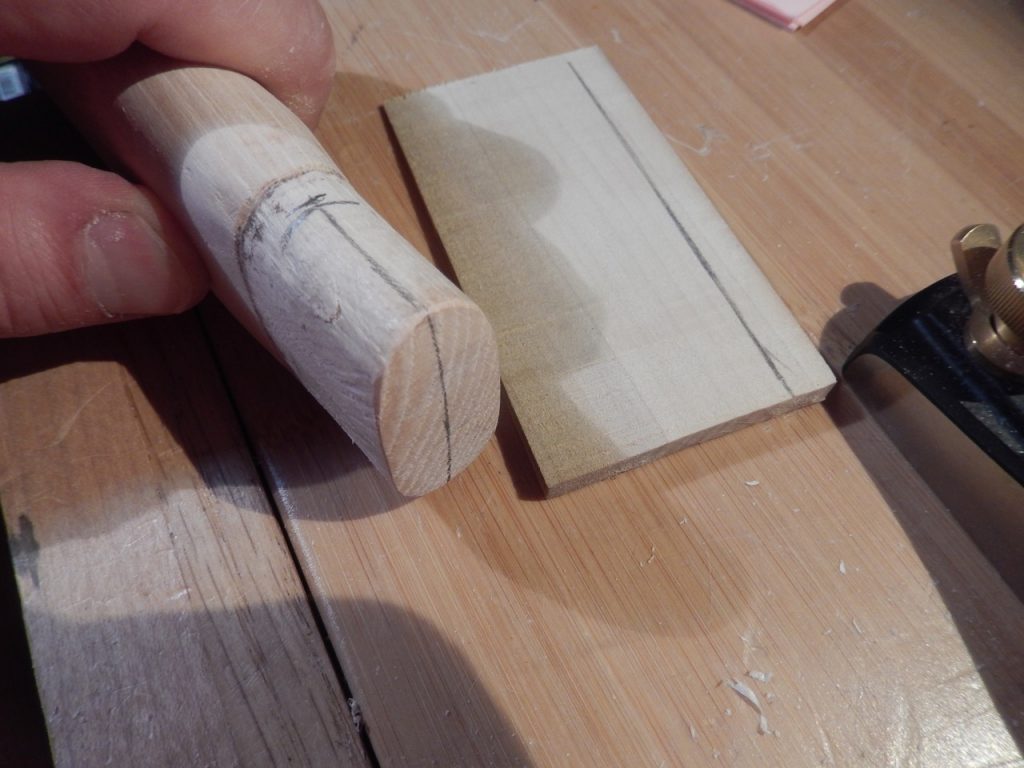
 My homemade handle emerges from a blank with a cross section was in the configuration of a rift sawn board. The handle’s grain was homogenous and its design followed a slight serpentine line. Most people of note in our field, recommend that the appropriate handle’s cross-section should follow a quarter sawn or rift sawn orientation, where the annual rings are aligned with the striking trajectory. In other words have the stripes that you see on the end-grain, stretch between the pin of the head and its base – in the case of a hammer, or parallel to the center line that passes between the cutting edge and the poll (the butt, or the base) of the head — in the case of an axe.

 To shape the handle I used a bandsaw, a small drawknife, a chisel, a spokeshave and some rasps and files. When I began working on the handle, the wood was not completely dry. So after shaving the blank to rough dimensions, I stopped and let it dry to 8% before finishing the job. Remember, it is always recommended to fit the neck of the handle when the wood is at its driest point. If the handle is small enough you can even expedite moisture migration by placing it in a microwave for a few minutes every few hours until it is dry.

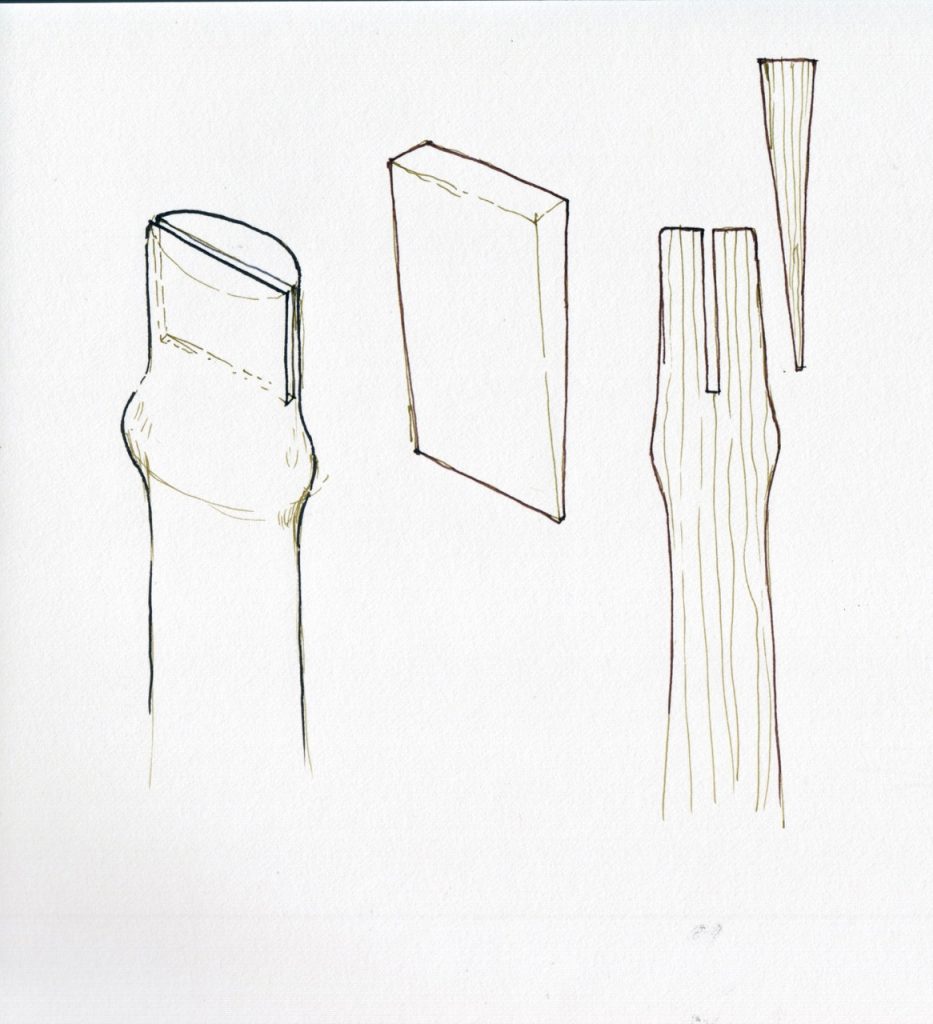
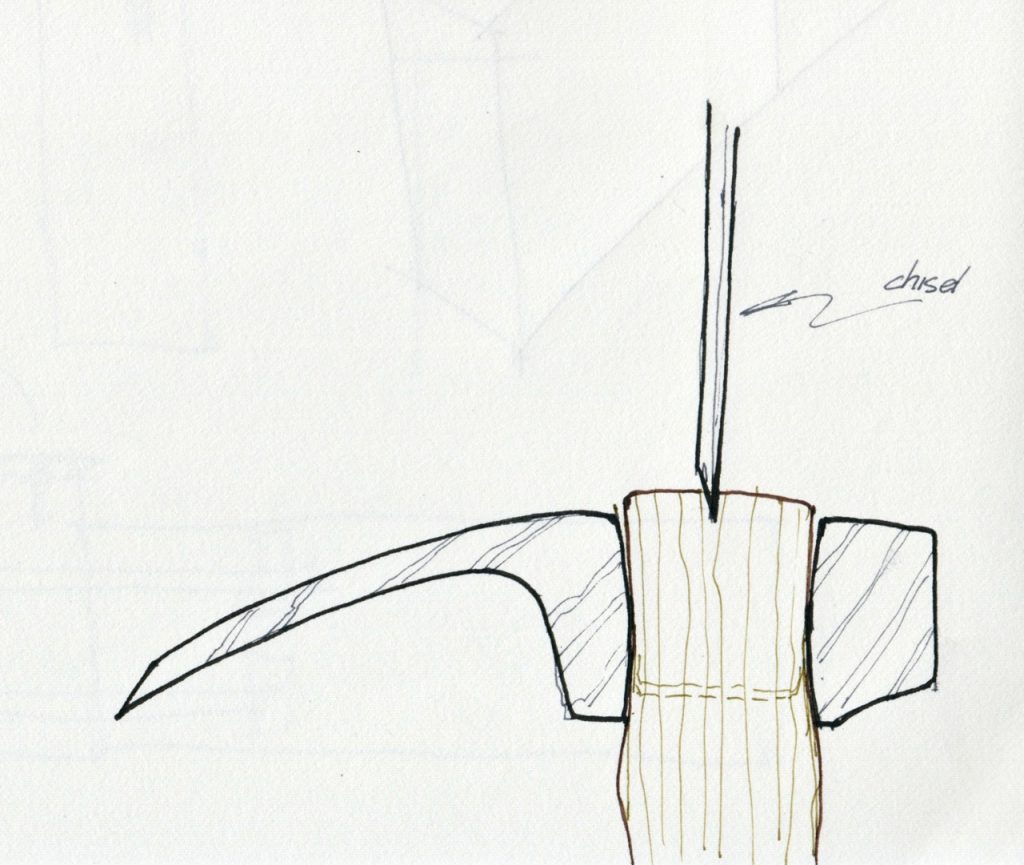
After fine tuning the neck of the handle, mainly with rasps and files, I was ready to hang the head. I decided to install a wide wooden wedge. The absence of a steel wedge is not new to me, but having two wooden wedges crossing each other — that was something I had never seen, that is until I visited the Lost Art Press in Covington, KY last month and saw an adze that Chris Schwartz recently got. According to Chris, the cross wedge was installed last, and only after a chisel was used to surgically make a small cleave to nest the wedge before it was driven home. After reading more on the subject I learned that some people recommend sawing two kerfs in advance – one for the main wedge and the other for the cross one. In a youtube video that I included below, you can see how it is done. The maker even drilled a through hole at the bottom of each kerf to prevent a crack from developing in case the wedge cleaves the wood in the eyes too much.


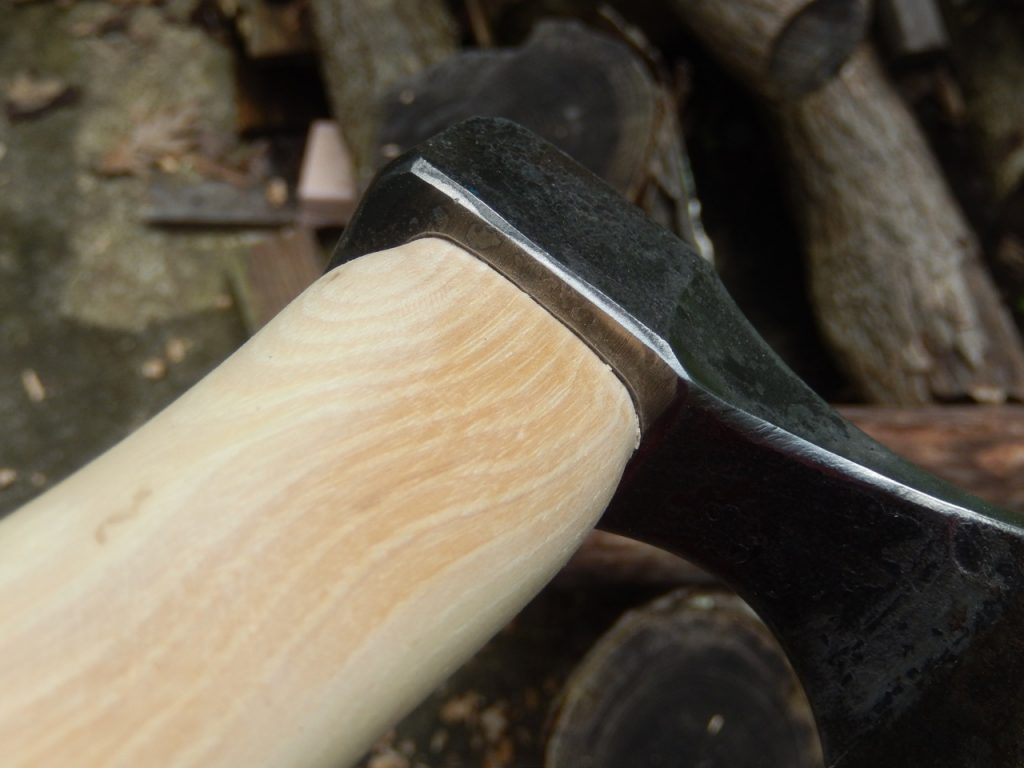
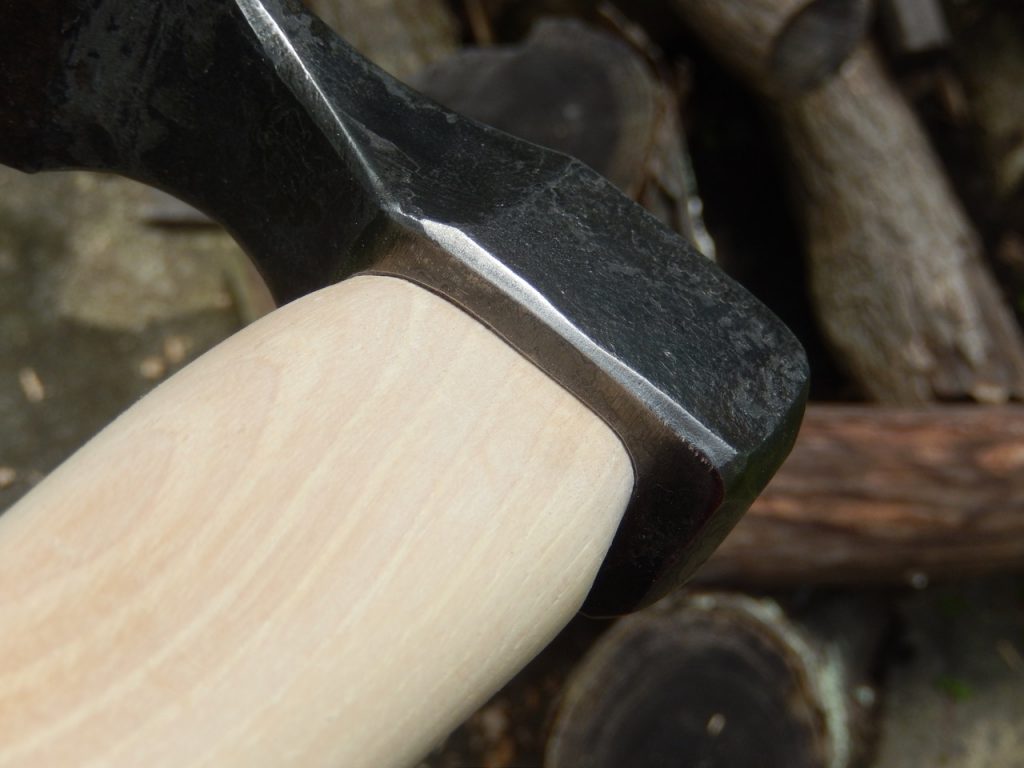
Make every effort to fit the neck of the handle and the eye of the tool as tight as possible, something like: “No gap policy”
 This is how I installed the wooden wedges.
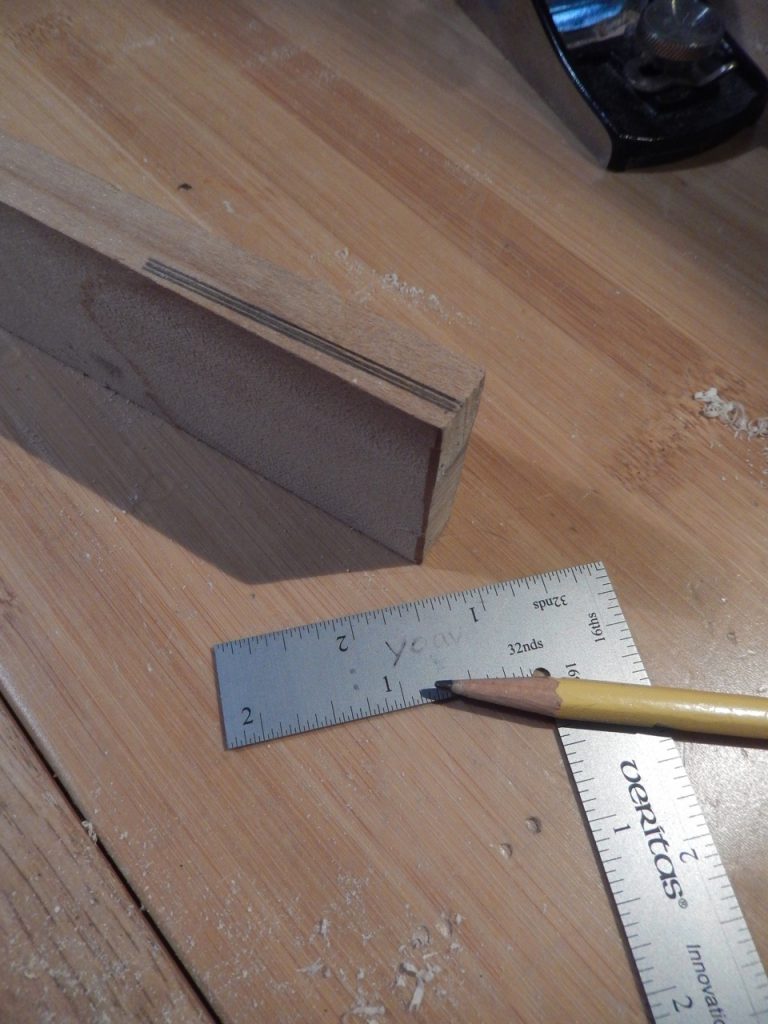
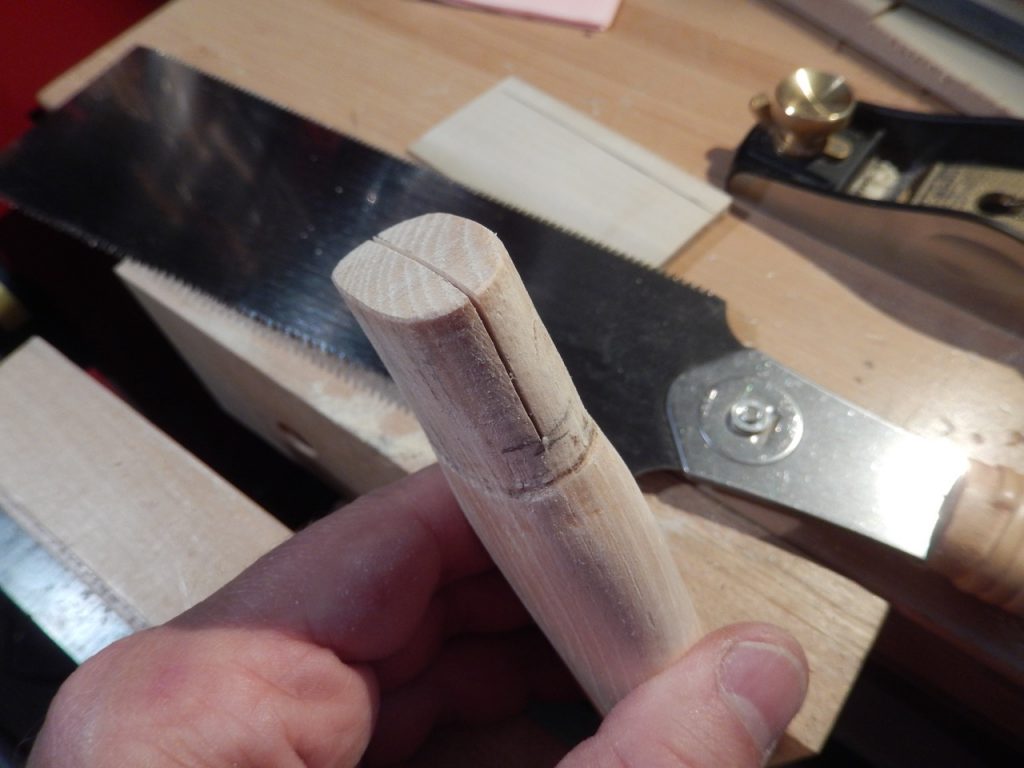
First I saw a wide kerf along the long axis of the handle. After this, I saw a longer than needed wedge on the bandsaw and cleaned it out using a hand plane. After applying some wood glue on the wedge I drove it down the kerf until it felt like the two cheeks of the neck can’t push against the steelhead anymore. If you feel (and hear) that the wedge reached the bottom of the kerf without applying sufficient expansion to the handle, you should extract it out and shorten it (This is the reason why your wedge should be made longer).


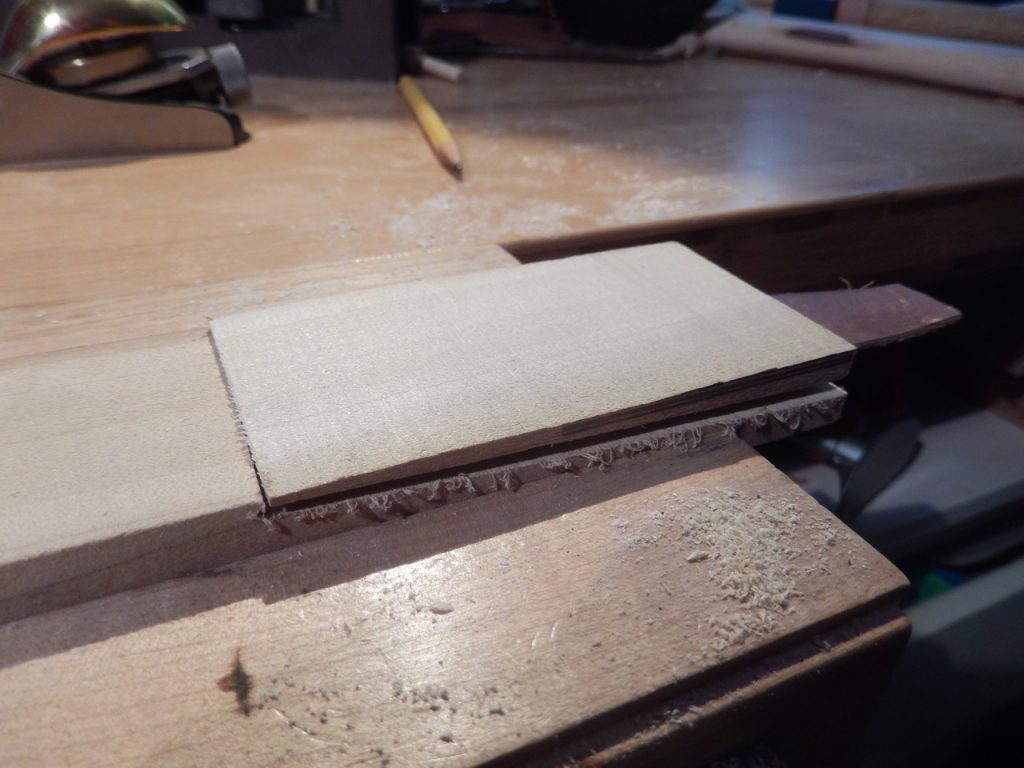

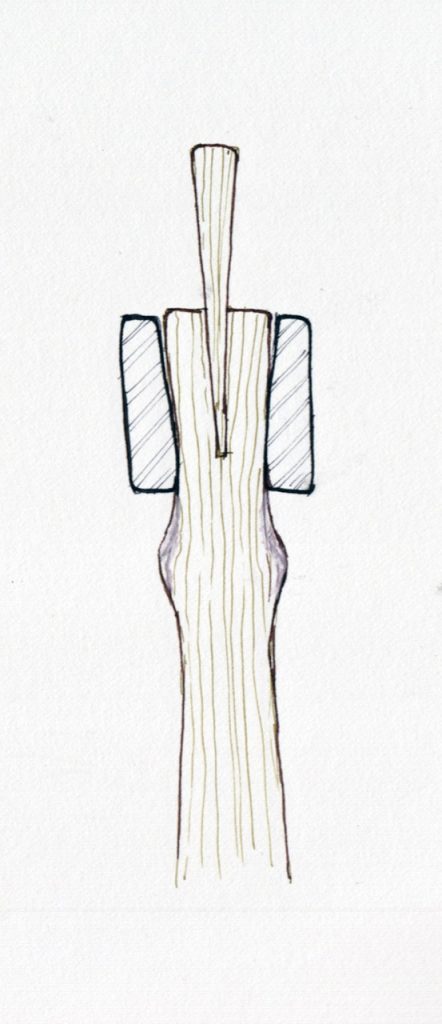
A longer wedge will be easier to extract in case it reached the bottom of the kerf while failing to provide the sufficient neck expansion. If you “rehearse” the wedging in advance you will be able to trim the wedge as necessary. Then apply glue on it and drive it in for good. By the way, this illustrated is exaggerated for clarity
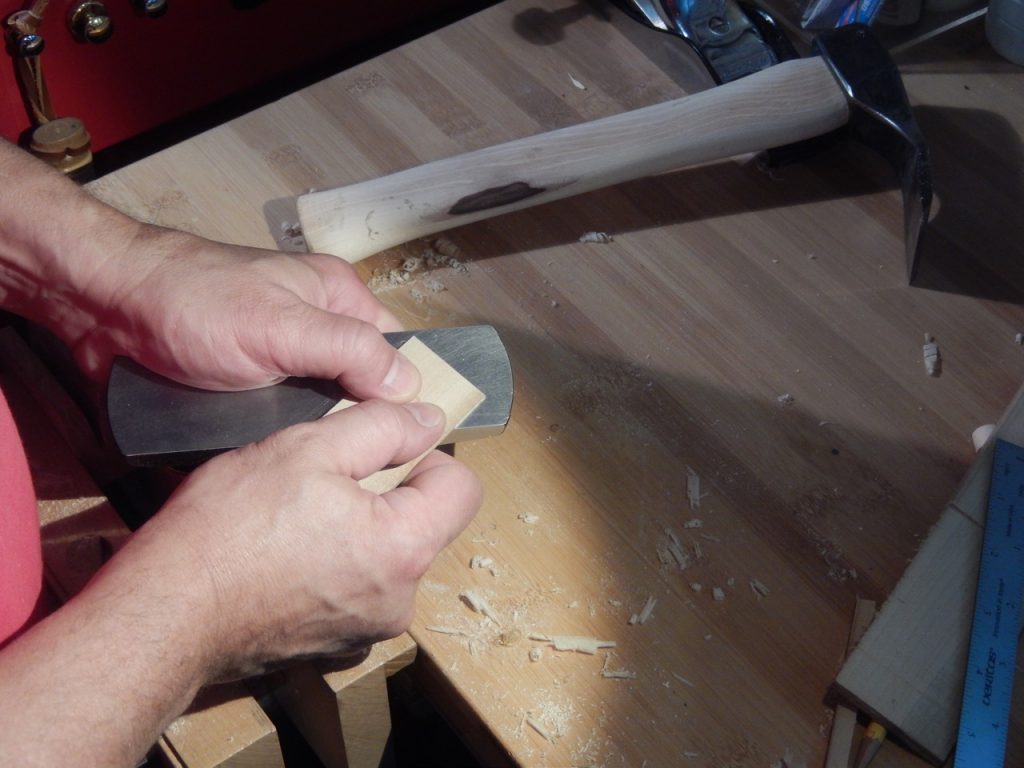
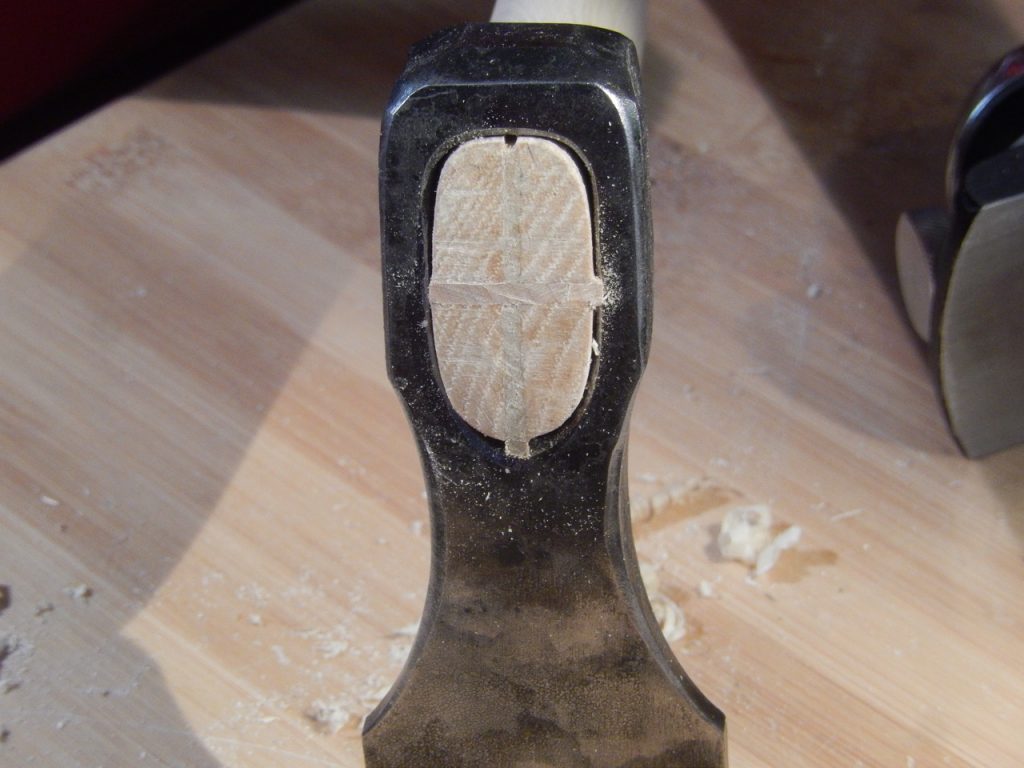
After the glue dried, I cut it flush with the top of the handle. Then I picked up a piece of scrap hard maple and cut a small wedge from it. I placed a chisel over the top of the handle’s neck and strike it to make a shallow indentation in the wood. This little V shape serration was enough to allow the wedge to nest in. With a few decisive strokes of a mallet I was able to drive the second wooden wedge in. Honestly, I was quite surprised how easy it was.


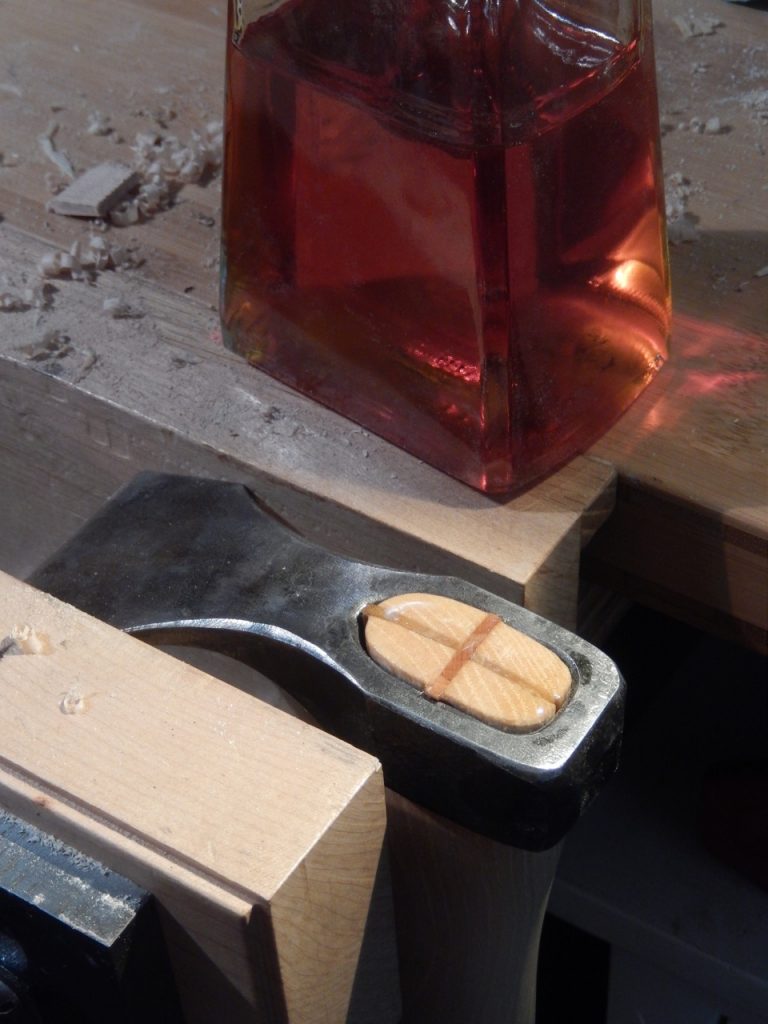
 It seems like hard maple was the perfect wood for the job, as it was tough enough to withstand the mallet blows and strong enough to cleave a pass through the hickory fibers and wedge itself in. I did not use glue on the second wedge. Instead, I saturated the top of the handle with linseed oil in hope that overtime it will protect the area and provide some adhesion between the fibers of the maple and the Hickory.


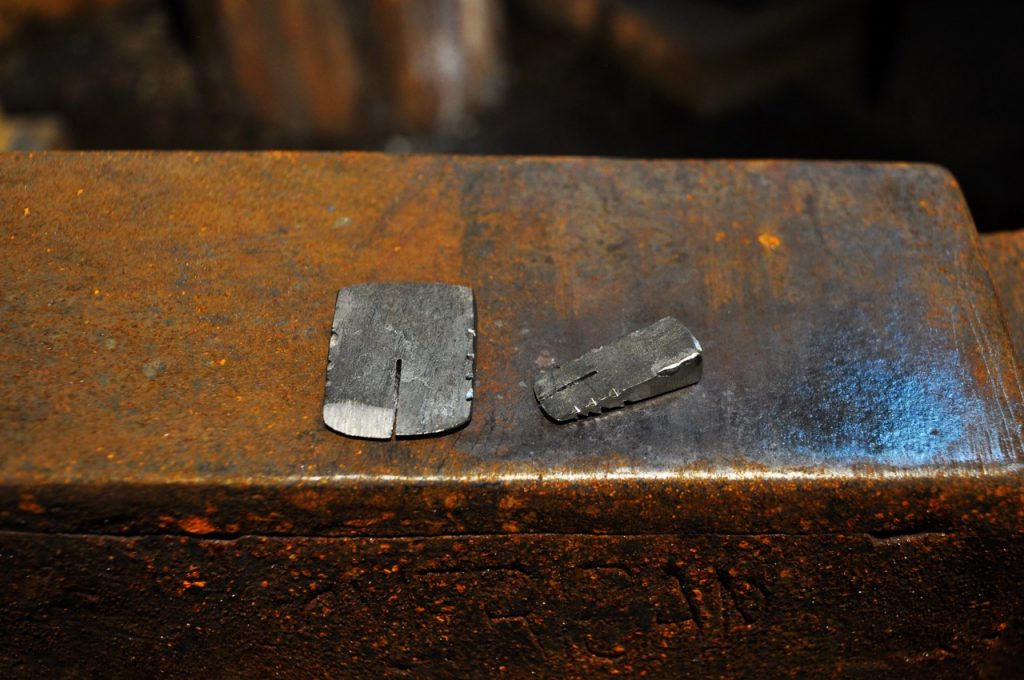
Eric Dennis not only forges beautiful tools, he also forgeS the steel wedges thathelps in hanging them. Eric told me that he followed an old French pattern for a wedge that would split and anchor itself as you hammer it down. This wedge’s tapered part is cut along the middle and then each bank of the split wedge is beveled with a file in opposite directions. As the wedge is being driven down, the two halves are forced to splay. So when the tool is later being put into use, the repeating pounding forces have no chance of dislocating the wedge.
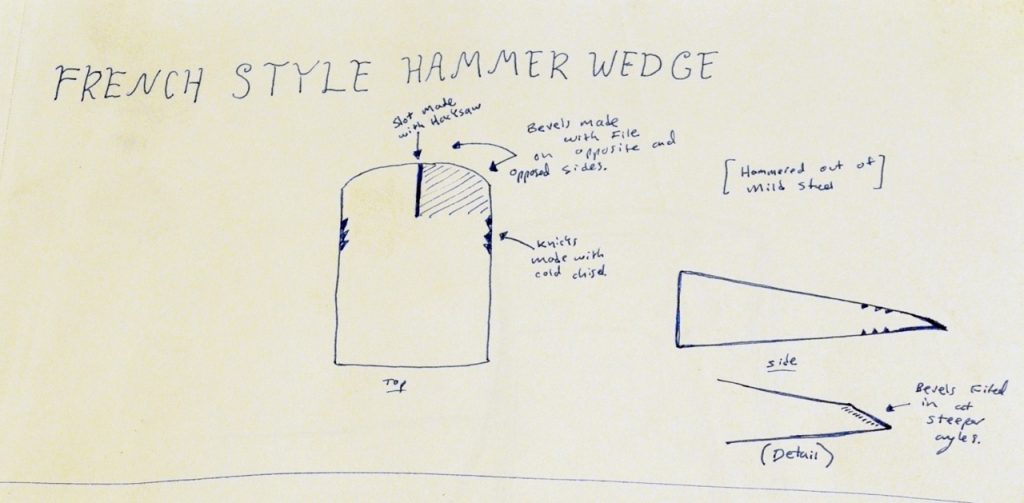
Wedge sketch by Eric Dennis.
And here is the video (narrated in Russian, I believe) which demonstrate the cross wedging technique.
Here are some supplies and tools we find essential in our everyday work around the shop. We may receive a commission from sales referred by our links; however, we have carefully selected these products for their usefulness and quality.