We may receive a commission when you use our affiliate links. However, this does not impact our recommendations.
Bit arsenal. If you do a lot of routing, you’ll surely build up a large collection of bits in a short time. Keep them neatly organized and clean, and they’ll always be ready for the routing job at hand.
These tips and tricks will take you a long way toward success.
The router is, simply put, a multi-tasking workhorse in the woodshop. But you would be surprised by how many folks don’t get the most out of their router experience. After all, this hand-held powerhouse has the potential to create, and an equal and opposing power to destroy. While the concept seems simple – a metal bit spins in circles as you drag the unit along a piece of wood – it can be harder than one might think to achieve perfect and consistent results.
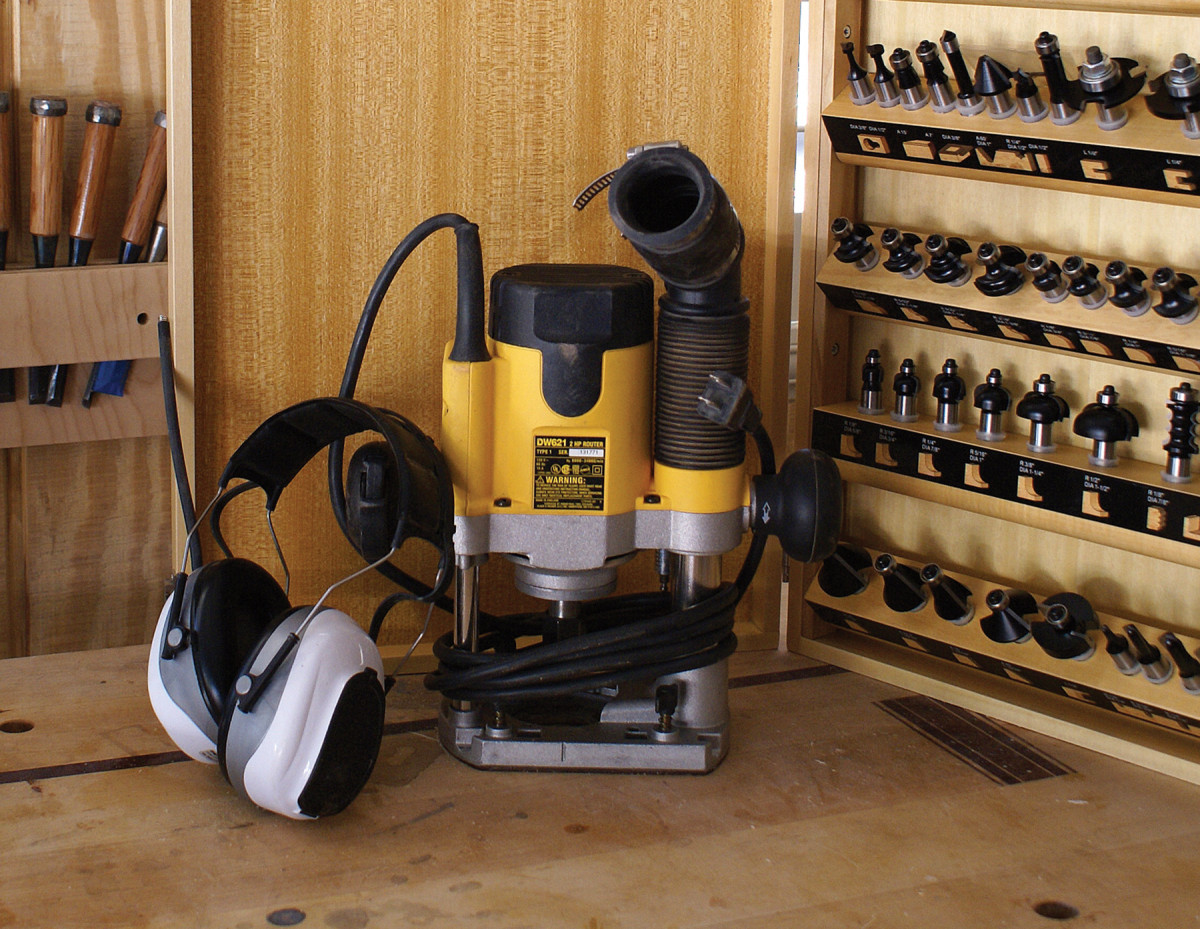
I vividly remember my first experience with a router. The shellac on my woodworking wings was still wet and I decided it was time to get serious about edge profiles and joinery. I dropped some hard-earned cash on the same router I saw David Marks use in his DIY Network show, “Woodworks” – the Dewalt DW621.
I had visions in my head of graceful roundovers, crisp chamfers and perfectly cut mortises. Unfortunately, the reality was a little less magnificent. Between the tear-out, the burn marks and the occasional piece of airborne wood, I was feeling discouraged.
Taking a step backward I decided to hit the books and reinforce the fundamentals of good routing. Armed with that knowledge, I returned to the shop and began to achieve the results I had originally hoped for. Since then, the router has become one of the most useful and versatile tools in my arsenal.
Over the years I’ve learned numerous tips, tricks and insights that I wish I was aware of when I first fired up that router. Here are some of my favorites.
What Bits to Buy?
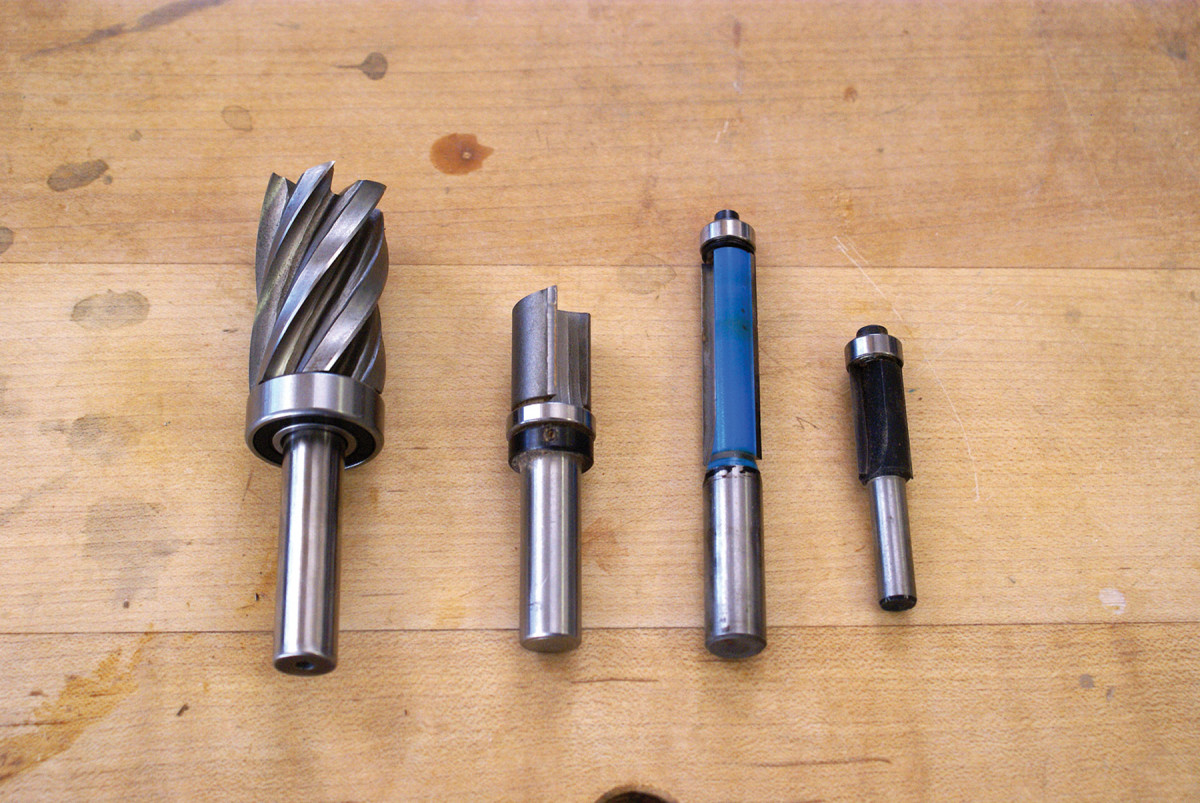
Flush trimming. All of these bits are flush-trimming bits. Notice that you can get bits with the bearing on the top or bottom, in different sizes and with different shank diameters. What you buy depends on your router and routing needs.
Buying a set of router bits can be incredibly daunting for an experienced wood jockey, let alone a noob! Woodworkers everywhere ask themselves, “Should I buy a set or individual bits?” and “Why does one 12-piece set cost $30 while another set costs $200?”and “What about those 100-piece sets with the too-good-to-be-true prices?” Well forgive me for generalizing folks, but when it comes to router bits, you get what you pay for.
An inexpensive bit made with cheap steel just can’t compete with a high-quality carbide bit in terms of balance and longevity. But let’s not throw out the good wood with the sawdust! Bargain bits do have their place. The real dilemma is knowing which bits you’ll use the most in your work.
Unfortunately this is something you don’t always know ahead of time. My recommendation is to buy an inexpensive 12- or 20-piece set, use it for a few months then see for yourself which bits get the most action. Now you have a much better idea of which bits are worth buying from a better-quality manufacturer.
Another great thing about this tactic is that you now have a nice assortment of bits at your disposal. The day will come when you need a special bit for a special situation, and you’ll be glad you have that 20-piece set sitting there ready and waiting.
The Flush-trim Bit
If there is one bit that provided that “Aha!” moment for me, it was the flush-trim bit. If you aren’t familiar, a flush-trim bit is nothing more than a straight bit with a mounted bearing that’s the same diameter as the bit.
If you attach a pattern to a workpiece, you can easily create an exact copy of the pattern’s shape within seconds. This helps us produce identical table legs, flushes up overhanging veneer after glue-up, trims edge banding flush with the surface and can even help batch out those fancy picture frames in time for the holidays!
One other use for a flush-trim bit that we can’t overlook is joinery. With the help of a simple shop-made template, you can produce perfect mortises all day long.
Online Extras: Click here to watch the Wood Whisperer video on Flush Trim bits.
Don’t Bite Off More Than You Can Chew
When you use a tool for the first time, do you generally go slow or do you just ram it in there? Seems like the answer should be obvious, but you’d be surprised how many people I’ve seen slam a router into wood like there’s a prize waiting at the board’s center.
Inevitably the router takes off on its own and the wide-eyed student is left holding on for dear life. Don’t let this happen to you. When routing a workpiece, think about how you can make the operation safer by taking multiple passes. It does create a little more wear and tear on your bit but the benefit comes in the form of a crisp, clean, tear-out-free cut and the special added bonus of keeping all your fingers.
Spiral Bits
Spiral bits are a cool variation of the straight bit and they excel at creating mortises. The curved cutting surface produces a clean cut in much the same way a bench plane cuts more easily if skewed. Because of the spiral design, these bits are available in two styles: up-spiral and down-spiral.
An up-spiral bit is likely to stay cooler as it naturally brings the sawdust up and out of the mortise. Less debris means less friction and less friction means a cooler bit.
The one negative side effect of the up-spiral is that it has a tendency to tear out the fibers near the top of the mortise. This isn’t a big deal if your tenon has a decent shoulder on it, but if you are creating a through-mortise, you’ll want the cleanest edge possible. That’s where the down-spiral bit comes into play. So most of the time, up-spiral is my bit of choice, and I use down-spiral only where the edge will be visible or if the wood is especially prone to tear-out.
More Router Tips

Keep it clean. If your bit isn’t cutting well, it might not be dull, just dirty. Clean your bits after use with a toothbrush and a mild cleaning solution.
Here is a shotgun blast of handy tips:
- If you’ve the option, buy 1⁄2“-shank bits. They are less likely than 1⁄4“-shank bits to vibrate and should produce cleaner cuts.
- Stay away from high-speed steel bits. Carbide stays sharp significantly longer.
- Keep the router moving. It’s OK to go slow, but try not to stay in one place for too long. You’ll burn the heck out of your wood and the excessive heat will dull your bit before you know it.
- A dirty bit feels like a dull bit. Keep your bits clean by scrubbing them with a toothbrush and a mild cleaning solution such as Simple Green or even a little soap and water. Dry the bits thoroughly afterward (I use a blow dryer).
- If you can, try to buy a router with some sort of dust collection. Keeping the chips out of the path of the bit yields a cleaner cut. And as always, less dust in the air means less dust in our lungs.
As handy as these tips are, they only tell a small part of the router story. In fact, I consider these to be “gap filler” tips. So it’s a good idea to purchase a good book, or perhaps a DVD, to really get into the meat of the subject. Although there is really no substitute for hands-on practice, I find that a strong background knowledge makes the learning curve easier. Before you know it, safe, effective and creative routing will just be a routine part of your woodworking bag of tricks while wood missiles, tear-out and burn marks will be a thing of the past.
Editor’s note: This article originally appeared in the December 2009 issue of Popular Woodworking
Here are some supplies and tools we find essential in our everyday work around the shop. We may receive a commission from sales referred by our links; however, we have carefully selected these products for their usefulness and quality.