We may receive a commission when you use our affiliate links. However, this does not impact our recommendations.
 Add this flexible material to your shop repertoire.
 Add this flexible material to your shop repertoire.
Plastics are amazing materials. Their lightweight grain-less structure gives them uniform strength in all directions making it an ideal material for all sorts of parts and projects. Available in clear, translucent and opaque plastics add a whole new level to your workshop’s repertoire.
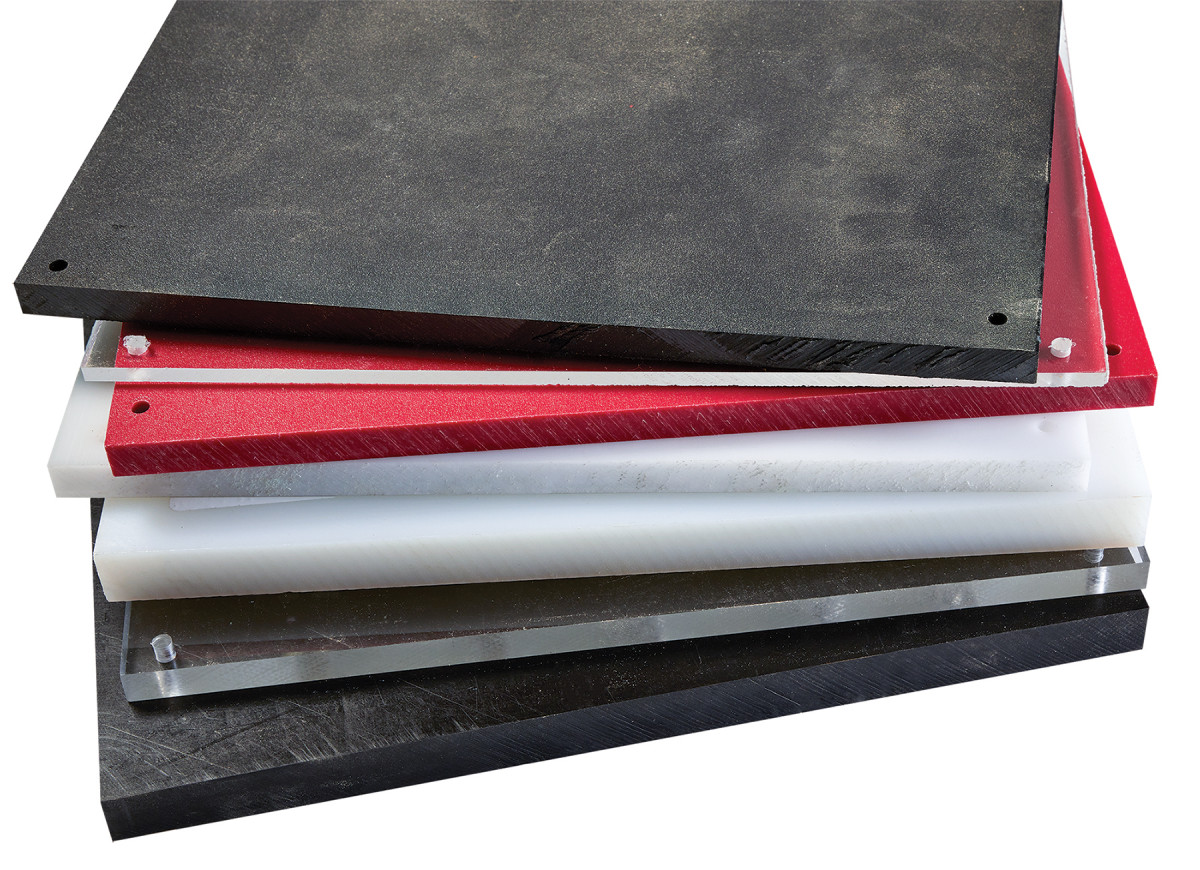
While there are dozens of different kinds of plastics, I recommend you try acrylic and polyethylene.
Acrylic plastic is manufactured in either a cast or an extruded form. Both offer good machinability, impact strength and tensile strength. Extruded Acrylic is available in many thicknesses, mostly less than 3/8“ and in clear or a wonderful assortment of translucent colors. Cast acrylic is typically clear and available in much thicker dimensions, up to 4“. Cast acrylic plastic is tougher and harder than extruded acrylic while extruded acrylic offers more flexibility and formability.
Woodworkers are already familiar with UHMW polyethylene as it is commonly used for table saw and router fence faces and for various jigs. This type of plastic has very good machinability, excellent impact resistance, good tensile strength. It’s also super slippery and wear resistant. HDPE polyethylene is almost as strong as UHMW, comes in several colors and has the bonus of being outdoor rated.
Plastics are grouped as either hard or soft. Cast acrylic is a hard plastic, extruded acrylic, UHWW polyethylene and HDPE polyethylene are soft plastics.
So, let’s talk about how to work with soft and hard plastics. When machining plastics our goal is an efficient cutting operation with no welding of chips (the biggest problem cutting plastics) and an excellent surface finish. This requires a few considerations: the right type of bit, the right size of bit, the right combination of feed and speed and good work holding.
1/4″ bits seem to work best for plastic, though an 1/8″ is sometimes needed for tight situations.
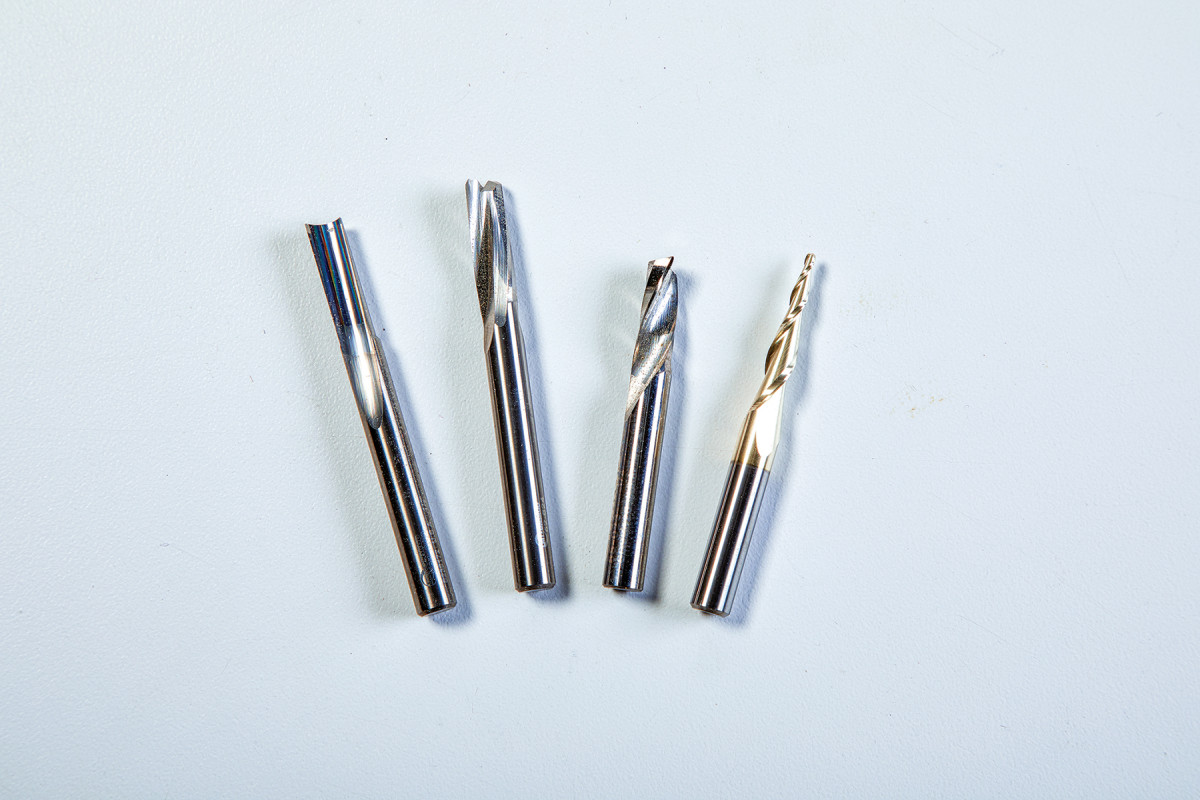
The Bits
Soft plastic works best using a single flute “O” style bit. Use 1/4“ bit whenever you can and a 1/8“ for tight situations. Larger bits simply work better.
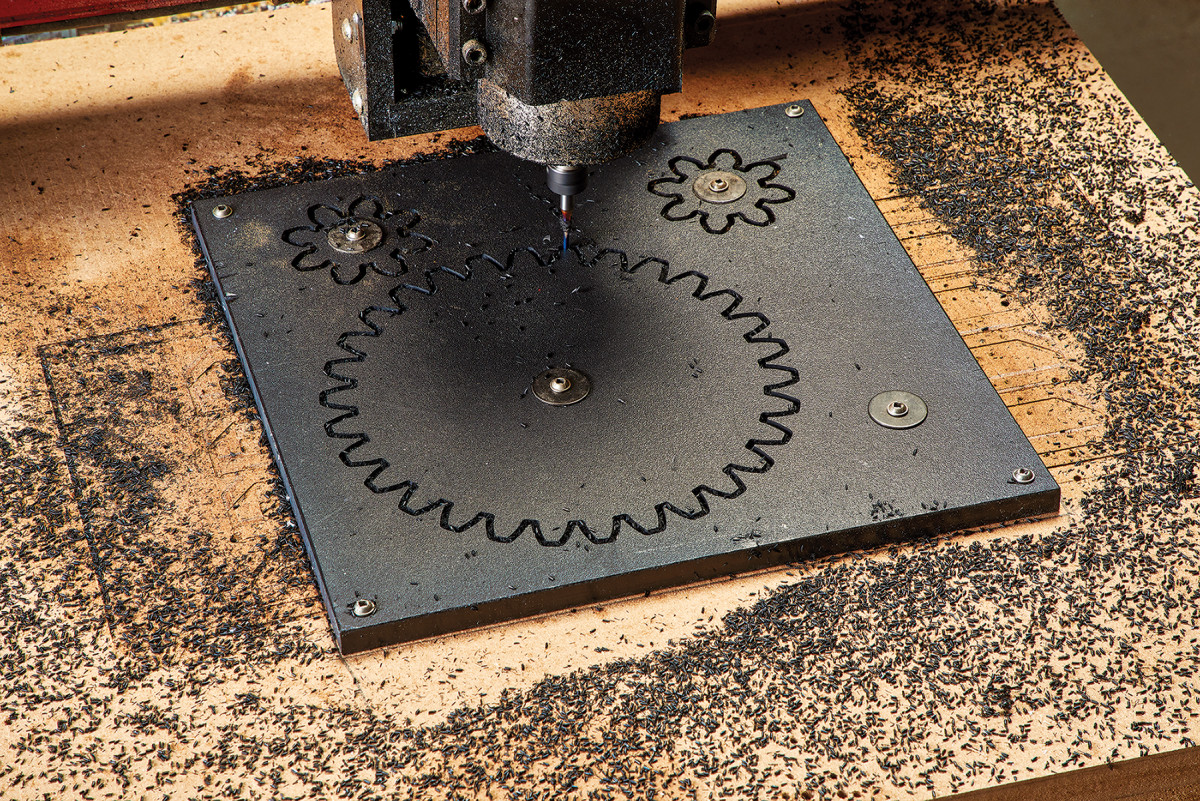
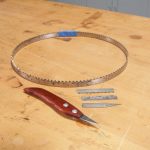
Carving a soft plastic to make gears. A single flute bit works best
For hard plastics, choose a two flute “O” style bit. The two flutes will produce a superior edge finish. Once again, try to use a larger bit.
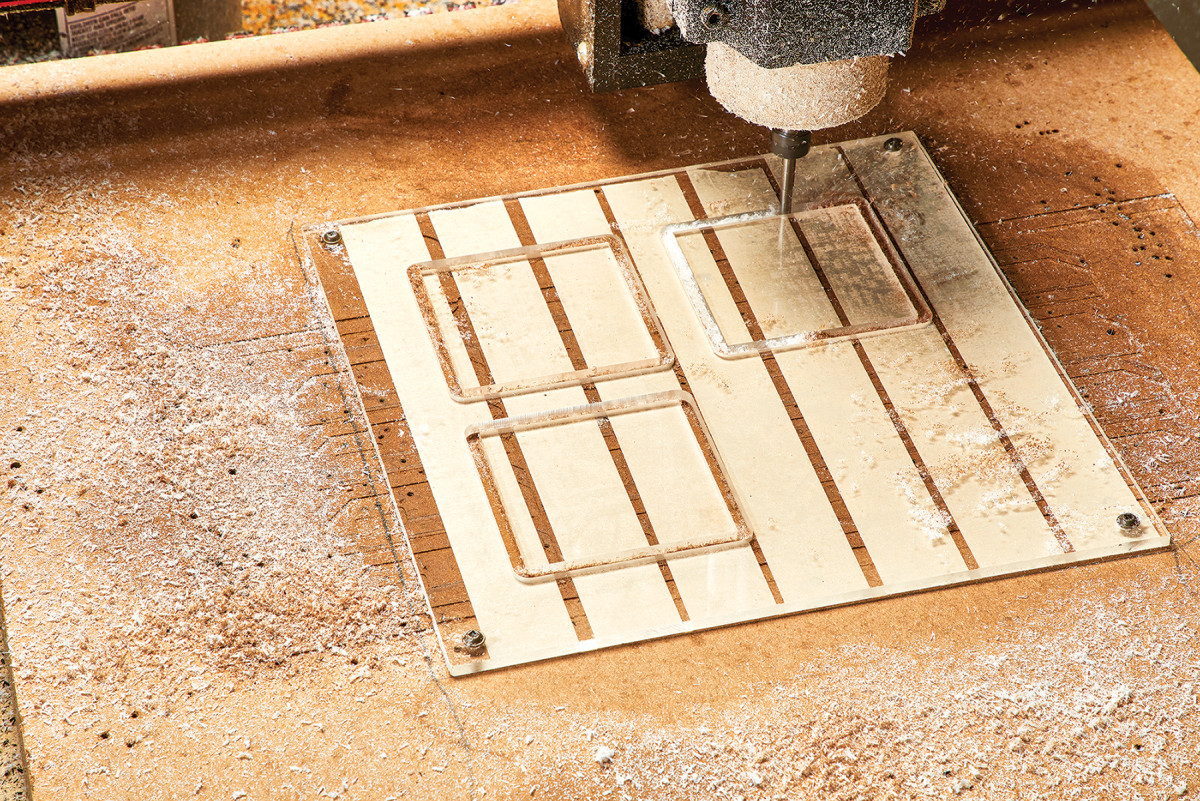
Harder acrylic is easier to machine with a two-flute bit
In both cases use a spiral bit for work on thick materials to lift out the chips and clear the cut. A straight bit is best for thin materials because it won’t tend to pull the material off the spoil board causing chatter and a poor edge finish.
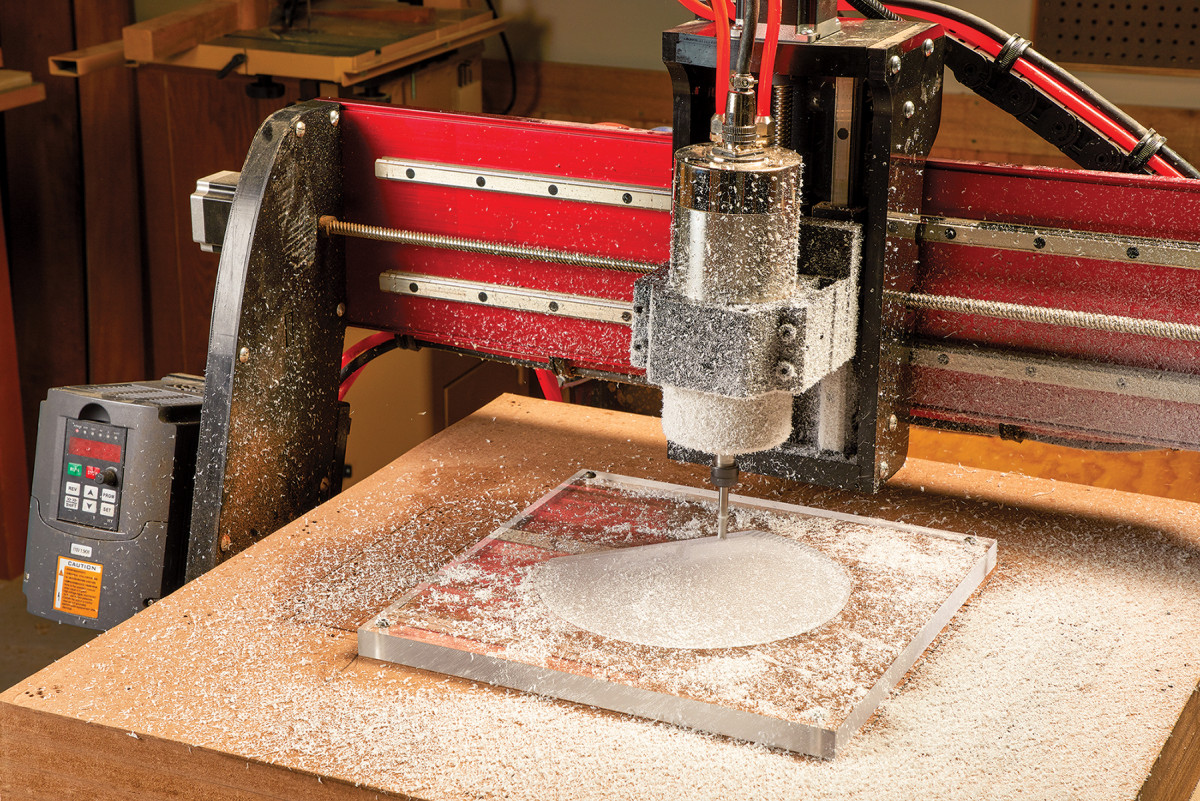
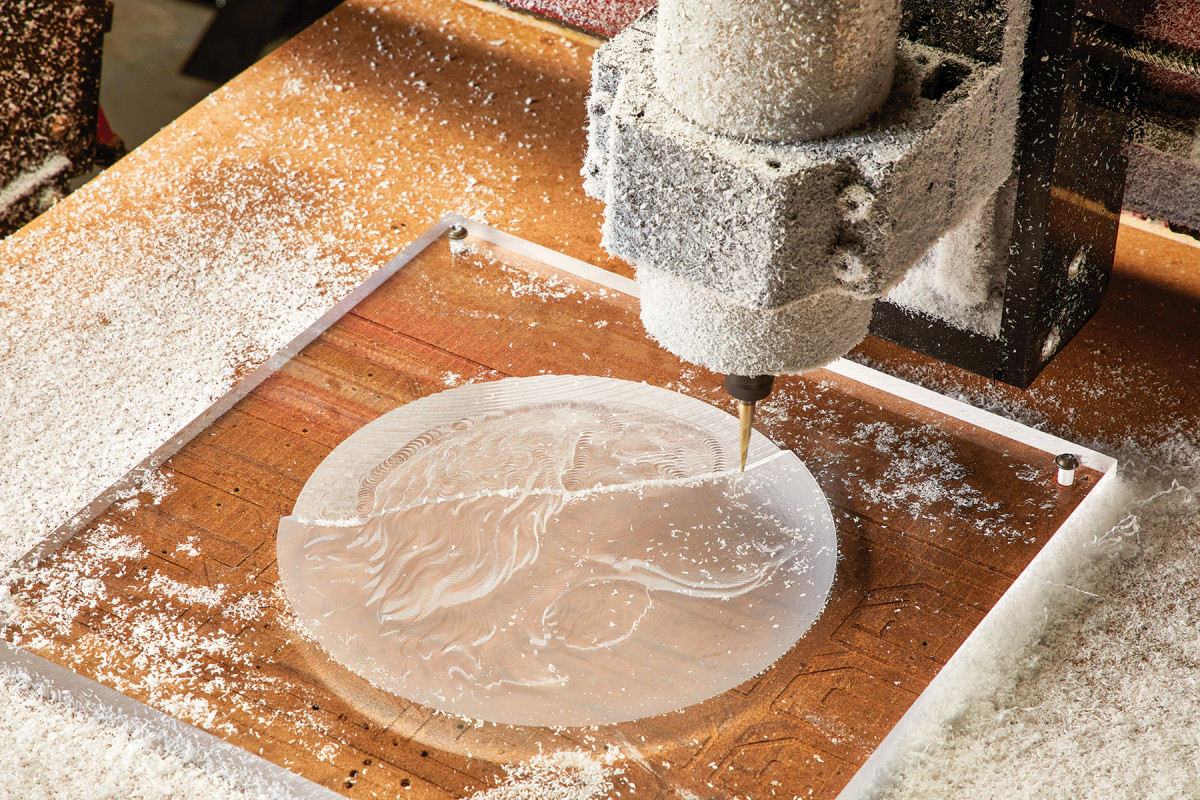
Carving a relief in hard plastic starts with a surfacing pass to establish a perfectly flat carving area.
Next, the roughing pass is done with a 1/4″ bit, and you start to see the outline of the relief.
Carving work requires two bits, one for the roughing pass and a second for the finishing pass. A 1/4“ two flute spiral “O” style bit will handle the roughing pass. A good choice for the finishing pass is a tapered spiral ball-nosed bit. I think 1/16“ diameter is a versatile size that gives good detail. A tapered bit for plastic will have two flutes, no more. (My best advice for plastic carving is to carve hard plastics which have higher melting points such as cast acrylic and stay away from soft plastics!)
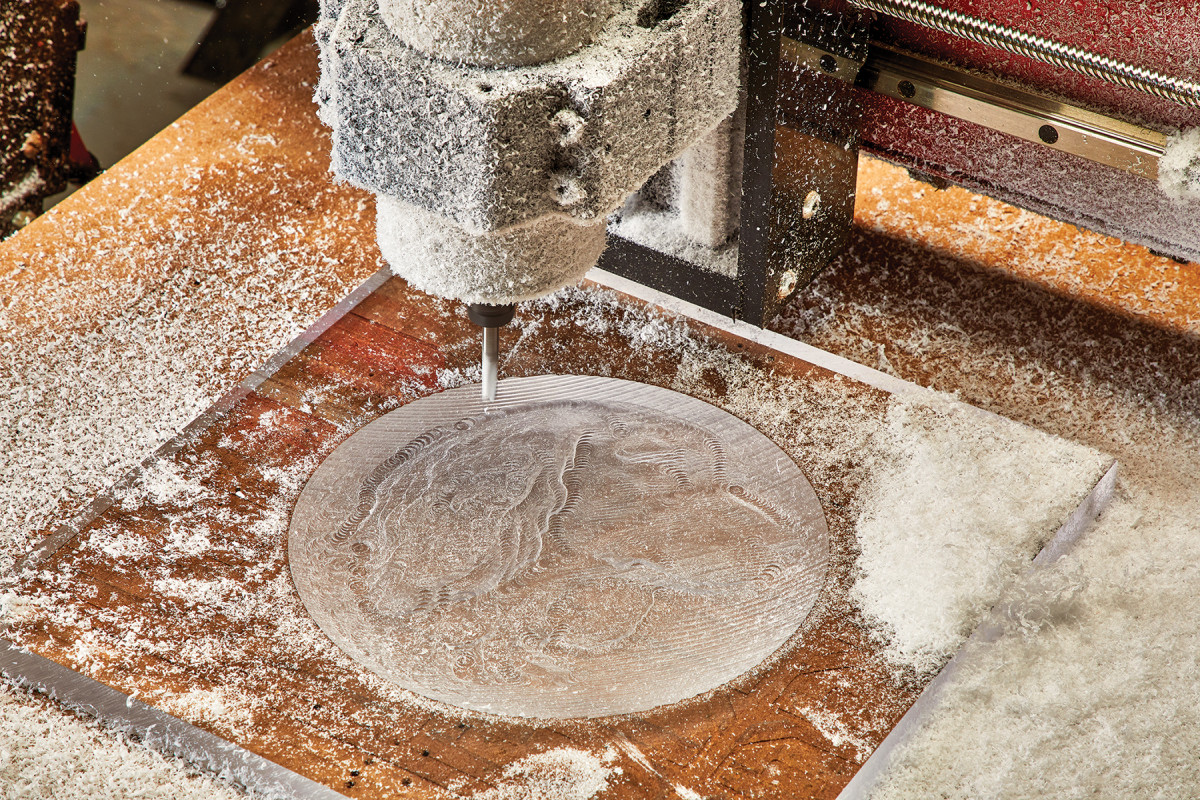
The finishing pass is done with a smaller 1/16″ tapered ball nose bit. This pass takes much longer than the roughing pass
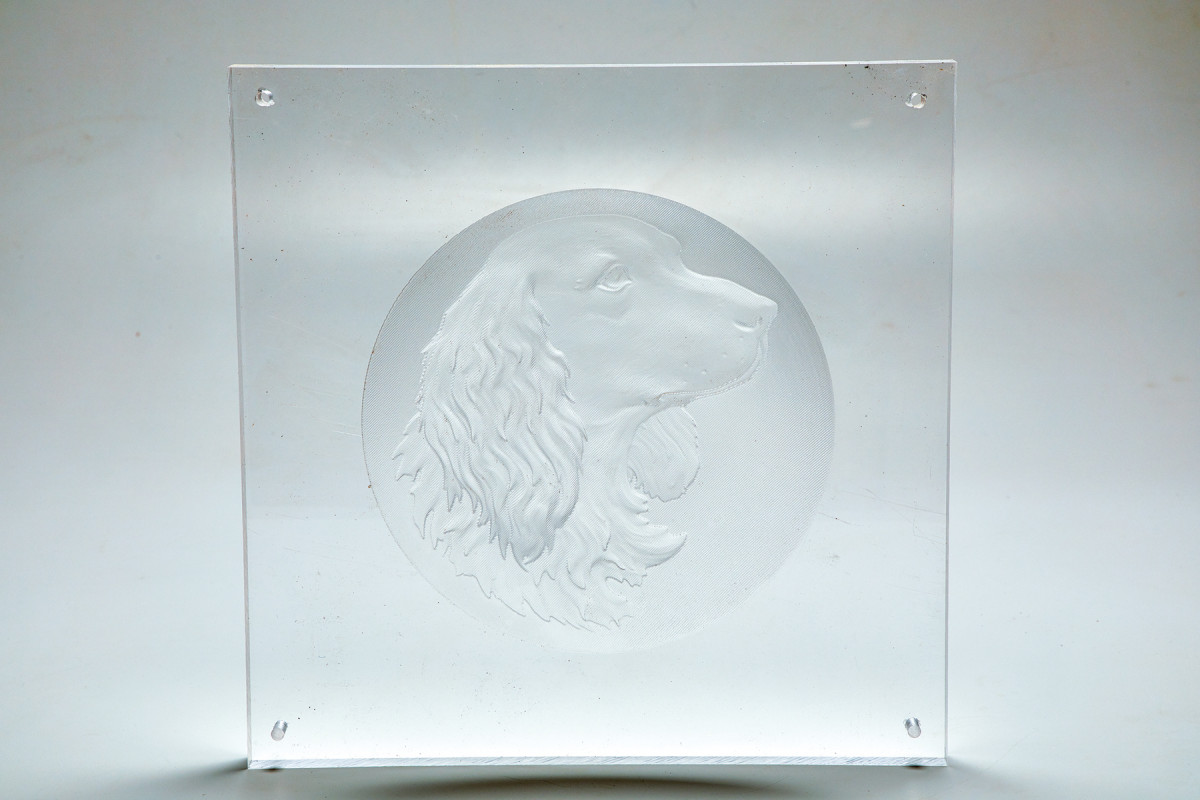
The final product after the finishing pass and a little polishing.
Chip Load, Feed and Speed and Depth of Cut
Bit selection is important, but the wrong chip load can spoil the cut. Plastic is sensitive to heat and routing generates a lot of it. Maximizing the size of the chip (chip load) transfers the heat into the chip and away from the workpiece. The right chip load will help reduce knife marks and rough, cratered surfaces.

For plastics the ideal chip load falls between .004 and .012. Faster feed rates help reduce the heat of friction, however, small parts, carving and hobby sized machines will limit the feed rate. Here are some combinations to test:
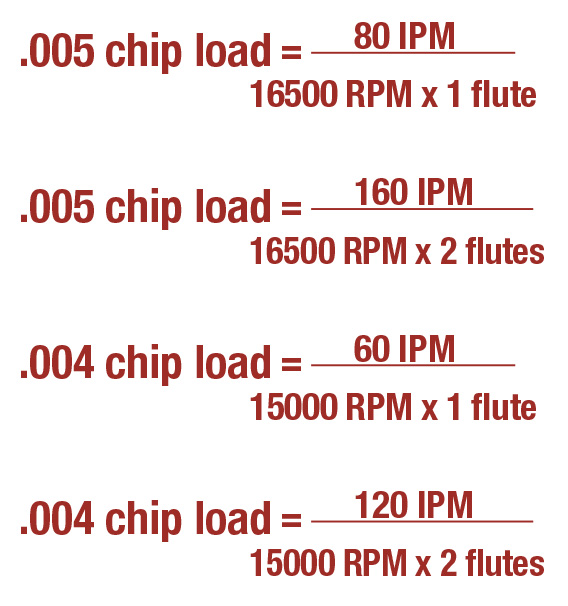
When cutting plastics on your CNC router increase the feed rate first then try slowing the rpm to obtain a good cut. Remember formulas are a place to start—results will be the final guide.
QUICK TIP: If you are having problems with melting on small parts, consider putting the plastic in the freezer for an hour or more.
The last parameter of bit set up is the depth of cut. Generally, 1/2 the bit diameter is a good place to start.
Workholding
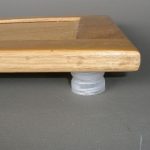
For the bit to operate, clear the chips while producing an excellent edge, the work must be secure. For thick sheets of plastic this is not a problem. Screws and various hold downs will work fine. Thin materials often require a combination of methods. One solution is to use double sided tape combined with hold downs or screws. Just don’t rely on tape alone. With plastic that comes with a protective coating spray adhesive is a handy option.
QUICK TIP: When using tape or spray adhesive with very thin materials, it can be a challenge not to damage the part when removing them. Consider adhering the part to a small, sacrificial board. This can be removed easily where you can use a solvent to soften the tape’s spray adhesive’s bond.
Experience is the best teacher to get the feel of cutting and carving plastics. As you gain confidence, you’ll find a whole new world to explore.
Here are some supplies and tools we find essential in our everyday work around the shop. We may receive a commission from sales referred by our links; however, we have carefully selected these products for their usefulness and quality.