We may receive a commission when you use our affiliate links. However, this does not impact our recommendations.
A few months ago, I restored a tall case of drawers in green. While the piece was not old, antique, or of substantial emotional value, it was still quite practical as it was tall and had several functional drawers. The issue was that the top right corner of the crown molding had been broken off for a while due to an unfortunate fall. When I finally set aside time to fix it, I also decided to document the process to show my readers how it is done.

At first, I considered finding the same molding strip, sawing off or removing the broken section entirely, installing a brand-new molding, sanding, and painting the repair. However, after thinking about it for a bit, I decided to take this opportunity to demonstrate how a proper restoration/conservation would have taken place on a much more valuable piece so that a reader who may have a mahogany, walnut, or any other heirloom piece would know how to approach it correctly.
The most convenient way to begin such work would be to dismantle the entire top so it would be easier to work on it on your workbench. If your piece’s top is connected with screws, go ahead and remove them to lift the top off. However, if you have a valuable piece that is very likely glued onto the carcass (it might even be glued over the carcass via dowels or a tongue and groove joint), you should not try to detach it, and you will have to lay it on the floor for the next step: planing the breakage flat.
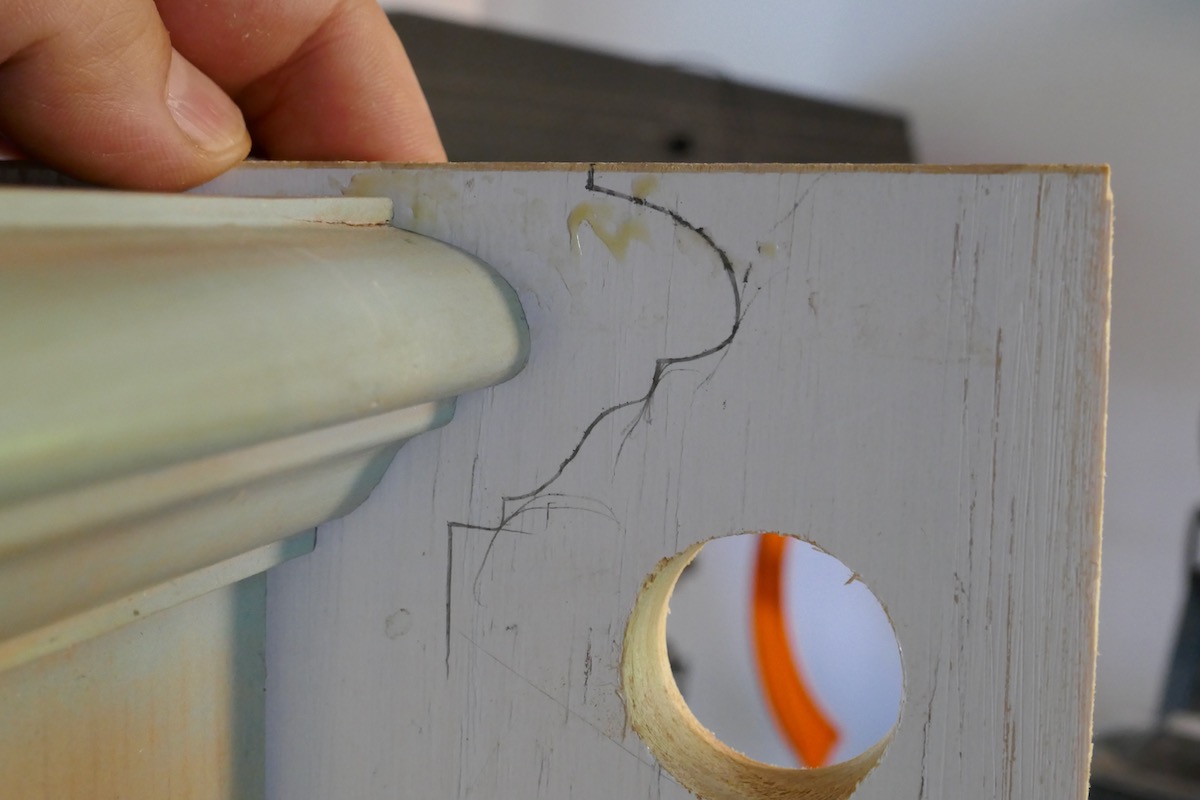
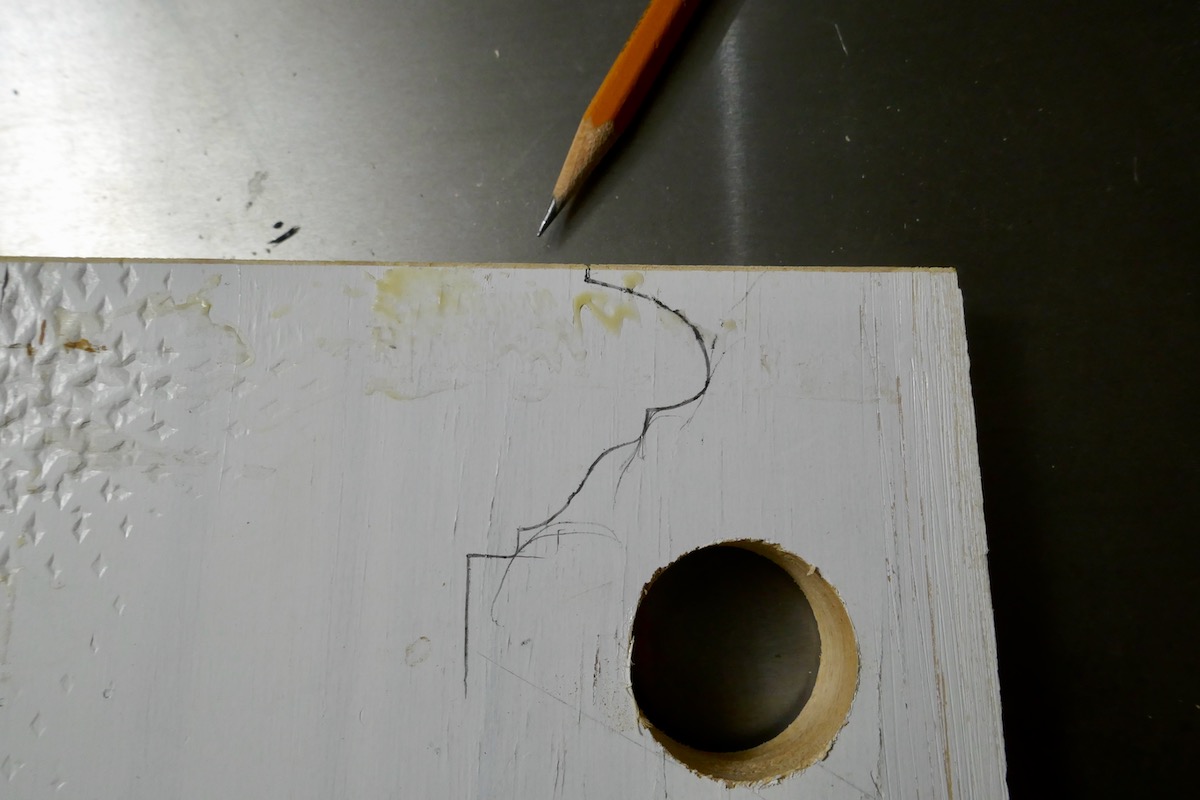
I traced the profile of the molding using the back side of the top. I wanted to have that profile visible for later stages to help me choose the right tool to sculpt the reconstructed piece.
In my case, I was able to unscrew the entire top, bring it to my bench, and disconnect the molding using a mallet. The molding strip was connected to the top via a tongue and groove glue joint reinforced by a few nails. I was able to separate the molding with only minor damage to the chipboard tongue and groove top.


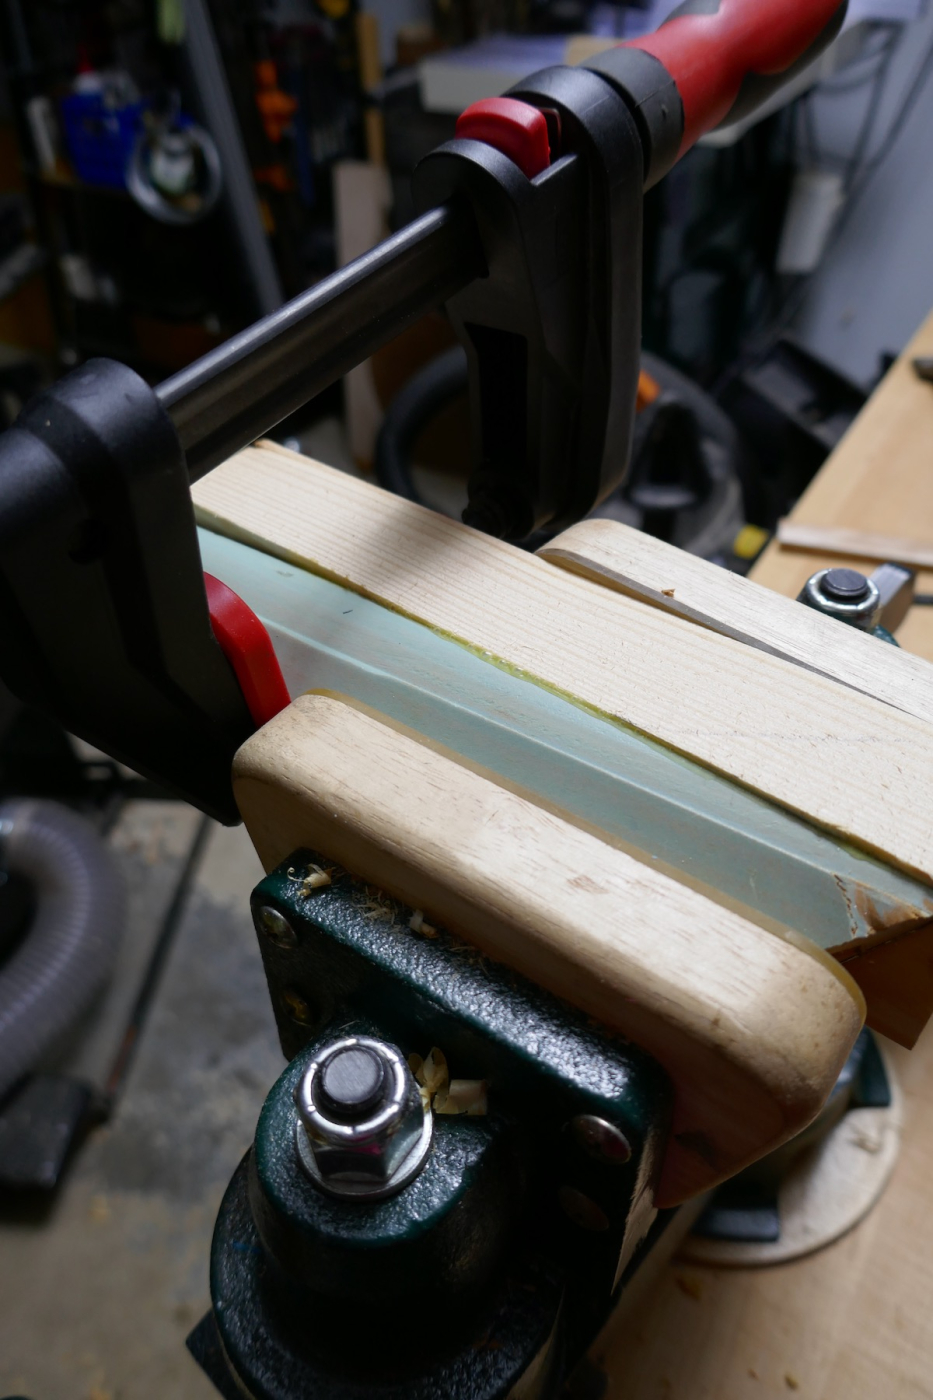
Then, I used a plane to flatten the diagonal break-off area. After that, I looked for a straight-grained piece of pine and glued it over the smooth-planed surface on the original molding. I used my guitar maker’s vice with its adjustable jaws to apply uniform pressure on the parts while the glue dried.


Next time, I will continue to show how I approach recreating the molding profile on the newly glued piece.
Here are some supplies and tools we find essential in our everyday work around the shop. We may receive a commission from sales referred by our links; however, we have carefully selected these products for their usefulness and quality.