


We may receive a commission when you use our affiliate links. However, this does not impact our recommendations.

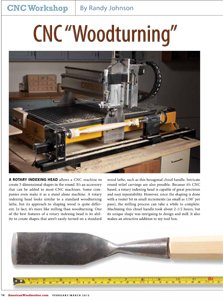
CNC "Woodturning"
By Randy Johnson
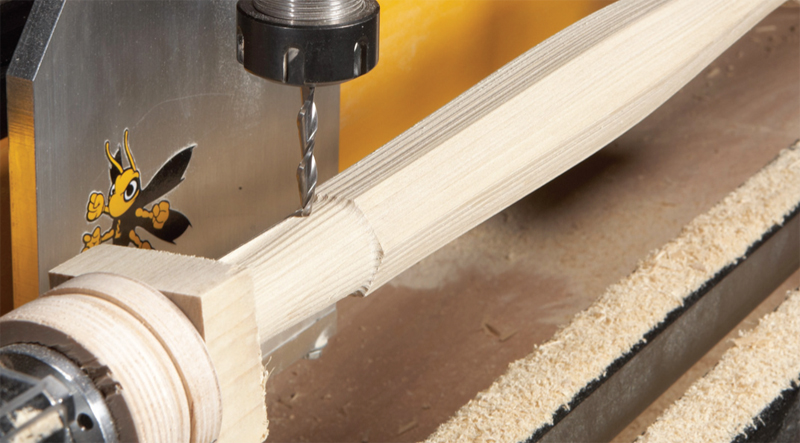
A rotary indexing head allows a CNC machine to
create 3-dimensional shapes in the round. It’s an accessory
that can be added to most CNC machines. Some companies
even make it as a stand alone machine. A rotary
indexing head looks similar to a standard woodturning
lathe, but its approach to shaping wood is quite different.
In fact, it’s more like milling than woodturning. One
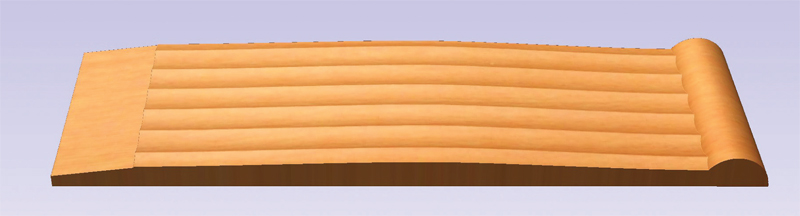
of the best features of a rotary indexing head is its ability
to create shapes that aren’t easily turned on a standard
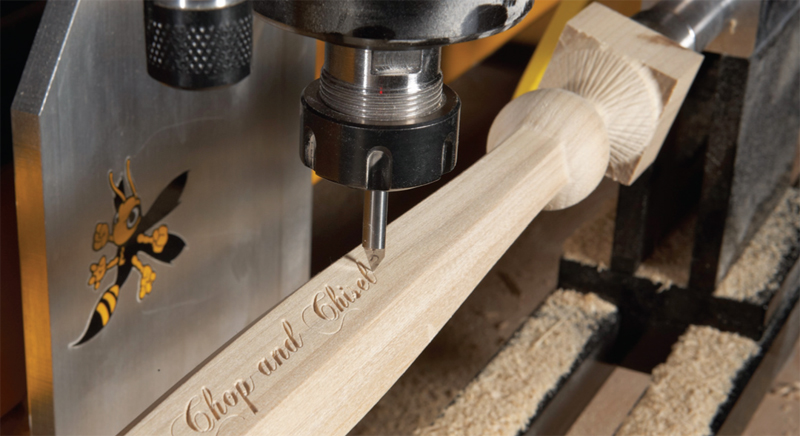
wood lathe, such as this hexagonal chisel handle. Intricate
round relief carvings are also possible. Because it’s CNC
based, a rotary indexing head is capable of great precision
and easy repeatability. However, since the shaping is done
with a router bit in small increments (as small as 1/50" per
pass), the milling process can take a while to complete.
Machining this chisel handle took about 2-1/2 hours, but
its unique shape was intriguing to design and mill. It also
makes an attractive addition to my tool box.
CLICK TO ENLARGE VIEW OF HANDLE

You need to think a little differently.
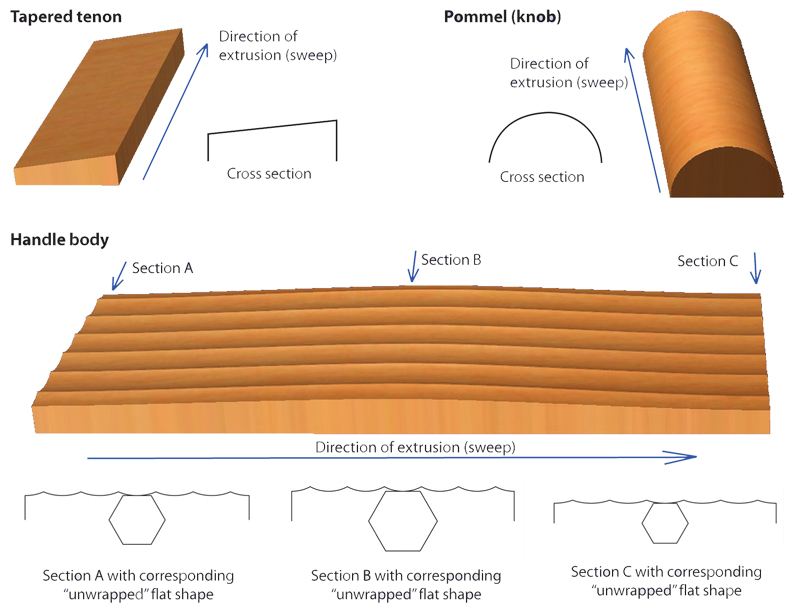
Think flatCNC turnings usually start out as a flat design, so the first step is to “unwrap” the cylindrical profile. CNC design software |
Click any image to view a larger version.
|
Think roundThe design software converts (wraps) the flat design into its cylindrical shape to give you a preview of the final piece. |
|

Think partsEach part of a CNC turning is created separately. The parts are then joined to create the final design. The basic steps used to |
|
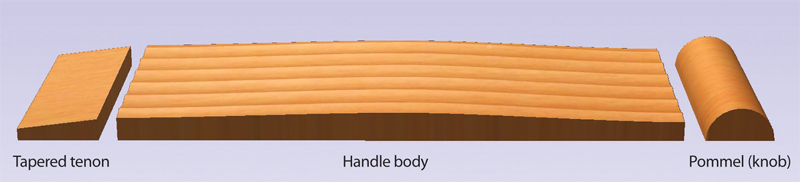
Basic Parts Creation
|
Each 3-dimensional part is created using a line drawing of its cross section to extrude (or “sweep”) the shape along a path. The |
|
|
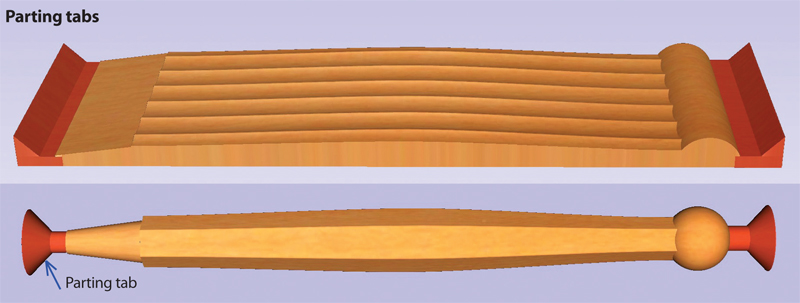
Parting tabs are added to the ends of the final design to connect the part to the unmachined ends of the billet. The tabs are |
|
Basic Machine Steps
Step 1: Create a cylinder
|
|

Step 2:
|
|
Step 3:
|
|

Step 4:
|
|
Twists are also possible

|
This story originally appeared in American Woodworker February/March 2012, issue #158.
|
|
Here are some supplies and tools we find essential in our everyday work around the shop. We may receive a commission from sales referred by our links; however, we have carefully selected these products for their usefulness and quality.


