We may receive a commission when you use our affiliate links. However, this does not impact our recommendations.
Lifetime tools. Buy good combination squares and treat them well, and these workhorse tools will outlast you.
Select a reliable tool with these simple tests.
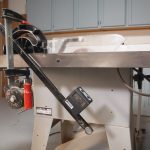
I can’t think of one project I’ve made that hasn’t involved using one or more of my combination squares. I use these to lay out joints and cuts, and to check cuts to confirm that they’re square (a test I perform on a scrap piece every time before I use our shop’s table saw on actual workpieces).
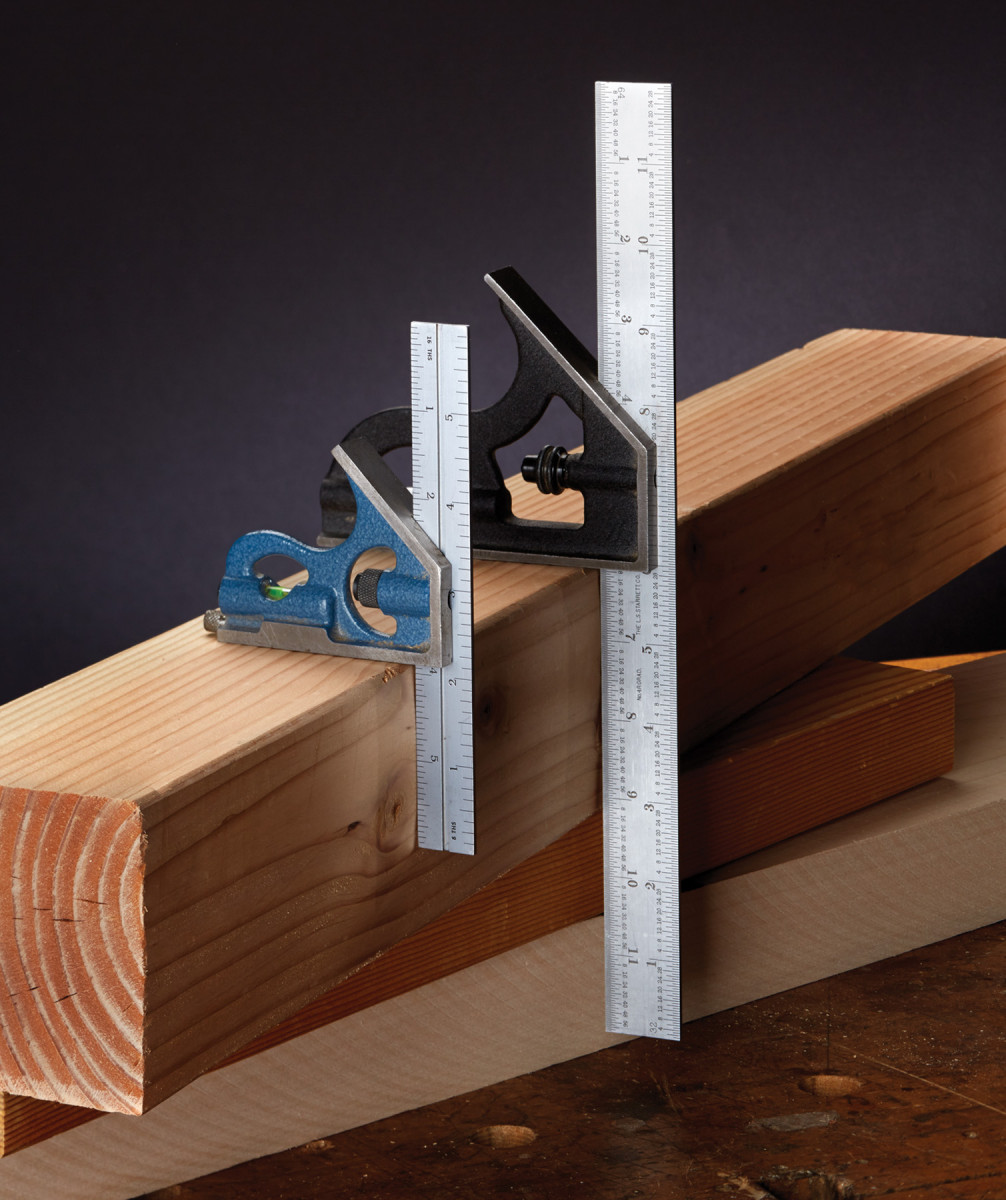
Matched scales. It’s always a good idea to make sure the scales on your measuring tools match one another – and to use the same tools throughout a build.
So when it comes to must-have measuring tools, a reliable 12″ combination square is near the top of my list, and a 6″ version is pretty close behind. And while their scales are unlikely to disagree, they might – so if possible, buy them at the same time. Or, when you get a new one of either, compare and confirm that they match. (It’s also a good idea to show the scales on all your measuring devices to one another – ideally, they’ll all be exactly the same.)
If you’re buying these tools in person, take with you to the store a mechanical pencil and scrap of wood that’s at least 6″ wide x 6″ long, with one jointed edge. If you’re buying through a catalog or online, cast a critical eye over your new tool or tools as soon as you open the box.
And perhaps it should go without saying, but buy the best combination squares you can afford (and don’t for even a second consider one with a plastic head). These are tools that get used a lot; good ones will last and be well worth the cost.
First, Assess the Rule
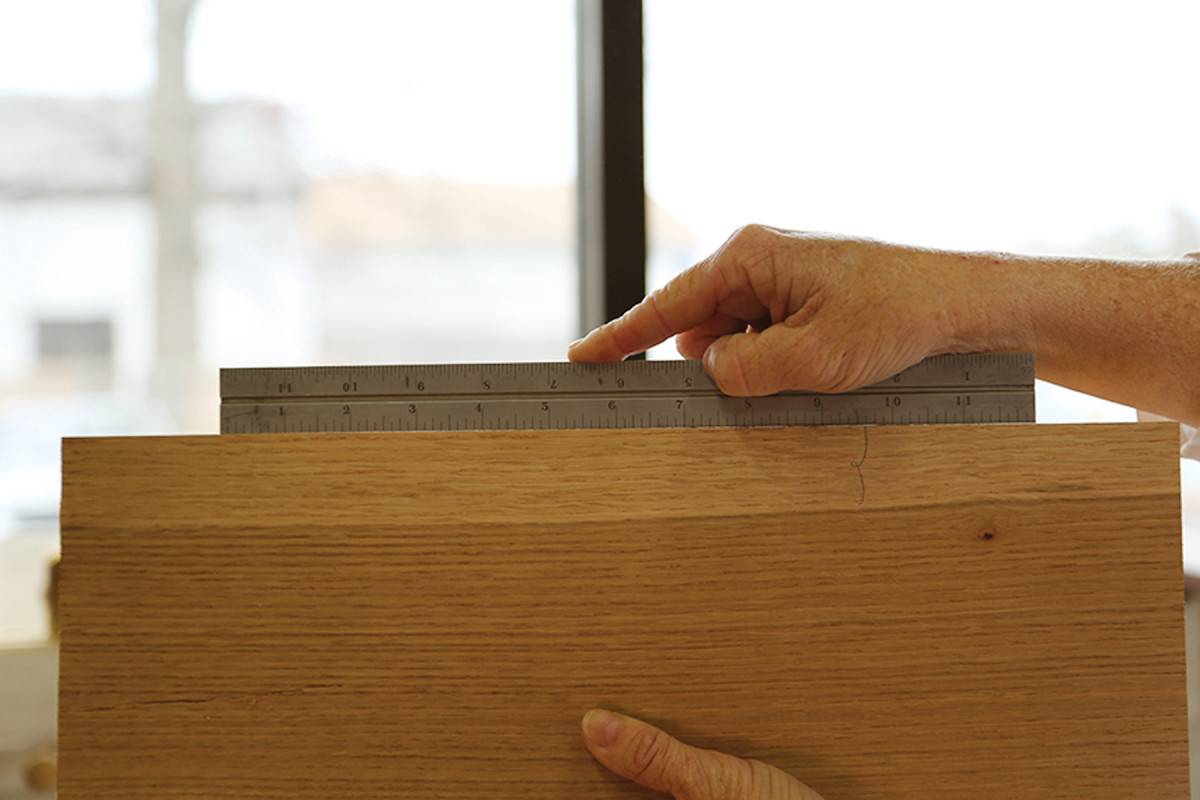
Straight edge. To confirm that the rule is straight along its length, show it to the edge of a jointed board. If there is light showing through, the rule is not acceptable.
It’s of course paramount that a combination square is, well, square. If the rule and head don’t meet at 90°, the tool is useless. (Yes, you can sometimes fix an out-of-square square, but you shouldn’t have to – particularly on a new tool.) But you also need to be able to actually read the thing.

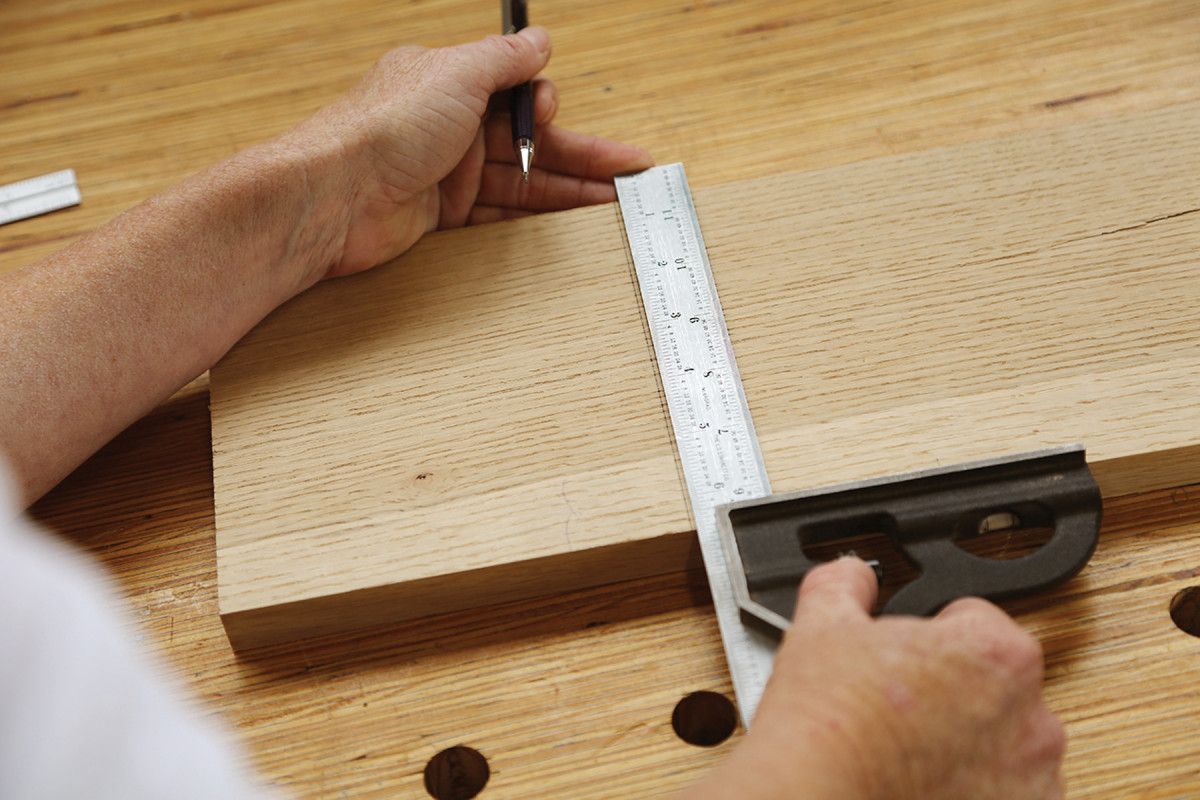
Square. Register the head firmly against the straight edge of your board and strike a line.
So before testing for square, make sure the rule itself is up to snuff. Are the numbers readable? (Engraved, rather than stamped, numbers and lines, are usually better.) Are there denotations in 8ths, 16ths and 32nds? (If you’re an engineer, you might work to 64ths; I do not.)
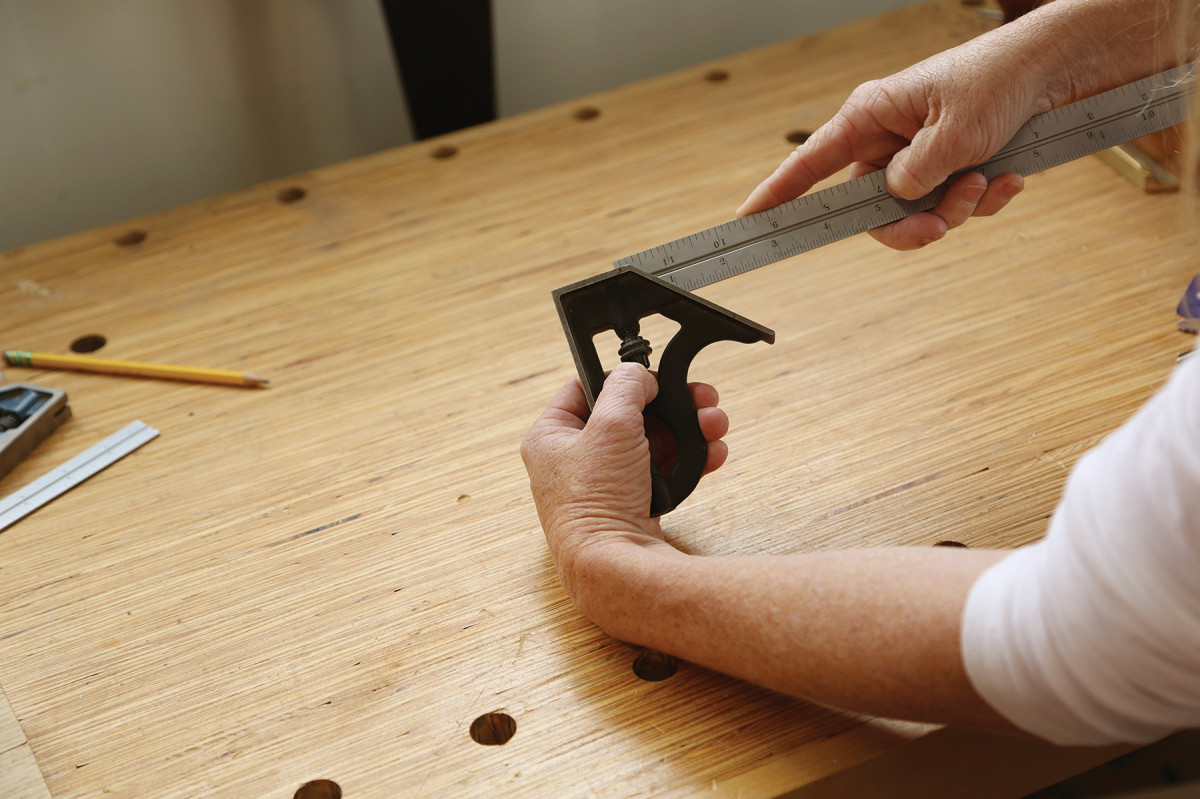
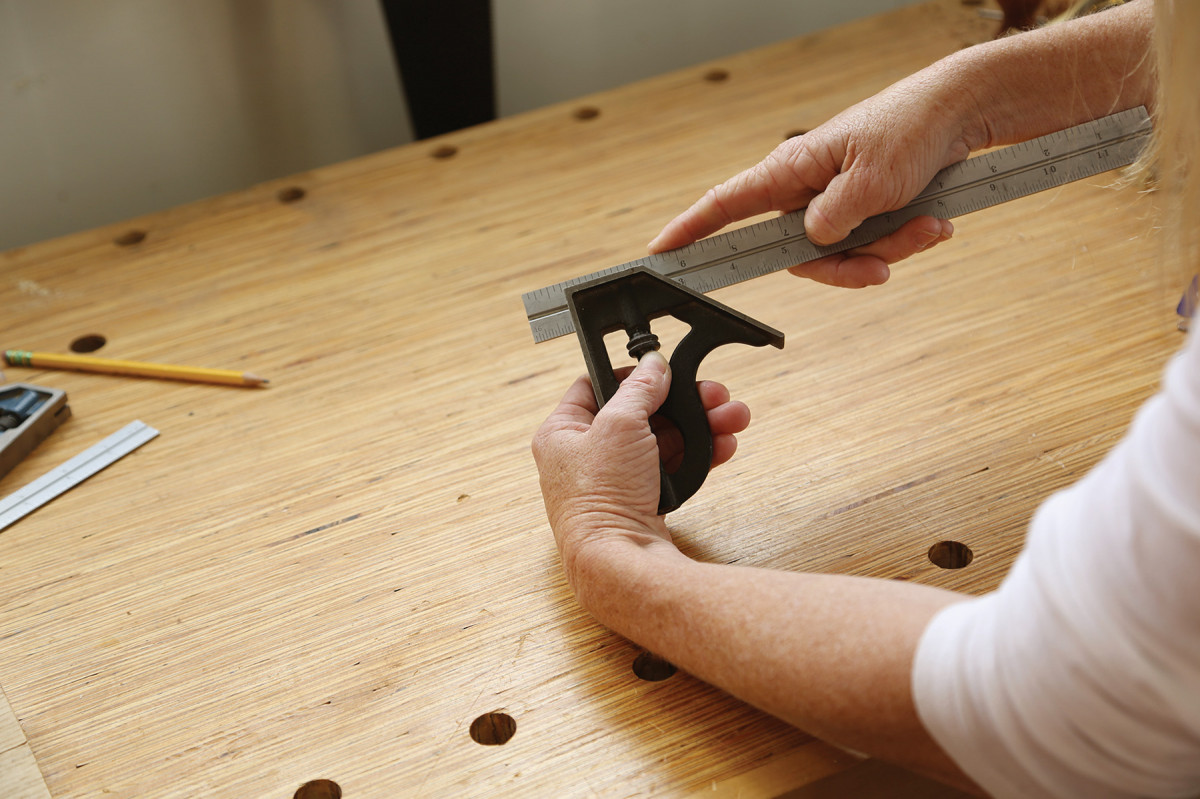
Now flip the square and show the rule to the line. If the square is true, the line and rule will be parallel.
If the markings are satisfactory, make sure both long edges are straight. To do this, take the rule out of the head, then press one edge of the rule against the jointed edge of your board. If the rule is straight, you won’t be able to see any light peeking out between the ruler and wood. Now check the other long edge.
Now Test for Square
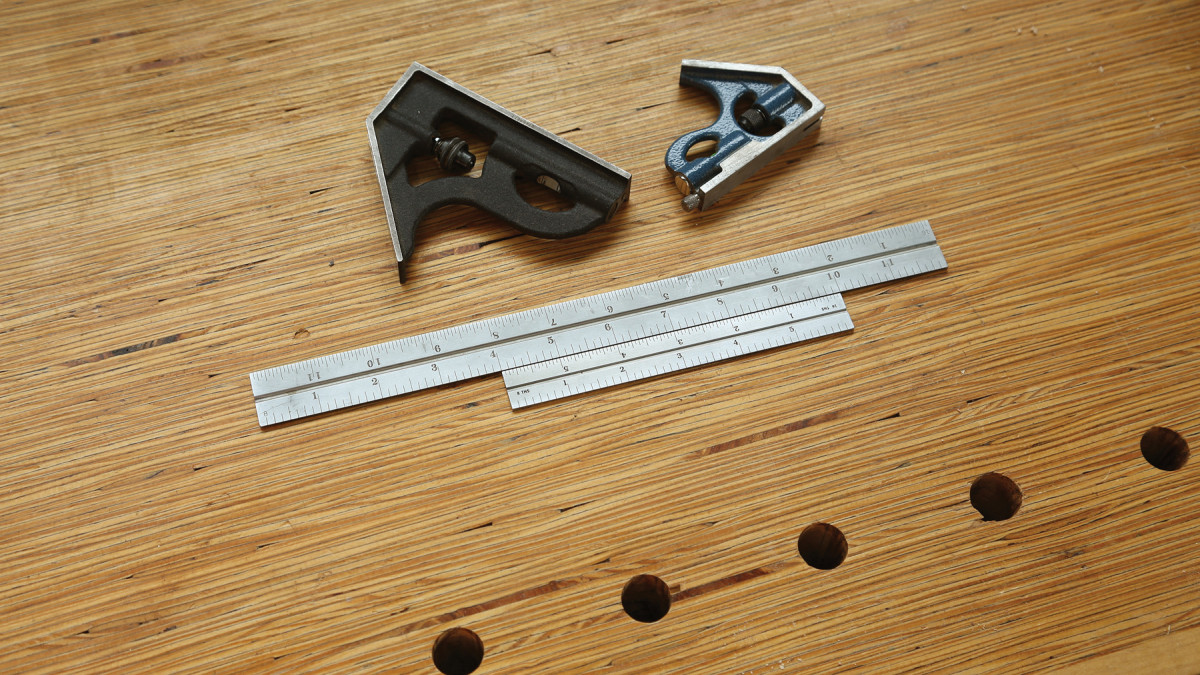
Reinsert. First, look into the locking-nut mechanism through the top and make sure the catch is flat to the side of the tool.
Reassemble the square and register the head firmly against the straight edge of the board. Hold the tool tight to the board, then scribe a thin and consistent pencil line against the rule on the board’s face.
Next, match the furrowed side of the rule with the flat. Now push up on the nut and slide the rule in place.
Now flip the square over and “show the line to the square” – that is, with the head again registered on the jointed edge of the board, align the other side of the rule with your pencil line. If the rule and your line are parallel, the square is indeed square. If it’s off, test again to make sure there wasn’t user error involved. Still off? Pass.
Once you’re satisfied that the rule is good and it meets the head at 90°, loosen the nut below the ruler, remove the rule, then reinsert it. On most combination squares, the locking nut mechanism has a spring in it; pushing up on the bottom of the nut releases the tension of the mechanism and moves it into position to make rule re-insertion easier. The rule should be easy to remove and replace.
Tighten the nut and tug on the rule; it should not move.
Some squares include a bubble level and a removable metal point that is intended to function as a scribe or scratch awl. The scribe will likely get lost and the bubble level is fairly useless for furniture work. So I really wouldn’t worry much about these.
Lifetime Tool

Extras, but not necessary ones. Between my two squares at work, I have two bubble levels and one intact scribe; that’s three features too many for my needs.
If you buy good combination squares and treat them well, they’ll last beyond your lifetime. (At home, I use a 6″ Starrett that my grandfather acquired before my mother was born.)
Do your best to never drop a combination square – but if you do, test it immediately for square. (And if it’s kaput, you can at least keep the rule.) Don’t needlessly slide the rule back and forth in the head; it wears the surfaces where the rule and head meet.
And make it a rule to test your squares every once in a while. If you find they go out of square after a few months or a few years, save up for a better brand.
Here are some supplies and tools we find essential in our everyday work around the shop. We may receive a commission from sales referred by our links; however, we have carefully selected these products for their usefulness and quality.