


We may receive a commission when you use our affiliate links. However, this does not impact our recommendations.

A square planing board, bench hook style.
On several occasions I’ve taught hand tool woodworking in locations that weren’t really setup for it. The challenge I faced was hand planing workpiece faces on tables or workbenches that didn’t accommodate the operation.
My solution was a planing board. I’ve seen several different styles. A sticking board is a particularly specialized one, long and narrow for planing long, narrow moulding stock. It has a back stop edge to keep the work from sliding off the back, and a left end stop to keep the work from sliding off the end. That was my inspiration.
The board I built is like a combination of sticking board and bench hook. Rather than long and narrow, I made it 18” square, large enough to accommodate parts up to 16” long in either sideways or lengthwise orientation.
There are two thin stop strips on the top, one on the back edge and one on the left edge. There’s a third thicker stop strip on the bottom, at the front edge. So it looks like a large bench hook with an additional stop strip on the left side.
With the work in sideways orientation, you may find it helpful to put a spacer piece in front of the rear stop strip to move the work up closer to the front edge.
You can put one together from scraps in half an hour or so. You can even make right- and left-handed versions.
It’s simplicity, versatility, and ease of use have made it very popular with my students, even when other good solutions are present. Throw it on the bench, slide it back so the front underside stop edge hooks, throw the workpiece on it and butt it up against the two topside stop edges, and go to work, directing the force of planing toward the stops.
With just just the front stop strip hooked, you can plane front-to-back, orienting the piece to work across the grain or with the grain.
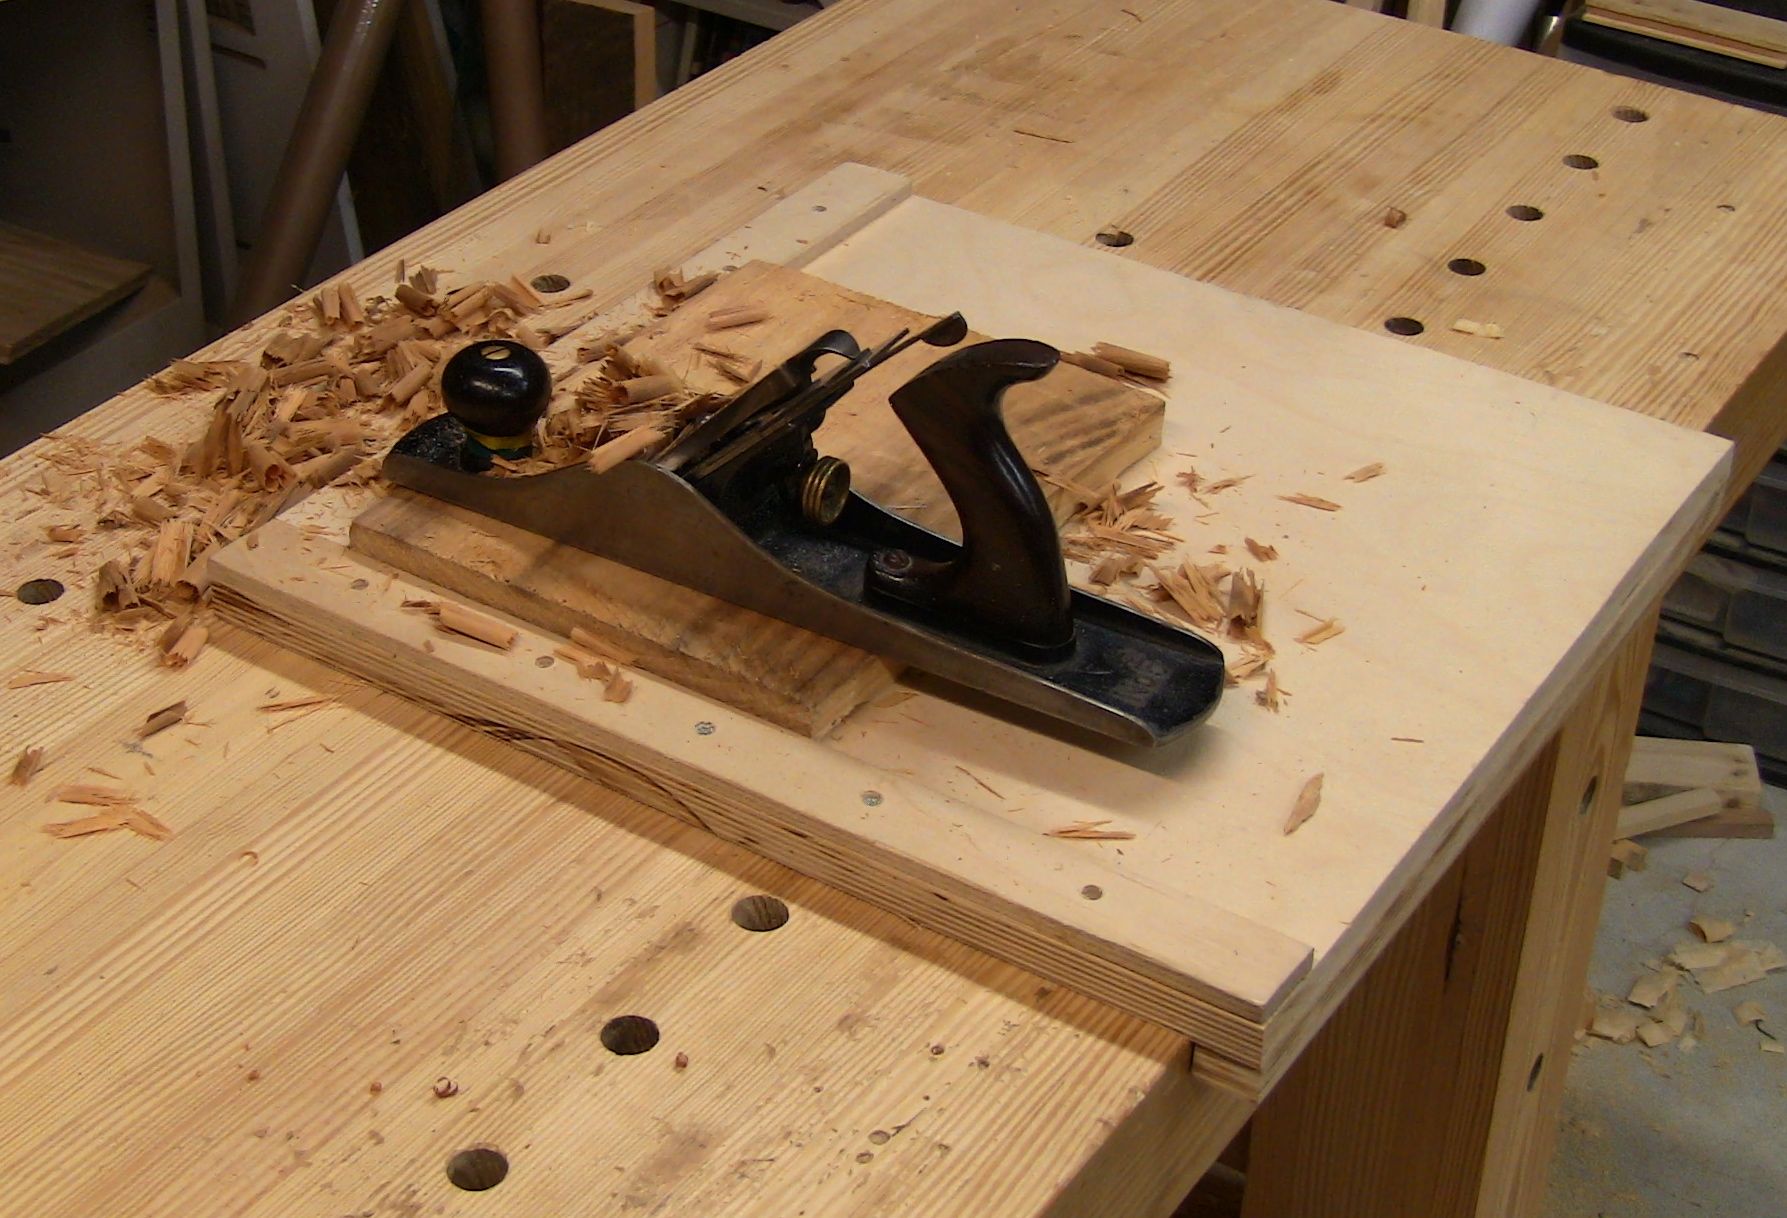
With just the front edge hooked, planing front to back.
If the workbench has dog holes and dogs, or some other kind of end stop, you can butt the side up against that and then plane right-to-left.

With the addition of a bench dog on the side, planing right-to-left. A scrap of resawn stock acts as a spacer to bring the work closer to the front edge.
If the bench doesn’t have such stops, you can rotate the board 90 degrees and hook the front edge over the right end of the bench, then plane right-to-left while standing at the front. You just don’t have a rear stop strip in this orientation. If you’re left-handed, you can hook it over the left end of the bench and plane left-to-right.
This means you can even use a plain table top as a workbench, hooking the board on the left, front, or right edges as needed. Versatile! Just butt the table up against a wall or other solid object so the whole thing doesn’t slide around.
Another option is to put a second stop strip on the underside of the board, at the right edge. That allows you to hook the board on the front right corner of the workbench. This even acts as a universal right- or left-handed board simply by rotating it one way or the other for the appropriate corner.
If the workbench has a front vise, you can secure the stop strip in it for extra stability. This again allows either front-to-back or right-to-left planing.
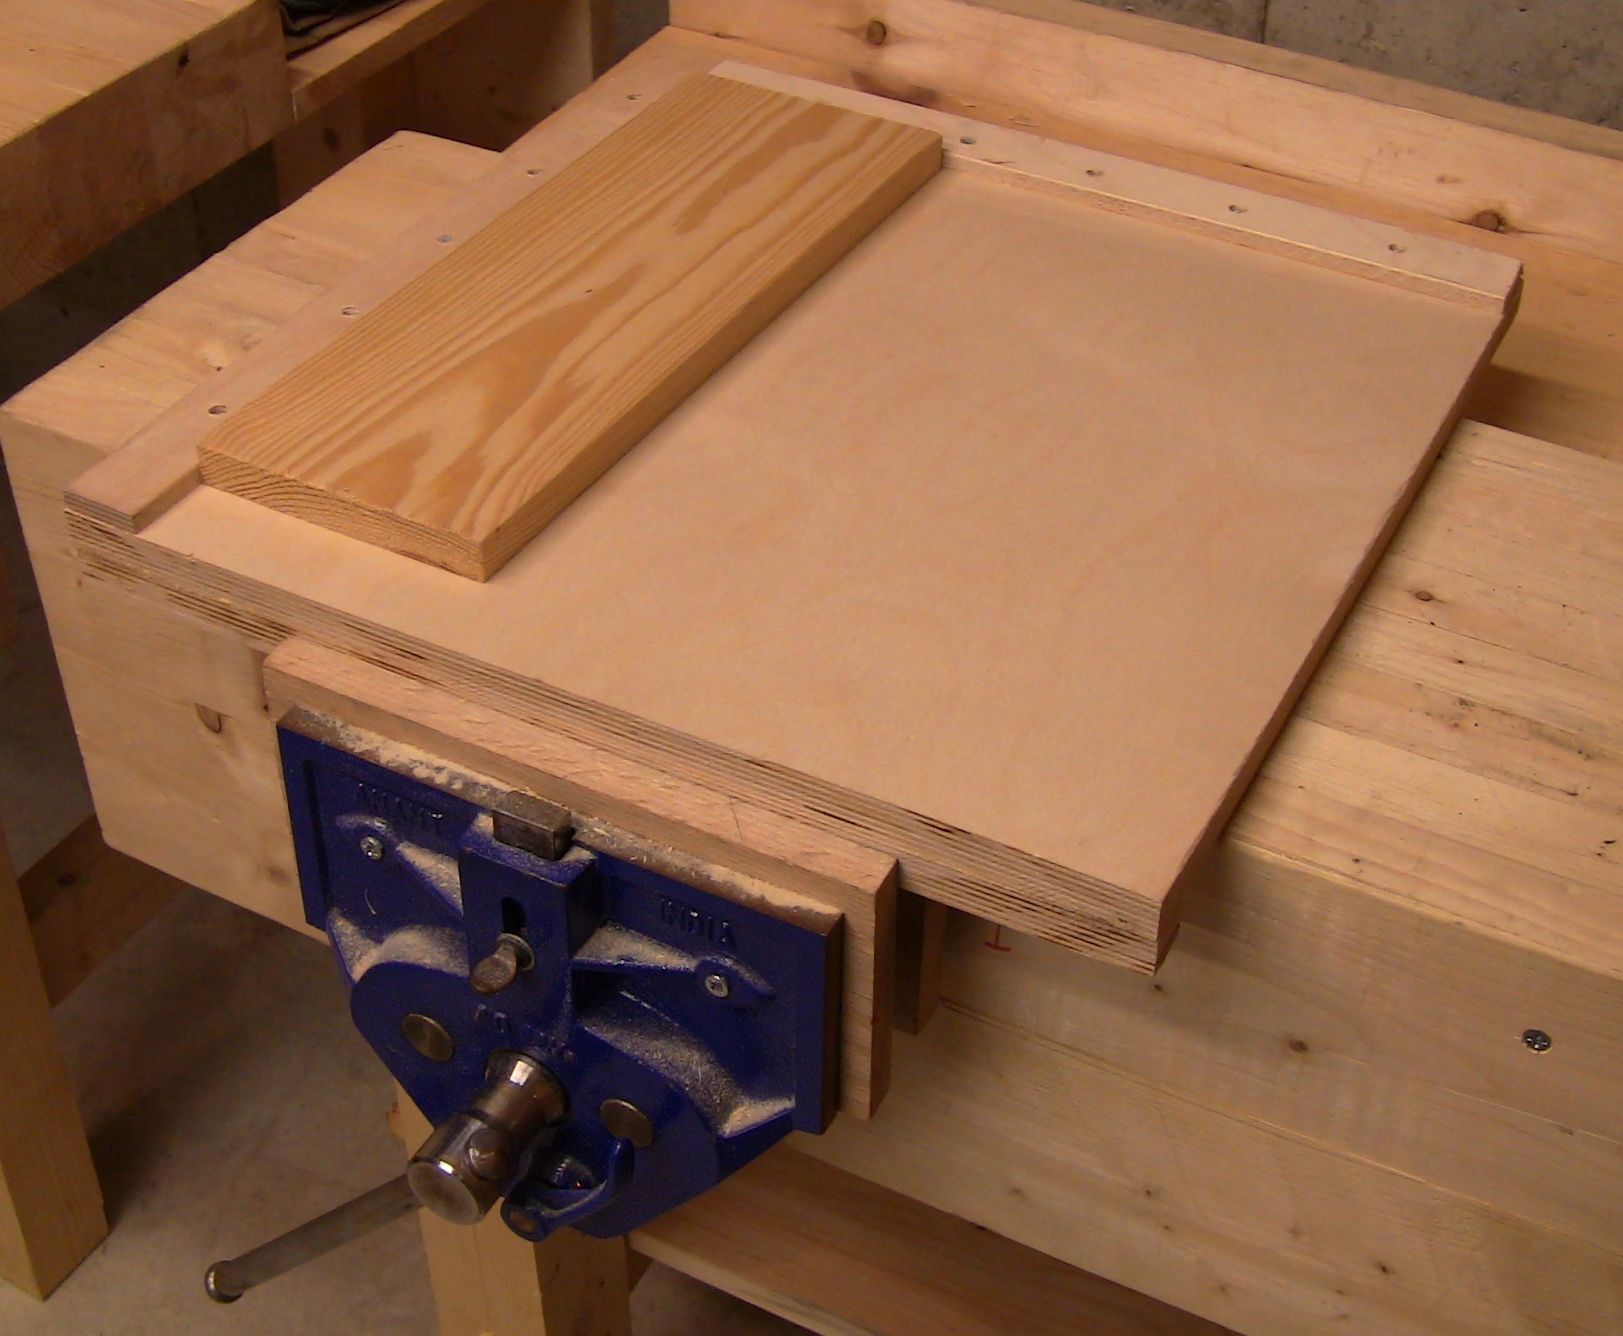
With the front stop hooked in the vise, the workpiece oriented front to back, for right-to-left planing across the grain or front-to-back planing with the grain.
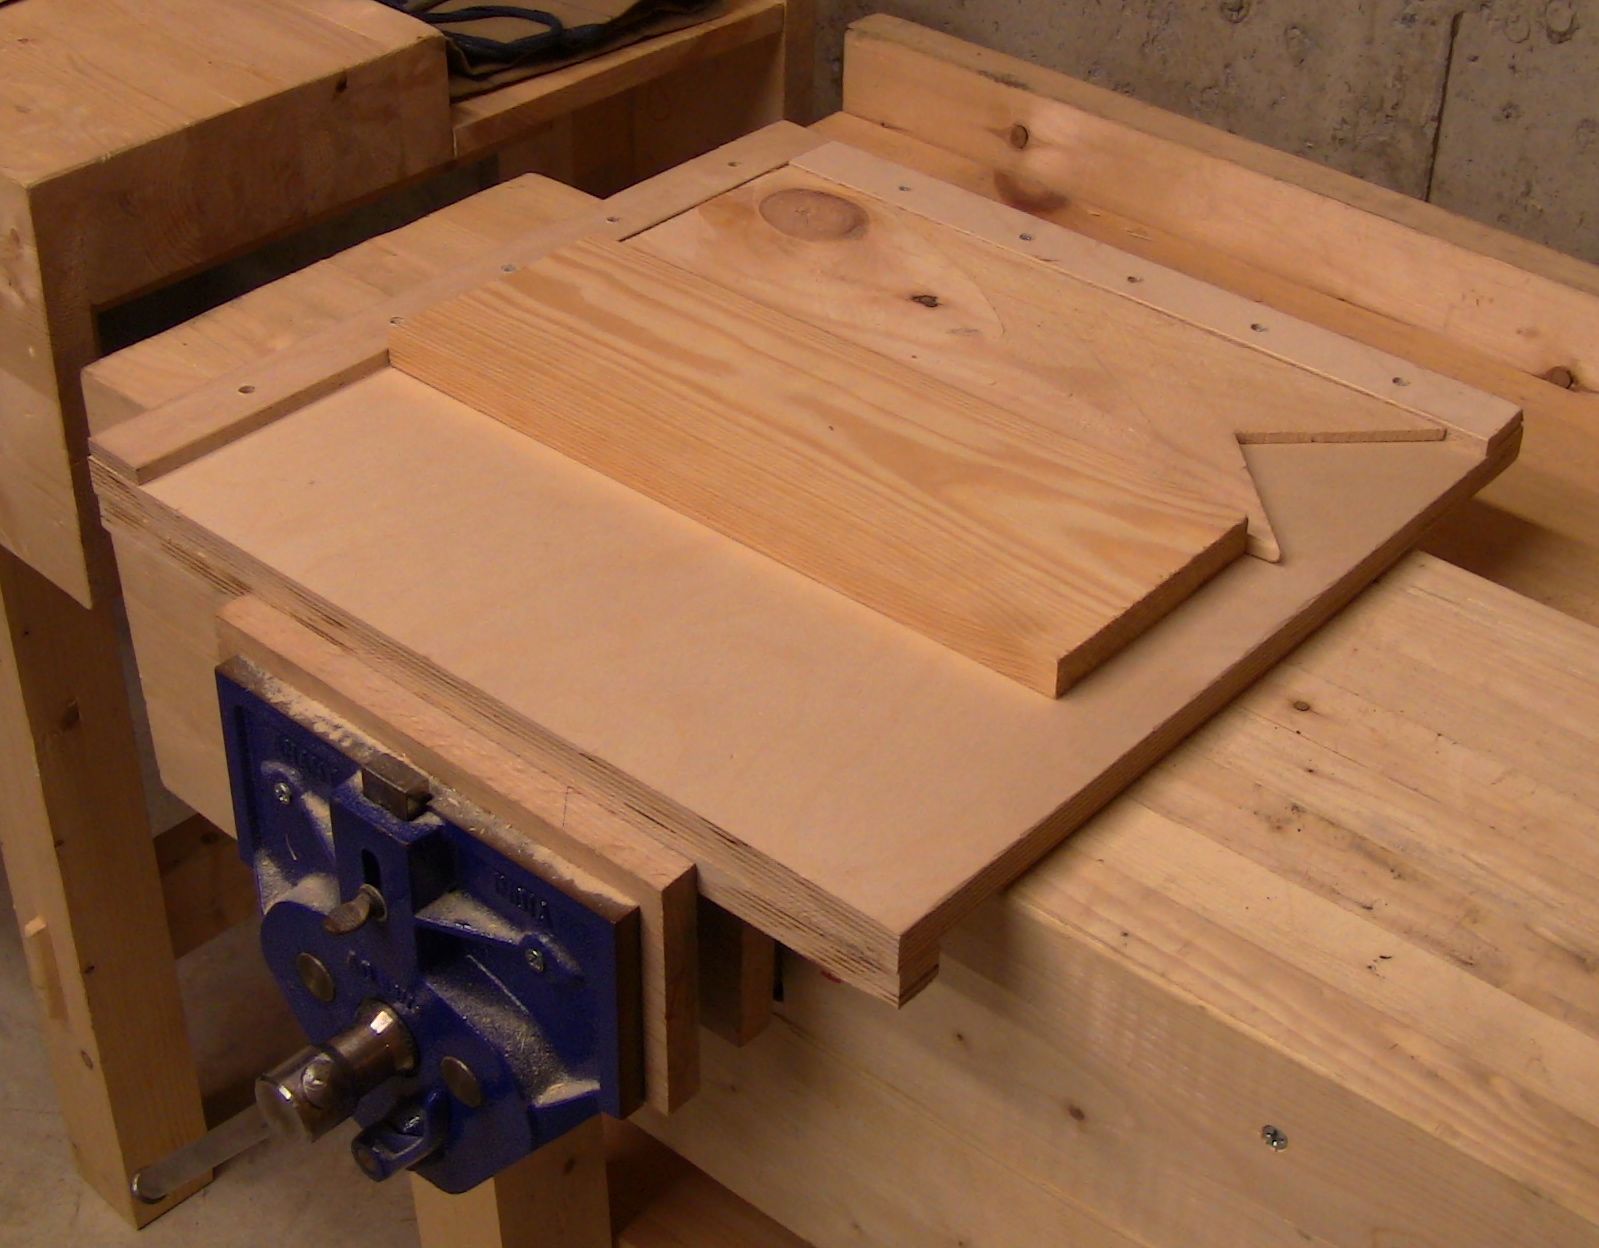
The workpiece oriented lengthwise across the board, again using a spacer.
While the large square planing board accommodates a variety of workpieces, it is a bit clumsy to drag around and requires a deep reach planing at the back edge. If you have a particular size of piece that you work with commonly, you can alter the dimensions of the planing board to more closely match that size of work. That makes it more specialized, so it won’t handle as many different size workpieces, but more convenient to work with.
I made a smaller one that’s the same width, but only 12″ deep. That works well, and is more portable to carry back and forth to teaching venues.
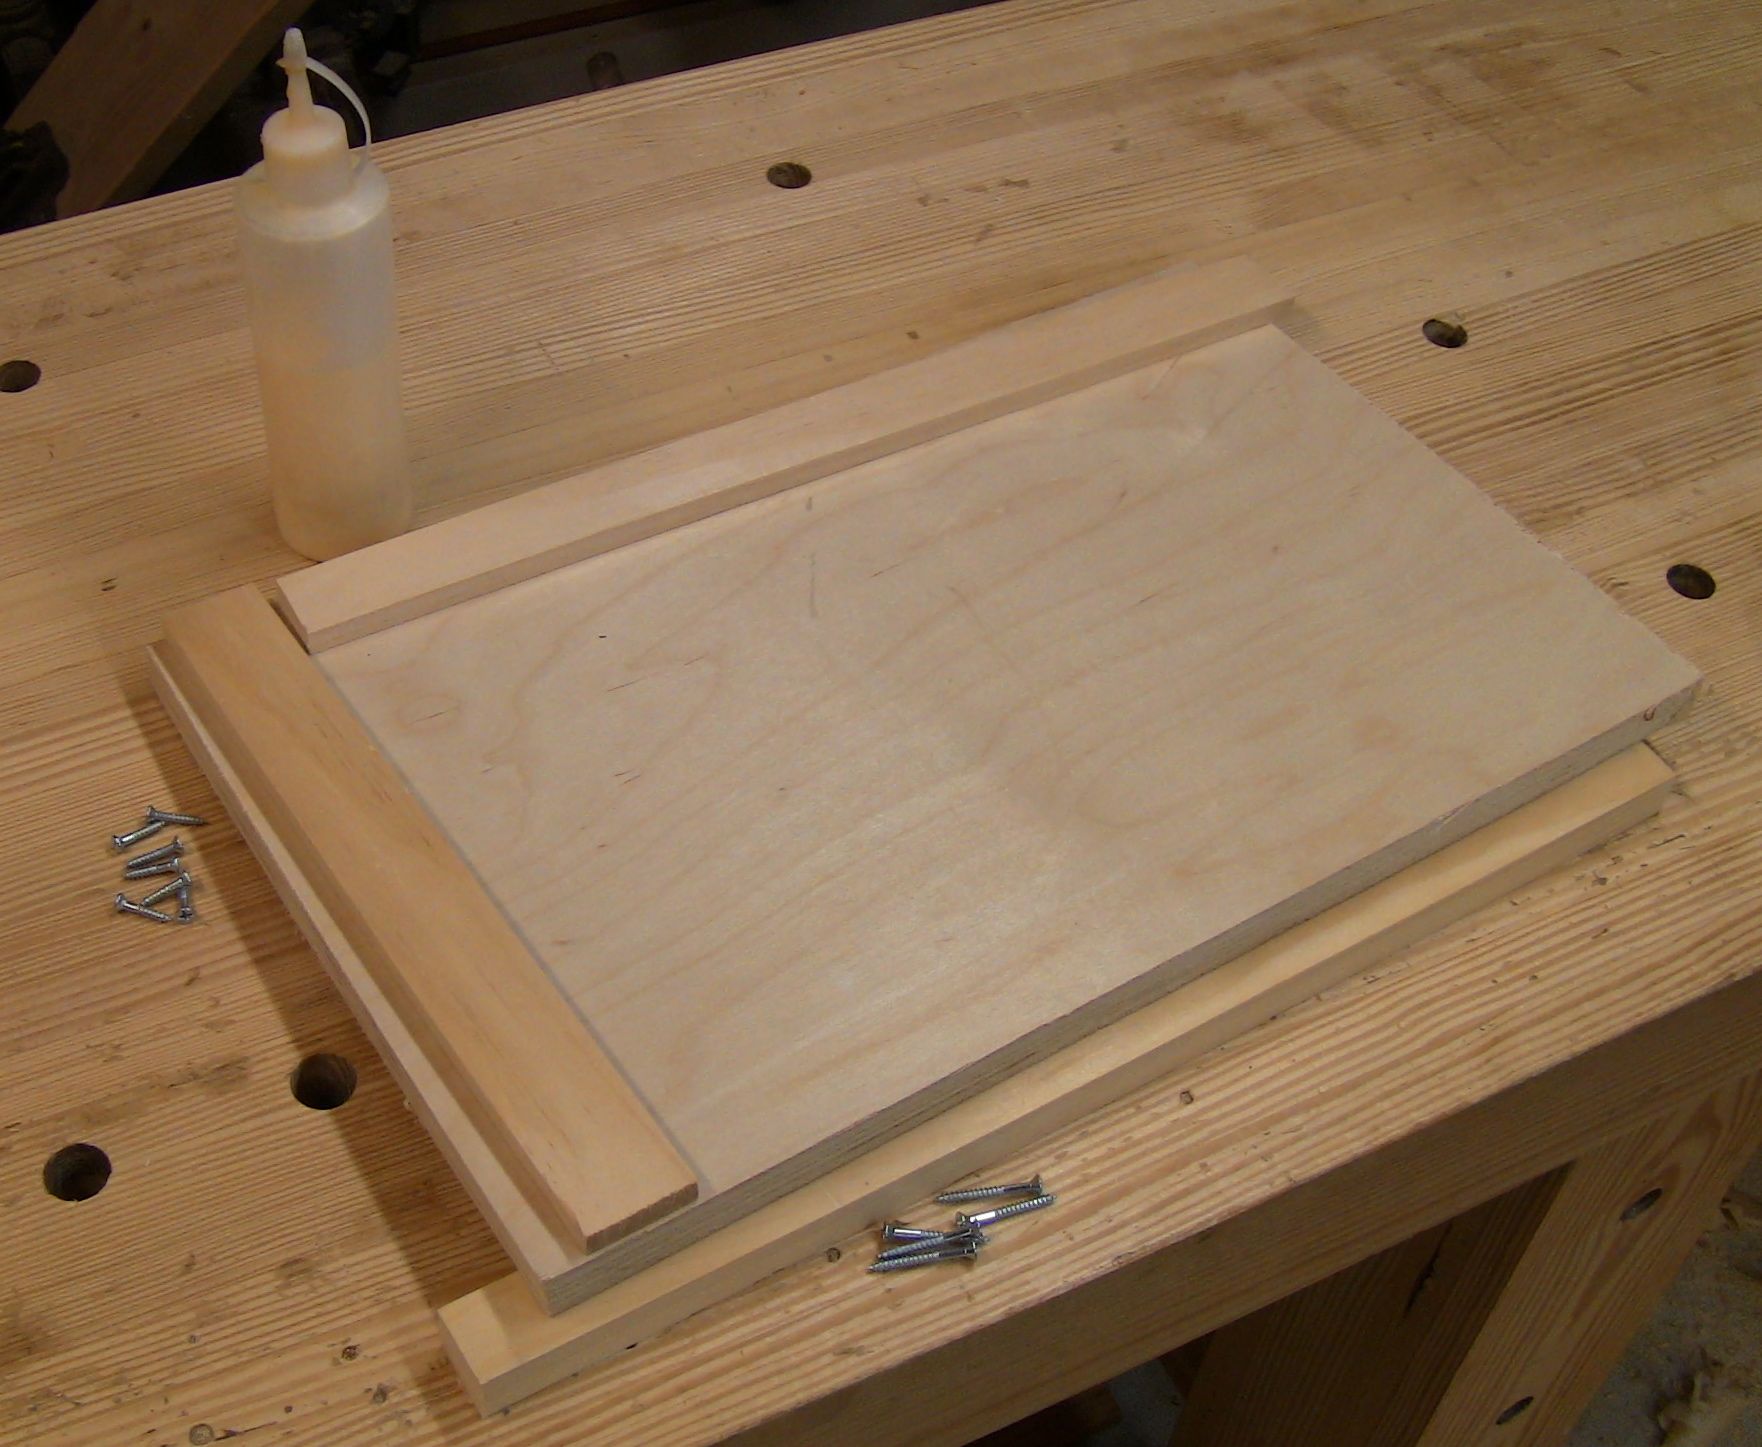
Parts for a smaller board: 12″ x 18″ base of 3/4″ plywood, 1 1/4″ wide topside stop strips of solid wood resawn to 3/8″ thick, 1″ wide underside stop strip of 3/4″ solid, glue, and screws.
Construction is simple: a base of 3/4” plywood, two 1 1/4” wide by 3/8” thick stop strips (3/8″ plywood or resawn solid lumber) glued and screwed to the top, and a 1” by 3/4” stop strip glued and screwed to the bottom. Countersink the screws to avoid hitting them with a plane during use.
For more simple workholding solutions when using hand tools, click here to register for my upcoming Popular Woodworking University webinar on November 5 at 8:30 PM EST, Beyond The Vise.
Here are some supplies and tools we find essential in our everyday work around the shop. We may receive a commission from sales referred by our links; however, we have carefully selected these products for their usefulness and quality.


I was so focused on making these in right- and left-handed versions, I completely overlooked the obvious: make them ambidextrous simply by putting a stop strip on BOTH sides. Since the workpieces need to fit entirely on the planing board anyway to be fully supported, the unused side strip for the right- or left-handed user doesn’t get in the way, it just cuts down on the size capacity of the board a little bit. So make the board a little wider to keep the usable area the same.
I made a planing board a few years ago. My workbench is an old desk, even with an added plywood top not very flat. The planing board has a central spine on the bottom that keeps it true and allows for clamping in the vise on the front of the bench. Many 3/4″ holes in the spine for pegs and a Cam arrangement I made. I use it a lot.