We may receive a commission when you use our affiliate links. However, this does not impact our recommendations.

7 Tips for Better Drum Sanding
By Randy Johnson
If you hate sanding (and who doesn’t?), a drum sander can be a godsend. Just feed in your boards, or even completed doors and other projects, and out they come, perfectly sanded, flat and smooth. And for a modern cabinetmaker looking for speed, precision and efficiency, a drum sander is hard to beat, unless you step up to a wide belt sander, but they can cost the price of a small car. Drum sanders start under $1,000. A 22-in. open-sided drum sander, like the one show here, costs about $1,500. It can sand a panel as wide as 44 in. when done in two passes.
Operating a drum sander is not as easy as it looks, though, and you can ruin many rolls of expensive abrasive paper before figuring out the right techniques. Here are some tips for improving your results and making your sandpaper last longer.
Start at the right heightBefore making your first pass, slide your workpiece under the sanding drum and adjust its height so the drum touches the workpiece but can still rotate with light hand pressure. Make your first pass or two at this setting. This approach takes off the highest spots on the board but reduces the chance of taking too big a bite, which could gouge your workpiece and burn or tear the sandpaper’s abrasive material. A good rule of thumb is to take two passes at each height setting. You will get better results and your paper will last longer. |
Click any image to view a larger version.
|
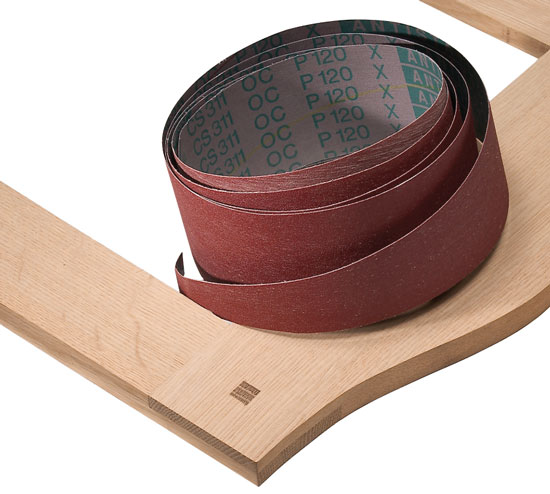
Use the correct gritMatch your abrasive grit to the job. The most common mistake people make is to start too fine. It will not only take longer but the tendency to try to take too much off will lead to poor results and damaged paper. Grits can be divided into three groups: coarse, medium and fine. Coarse 24- to 60-grit papers are used for abrasive planing, which involves smoothing roughsawn lumber, for dimensioning lumber thickness or for removing squeeze-out on glued-up panels. Medium 80- to 120-grit papers are for leveling previously planed material or glued-up doors and face frames. Fine grits, 150 and higher, are for your final sanding. Always progress through the grits in order; it’s best not to skip a number. You should turn the drum sander’s thickness adjustment wheel no more than one-quarter of a turn for coarse grits and one-eighth of a turn for fine grits each time you reduce the height. |
|
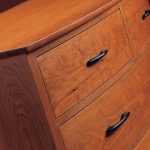
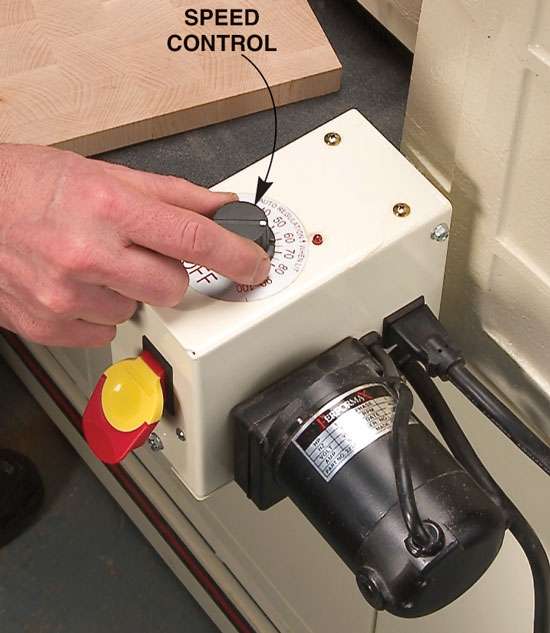
Find the right feed rateThe type of material you sand and how much you want to remove with each pass determines the best speed. If your machine has speed control on the conveyor belt, start at 50 percent and then adjust it according to the results you get. If your machine doesn’t have speed control, take lighter passes until you develop a feel for your machine’s capabilities. Some species, such as hard maple and cherry, are prone to burning, as is end grain (see photo at right). Light passes at a higher speed are the best way to avoid burning these types of woods. Oak and similar woods are less likely to burn, so a slower feed rate and more aggressive stock removal works fine. Remember, though, a drum sander is not a planer and is not made to hog off lots of wood in one pass. Also, if your speed or depth setting is too aggressive, you may get sanding chatter, which produces a tiny washboard texture on the wood. It can be hard to see, but hand sanding with a paper one grit finer than the level you used in the drum sander or holding the board up to the light usually reveals the little ripple pattern that sanding chatter produces. Staining and finishing will certainly reveal the ripples, but that creates a big “Oops.” One way to avoid such an unpleasant surprise is do a final sanding of your project with a random-orbital sander, whether you suspect chatter marks or not. |
|
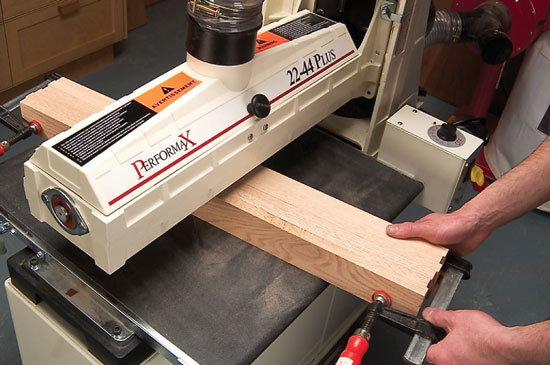
Clamp parts togetherEdge-sanding face-frame parts prior to assembly saves a lot of time. Clamping the parts together helps keep them vertical during sanding and guarantees they’ll all end up the same width. As a rule of thumb, you should clamp parts together if they are 3/4 in. or less thick and 2 in. or more wide. This technique may seem to raise a red flag for you regarding safety, but as long as the clamps are cranked on tightly and set below the top of the boards, this setup works just fine. (Of course, this is not something you should ever attempt on a wood planer, because an accidental contact with the planer knives could cause disastrous results for you and your planer.) |
|
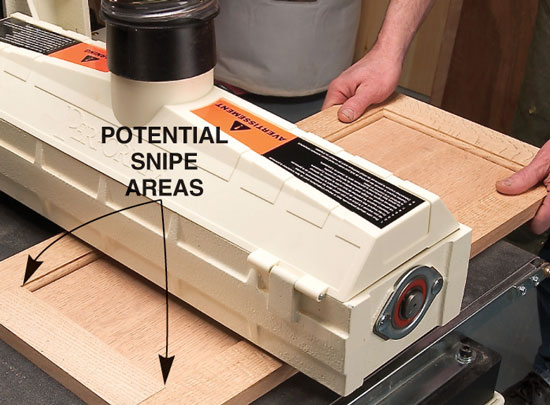
Take light passes on doors and framesSanding doors and face frames is a common use of a drum sander, not only because it saves time but because the result is a flat frame with smooth joints. Getting these good results requires taking light passes. When the drum leaves the rail, it’s touching only the two side stiles. If your depth setting is too aggressive, the drum tends to gouge the stiles right after it leaves the rail. It’s much like a snipe from a planer and just as undesirable. |
|
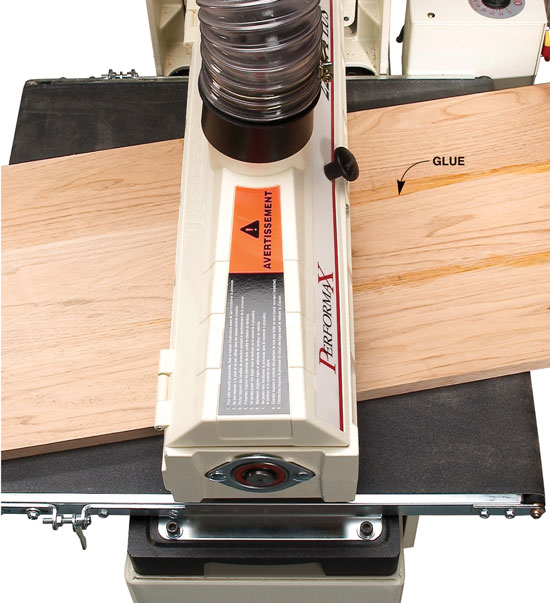
Skew the workSending your workpiece though the drum sander at an angle improves the abrasive’s effectiveness. Skewing the board also allows you to be a bit more aggressive and reduces the possibility of burning the wood or the abrasive. Skewing is particularly important when you are sanding off glue. If you send a board with glue on it straight through the sander, you can almost guarantee the sandpaper will accumulate some adhesive buildup, which is nearly impossible to remove. On the final two or three passes, run the board straight through to remove the angled sanding marks. |
|
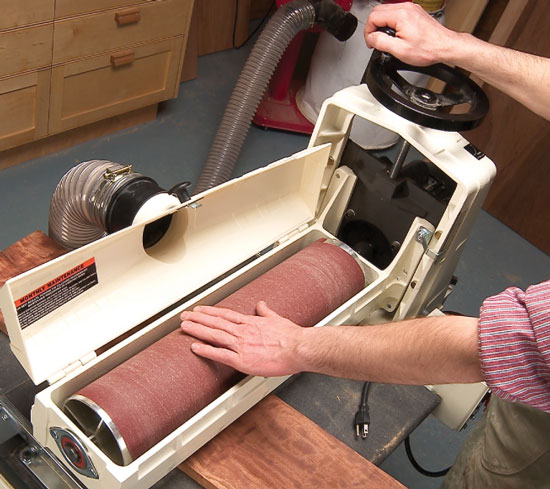
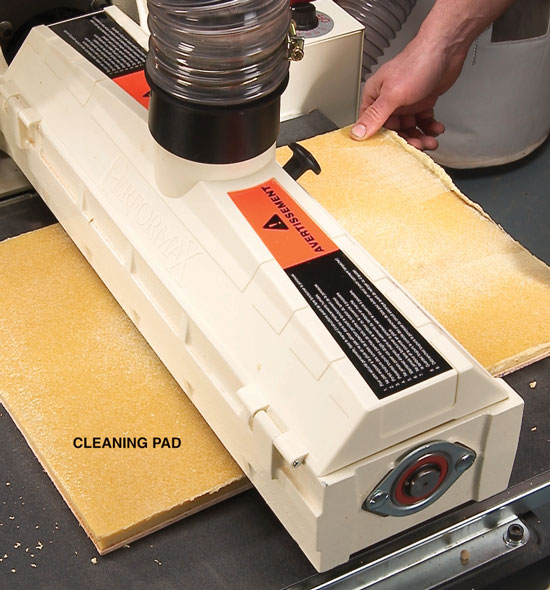
Keep the abrasive cleanWith use, the abrasive is likely to clog with sawdust and pitch buildup. This reduces the abrasive’s effectiveness and increases the likelihood of burning the belt or wood. To clean the abrasive on the machine, use a cleaning pad (shown at right). You simply run this wide, flat eraser through your sander as though it were a board. It’s also safer than the stick type of cleaner that you have to hold by hand on the drum while it’s spinning and the cover is open. |
|
SourceNote: Product availability and prices are subject to change. Grizzly Tools, grizzly.com, 800-523-4777, 15-in. x 20-in. cleaning pad, #H2845. This story originally appeared in American Woodworker July 2005, issue #115.
|
|

Here are some supplies and tools we find essential in our everyday work around the shop. We may receive a commission from sales referred by our links; however, we have carefully selected these products for their usefulness and quality.