We may receive a commission when you use our affiliate links. However, this does not impact our recommendations.

12 Finishing Tips
Good finishers
have lots of tricks
up their sleeves.
Here’s a handful
from Bob Flexner,
one of the nation’s
foremost experts.
By Bob Flexner
1. Add depth by glazing
Glazing accentuates the three-dimensional
look of moldings, carvings, turnings, and raised
panels. A glaze is simply a thickened pigmented
stain—thickening it reduces runs on vertical surfaces.
Gel stain works well as a glazing material.
Glazing is always done over a sealed surface,
meaning over at least one coat of finish. After
the first (or second) coat of finish has thoroughly
dried, wipe or brush on the glaze. Allow the
solvent to evaporate so the glaze dulls. Then
wipe off most of the glaze using a rag or brush,
leaving some of the glaze in the recessed areas
of your project.
After the glaze has dried, apply at least one
additional coat of finish. This prevents the glaze
from being rubbed or scratched off. Never leave
glaze thick; the finish won’t bond well to it.
|
|
Click any image to view a larger version.

|
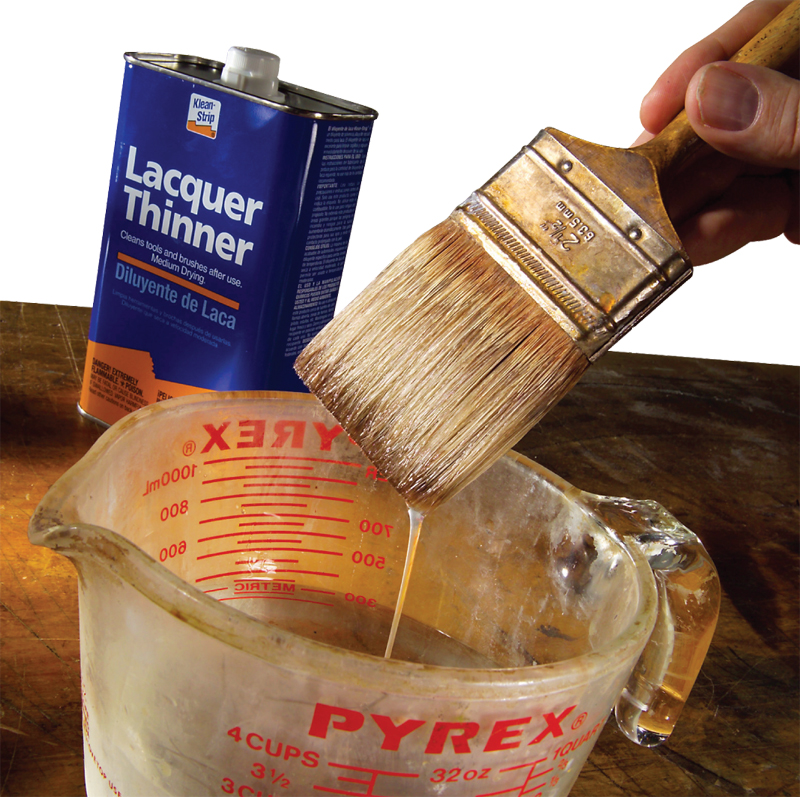
2. Clean brushes with lacquer thinner
The standard procedure for cleaning a varnish brush is to rinse
it a couple of times in mineral spirits, and then wash repeatedly
in soap and water. I take an extra step: After the mineral spirits,
I rinse my brush in lacquer thinner. Commercial brush cleaner
works well, too.
Lacquer thinner or brush cleaner quickly removes most of the
oily mineral spirits. This step makes washing with soap and water
easier and quicker. You’ll usually need only one or two soap-andwater
washings to achieve a good lather, which indicates the bristles
are clean.
Remember to use adequate ventilation when you work with
lacquer thinner or brush cleaner.
|
|
|
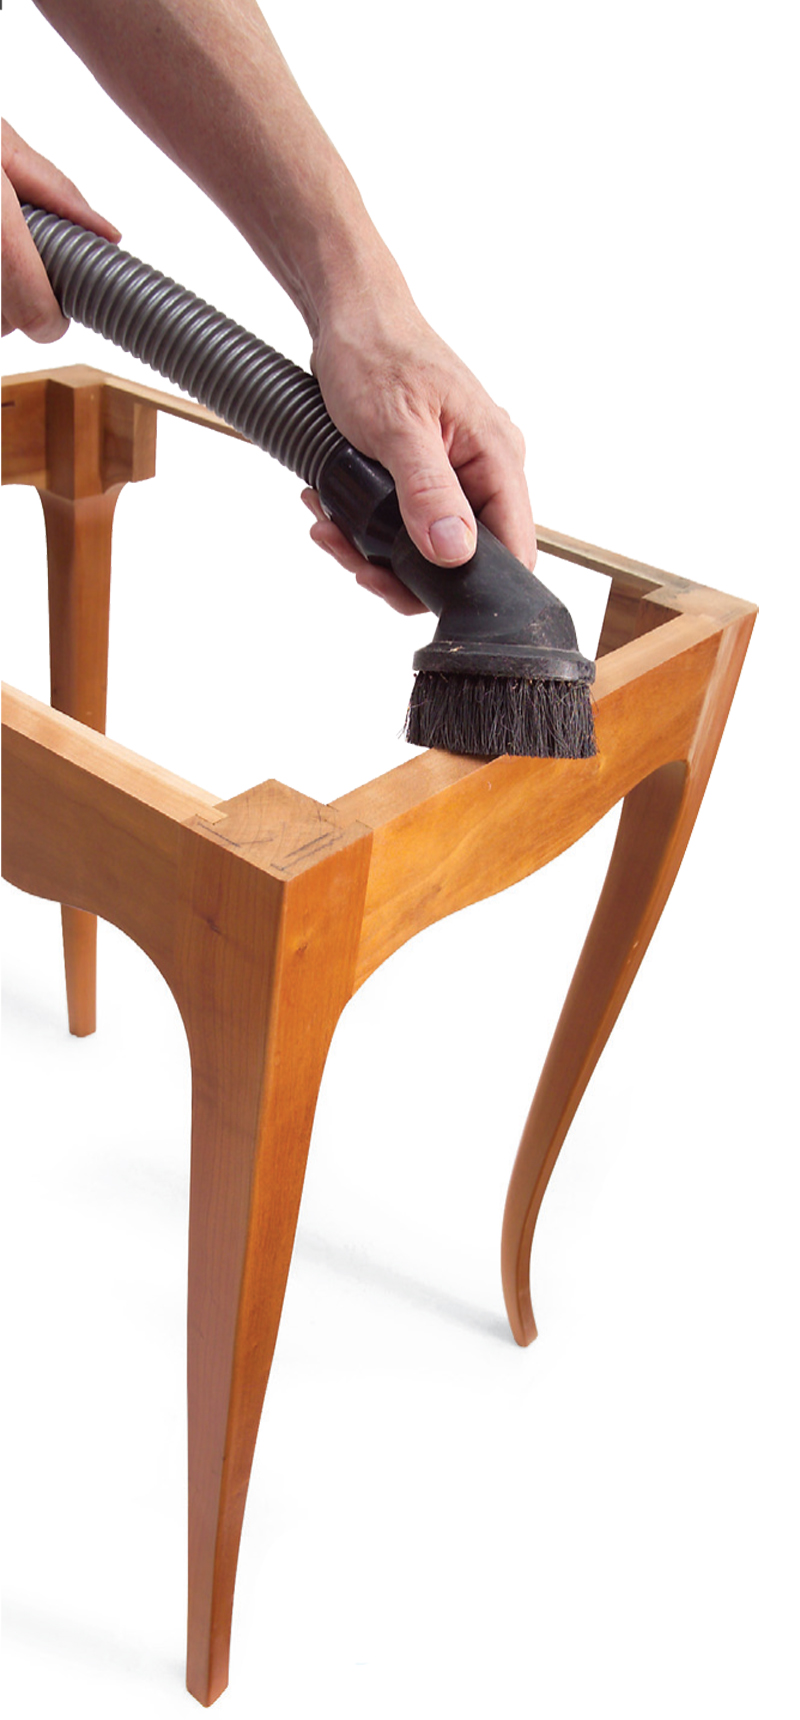
3. Keep everything clean
Reduce dust nibs by keeping your
project and work area clean. If you
are finishing in the same area
where you’ve been sanding,
allow time for the dust to
settle and then vacuum
the floor. Vacuum your
project using the brush
attachment. Use a lint-free
cloth to remove any dust that
remains in the wood’s pores.
Just before you begin brushing
or spraying, wipe your hand
over horizontal surfaces to be sure
they are clean. You will feel dust you
don’t see. Your hand will also pick up
small bits of dust that may have settled
after you did the major cleaning.
|
|

|
4. Bury raised grain
Water-based stain and finish raise wood fibers, making
the wood’s surface feel rough. Many folks suggest
prewetting bare wood with water and sanding the
raised grain after the wood dries. This method is fairly
effective, but there’s an easier way.
Skip the prewetting and bury the raised grain in the finish.
Burying simply means encasing the raised grain in a
layer of finish. Apply the first coat of water-based finish
and then sand it smooth, raised grain and all.
You can use the same approach with a water-based
stain, which also raises the grain. The stained surface
may become rough, but don’t sand the stain. Apply one
coat of finish and then sand. Be careful not to cut through
the finish into the stain.
|
|
|
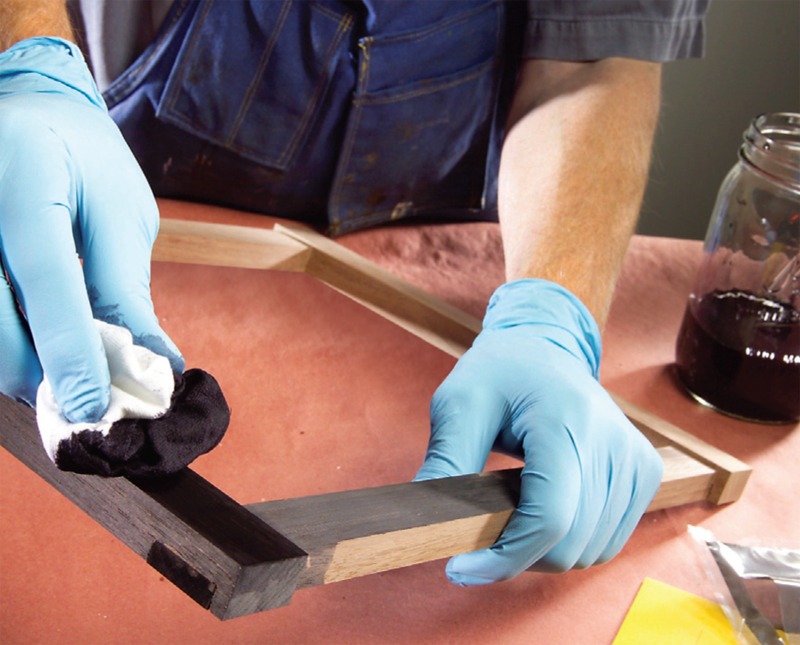
5. Ebonize with black dye
The easiest way to make any wood resemble
ebony is with black dye. Unlike pigment, which is
the colorant used in paint, dye has transparent
properties. You can make wood as black as you
want and still see the figure of the wood through
the dye. I prefer to use walnut when ebonizing
because its grain is similar to that of real ebony.
Dyes come in many forms. I prefer to use powdered
water-soluble dyes because they offer more
time to wipe off the excess. If the wood doesn’t
become black enough with one coat, make a more
intense color or apply one or more extra coats.
Allow the dye to dry between coats.
Source
Tools for Working Wood, toolsforworkingwood.com, 800-426-4613, Lockwood water-based
ebony black dye, 1 oz., #LW-WMIS.327.
|
|
|
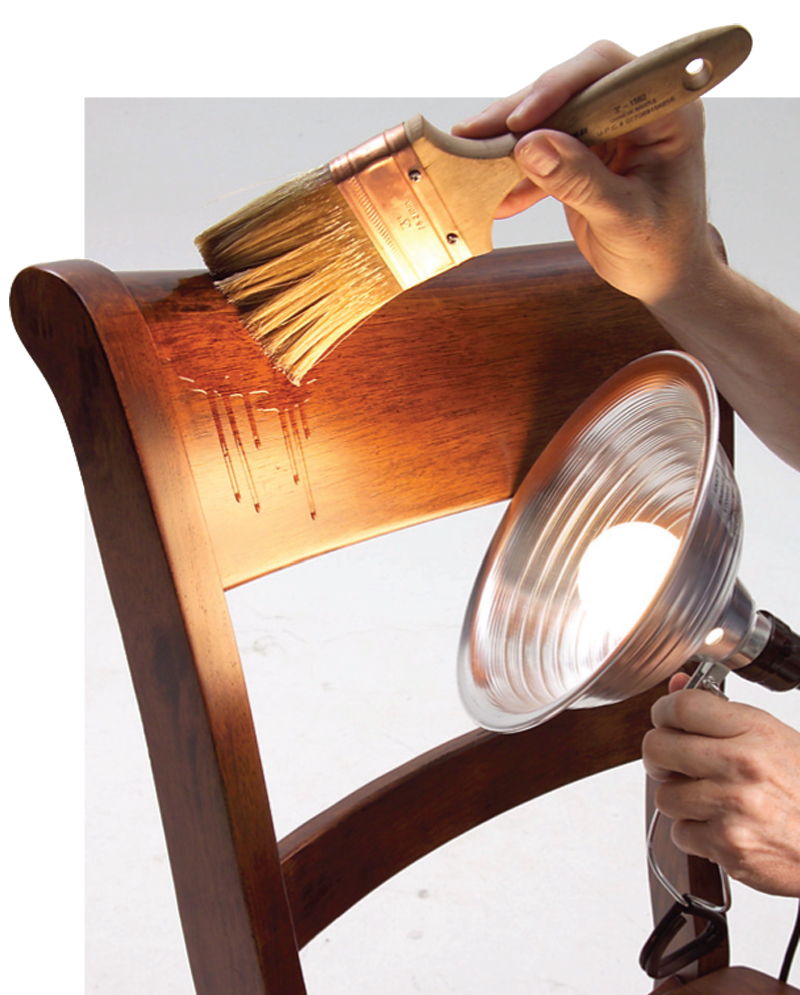
6. Reveal flaws in reflected light
Something is bound
to go wrong when you
brush or spray. You may
get runs, drips, spills,
skips, orange peel—you
know the list. The trick
is to spot these problems
in time to correct
them. Reflected light is
the answer.
As you finish, move your head so you can see the surface
in a reflection of an overhead light, a window, a handheld
light or a light on a stand. The reflection’s shiny surface
will show you the exact condition of the finish.
|
|
|
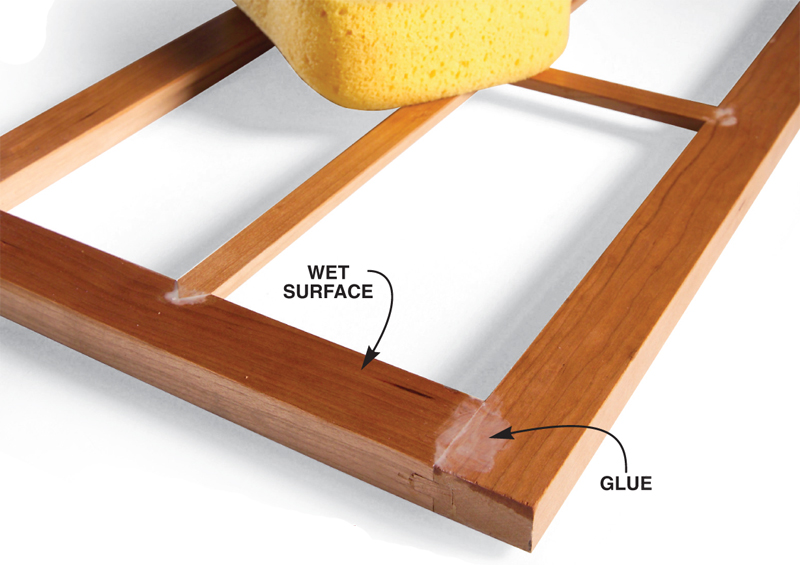
7. Find dried glue
Dried glue causes spotting when you apply a stain or finish.
Most glue dries clear, though, so how can you tell where
it is? Water or mineral spirits reveal all.
Before a final sanding, wet the entire surface with water
or, if you have adequate ventilation, with mineral spirits. This
will make the wood darker, but glue drips, spills and fingerprints
will be easily identifiable because they’ll appear as a
light color. How does this work? Glue seals the wood’s surface.
Water or mineral spirits won’t penetrate the glue spots,
so those spots won’t become as dark as the rest of the wood.
Water will soften dried glue, making it easier to remove
with a card scraper or a chisel. You can also wash off glue by
scrubbing with a rag and hot water. When you’ve removed
the glue, sand with the highest grit of sandpaper you used
on the rest of the project.
|
|
|
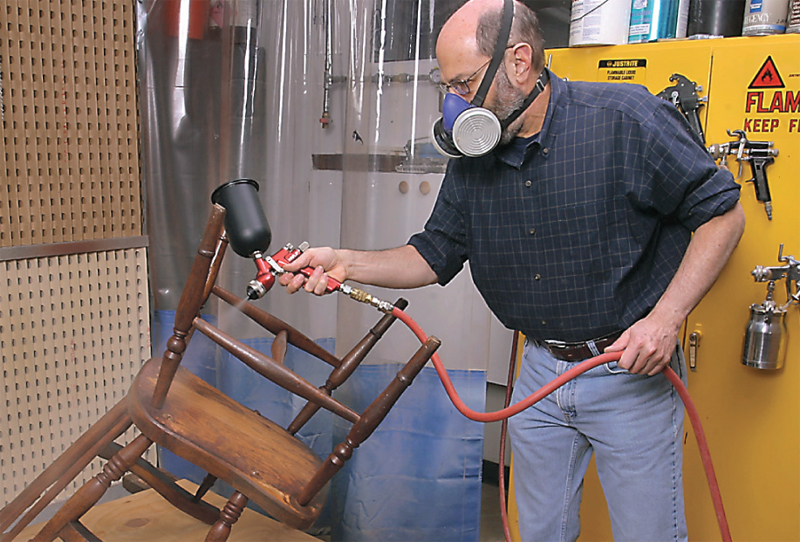
8. Spray unseen parts first
Spray the less seen and less touched parts of
your project first. Spray the most important surfaces
last. This way, overspray will land on parts where it
really won’t matter.
Overspray is the mist that bounces off an object
or sometimes misses the object altogether. The
mist floats in the air and eventually lands somewhere,
often back on the project itself. Overspray
makes surfaces it lands on feel rough.
Here’s how to proceed on a table or chair. Spray a
table’s legs and rails before its top. Turn a chair upside
down and spray the insides of the legs and insides
and bottom sides of the stretchers. Stand the chair
upright and spray the legs’ outsides and the stretchers’
tops and outsides. Finish by spraying the backside
of the chair back, the arms and finally the front
side of the back and the seat.
|
|
|
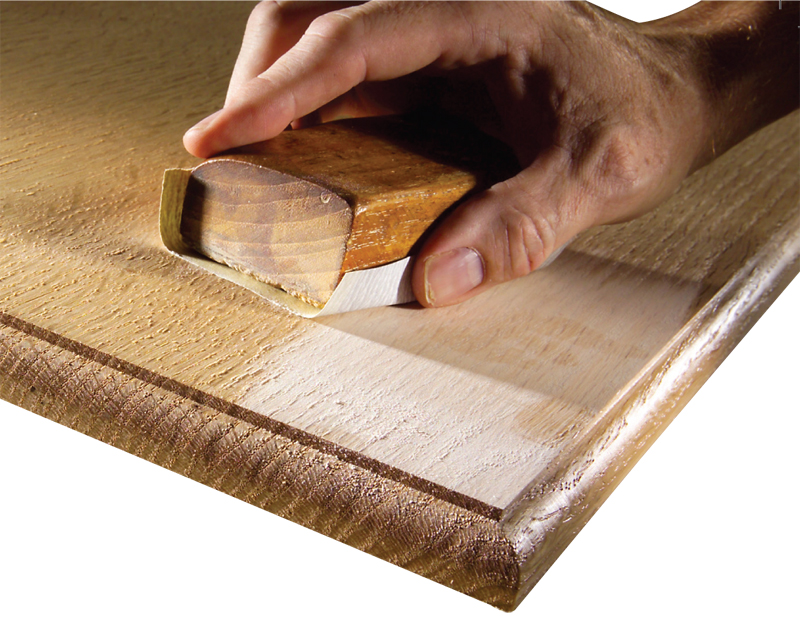
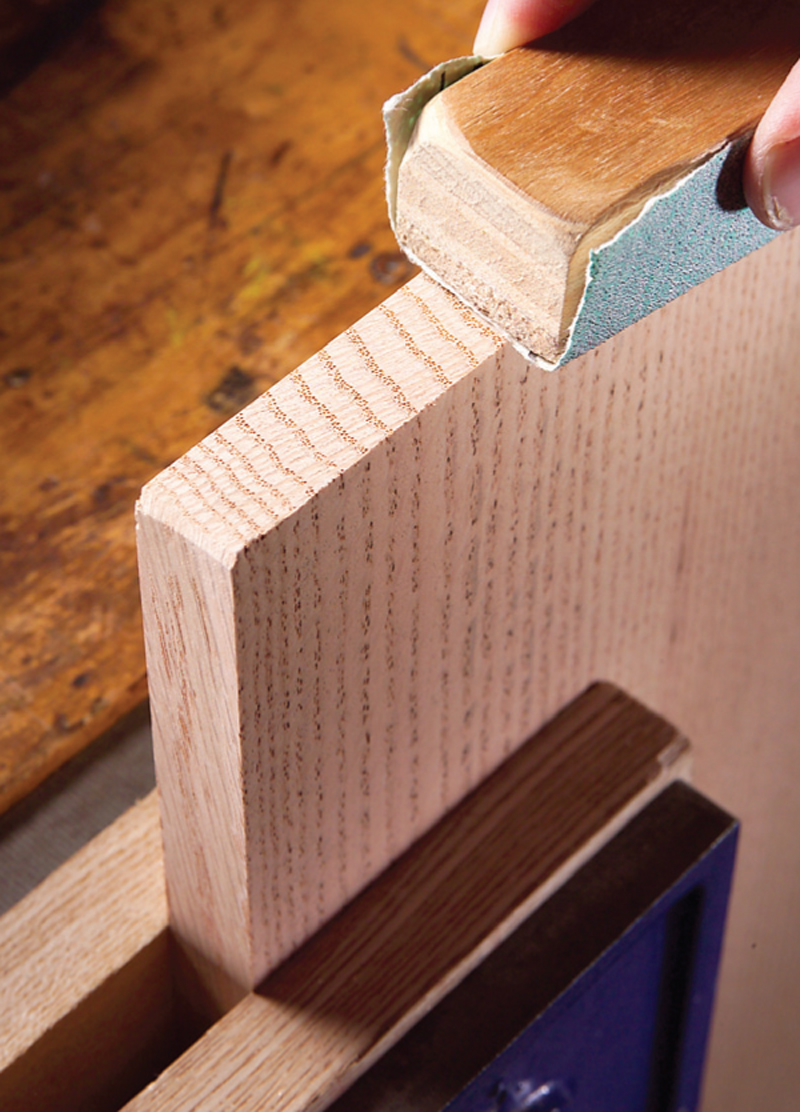
9. Sand more on end grain
End grain can turn very dark
when stained. More often
than not, the problem is that
the end grain is still somewhat
rough from sawing. The
same sanding procedure that
you used on the rest of your
project is often inadequate to
prepare end grain for staining.
To remove saw marks,
begin sanding end grain with
a coarser paper than you are
using on the side grain. An
80-grit sandpaper is usually
coarse enough. When you have made the end grain
smooth with this grit, work up through the grits just
as you do with side grain, finishing with the same grit
you used to finish-sand the side grain.
You can make sanding any end grain easier by sealing
it with thinned glue or finish before you begin sanding.
Thin a white or yellow glue with about three parts
water. Thin any finish by about half with the appropriate
solvent. Both methods stiffen the fibers, making them
easier to cut off with the sandpaper.
|
|
|
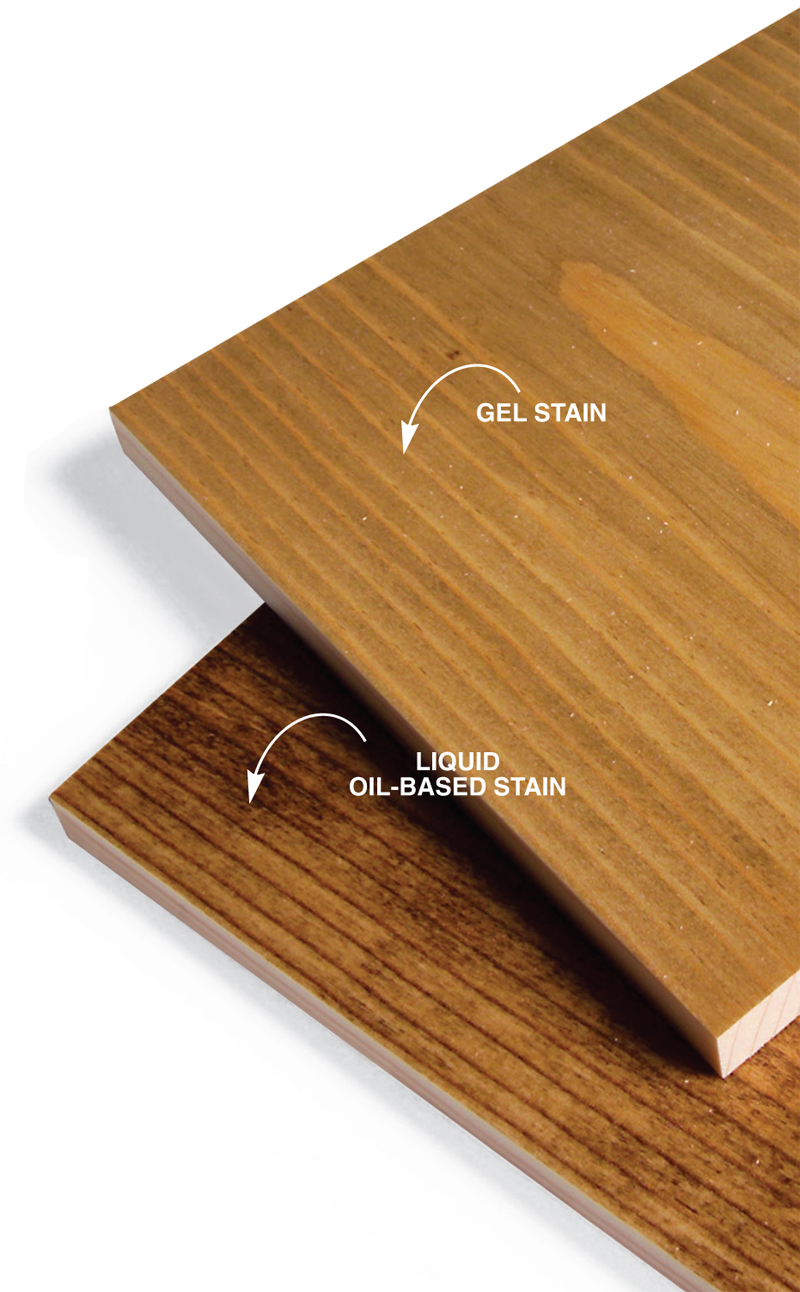
10. Reduce blotching in pine
Staining pine can be a risky business. Some
stains cause pine to look blotchy with irregular
light and dark areas. Wood conditioners
are widely used to reduce
blotching prior to staining.
For pine, though, using
gel stain is far easier,
more effective
and more
predictable
than applying
wood conditioner
for achieving the
intensity of color
you desire.
In my
experience,
gel stain is
not as effective
at reducing
blotching on hardwoods,
such as cherry,
birch, maple or poplar. For
these woods, use a wood conditioner
before staining.
|
|

|
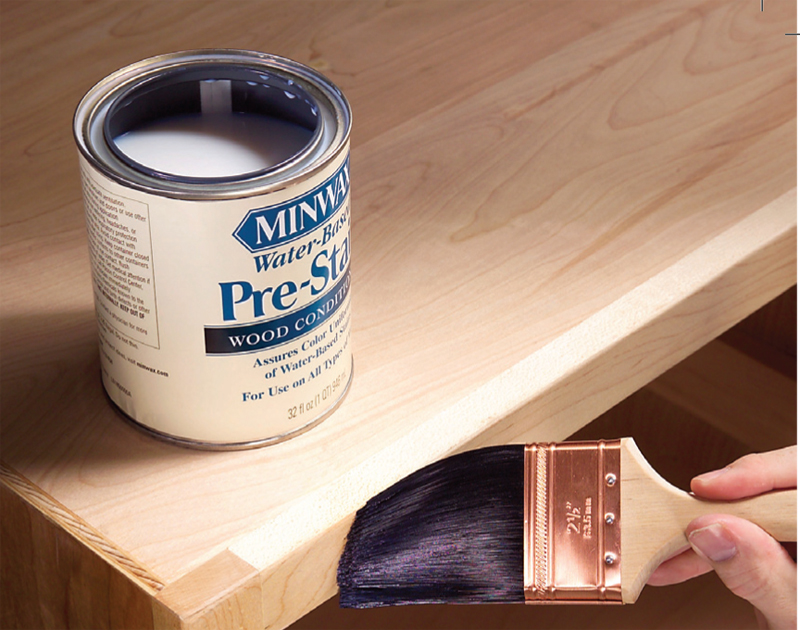
11. Let wood conditioner dry thoroughly
Wood conditioners eliminate blotching much better when they’re allowed
to dry thoroughly. I believe the drying times recommended by manufacturers
should be lengthened.
The directions for most solvent-based wood conditioners instruct you to
stain within 2 hours of application. These conditioners are actually a varnish,
which takes at least 6 to 8 hours to dry in a warm room. It’s better to wait
overnight before you apply stain.
Most cans of water-based wood conditioners say you can stain 30 minutes
after applying the conditioner. I think you should wait at least 2 hours.
|
|
|
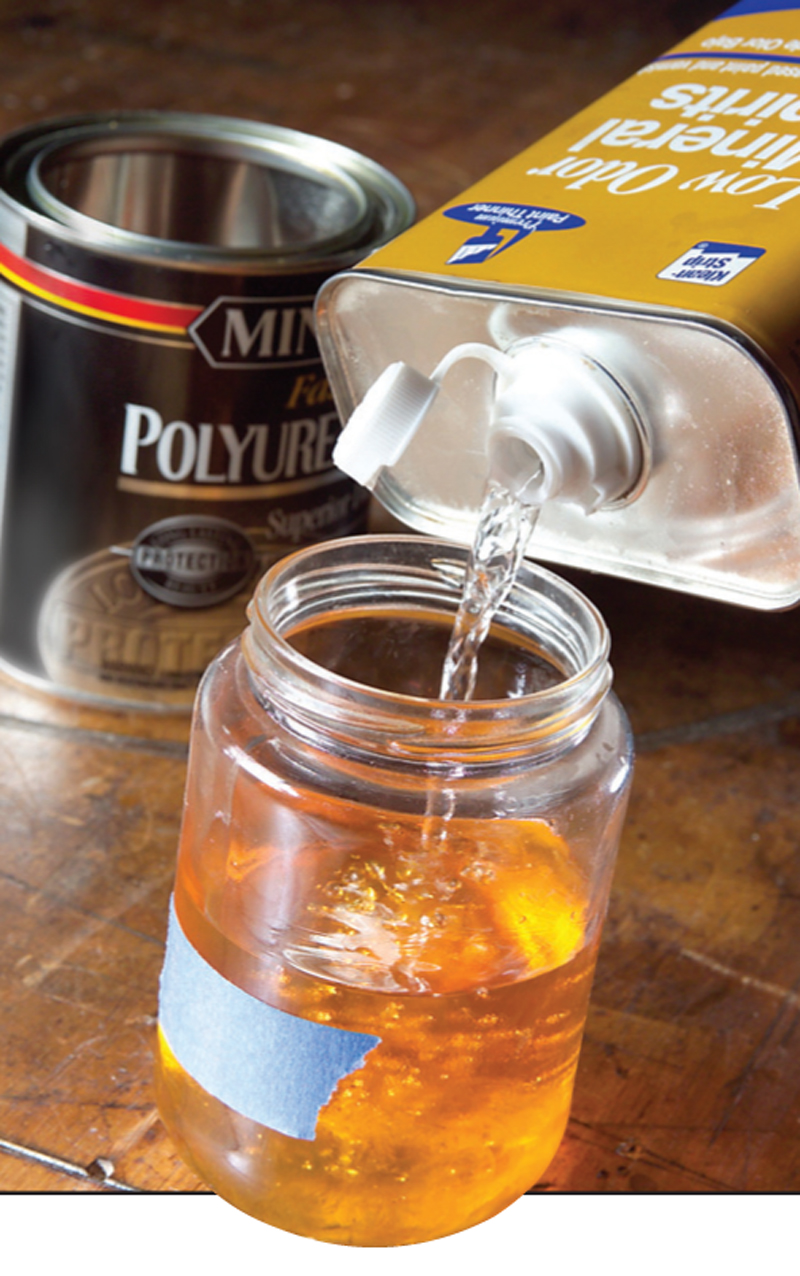
12. Thin the finish for better leveling
Thinning a finish reduces brush marks and orange peel, which are two common problems
when you’re brushing or spraying. If the finish is thin enough, you can entirely eliminate
these defects.
Use the appropriate thinner to thin the finish. Begin by thinning about 10 percent. Thin
more, if needed, to achieve better leveling. For water-based finishes, it’s best to use the
manufacturer’s “flow additive” to thin the finish. Adding a little water may help somewhat,
but if you add too much, the finish will bead on the surface.
All finishes can be thinned. Sometimes instructions say not to thin a finish, but this is
done to comply with EPA volatile organic compound (VOC) laws so less solvent evaporates
into the atmosphere. No harm is done to the finish if it is thinned. Thinning does
make a finish more likely to run on a vertical surface and to build at a slower rate, however.
You may have to apply more coats than usual.
|
|
|
Product Recommendations
Here are some supplies and tools we find essential in our everyday work around the shop. We may receive a commission from sales referred by our links; however, we have carefully selected these products for their usefulness and quality.