We may receive a commission when you use our affiliate links. However, this does not impact our recommendations.
Get the best yield from the least-expensive wood.

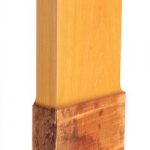
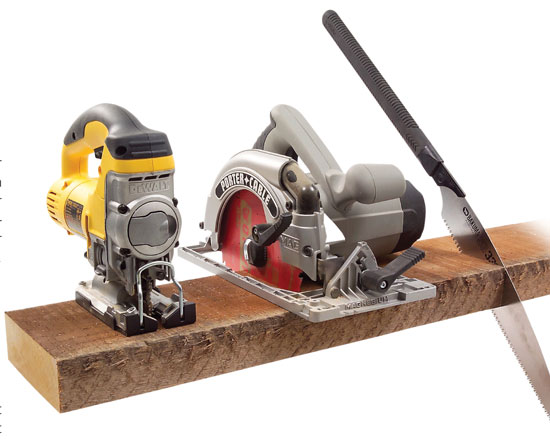
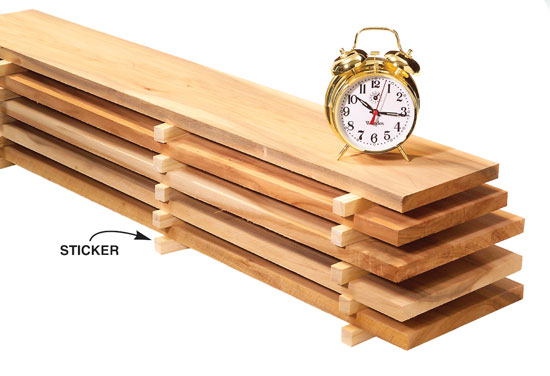
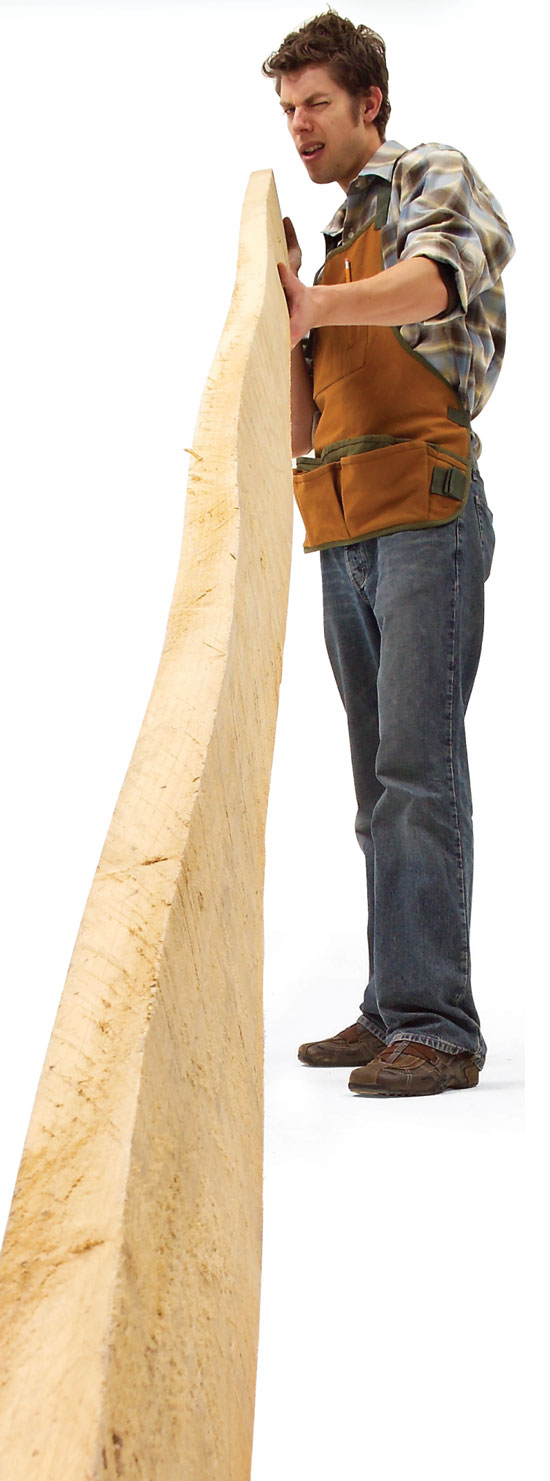
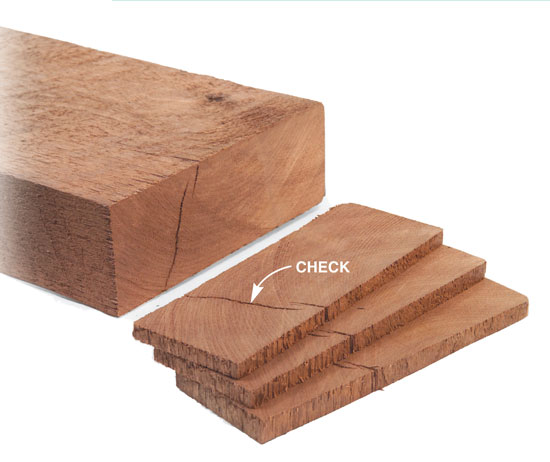
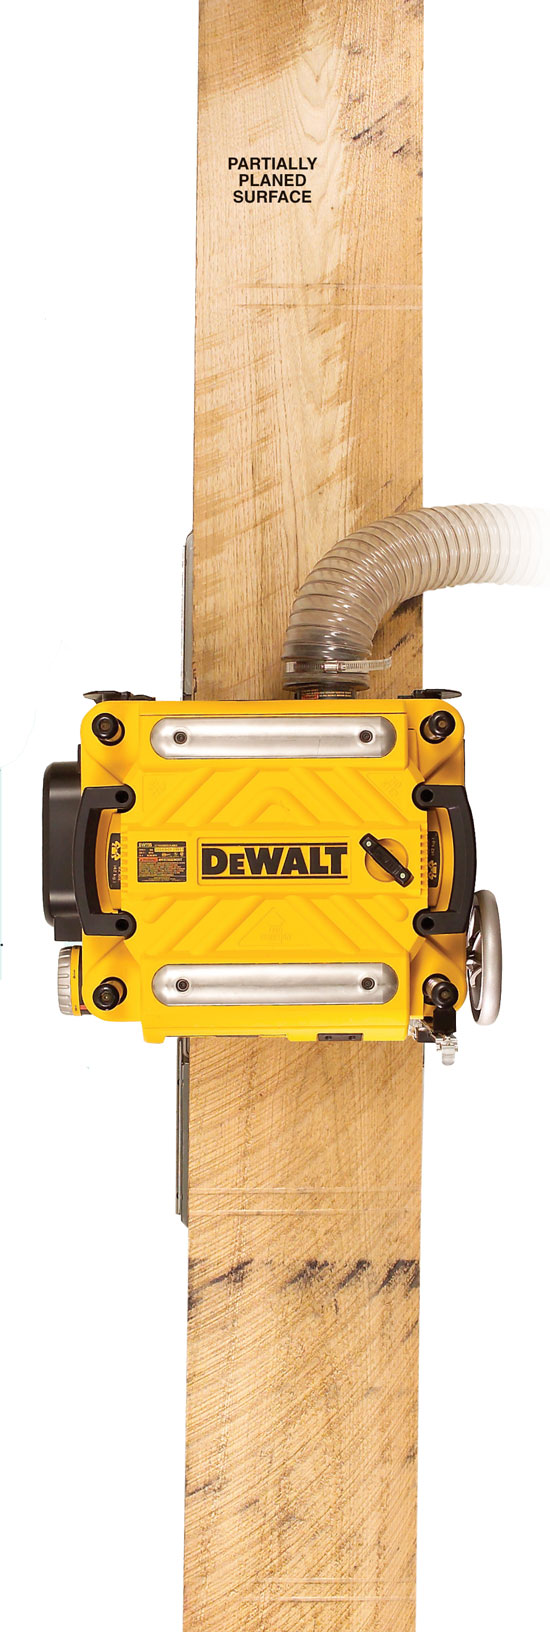
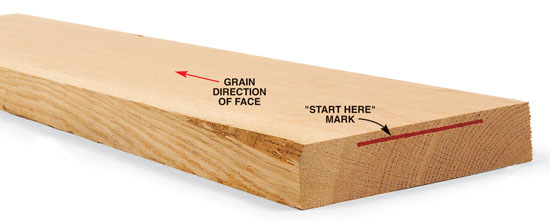
Cut Big Boards into Small PiecesYou might think the best strategy for milling rough lumber is to flatten as large a piece as possible, then cut it into smaller parts. Not true. It’s better to cut a big roughsawn board into individual pieces, one for each part on your cutting list, more or less, and then start milling. The problem with the big-board strategy is that the smaller pieces you cut from it may not end up flat or straight. Some boards have a lot of internal stress built up inside. When the board is whole, all this stress is in balance. When you rip the board, you release some of that stress. Each half seeks a new balance and a new shape. A flat, straight board ripped down the middle might well make two boards that aren’t flat or straight. It’s hard to predict which boards will react this way, so I assume every board could present this problem. I always cut my individual pieces slightly oversize, adding 1/2 in. of length and 1/4 in. of width. Use the Best Crosscutting ToolsRough lumber can be tricky to crosscut safely. Its faces and edges are rarely flat and straight, so using a chop saw, miter saw or tablesaw is not the best practice, because the blade could bind, stall or kick back. My favorite tools for crosscutting are a jigsaw, a circular saw and a Japanese tree-trimming saw (see Source, below). This very coarse handsaw cuts incredibly fast, even through thick hardwoods. I generally crosscut before doing any jointing or planing. Crosscutting reduces a big board to more manageable sizes, so I can mill more accurately. I put my board on four sawhorses for plenty of support and mark it with chalk, a felt-tip pen or a carpenter’s soft-leaded pencil. Let Boards RestTo make pieces dead flat, I usually let boards rest before taking them down to final thickness. I plane boards 1/8 in. thicker than needed and stack them with stickers or stand them on edge so air can circulate around every side. After the boards rest for a day or so, I check each board for flatness by laying it on my tablesaw or jointer. It’s not unusual to find that some previously flat boards have cupped or twisted a bit. I rejoint one side of these boards, then plane every board to final thickness. Avoid Badly Twisted BoardsSome twisted boards are hopeless causes. You might just as well turn them into firewood. Sure, you can joint them flat, but a few rogue boards have a nasty habit of slowly continuing to twist, no matter how many times they’re jointed or how short or narrow you cut them. If your rough lumber is only slightly twisted, however, don’t get too alarmed. It doesn’t mean you’ve got junk wood. It may remain perfectly stable after it’s milled. Just cut it as short and narrow as you can in the rough state—but not less than 12 in. long—to get the maximum yield in thickness. Cut Off the Ends FirstCracks in a board’s ends are a common flaw. Cut them off before you do any other crosscutting, so you know the true, usable length of your board. These cracks are also called end checks. Large checks are easy to see and remove, but you may also find hairline cracks that aren’t easily visible on the board’s surface or end. I cut off the end of a board a little bit at a time, like slicing a loaf of bread. The slices are about 1/4 in. thick. As each slice falls off, I inspect it for checks. If the slice breaks very easily across the grain, it probably contains a hairline check. Follow the GrainI’m sure you’ve seen boards like the one above whose grain runs off the edge in a bad way. If that board becomes part of a project, its slanting grain stands out like a sore thumb. I prefer to eliminate this problem at the outset, while the board is still rough. When I’ve got this type of board, and enough width to spare, I cut a new edge that more truly follows the grain. I prefer to use the bandsaw for ripping rough lumber, but a circular saw works well, too. If you’re ripping long boards on the bandsaw, use a tall support on the outfeed side to steady the workpiece. Skip Plane To Reveal GrainWhat exactly is under that rough surface? Sometimes it’s quite difficult to read the grain, spot defects or figure out where the sapwood lies in a roughsawn board—all the things you’d want to know before cutting it up. If I’m stumped, I run the whole board through the planer. I plane just enough to remove the high spots and skip over the low spots. I don’t need to see an entirely planed surface to mark up the board for cutting into smaller pieces. When the board comes out of the planer, I don’t assume it’s flat. I’ll cut it up into smaller pieces and joint one face of every piece before running it through the planer again. You lose a bit of the board’s maximum thickness when you skip plane, but that’s usually no big deal. Mark Grain DirectionAs I’m jointing the faces of rough boards, I always mark grain direction on the board’s end. This mark tells me to “start the cut here” on the nearest face. This line won’t be removed by jointing or planing. When I stack boards for planing, I look at the marks and orient them all the same way: face down and pointing away from the planer (see “5 Steps to Foursquare Boards,” page 86). Even if the boards fall onto the floor as they come out of the machine, I can easily reassemble them with the grain all going the same way, and get right back to work. |
|

This story originally appeared in American Woodworker May 2006, issue #121.
Source information may have changed since the original publication date.
Sources
Lee Valley, (800) 267-8735, www.leevalley.com Long-blade Japanese pruning saw, #EC710, $33.

Here are some supplies and tools we find essential in our everyday work around the shop. We may receive a commission from sales referred by our links; however, we have carefully selected these products for their usefulness and quality.