We may receive a commission when you use our affiliate links. However, this does not impact our recommendations.
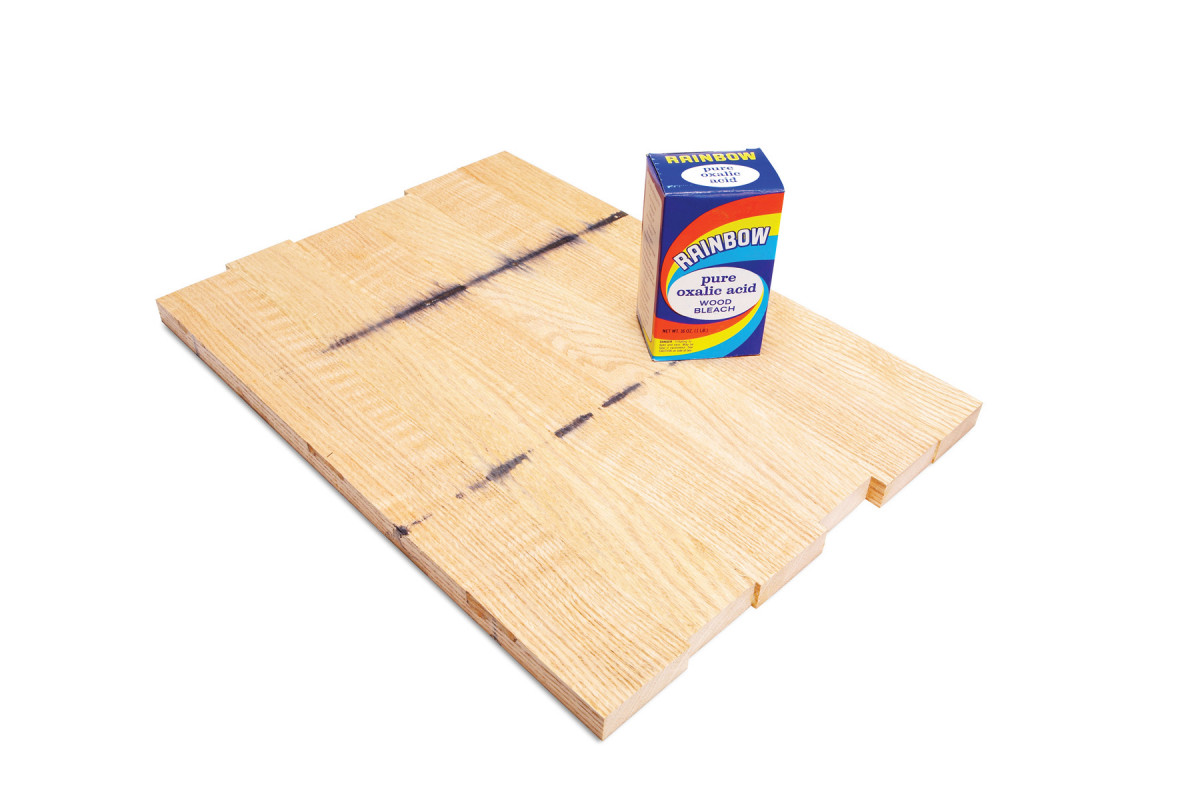
Oxalic acid makes black marks disappear.
Nasty stains can occur during glue-up if steel clamp beams are left in contact with wood dampened by glue squeeze-out or by scrubbing off the glue. Removing them requires sanding or scraping… or brushing on a solution of oxalic acid (two heaping tablespoons of crystals dissolved in a pint of hot water). Let the surface dry. Apply a second coat, if necessary. When the stains are completely gone, flood the surface with water to remove any acid that remains. Oxalic acid is available at paint and hardware stores or online. The crystals are poisonous, so wear gloves when you handle the solution and a mask afterwards, when you sand.
Curved cauls apply even pressure across wide joints.
 Make cauls from boards cut to the width of the joint. Plane or sand a 1/16-in. crown on each caul. Clamping both ends automatically puts pressure on the middle of the joint.
Masking tape clamps edgebanding.
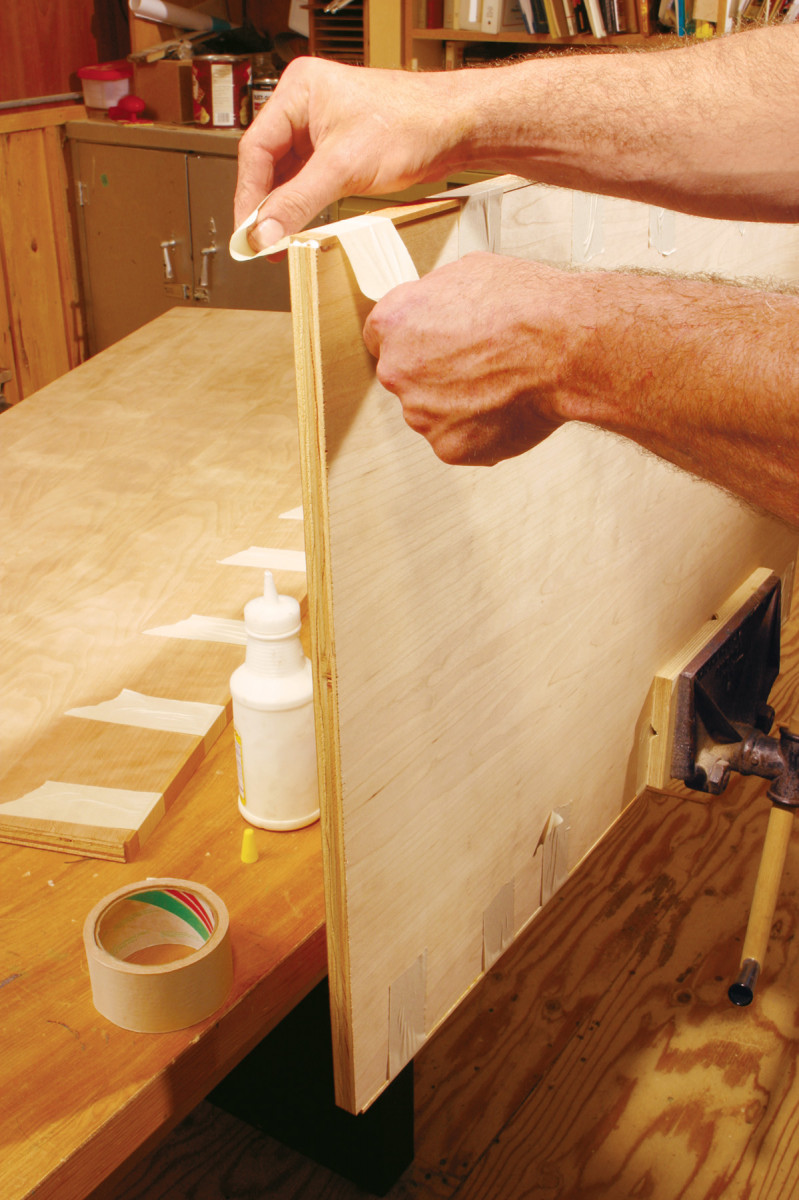
Thin stock doesn’t require lots of clamping pressure. Simply draw the tape across the edgeband and firmly down both sides of the panel.
Box beams guarantee flat glue ups.
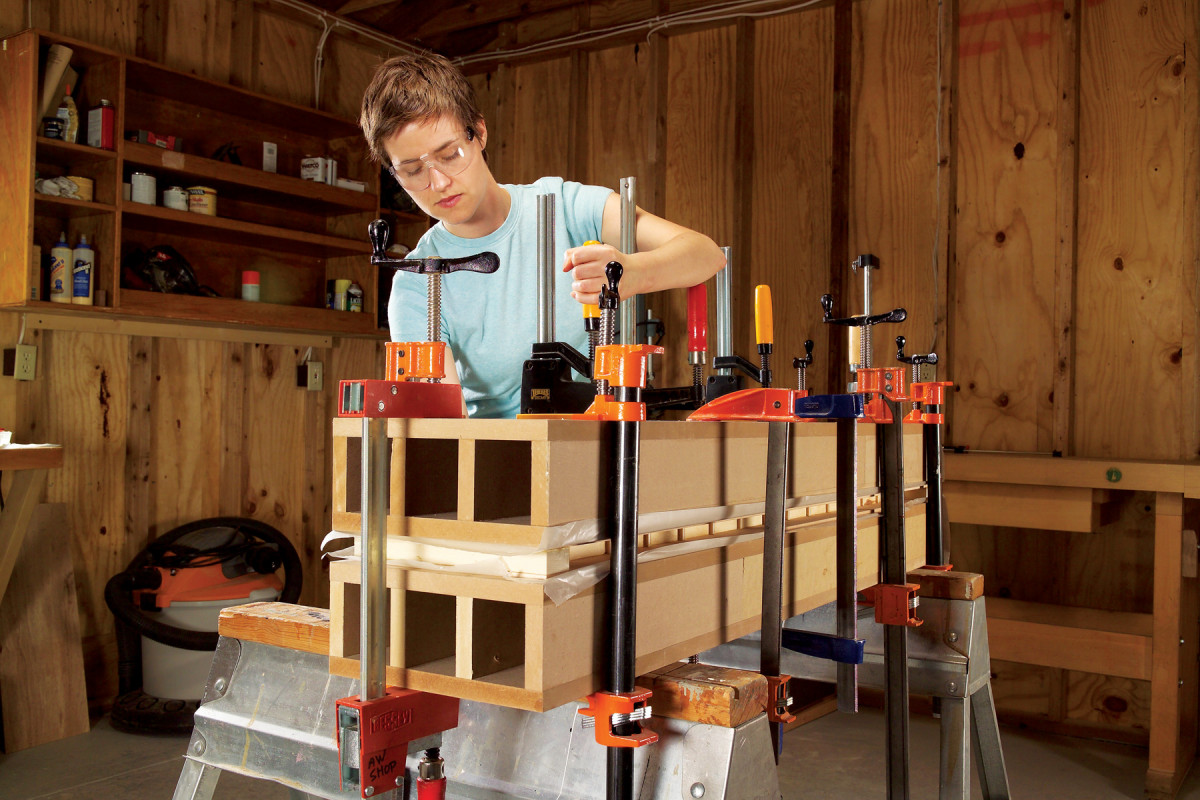 Made by gluing rails of equal width between two faces, box beams work like thick cauls to evenly distribute clamp pressure. They’re great for gluing veneered panels or torsion boxes.
Angle the clamps to square a frame.
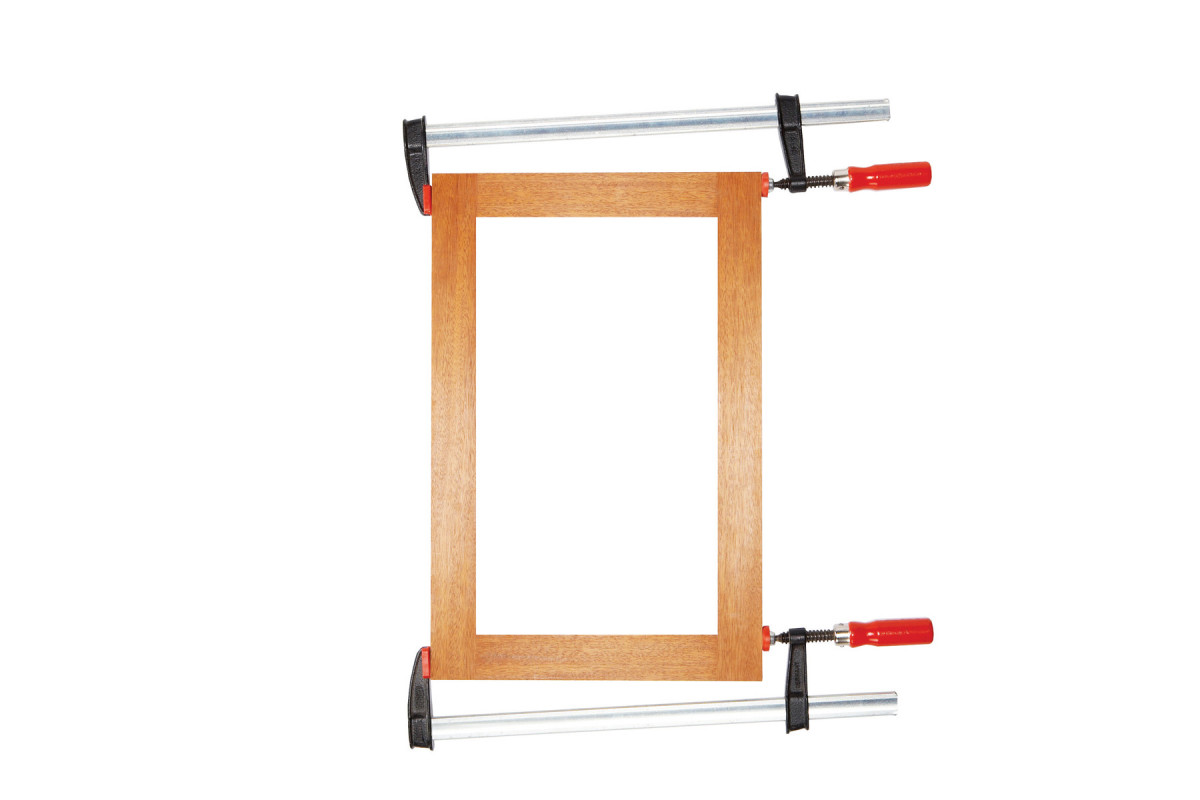 Experts recommend “checking diagonal measurements” to make sure your glued-up frames are square. So what do you do when the measurements don’t match? Reposition the clamps to apply uneven pressure across the joints. Watch the change in dimension of one diagonal as you tighten the angled clamps. The goal is to split the difference between the two original measurements. For example, diagonals off by 1/8-in. require a 1/16-in. change. If the dimensional difference grows when you apply pressure instead of shrinking, the clamps are angled the wrong way.
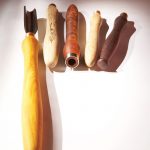
Create clamping shoulders for curved shapes.
Make custom clamping blocks by tracing and cutting the curved profiles. Then mark and cut clamping shoulders parallel to the joints. Be proactive: Self-hanging clamp blocks free both hands for clamping.
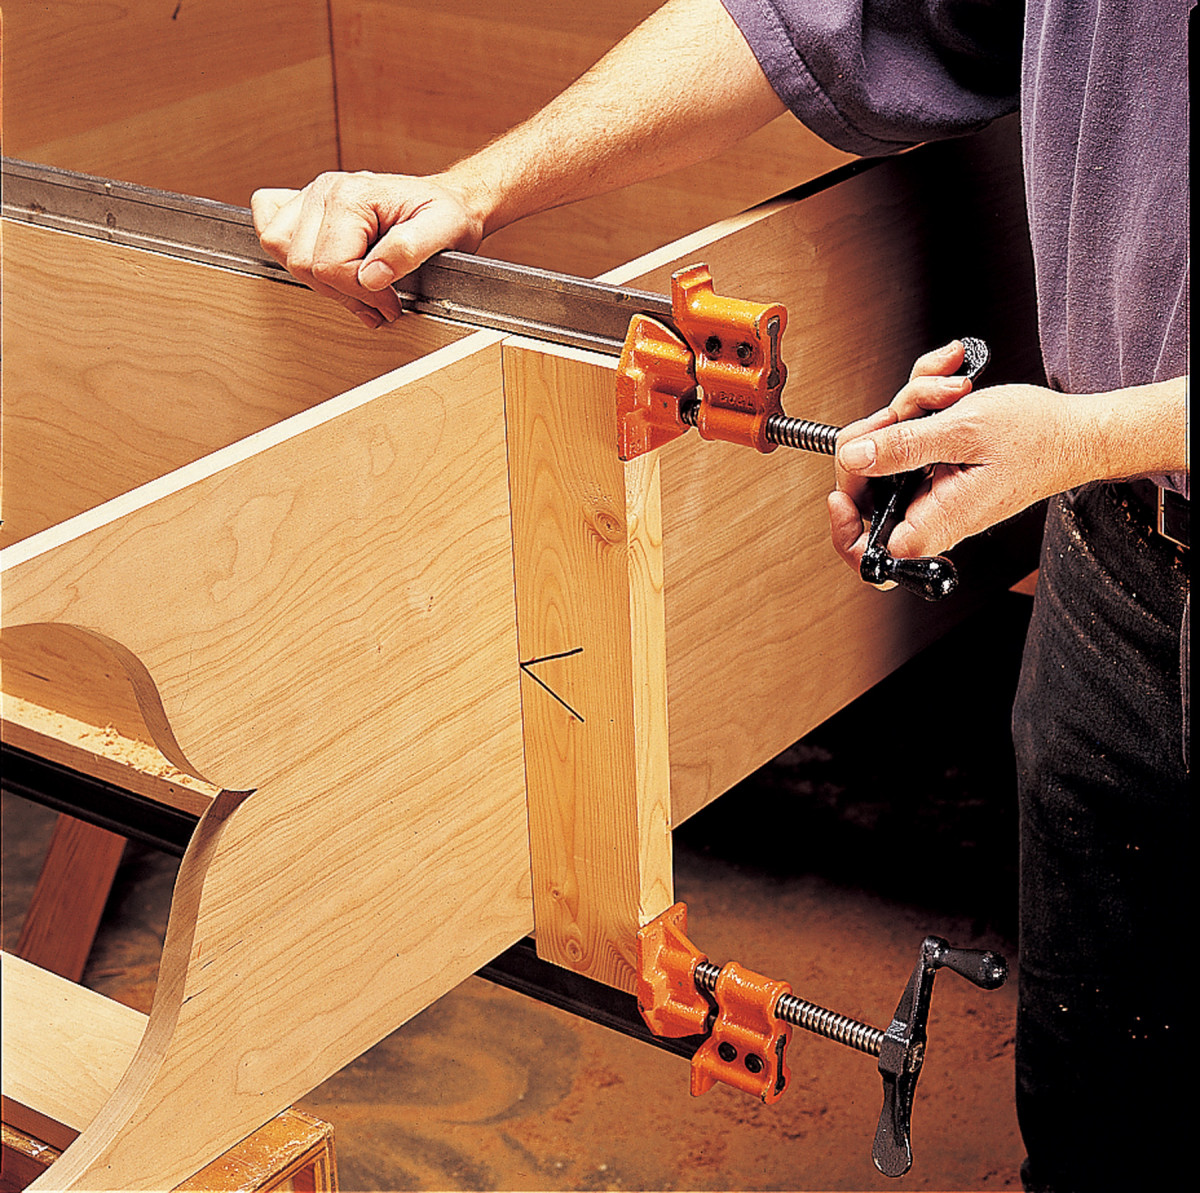
Drive glued-up panels flat.
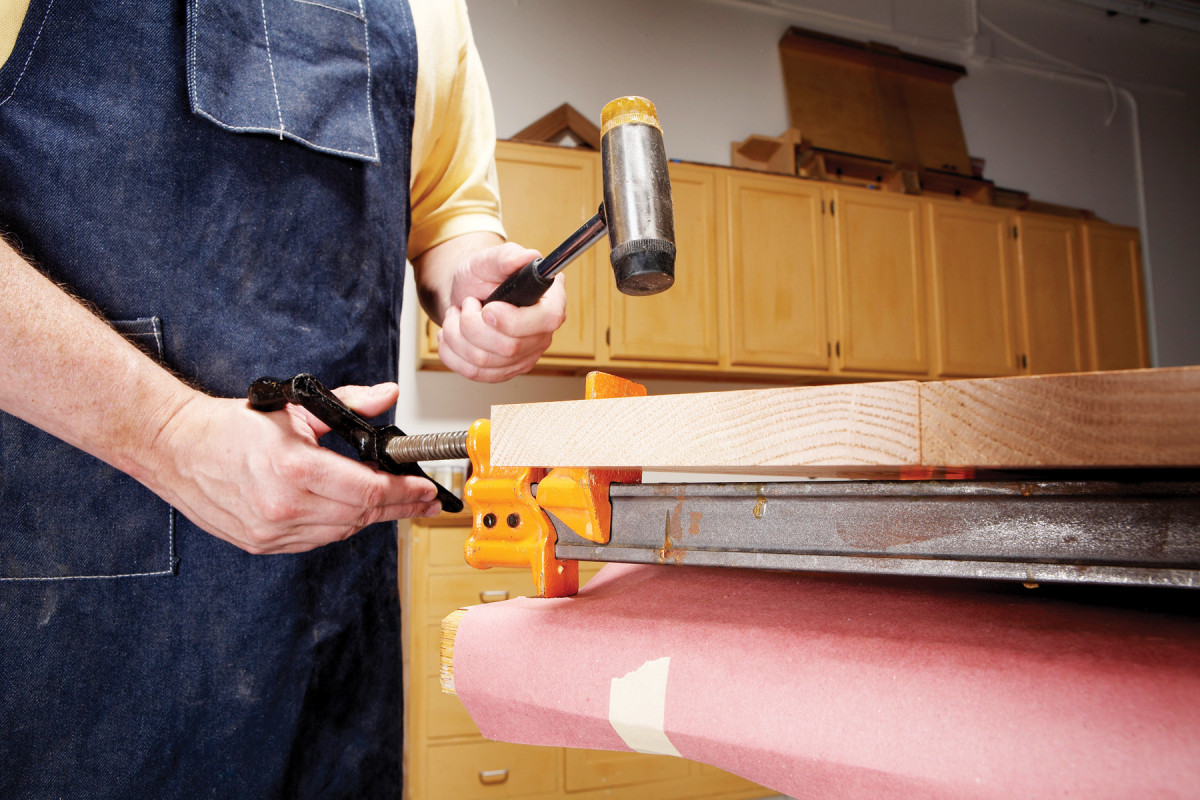 Applying clamp pressure often causes panels to lift off the bar and creep up the clamp head. Cupped or twisted panels are the result. Keep panels flat by rapping them back onto the bar with a dead-blow mallet. Each rap usually reduces the clamp’s pressure, so be prepared to tighten the clamp.
Check edge joints with one centered clamp.
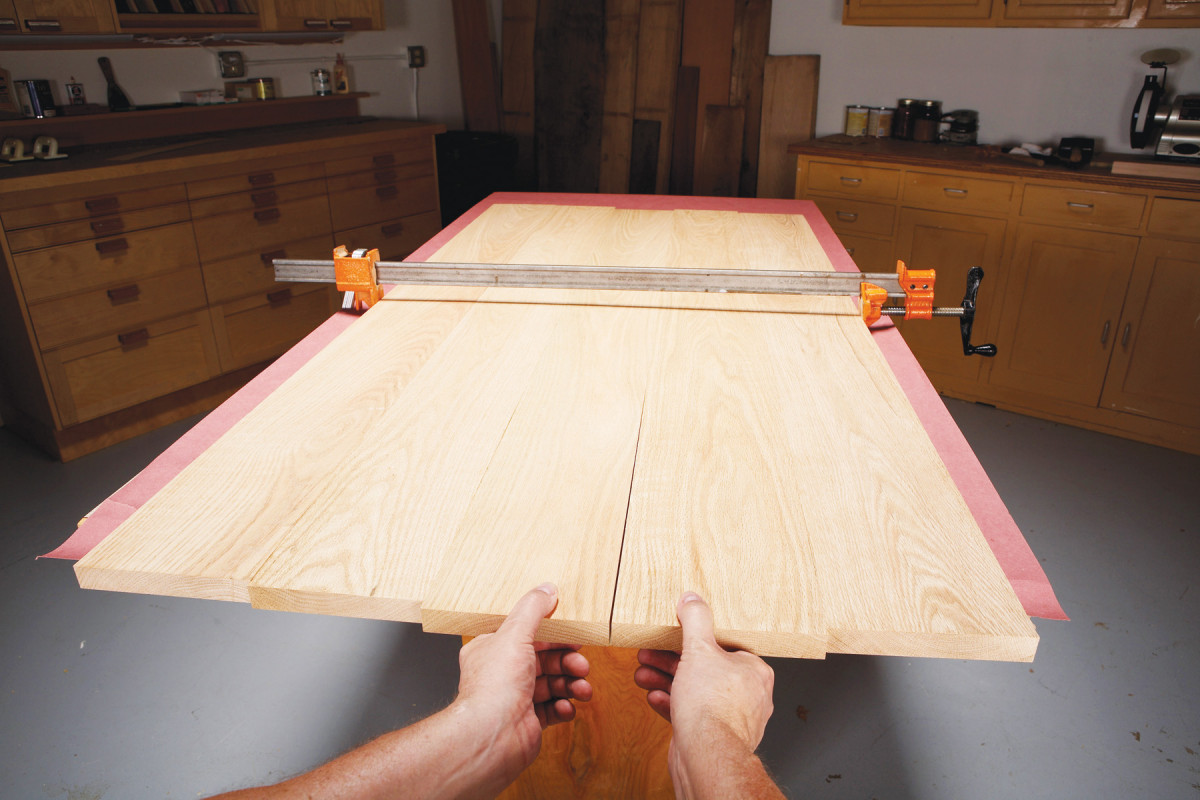 Like dry-fitting a joint before you glue, this technique highlights imperfectly jointed boards that may otherwise be hard to see. Here, one slightly crowned edge causes a noticeable gap. Test all the joints by lifting one board while lowering the other. If the boards move without resistance, the joint is too loose. Re-joint one or both boards and try again.
Tape prevents black marks from clamps.
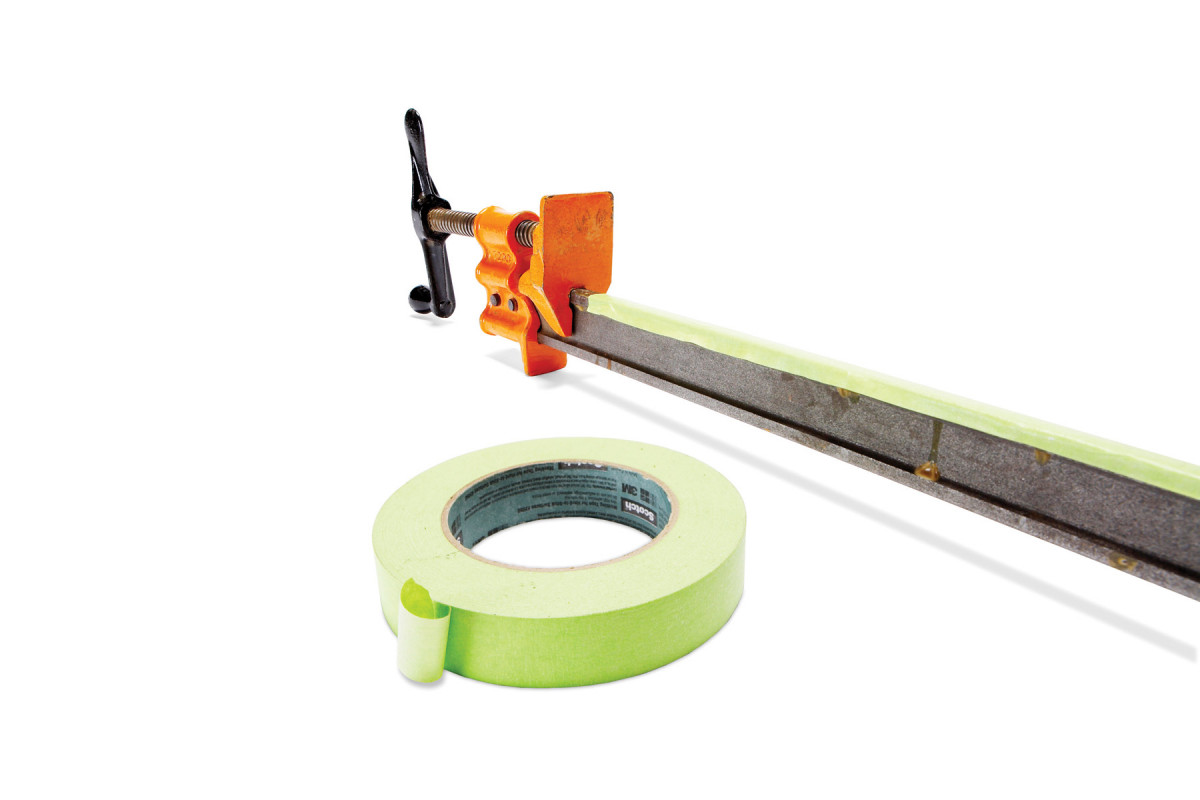 Black stains result when ferrous metal, moisture and wood come together. If your clamps have untreated steel bars or black pipes, make it a habit to cover their surfaces before you glue. The tape insulates the metal from moisture in the glue and damp areas on the wood’s surface.
Miter Joint Clamp.
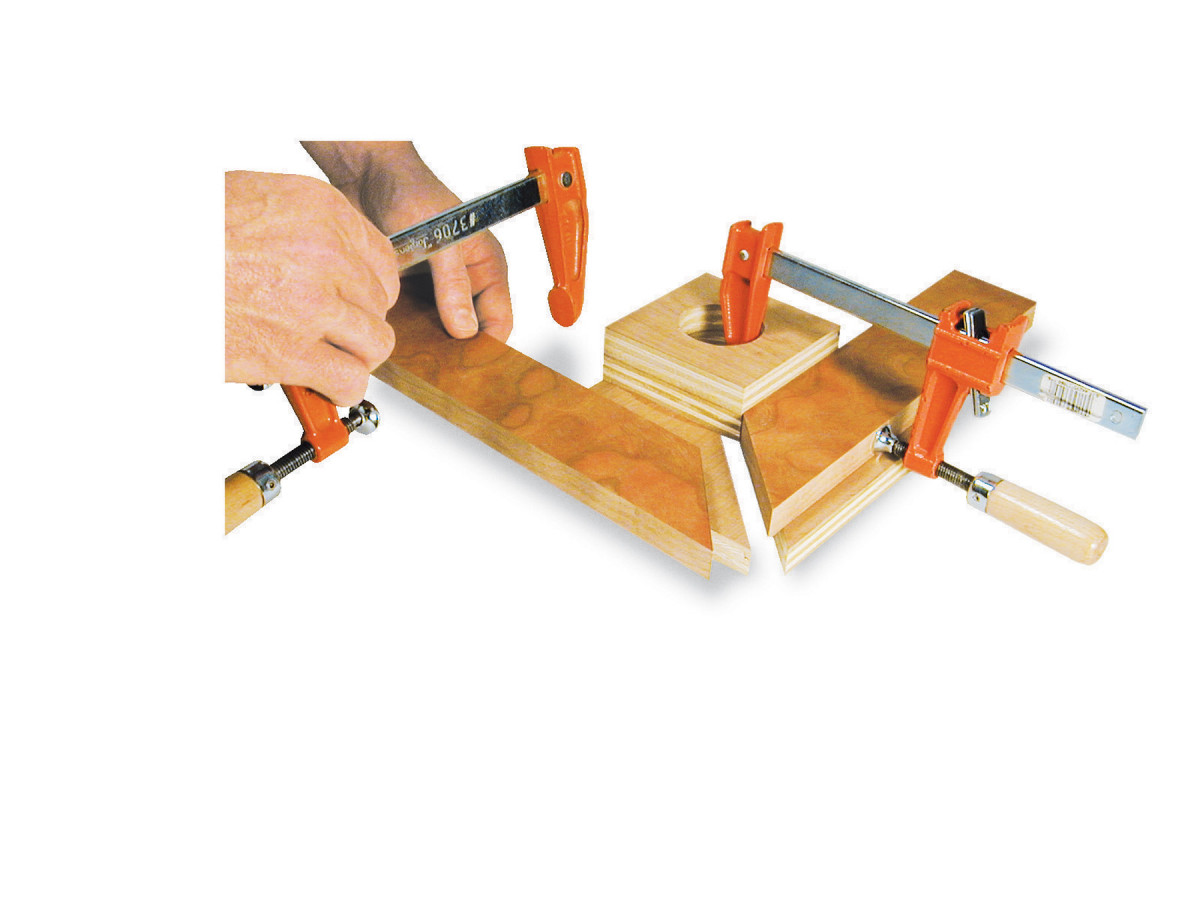 This shop-made jig holds parts square and flat, allows adjusting each piece independently and accommodates glue squeeze-out. Use it to make picture frames with openings 4-in.-square or larger. Make the corner block by gluing together two pieces of 3/4-in. plywood. Its corners must be perfectly square. Drill a 2-in.-dia hole in the middle. Cut a diagonal slot halfway through the 3/4-in. plywood base before gluing on the corner block.
Paper towel pads keep corner joints clean.
 Here’s a trick for managing glue squeeze-out when you clamp dovetails or box joints: Face your clamp pads with paper towels. They absorb glue so it doesn’t soak deeply into the wood. After the glue has dried, the blocks knock off easily, because of the paper. Dampen any paper that remains on the joint. After about a minute it’ll scrub right off.
Make short clamps go long.
 You don’t need super-long clamps to clamp super-long glue-ups. Just gang your regular clamps together.
90-degree brackets simplify complex clamping jobs.
 Clamping together a cabinet with numerous shelves and rails can be a real pain. Shopmade 90-degree brackets allow assembling the cabinet one joint at a time and keep the joints square while you clamp the cabinet together.
Blocks center clamping pressure.
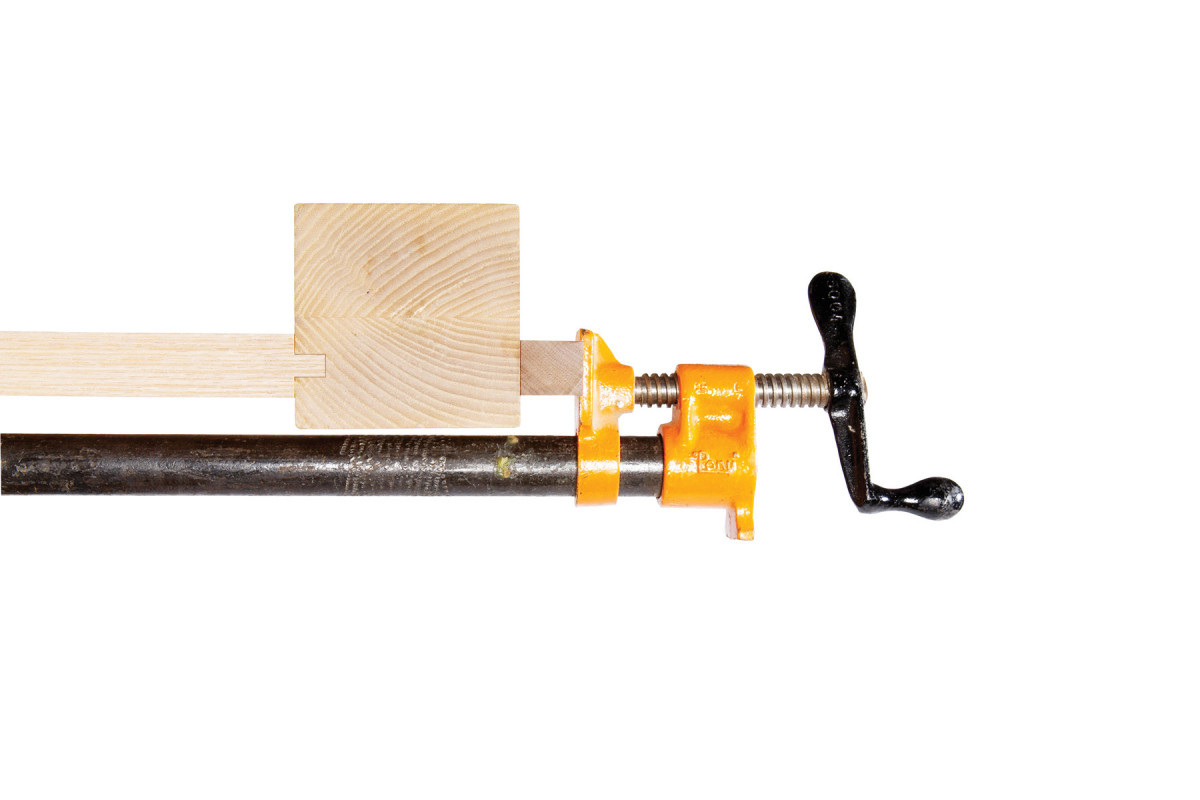 Without a block, uneven clamping pressure could easily draw this table leg joint out of square. As a result, assembling the remaining leg-andapron joints becomes more difficult.
Wide cauls require fewer clamps.
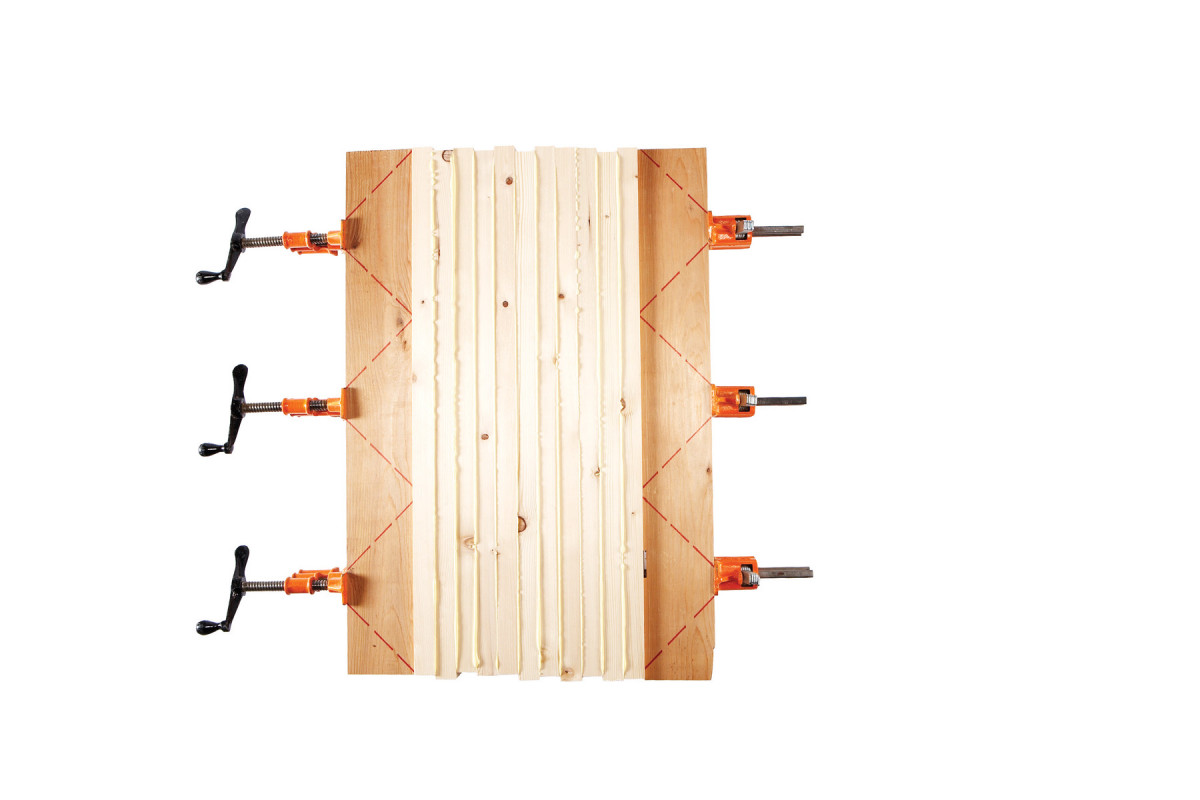 Cauls distribute clamp pressure, which radiates from the jaws up to 45 degrees from center. When you locate the clamps, simply make sure the adjacent pressure lines overlap at the outside joints. The wider the cauls, the fewer the clamps you’ll need. Cauls are especially useful when you glue numerous thin boards—butcherblock tops, for example.
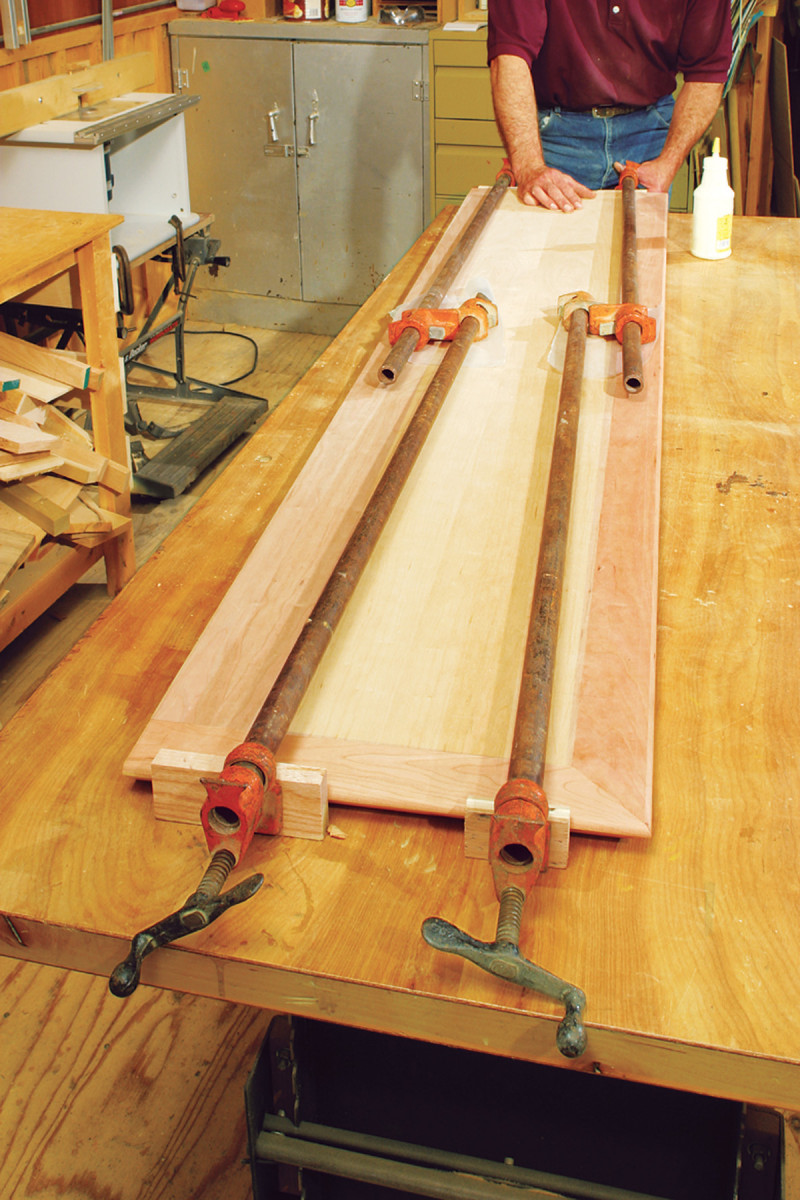
Clamped cauls assure flat panels.
This set-up makes gluing large panels a breeze. The bottom cauls support the panel and center the jaws’ clamping pressure on it. The clamps are easy to position, because the elevated panel doesn’t rest on them. Notches allow clamping the panel between the top and bottom cauls, so the joints stay flush and the panel stays flat when the pipe clamps are tightened.
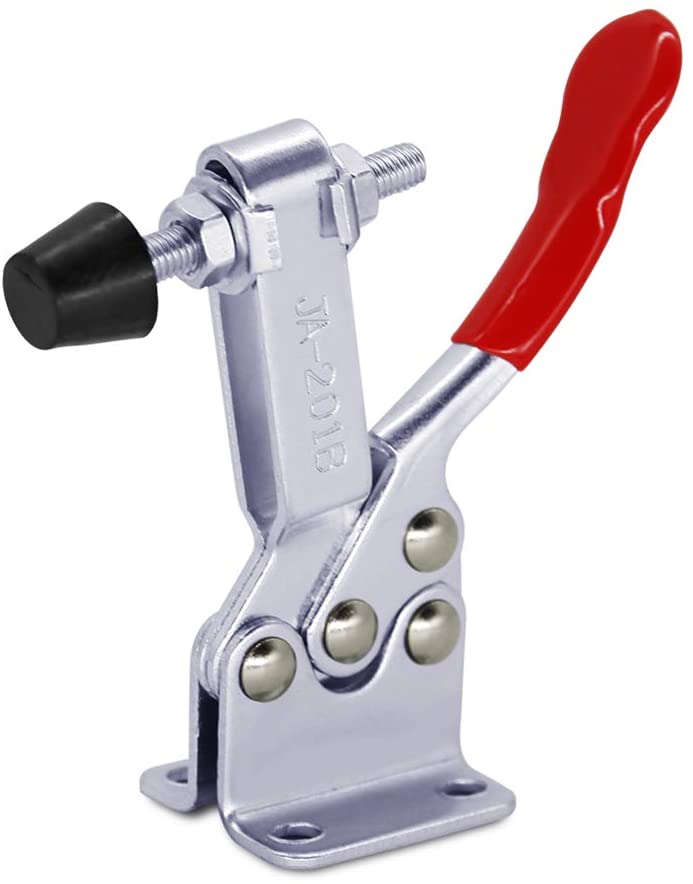
Toggle clamps: Fast and versatile
Available in all shapes and sizes, toggle clamps are invaluable for jigs and fixtures. By firmly holding workpieces during difficult operations, they make woodworking safer and more enjoyable.
Plastic laminate clamps.
When shimmed under cauls clamped on wide cabinet sides, plastic laminate pieces act as deep-reach clamps, providing pressure in the middle of the joint.
Spring clamps keep boards aligned.
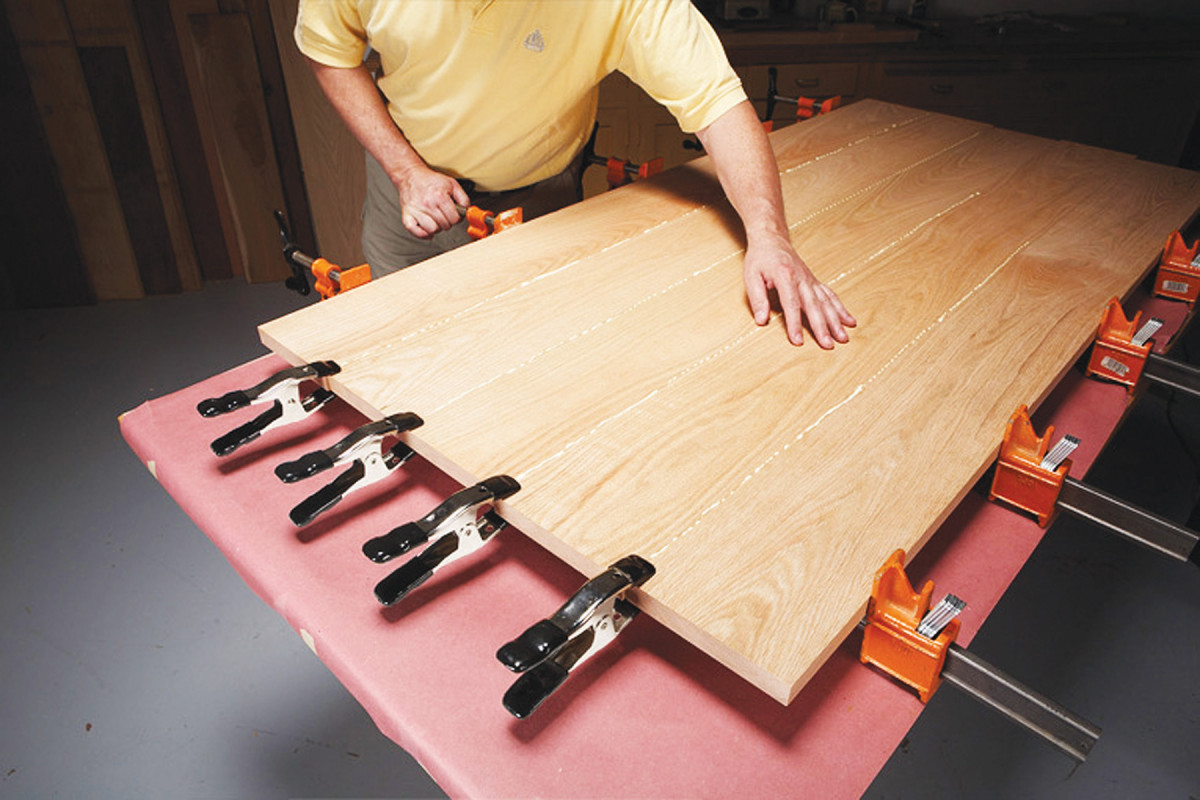 Keeping the joints flush during glue-up can be challenging, because boards can slide every direction when you start applying clamp pressure. Spring clamps help to keep adjacent boards from creeping up or down.
Refrigerator magnets make instant clamp pads.
 They’re readily available, a snap to install and they effectively insulate clamp pressure!
Here are some supplies and tools we find essential in our everyday work around the shop. We may receive a commission from sales referred by our links; however, we have carefully selected these products for their usefulness and quality.