


We may receive a commission when you use our affiliate links. However, this does not impact our recommendations.
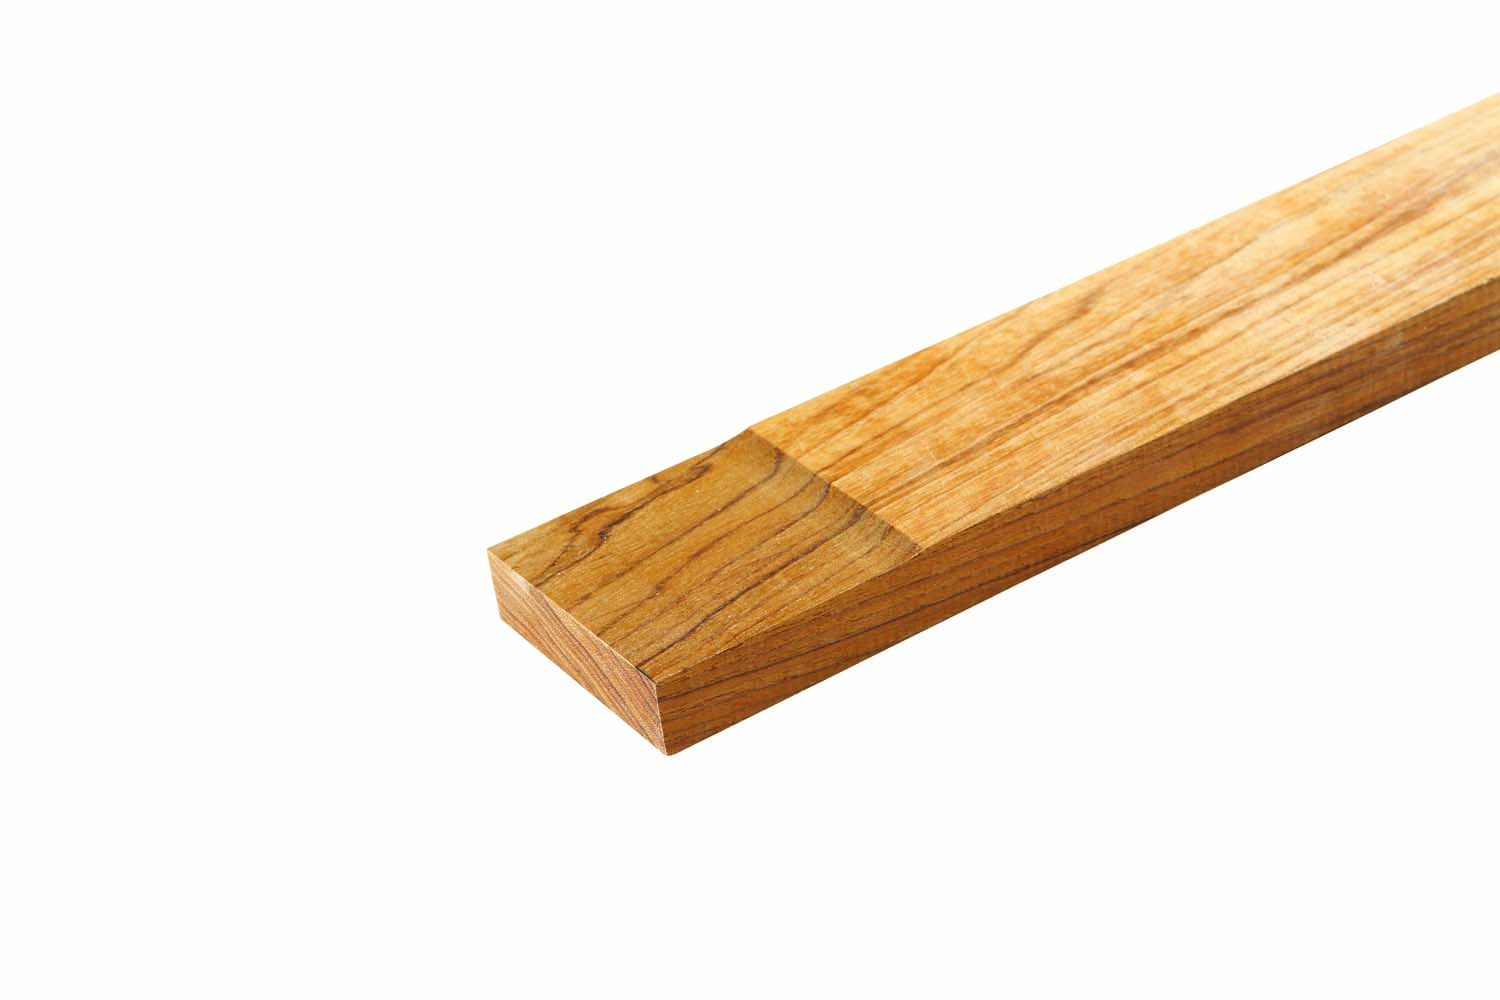
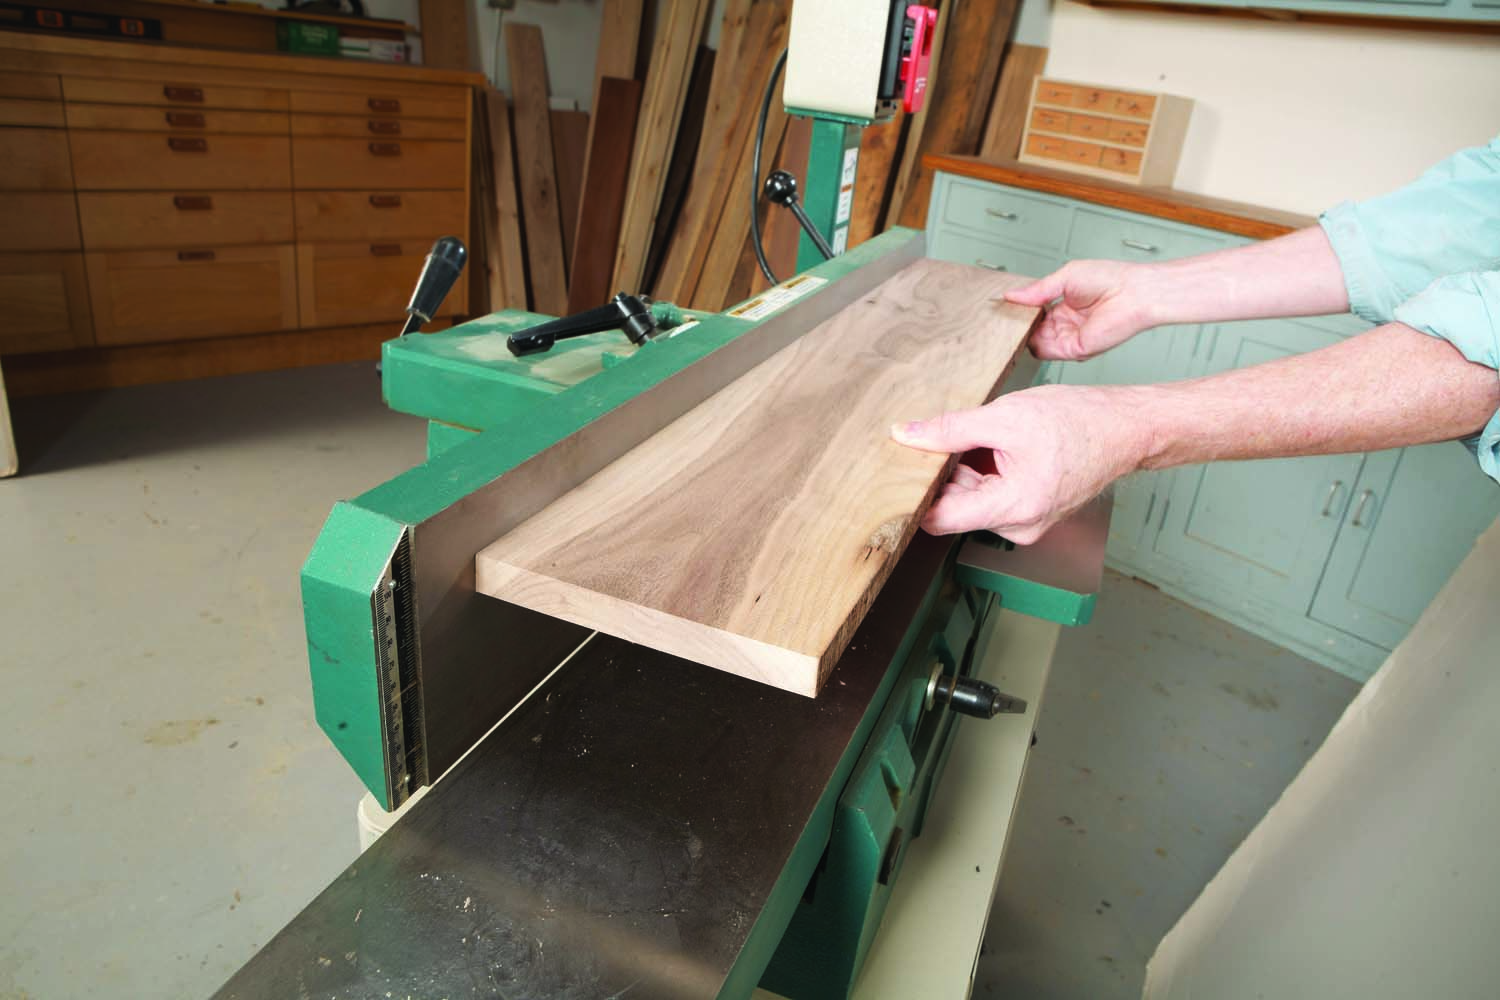
Mark the End Grain
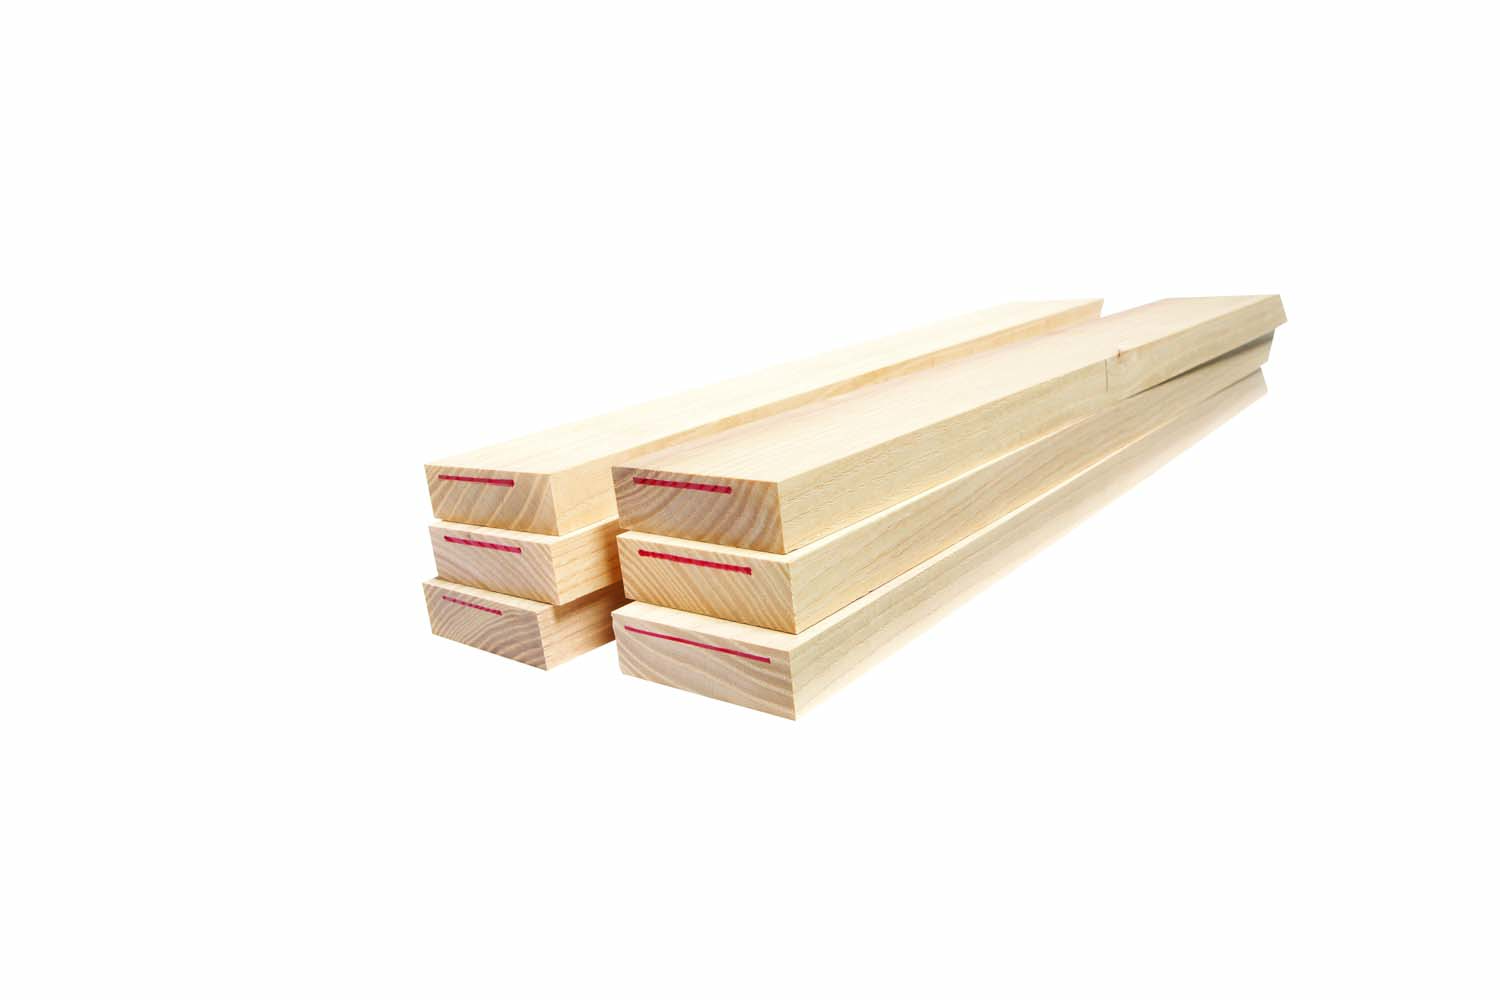
When you’re jointing, mark each board’s grain direction by drawing a line on its end. The line means “Start here.”
A mark on a board’s face or edge can get erased by a planer or jointer, but a mark on its end grain won’t be touched until you trim the piece shorter.
After jointing one face of each board, I mark it and stack it on a cart. Each time I add a board to the stack, I orient its mark the same way. When I wheel the cart over to the planer, the grain direction of each board is pointing the same way. Feeding the machine is easy!
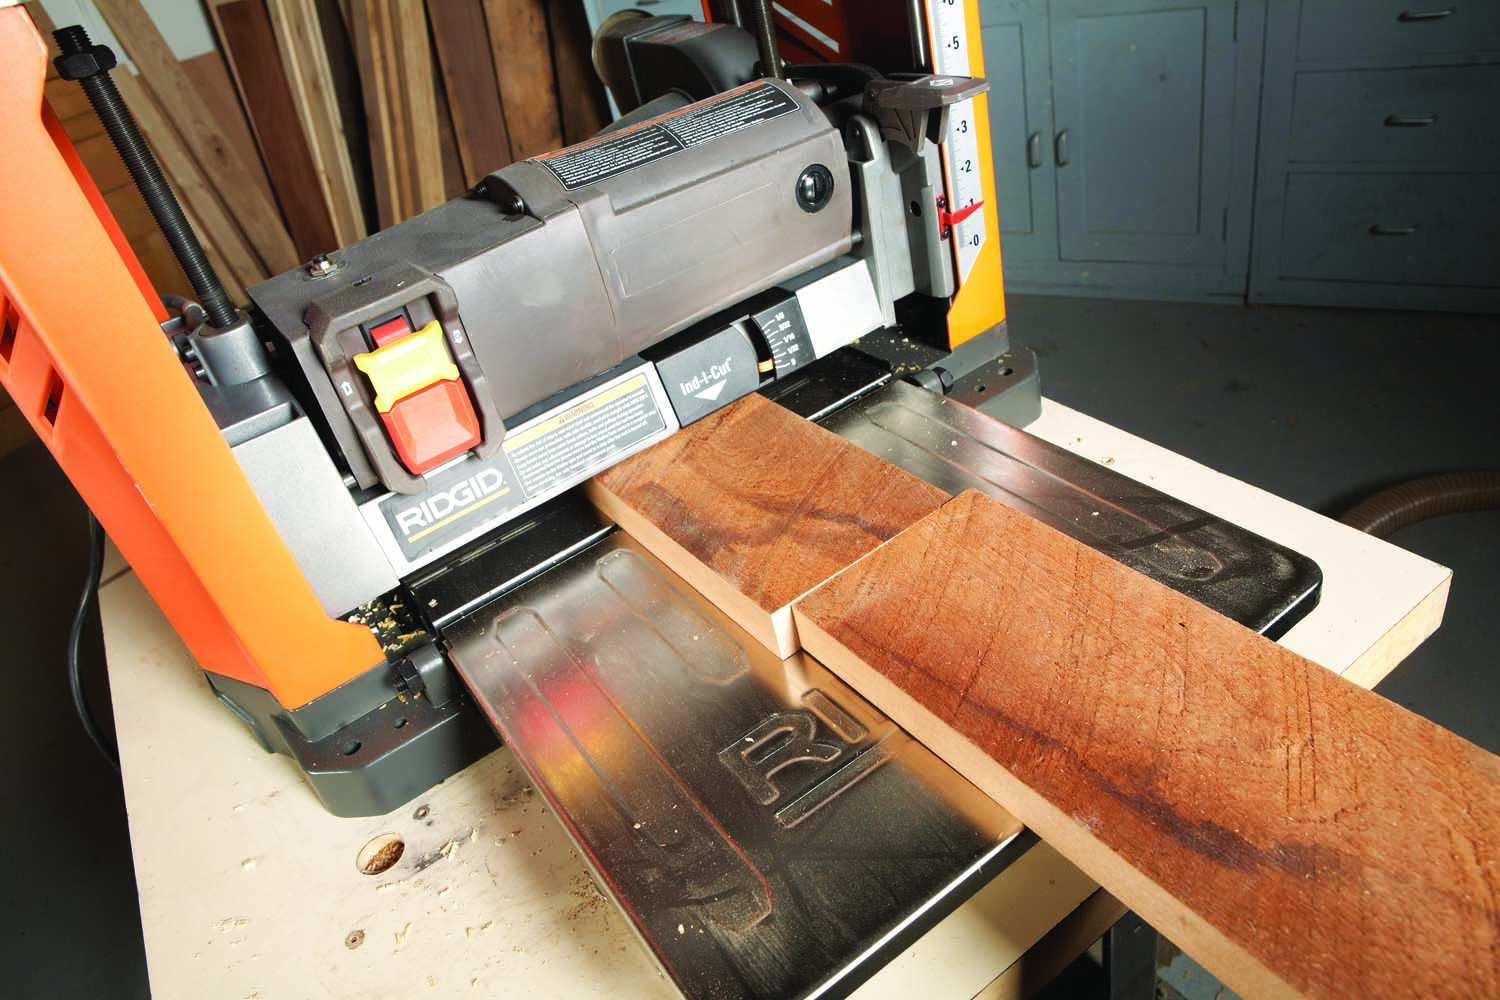
Measuring Thickness
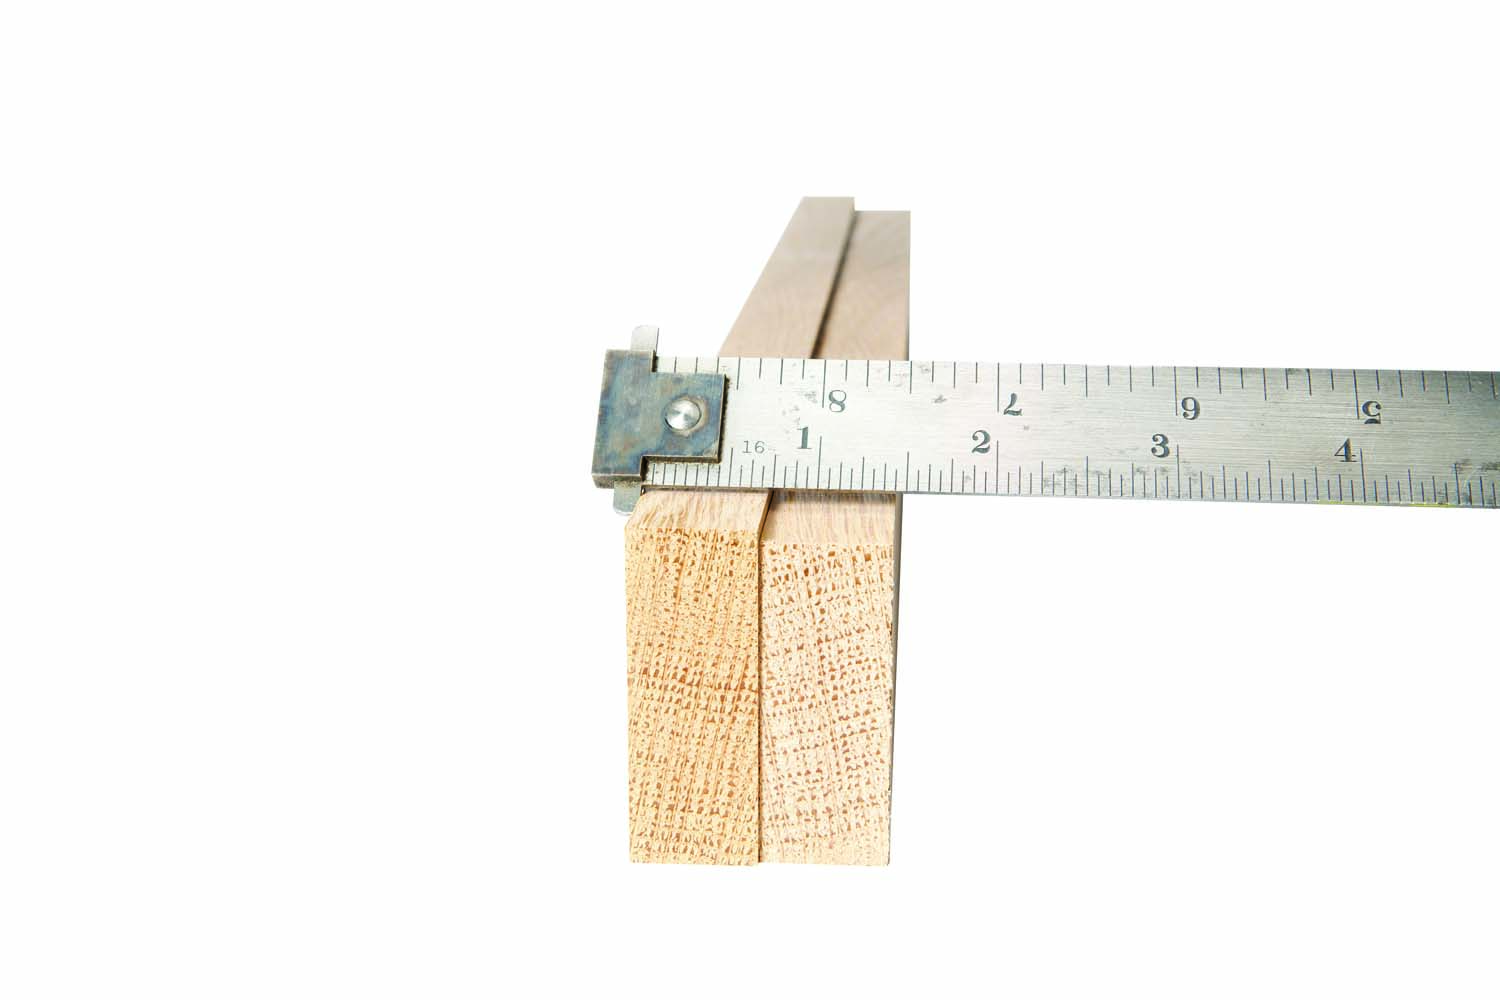
Two boards are better than one when you measure thickness. If one is off by a little bit, two will be off by twice as much—which is easier to read on a ruler.
These boards are the same thickness—a bit less than 3/4″. But how much less, exactly? Put together, they measure 1-7/16″ on the nose. Which means the “bit less” is precisely 1/32″, right?
Stacking four boards together gives you a measurement that’s even more accurate, if you get the math right!
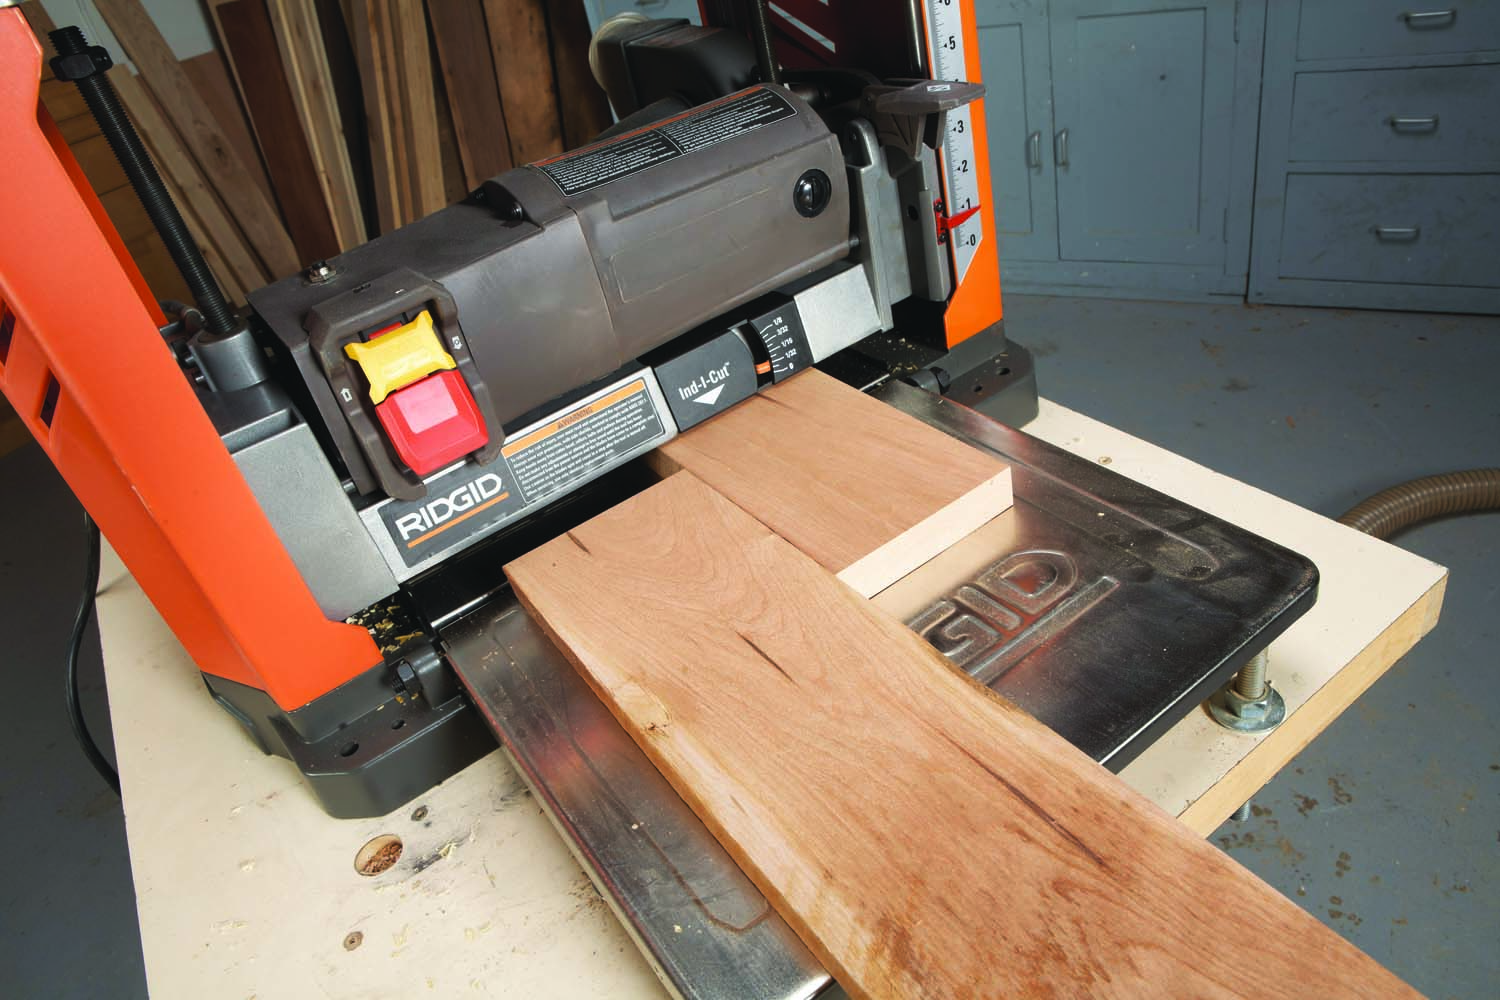
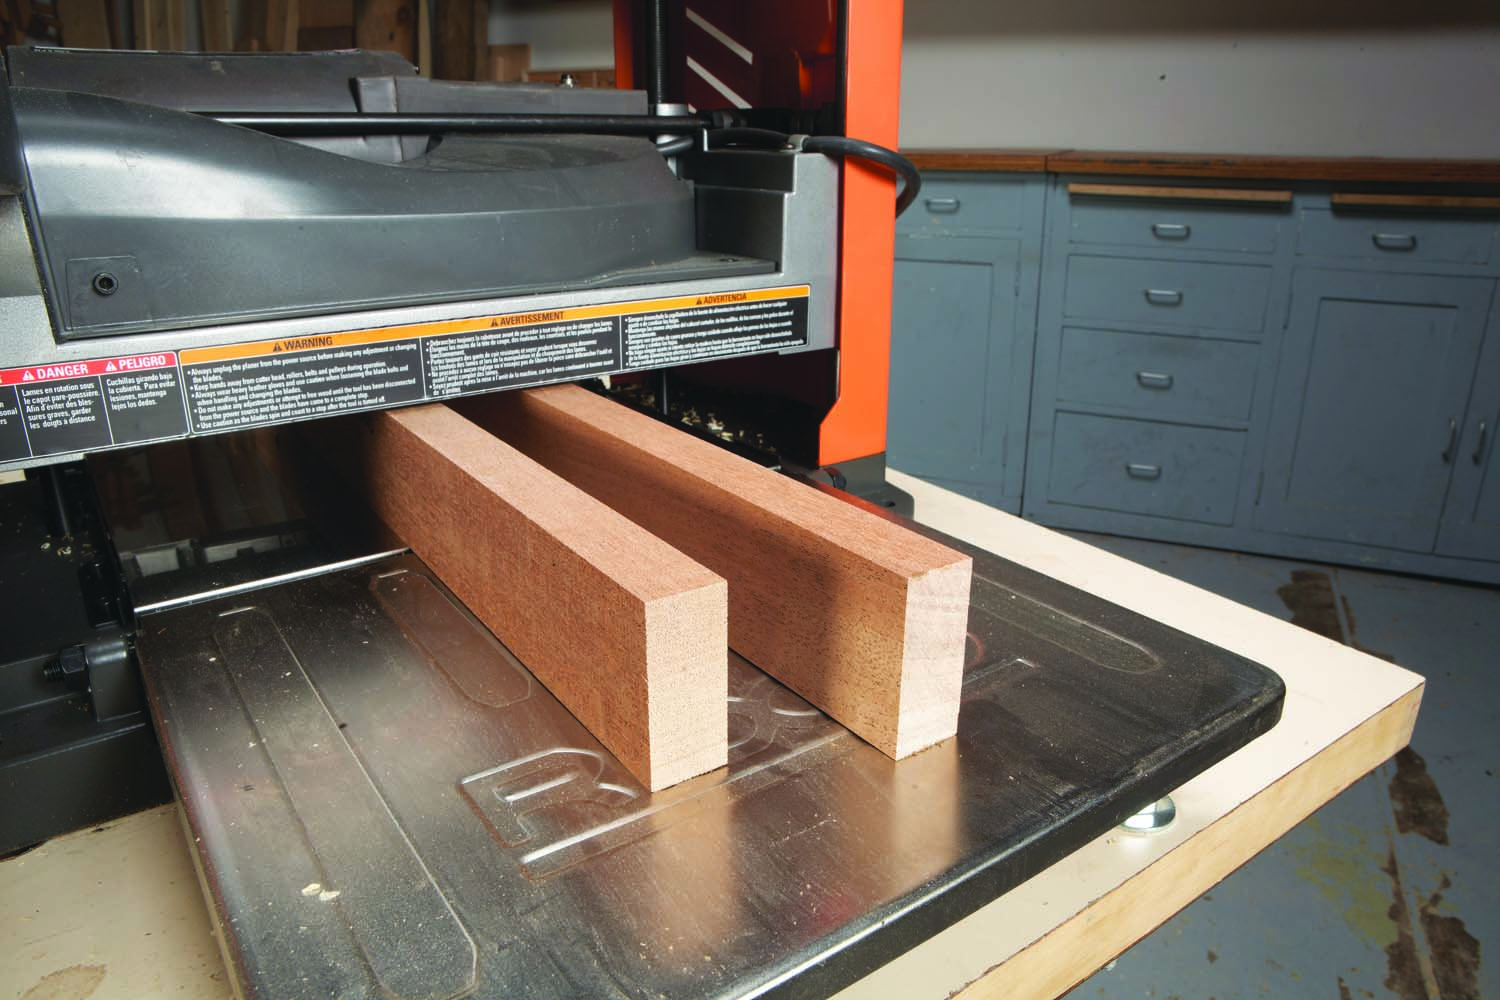
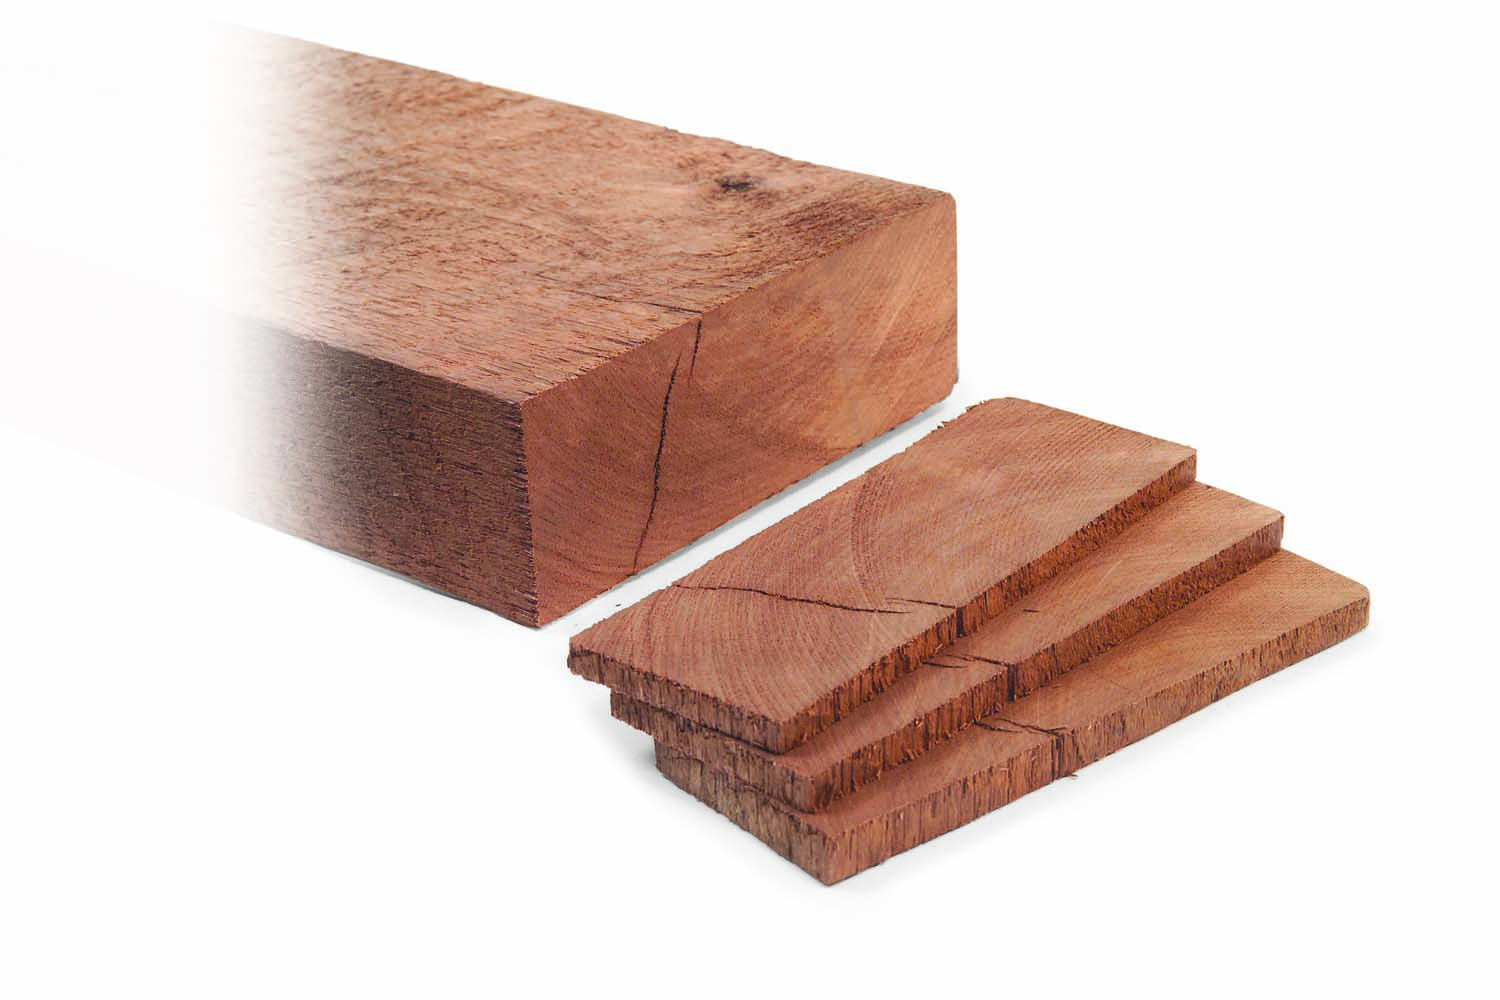
Cut Big Boards Into Small Pieces
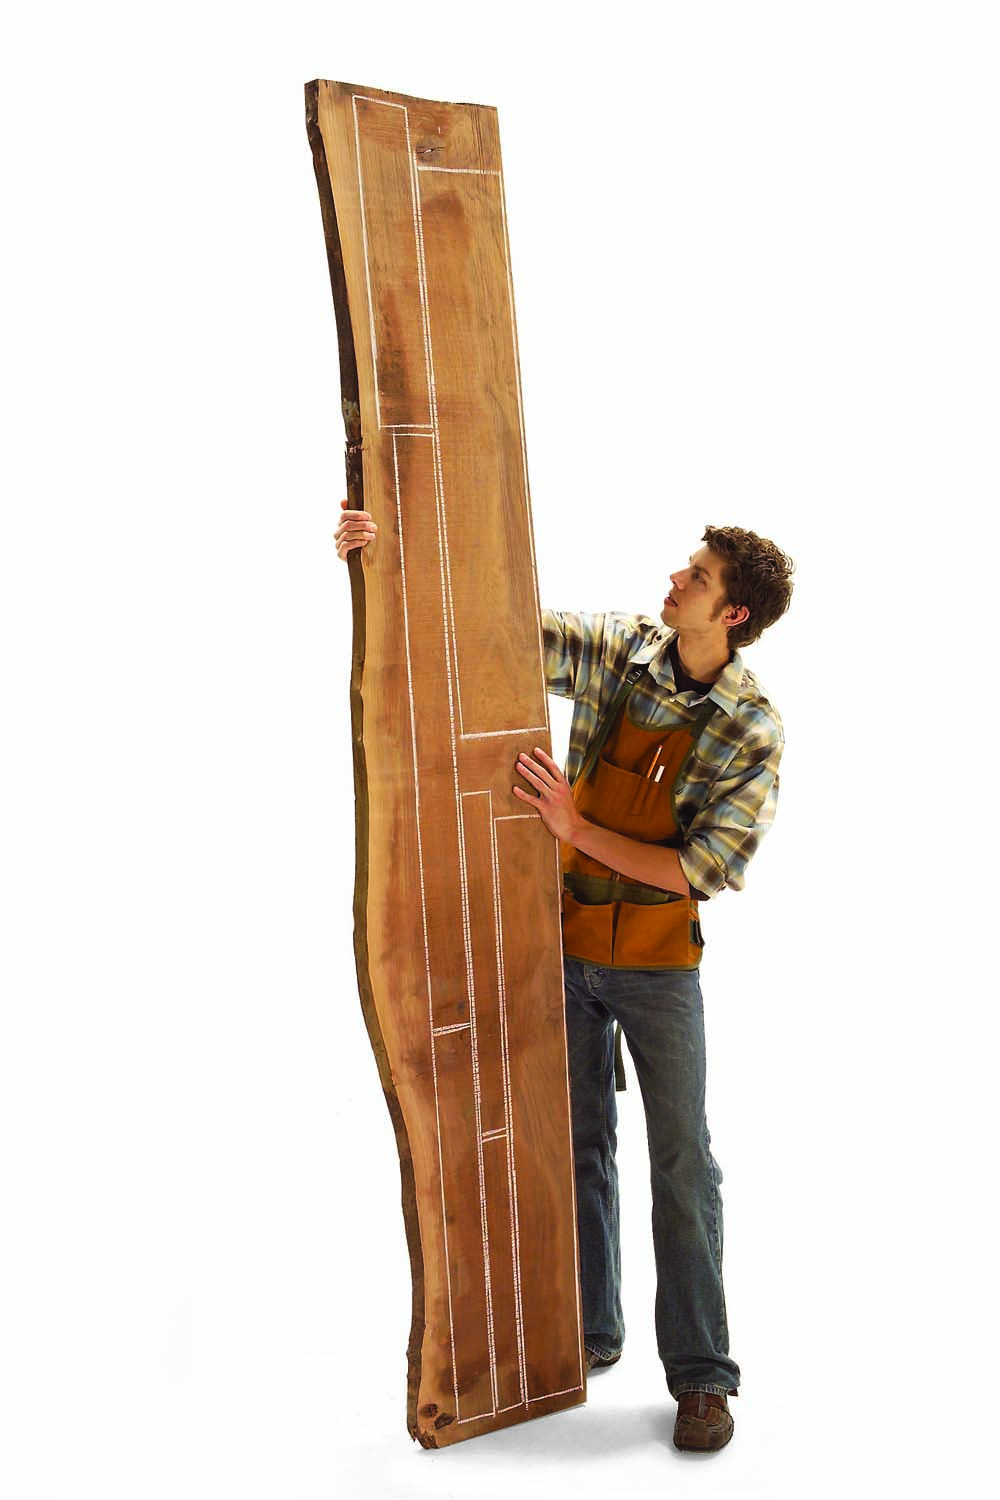
You might think that the best strategy for milling rough lumber is to flatten as large a piece as possible, then cut it into smaller parts. Not true. It’s better to cut a big rough-sawn board into individual pieces, one for each part on your cutting list, more or less, and then start milling.
The problem with the big-board strategy is that the smaller pieces you cut from it may not remain flat or straight. Why? Some boards have a lot of stress built up inside them. When the board is whole, this stress is in balance. When you rip the board, you release some of that stress. Each half seeks a new balance and a new shape. It’s hard to predict which boards will react this way, so I assume every board could present this problem.
I always cut my individual pieces slightly oversize, adding 1/2″ extra of length and 1/4″ extra of width. I don’t cut any pieces less than 12″ long, because it’s unsafe to joint, plane or rip shorter stuff.
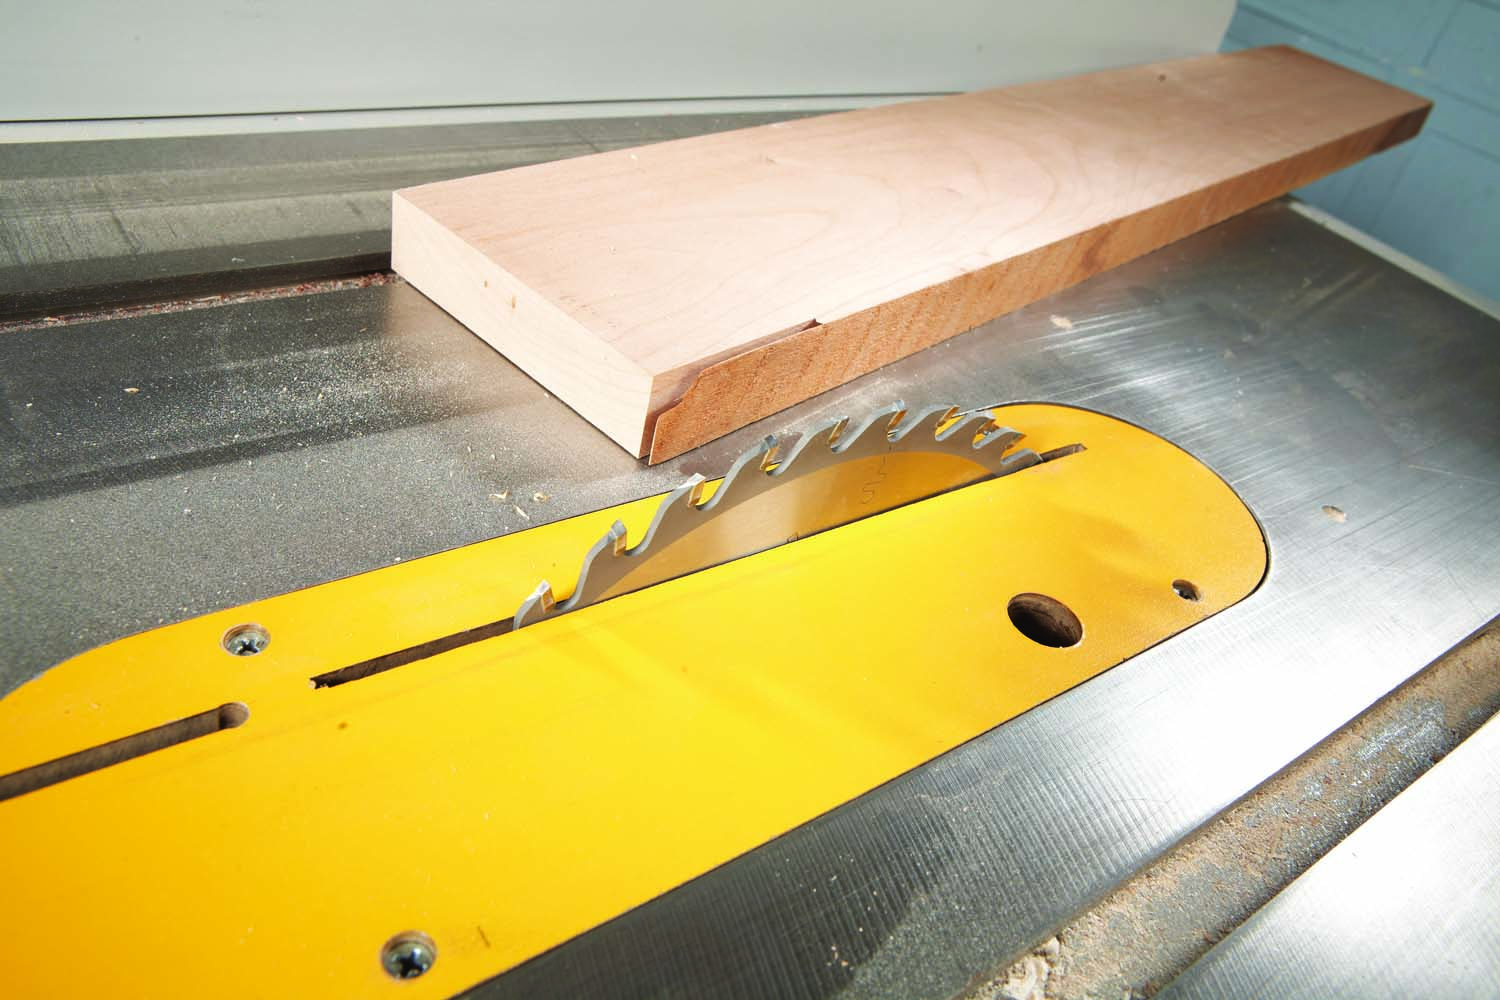
Give A Rip
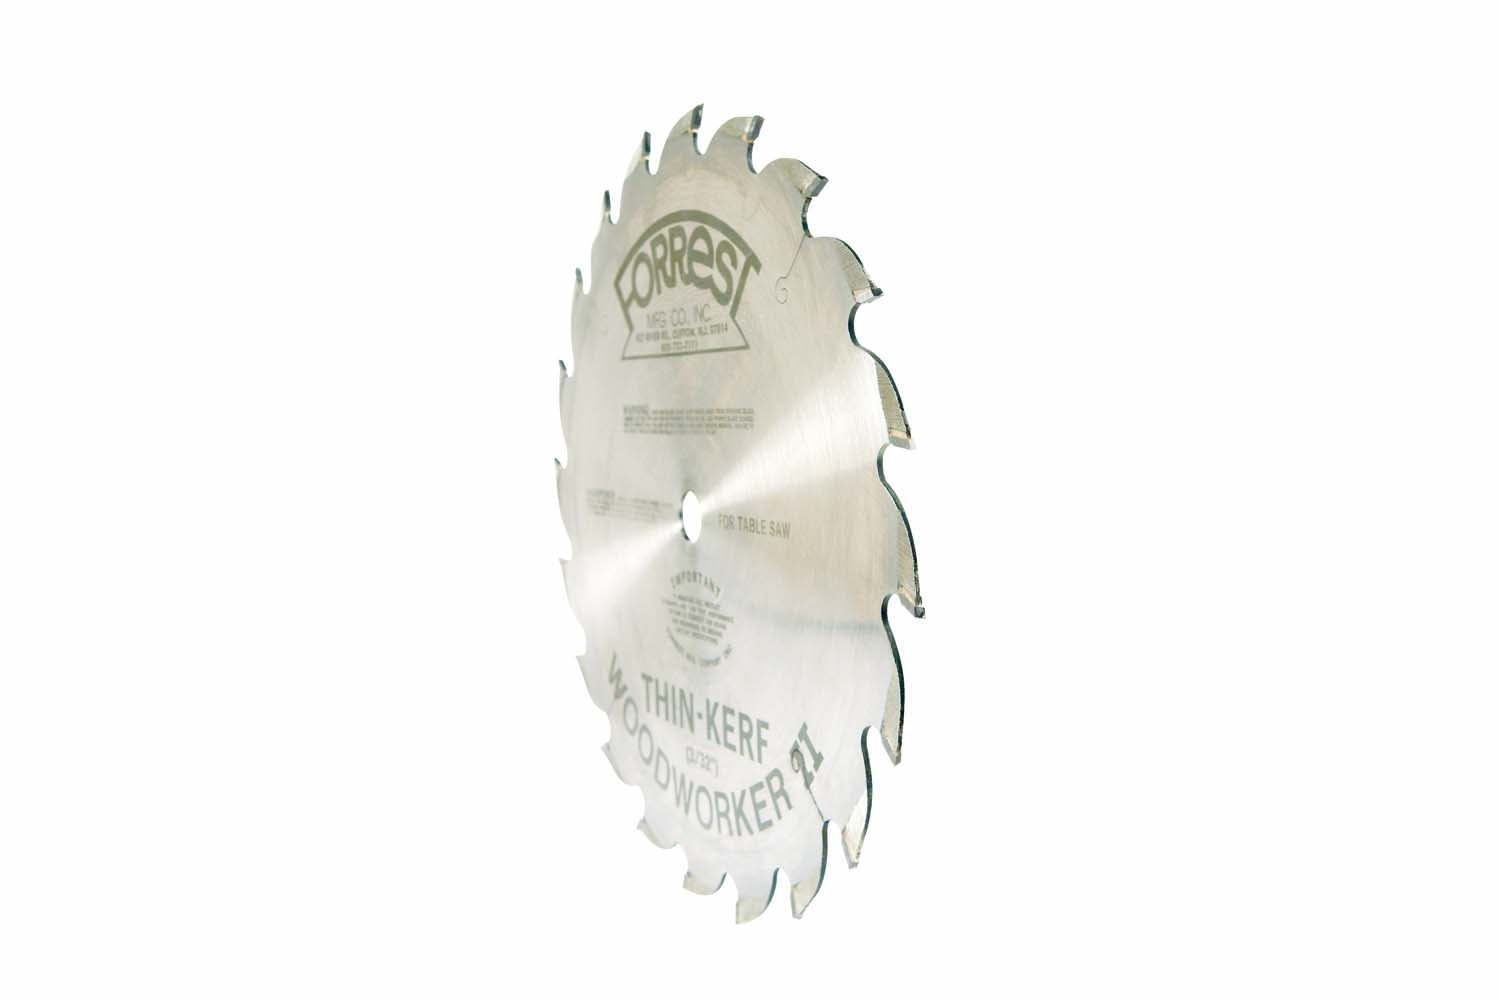
Forrest Saw Blades 10″ Thin-Kerf Woodworker II 30-tooth rip blade
All you need is just one tablesaw blade, right? It’s certainly convenient—after all, a combination or general-purpose blade does a pretty good job of both ripping and crosscutting, and who wants to go through the hassle of changing blades all the time? Well, sometimes it’s worth it.
If I’m working with boards that are more than 1-1/2″ thick, I switch to a dedicated blade for ripping. A rip blade requires less horsepower from your saw’s motor and less manpower from your muscles. Pushing the wood is much easier. When you can maintain a reasonable feed rate, there’s less chance of burning the wood or overheating the blade and dulling it.
If you have a contractor’s saw, consider using a thin-kerf rip blade, such as the one shown here. Perfect for thick wood, it requires less power than a standard-kerf blade because it removes 25% less material.
3 Ways to Beat Snipe
Planers create snipe by taking an extra-deep cut at the beginning or end of a board. Many machines do it, so it’s natural to treat snipe as one of those problems, like the common cold, that just won’t go away. We have to adapt and learn to deal with it. Here are three strategies:
1. Start with boards that are 3″ extra-long on both ends. Cut off the snipe when you’re done planing. Sure, this wastes wood—but it always works.
2. Butt your boards end to end. This is an attempt to fool your planer into thinking it’s just cutting one long board, and planers don’t snipe in the middle of a board, do they? This method usually works, but not always. It also requires you to move fast when feeding the beast.
3. Overlap your boards. This method also attempts to fool the machine. It won’t work on the first pass, however, when your boards are different thicknesses. The feed rollers will only engage the thickest board, leaving the other one stranded. Once your boards are all the same thickness, from end to end, it’s worth a try—but it’s not a surefire cure.
Planing On Edge
Run boards on edge through a planer when you have a stack that must be milled to a consistent width. Of course, the bottom edges of the boards must be sawn or jointed square and straight—this method won’t fix a crooked piece. It’s best to joint your pieces first, rip them about 1/16″ extra-wide, then take them to the planer.
Won’t they tip over? Yes and no. Tipping isn’t a problem with boards that are 3/4″ thick or more. Thinner boards, or boards that are over 4″ wide, may not balance well. These pieces should not be planed on edge.
Paraffin Lube
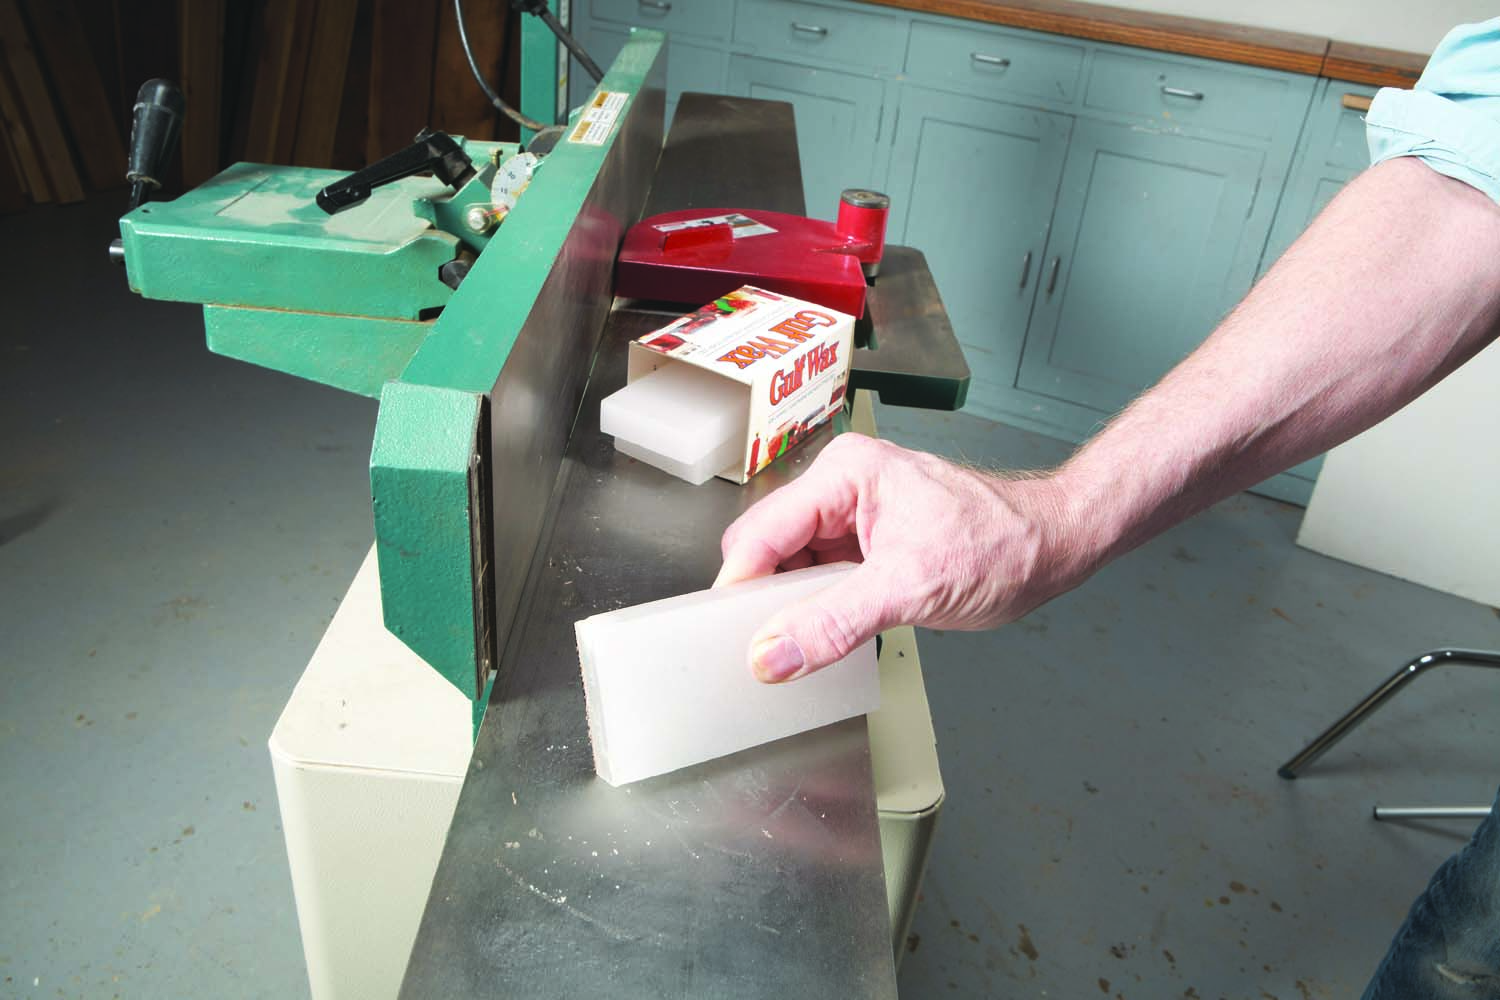
Rubbing a small amount of paraffin wax on a jointer or planer’s bed is the cheapest, most convenient and easiest to use method I know for reducing drag. I’ve tried sprays and powders as well, but I keep going back to paraffin. I always keep a small piece of it in my apron pocket.
Sold as canning wax, paraffin is available at most grocery stores. Unlike beeswax or carnauba wax, it won’t contaminate your wood. Paraffin isn’t a true wax—it’s made from petroleum—so it’s compatible with almost all finishes. Should any traces of it be left on your wood, you won’t have a problem.
Enlist Your Bandsaw
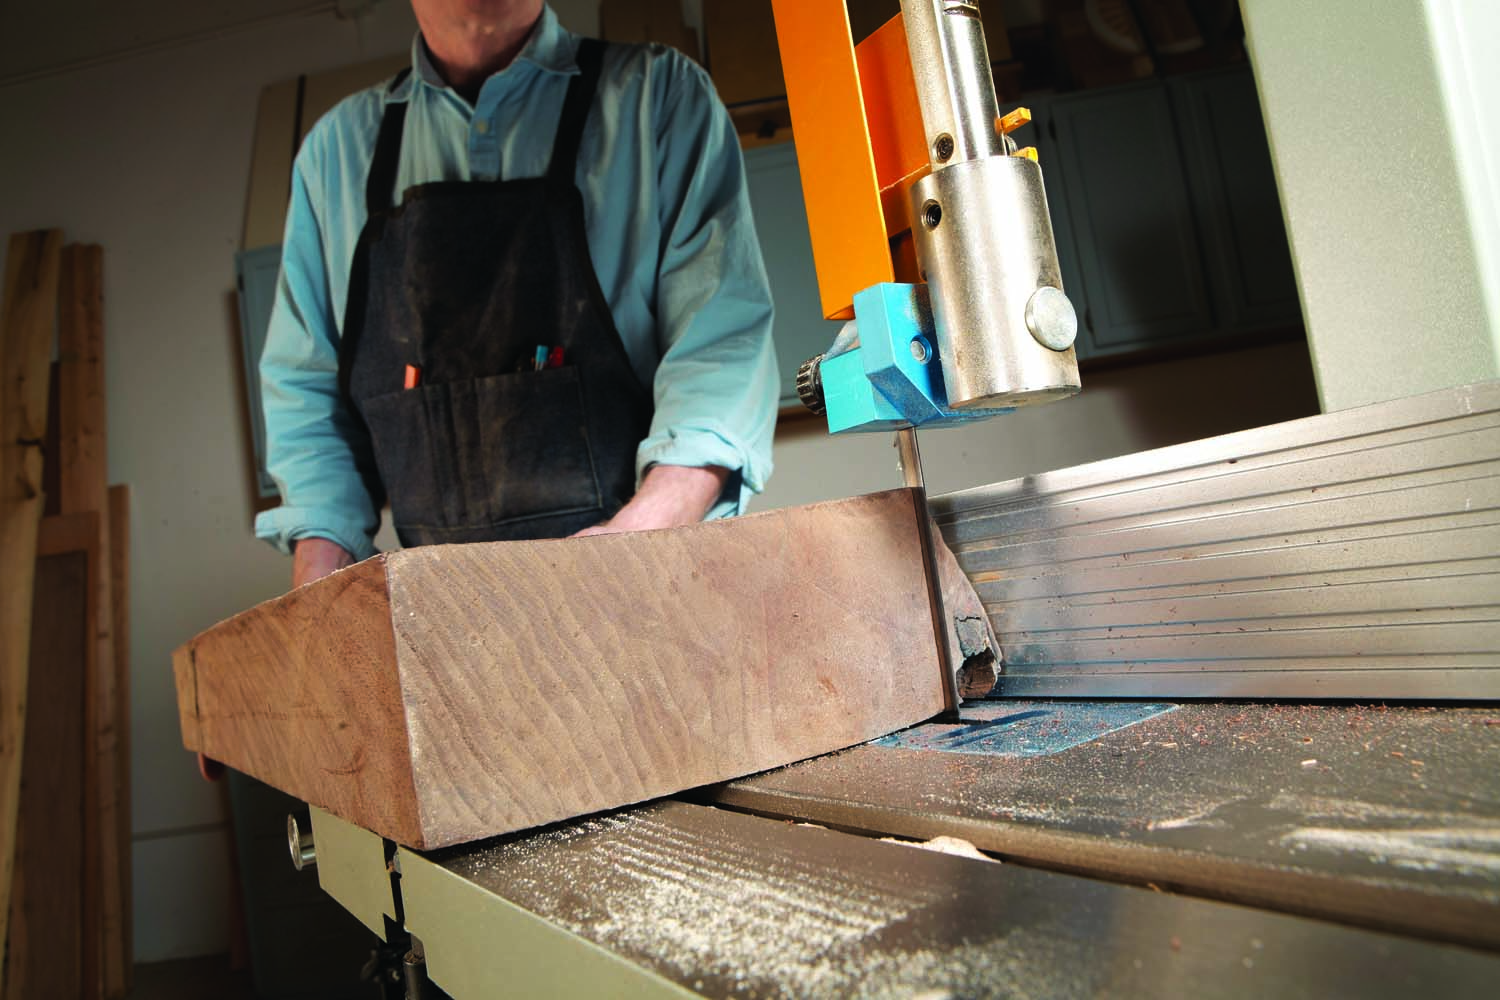 Rip rough lumber on the bandsaw—especially when the wood is cupped or twisted. This method is much safer than using a tablesaw, because a bandsaw can’t kick back.
Ripping an uneven board on a tablesaw is not a risk worth taking. If the cut binds, the blade will stall, the wood will burn, and if things are really bad, it may come shooting straight back at you. None of this will happen on a bandsaw.
Ripping thick stuff requires power, however. If you’re thinking of upgrading to a larger bandsaw, here’s another reason to add to the list.
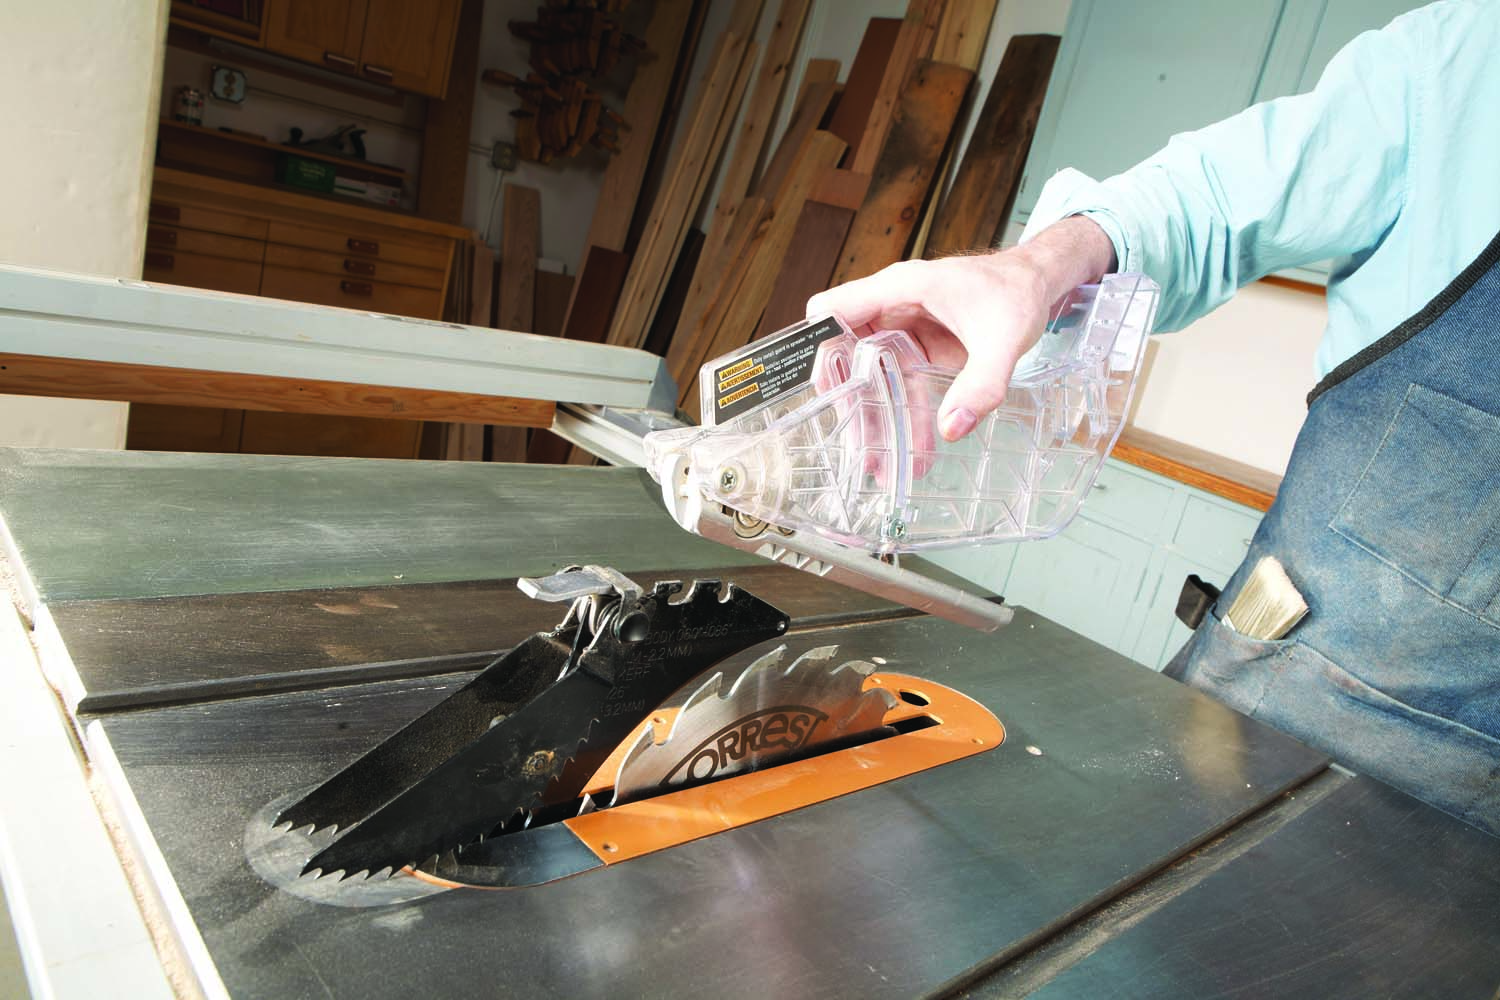
Switch Throatplates
A zero-clearance insert will prevent thin offcuts from dropping down into your saw. Using a standard throatplate, those loose pieces can get stuck between the blade and the plate, requiring you to stop and turn off the saw to remove the little offender. If they fall all the way through, those loose pieces can also clog up your saw’s dust collection.
Standard throatplates are fine most of the time, but if your rip cuts will remove only a thin slice of wood, stop a minute and put in a zero-clearance insert, instead.
Safety First
 Use your guard. Use your guard. Use your guard. If you’ve ever traded shop horror stories with other woodworkers, you know how often people are injured by their tablesaws. The vast majority of those accidents would never have happened if a guard had been on the saw.
Old-style guards were truly a pain to install and remove, so I can understand why most woodworkers relegated them to a dusty shelf. I did, too. Modern guards are a different story. They’re easy to deal with, just like a seatbelt, so I use mine whenever I can. I hope you will, too.
Check Your Progress
 Use the fence to make sure your edge is straight when you’re done jointing. Running a board through a jointer doesn’t automatically make it straight. You have to hold the board the right way, too, and where you put pressure depends on whether its original edge is concave or convex. It’s better to check your progress, using the fence, than to just assume that everything is going well.
In fact, it’s not a bad idea to place your board against the fence before you even start jointing. If you can tell whether its concave or convex right away, you’ll know exactly how to handle it on the first pass.
Cut The Ends
 Cracks in a board’s ends are a common flaw. Cut them off before you do any other crosscutting, so you know the true, usable length of your board. These cracks are also called end checks. Large checks are easy to see and remove, but you may also find hairline cracks that aren’t easily visible on the board’s surface or end.
I cut off the end of a board a little bit at a time, like slicing a loaf of bread. The slices are about 1/4-in. thick. As each slice falls off, I inspect it for checks. If the slice breaks very easily across the grain, it probably contains a hairline check.
Here are some supplies and tools we find essential in our everyday work around the shop. We may receive a commission from sales referred by our links; however, we have carefully selected these products for their usefulness and quality.


Thank You, for the different topics. It is always great to hear others speak about Woodworking in a manner that you can understand and learn from
Thanks Again,
Frank
You’re welcome Frank!
I was taught by a master woodworker 35 years ago do you use paraffin wax. I’ve started woodworking again end nobody talks about paraffin wax , everyone’s talkin about paste wax. I was glad to see this enforce my lesson from so long ago