We may receive a commission when you use our affiliate links. However, this does not impact our recommendations.
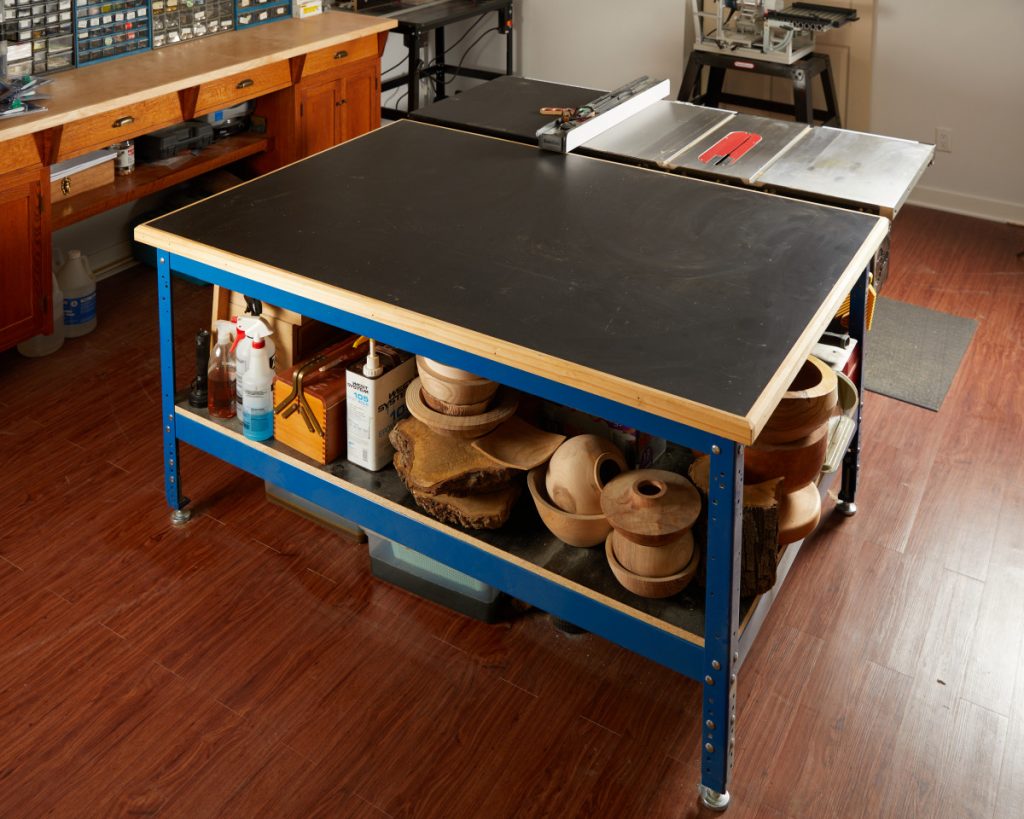
Welcome to my home shop. It’s fairly small — about 14×24 and located in our finished basement. It houses my collection of hand tools, lathe, table saw, router table, drill press, band saw, and various smaller “benchtop” type tools. While I spend most of my time at my bench with handtools, the first thing you encounter as you walk in the door is my Sawstop table saw and massive outfeed table.
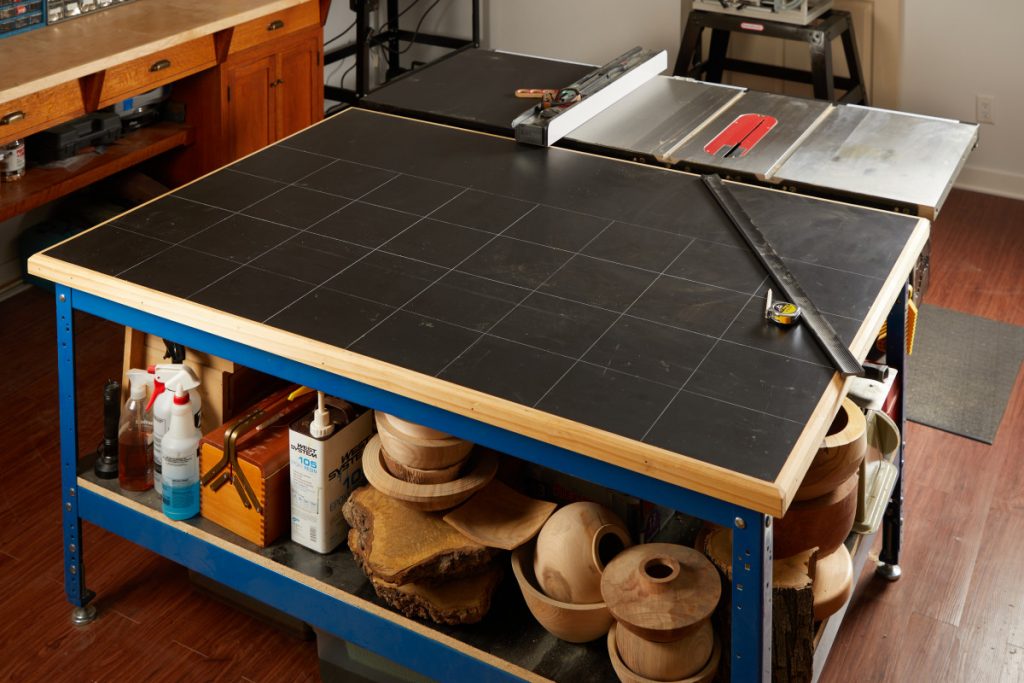
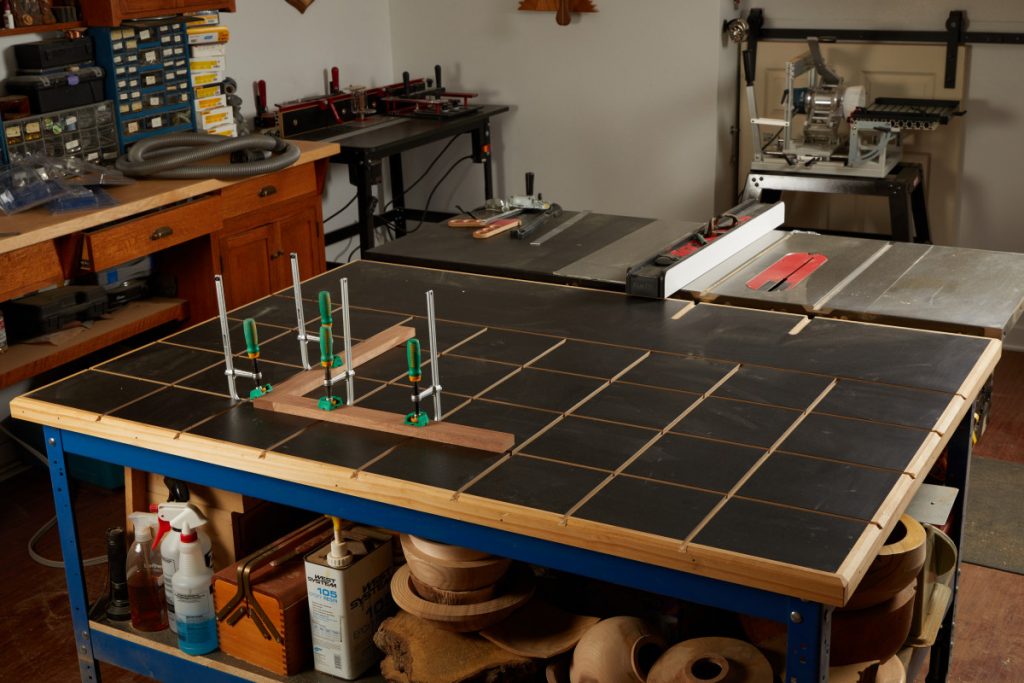
The outfeed table has been one of the better things I’ve added to my shop. It ends up being my assembly table, cleaning station, and general-purpose worksurface. And, as you can see in the photo above, it ends up also housing a pile of … stuff … under it (most are turning projects that are drying). Now, I built this outfeed table using the Kreg modular base system. It was fast, efficient, and was flexible enough that I could adjust the height to whatever table saw I owned (I built it before I purchased my Sawstop). The top is made from two layers of MDF covered with a layer of plastic laminate. The entire thing got edged with some strips of pine.
Originally, my plan was to rout grooves in the table and mount a series of T-track within the top of the outfeed table. The goal was that the T-track grid would supply me with plenty of areas to clamp down workpieces or mount accessories. This all was well and good until I realized that buying that amount of T-track would set me back at least the cost of a new Lie-Nielsen plane. No thank you. Luckily, Microjig offers a product called the Matchfit Clamps that simply slide into dovetail grooves that you rout into whatever surface you’d like. These clamps sounded like the perfect way to (finally) finish up my outfeed table.
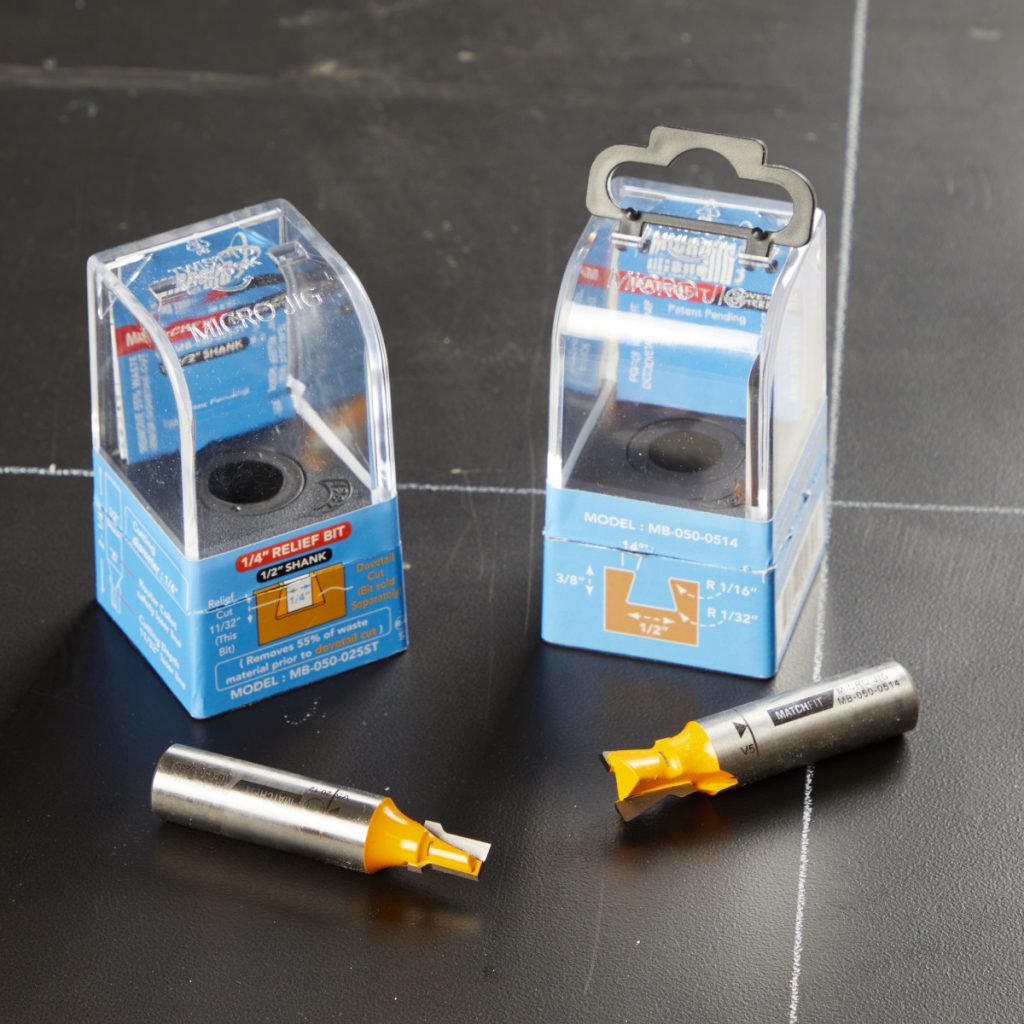
The setup I chose from Microjig is a set of four Matchfit Dovetail Track Clamp AP with a pair of the Microjig Relief and Dovetail bits. (You could get by with standard straight and dovetail bits, but these combine some chamfers and such built-in…well worth it in my opinion). You can see the two bits below. Hint: If you buy the Microjig bits, don’t be a dummy like me. Read the box — the plastic boxes twist to open. That was a wasted 2o minutes of my life trying to pry the bit container open.
Careful Layout
Setting up your outfeed table or workbench to use the Matchfit Clamps, you’ll need to rout grooves into the surface. This starts with a little careful layout. I started by dividing up my area. I settled on about an 8″ grid on the front 2/3’s of my table.
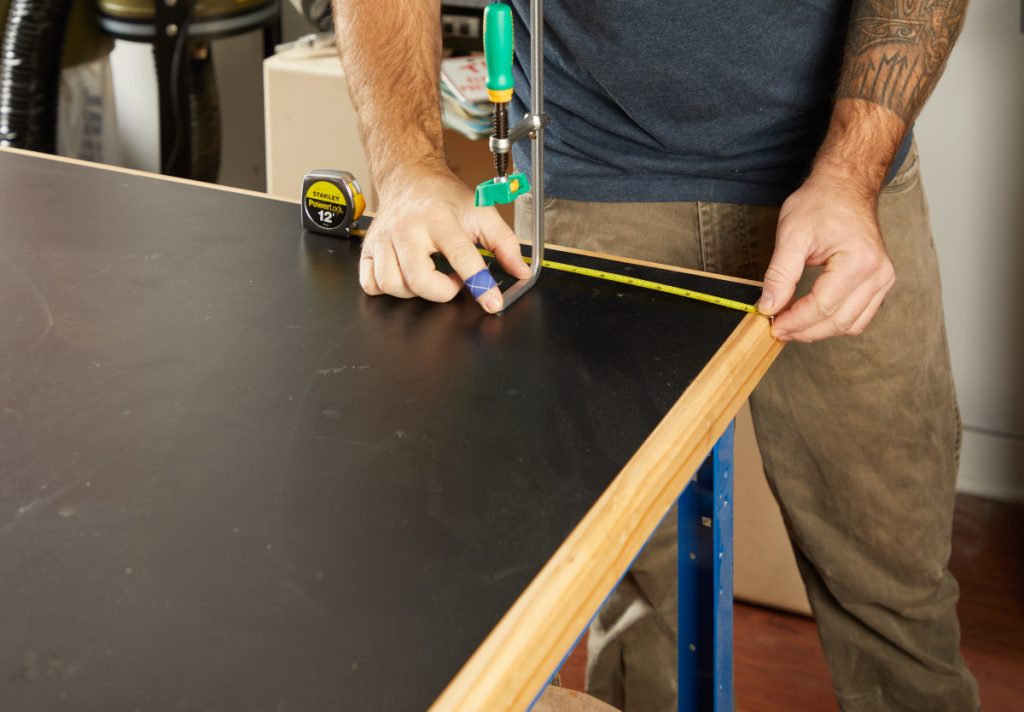
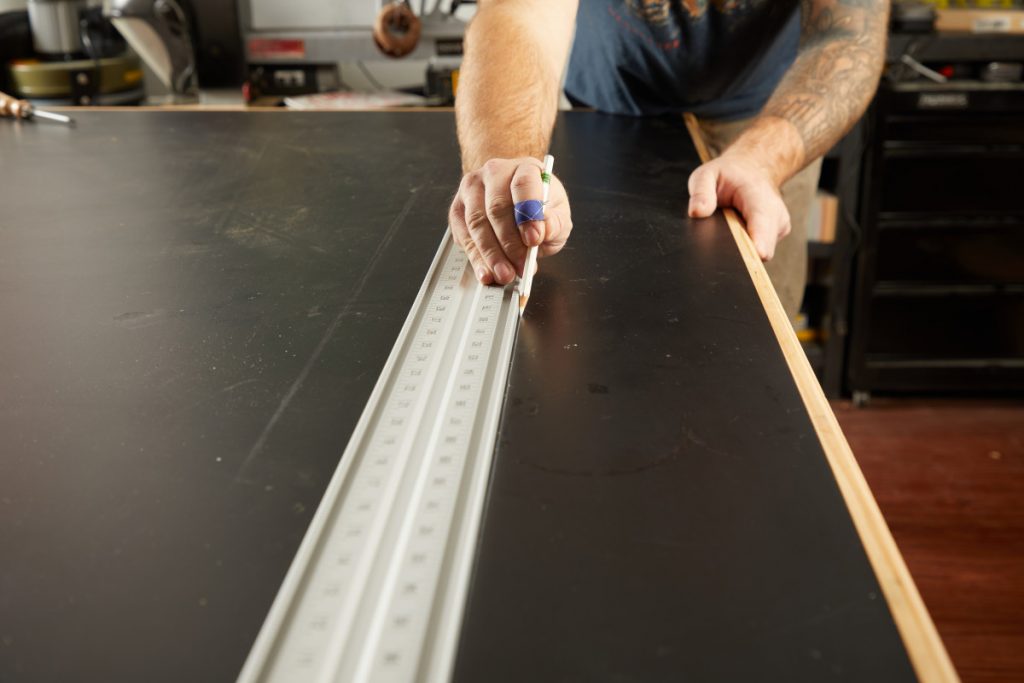
After deciding on the layout, I decided I needed to visualize how everything would be positioned. Using a white grease pencil, I marked the laminate top of the outfeed table with the locations of the grooves.
Prepare to Rout
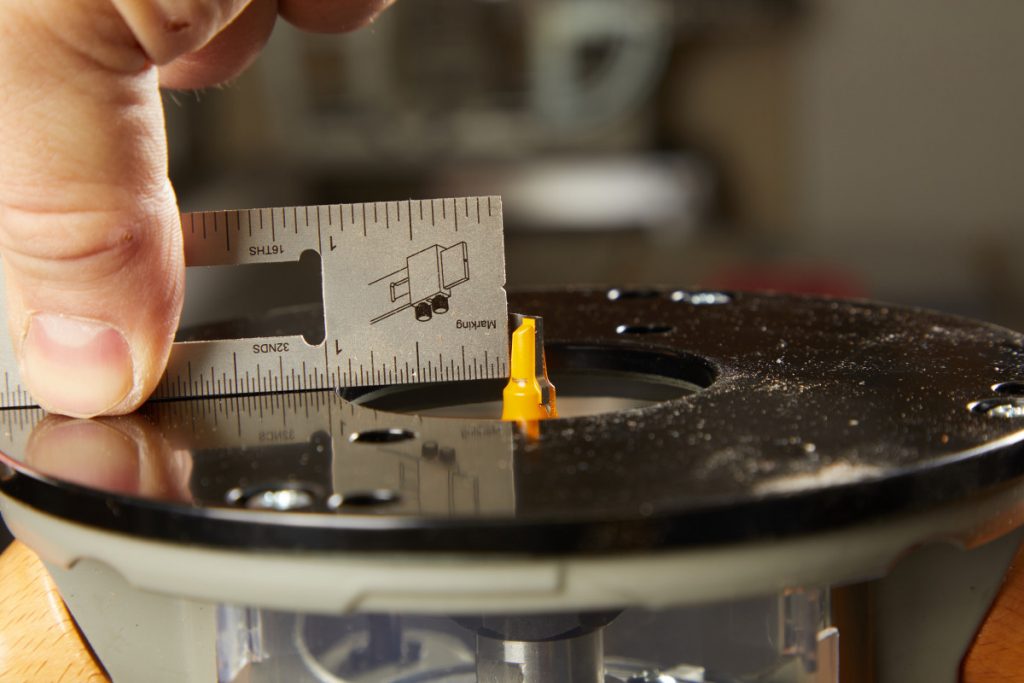
To rout the grooves, you’ll need to make two passes — once with the straight bit, and another with the dovetail bit. Doing it all with the dovetail bit is probably possible, but it would be hogging off a lot of material. Instead, the straight big removes about 50% of the waste and makes the final pass with the dovetail bit easy. The bits from Microjig come with laser engraved depth marks, so the only thing needed is to set the bit height according to this mark.
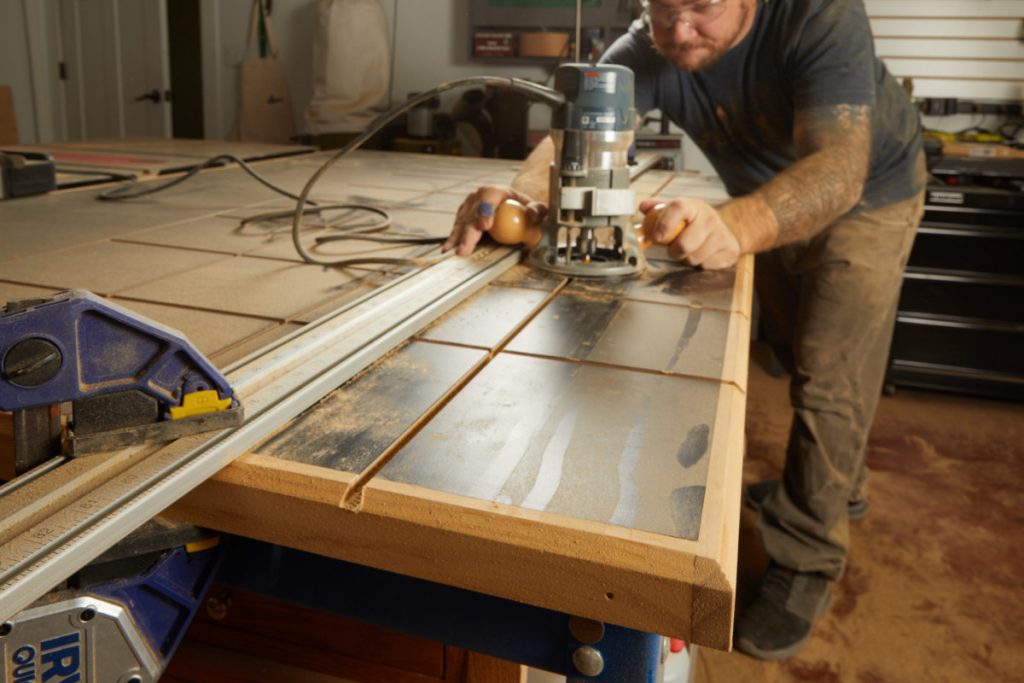
With the depth set, you’ll need a way to guide the router. The long aluminum straight edge guides, available from various manufacturers, work well here. But, a scrap piece of plywood works just as well. To position the guide, I measure the diameter of my router base and offset the straightedge by half that amount. In this instance, my router base is 6″, so I offset the straightedge off the layout line by 3″. After clamping the straightedge in place, I rout from left to right, along the entire length of the bench.
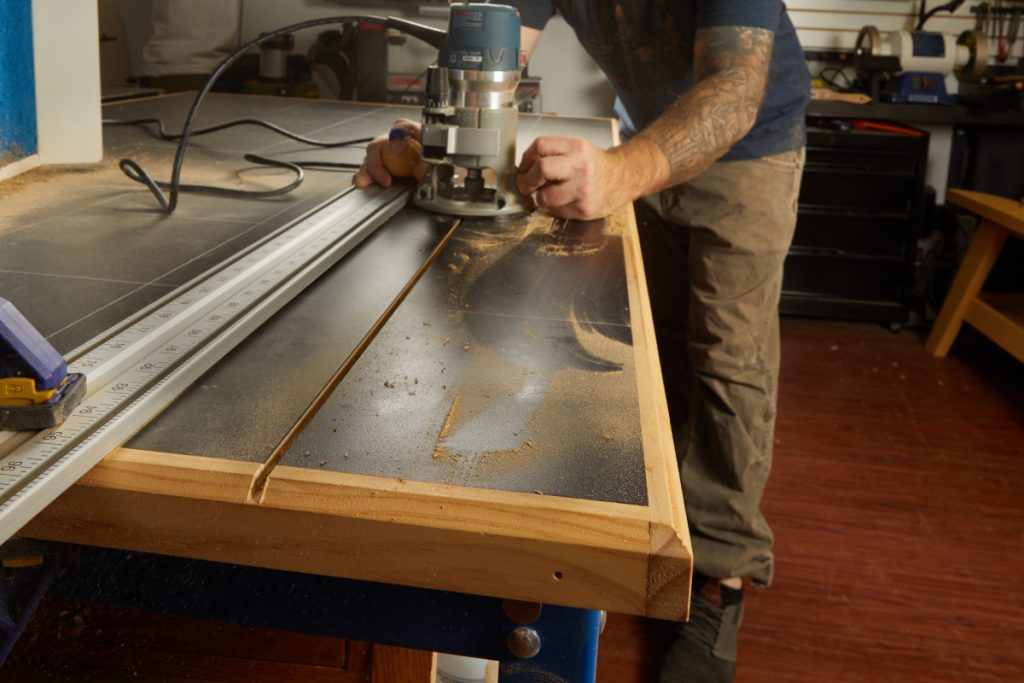
Now, this will be a lot of routing. My layout left me with a total of 11 grooves to rout. If there’s ever a time to have two routers, this is it. As long as the base diameters are the same, you could set up one router with the straight bit and the other with the dovetail bit. That way, you can rout both the straight groove and the dovetail before you move the straight edge. However, I don’t have two routers. So, I routed all straight grooves first then flipped over to the dovetail bit. This meant a lot of repositioning the straightedge, but it was better than flopping bits all the time (in my opinion).
One Additional Upgrade
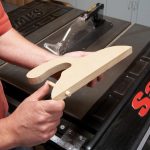
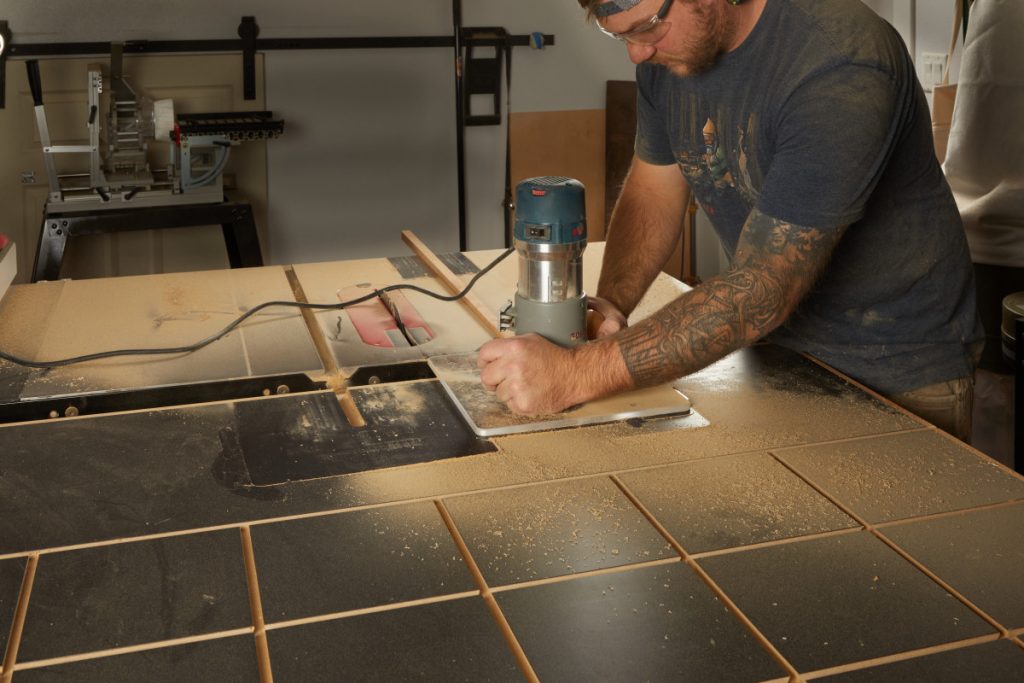
While I was doing work on my assembly table and scattering MDF dust around the shop, I figured I would finish one last detail on my outfeed table — routing in slots for the miter gauge bar. I whipped together a simple jig to do this – you can see it below.
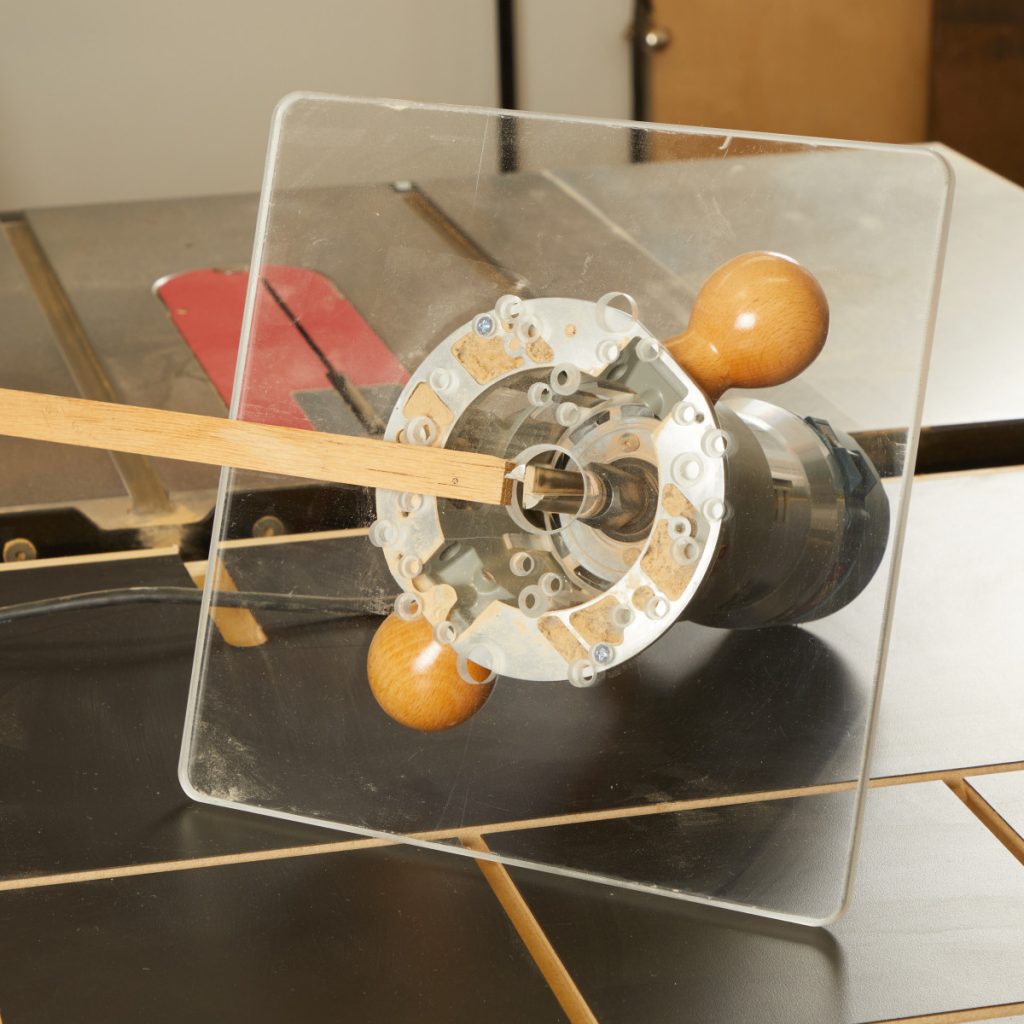
The jig is nothing more than a hardwood runner, sized to fit in the miter gauge slot. This is attached to an auxiliary router base and the router is fixed with a 3/4″ straight bit. Make sure your outfeed table is aligned with your table saw and slip the jig into the miter slot. Then, it’s just a matter of turning the router on and sliding the router into the auxiliary table … the router will be guided by the miter gauge slot on your table saw.
Matchfit Clamps in Use
So, as easy as the grooves are to put in, what are my initial thoughts on the clamps … do they work? Well, having used several sets for various tasks during my time at Woodsmith, I can say, with certainty “Heck yes they work”. But, the function of the clamps is only one of several things I like about them.
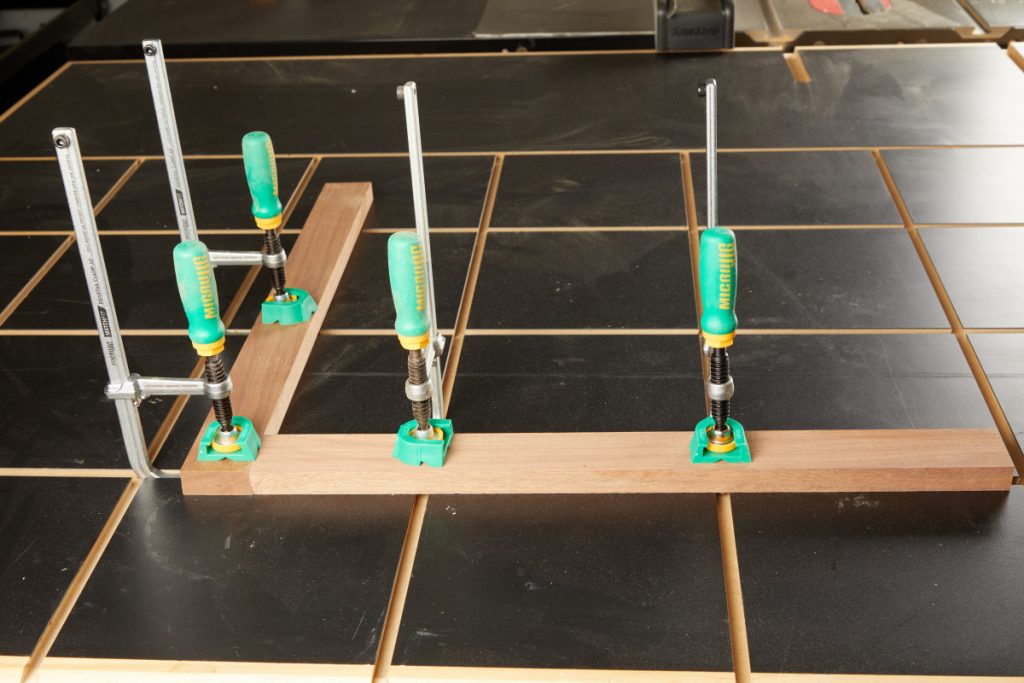
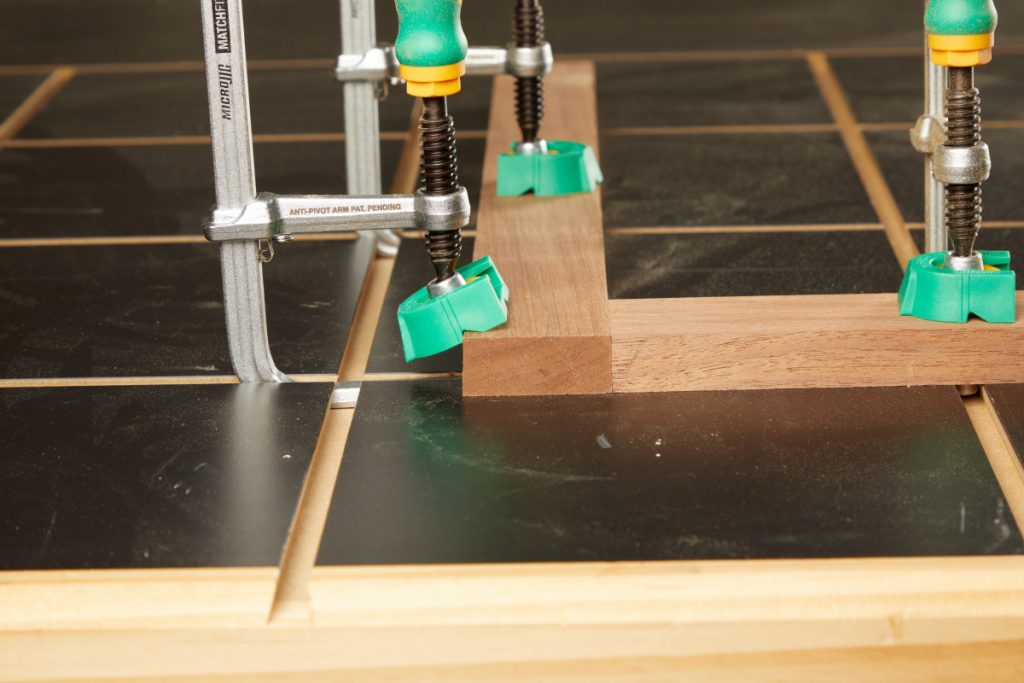
The first thing I like is how well they hold down materials. Something like this rail and stile is easily held flat for either work or for a glue-up. And, when you pair the Matchfit clamps with the XPAD head, you get a ton of clamping flexibility. What’s the XPAD you ask? It’s that little green pad on the end of the clamps. You’ll notice there are small “V” notches in it. This allows you to position the XPAD on the corner of a workpiece. Then, as you clamp, you’re applying directional clamping force. Not only is the workpiece being pushed down into the table, but you’re also applying an inward force as well. This helps with pushing joints tight, or holding them in place as the clamps are applied (see photo below.
Now, even though I added these grooves to my outfeed table, that doesn’t mean that you couldn’t add them to your workbench, or any other area you might need. The Matchfit clamps also work extremely well to build jigs or anything else you can imagine in your shop, especially when combined with a 4-pack of dovetail nuts (think of them like T-bolts for T-track, but the dovetailed version). Overall, it’s a great, low-cost way to get more out of your workbench or outfeed table.
If you’d like your own set of Matchfit Clamps to upgrade your outfeed table or workbench, Microjig is running this special through December.
Here are some supplies and tools we find essential in our everyday work around the shop. We may receive a commission from sales referred by our links; however, we have carefully selected these products for their usefulness and quality.


