We may receive a commission when you use our affiliate links. However, this does not impact our recommendations.
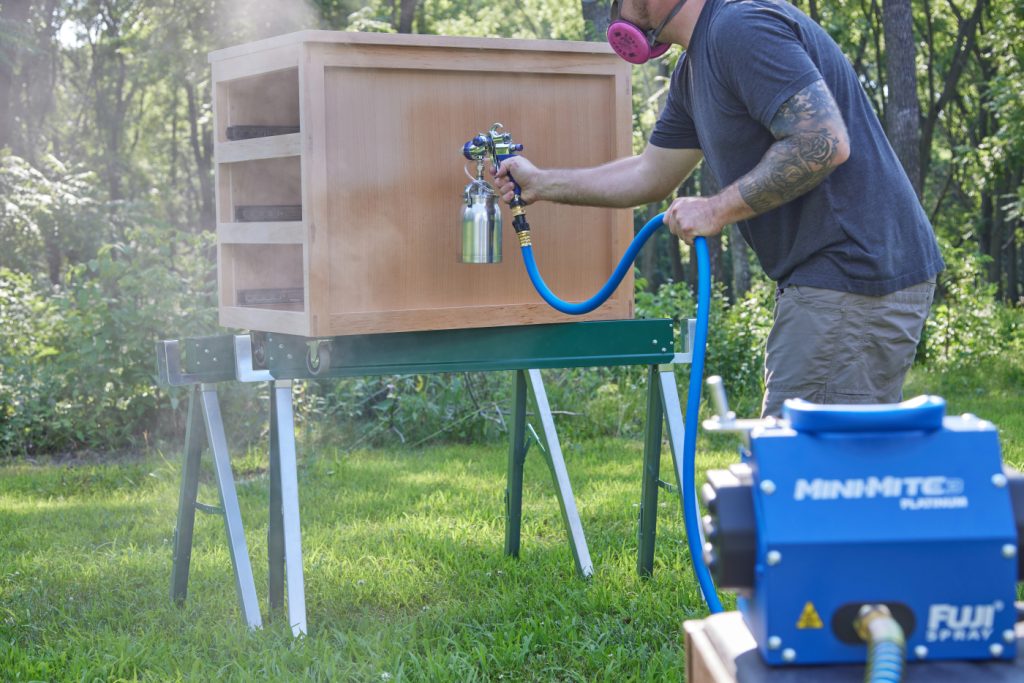
Some of the most common questions we get are about finishing. How do I get a better finish on my project? What’s the easiest finish to apply? What’s the most durable finish? Unfortunately, finishing almost always ends up being an afterthought, when in reality, it should be one of the first things you think about when planning a project. One of the most common, and easy-to-apply finishes is a wipe-on finish. They’re fairly fool-proof, can offer good protection, but can be extremely labor-intensive to apply. In my opinion, the only way that I want to apply a finish is with a spray gun. Luckily, over the last several years, spray systems like the Fuji Mini-Mite 3 have evolved and been tailored to suit the at-home woodworking shop. Sprayable finishes are quick to apply, require less cleanup, and the finish can be applied much more uniformly and with less wasted finish.

A spray system, like the Fuji Mini-Mite 3, makes finishing a project quick and easy.
HVLP Spraying Systems
When it comes to spraying a finish in your home shop, the only thing that makes sense, in my opinion, is an HVLP sprayer. These high-volume, low-pressure sprayers are often a compact, all-in-one system. For the most part, they all share a similar design, but like anything, you get what you pay for when it comes to sprayers. Higher-end spray systems, such as the Fuji Mini-Mite 3, have some features that make them much easier and more convenient to use. More on that in a bit.
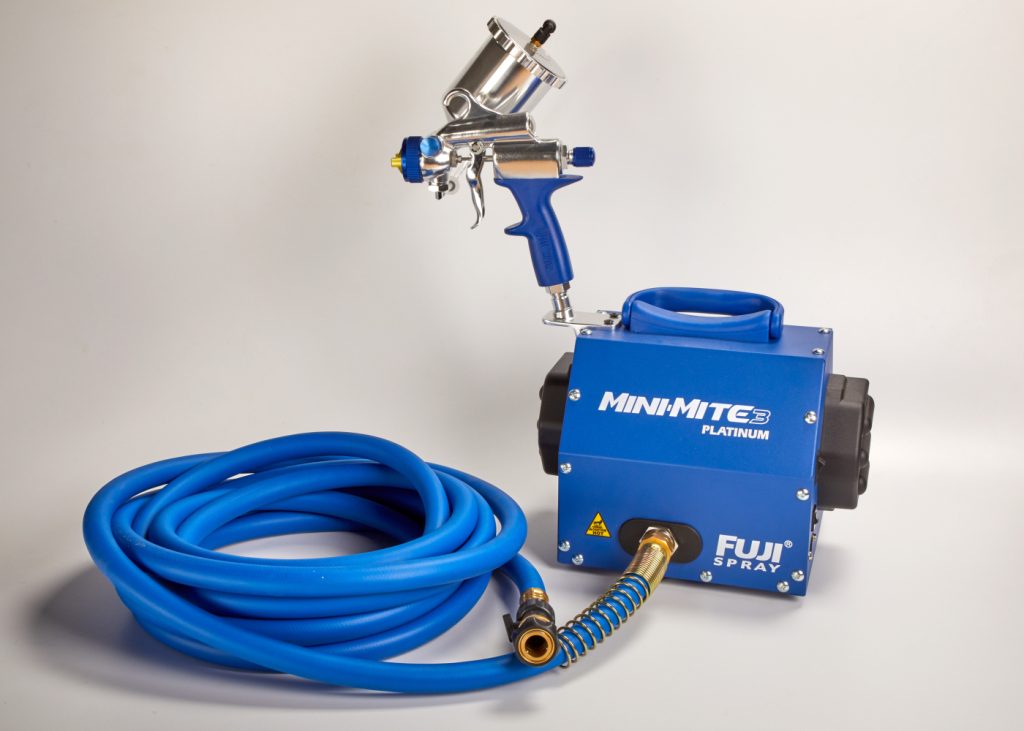
The Fuji Mini-Mite 3 – A great HVLP unit that will ease many finishing woes.
So what makes an HVLP system better than a higher pressure cup-spray gun? Well, the name kind of gives it away. The high-volume, low-pressure operation allows the finish to be atomized with lower overall air movement. This results in less blowback, which is finish coming back at the user, due to the amount of air bouncing off the surface. Hand-in-hand, this also results in less finish being wasted as you’re finishing. This means the accurate delivery of the finish results in 60-80% of the finish being sprayed through an HVLP gun to actually reach the worksurface.
Another benefit of HVLP spray systems is that they’re an all-in-one unit. Looking at the photo of the Fuji system above, the entire unit consists of a turbine to create the air flow, a hose to carry the air, and a spray gun. In my opinion, while the turbine is important, the key part of every HVLP system is the gun. Let’s look at three different Fuji guns below.
HVLP Spray Guns
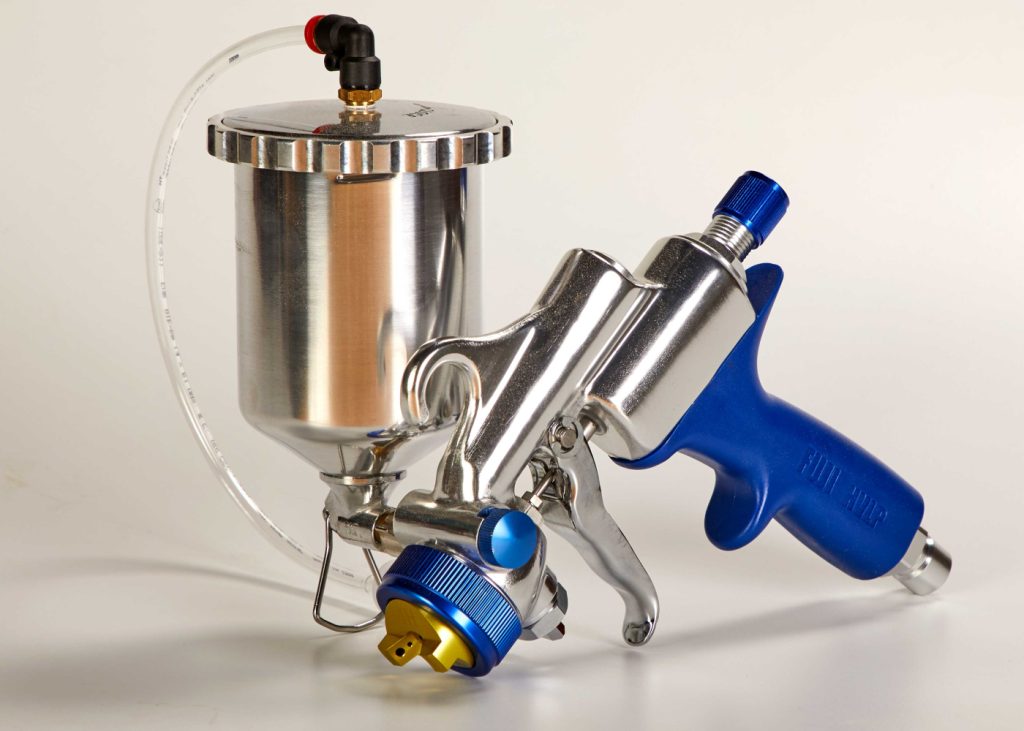
Two common types of guns that you’ll find in HVLP systems are either gravity fed, or siphon (cup) guns. Gravity guns have a fluid reservoir that sits on top of the gun, and as the name implies, the finish is fed via gravity down into the gun. The downside with a gravity gun is that with a full cup and an ill-fitting lid, you’ll be wearing half the finish partway through the project (ask me how I know this). However, with a properly fit cap, this isn’t as big of concern. Gravity guns do also require a little less air pressure to operate, as gravity does the work.
The Fuji T75G Model spray gun is a gravity fed gun.
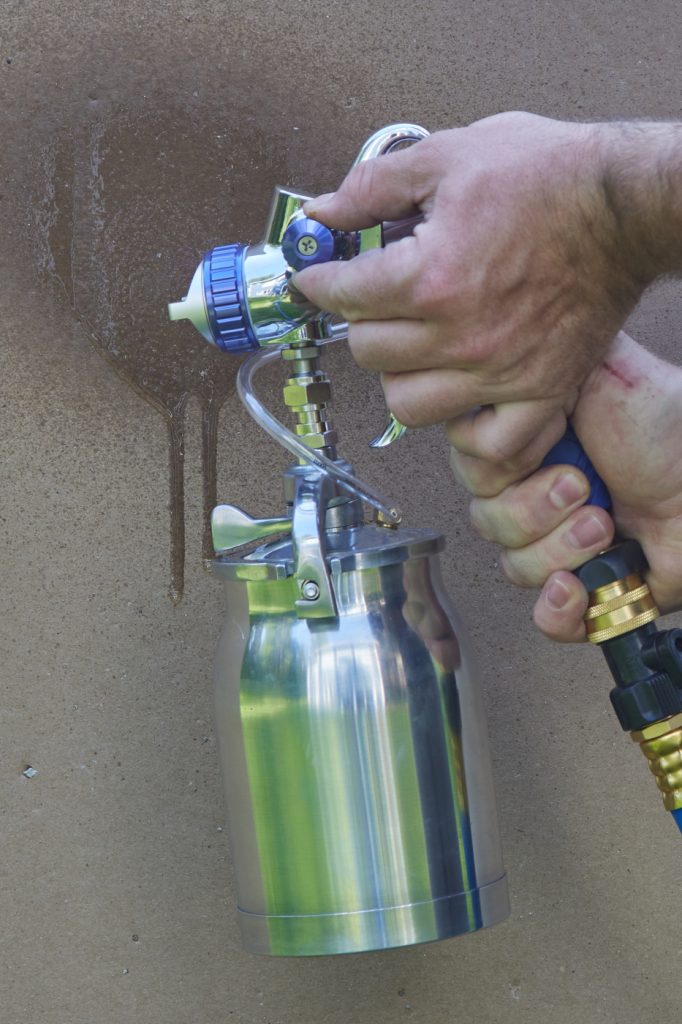
Siphon guns, or cup guns, on the other hand have a fluid pot that sits under the spray gun. The air pressure being fed through the gun creates a siphon that draws the fluid up into the gun. Siphons require a little more air volume to operate than a gravity gun. In addition, the entire cup needs to be removed to be cleaned. It does, however allow a little more movement with the enclosed cup.
The T70 siphon gun from Fuji is ideal for the homeowner or hobby woodworker.
Fuji also offers one more gun style, the G-XPC Gravity spray gun. The G-XPC is a gravity gun, but the side mount allows you to adjust the cup position, for a full-range of motion. The G-XPC also offers a side-mounted fan control, so the gun can be adjusted from the side.
The G-XPC gun is a side-mount gravity fed gun, allowing you to adjust the angle of the fluid cup.
The Fuji Mini-Mite 3 is available with either T-model gun and the G-XPC.
Turbine HVLP Compatibility
One of the greatest things about an HVLP system is the ability of (higher quality) guns to spray a variety of finishes. Several types of finish can be sprayed through a HVLP gun, including clear finishes (lacquer, shellac, varnish, polyurethane), as well as oil and water based paints. The biggest thing to keep in mind is that most guns will require a different tip size to atomize different thickness of finishes.
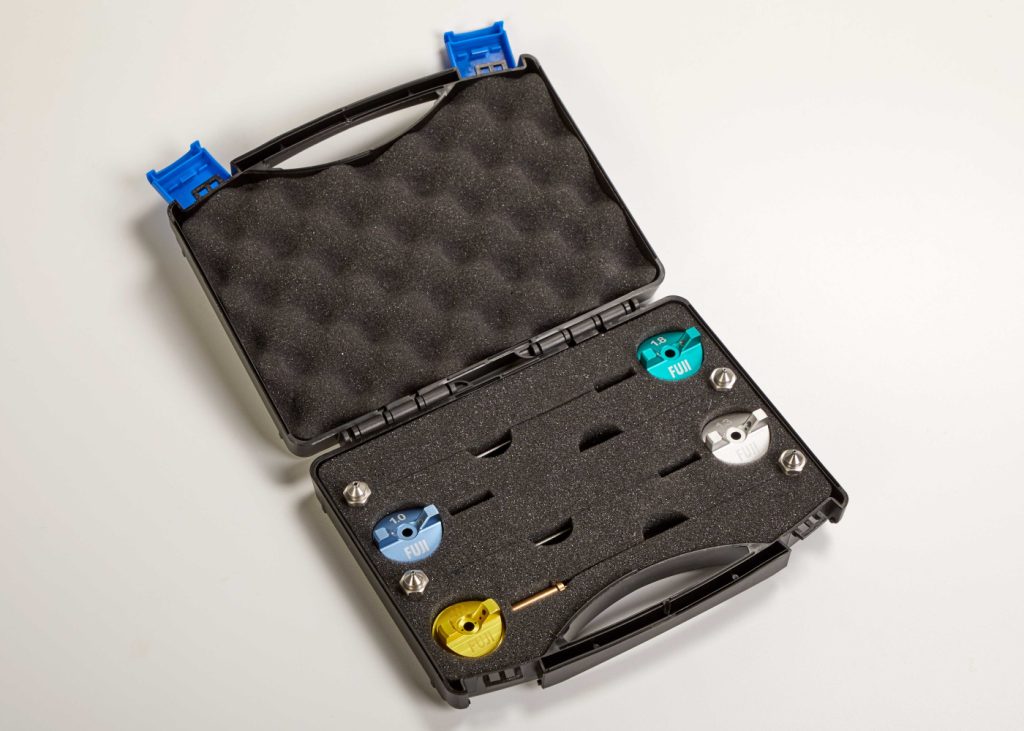
Fuji offers a variety of tips for their guns, covering all finishing needs.
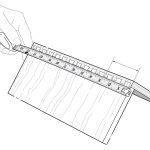
The biggest thing to remember when it comes to checking tip sizes, is to consult your instruction from your manufacturer and match the tip size to what you’re spraying. Fuji’s recommendation for their gun can be found here. Of course, your finish you’re spraying also needs to be thin enough to spray. To measure the viscosity of your finish, you’ll want to use a Ford #4 cup. Basically, you dunk the cup in the finish, and time how long it takes the finish to drain out the bottom hole. If it takes too long, you need to add the appropriate thinner to thin out your finish. You can see this measurement below.
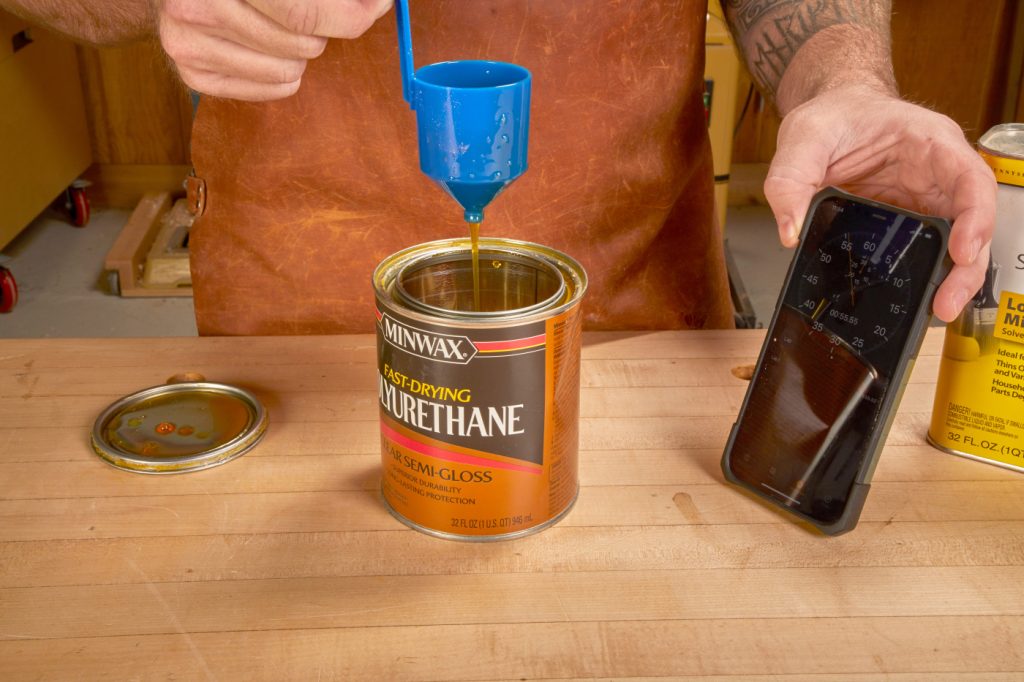
A Ford #4 cup allows you to measure how thin a finish is, for appropriate spraying.
Tips for A Good Finish
Now of course, starting with a quality HVLP system and getting a properly thinned finish is the first steps to a good finish. However, here’s a few tips that will help you spray a flawless finish.
First, set up a good spray area. If you’re spraying a water based finish, you can do it in your shop, but just make sure to cover tools and work surfaces to keep overspray from building up. However, I prefer to almost always finish with an oil based finish. To do this, I spray outside. A calm, not too hot (or humid) day and a pair of saw horses is a good start. If you happen to have one available, a pop-up spray booth is also a great investment.
Make overlapping passes, keeping the spray gun 5-8″ away from the surface. *Note that manufacturers suggest placing the turbine on the ground with the hose as straight as possible to avoid any reduction in airflow.
Now, we need to dial in the spray gun. Turn on the turbine and test out your finish on cardboard. You can adjust the shape of the spray pattern on most guns. The Fuji guns, the pattern control is located on the side of the gun. This will change the pattern from a circle to a wide fan. Ideally, I’m looking for a fan that is about 8″ in length.
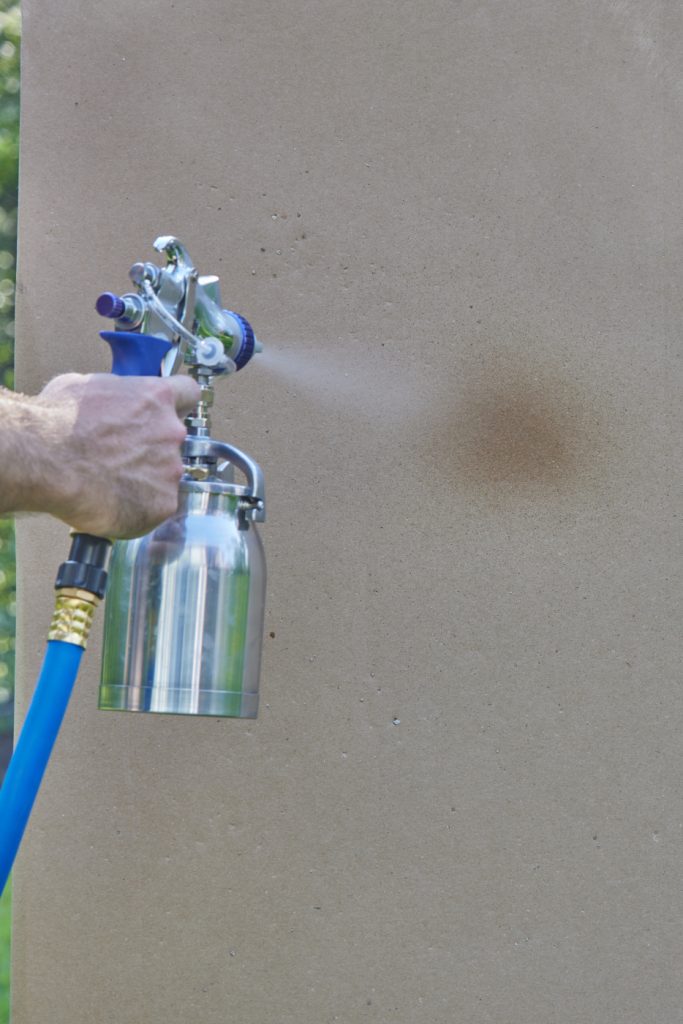
Fully closed, the pattern out of the gun is tight…nearly a full circle.
The Fuji pattern control knob is conveniently located on the left side of the gun.
Adjusting the pattern knob allows you to open up the pattern, creating a fan. This is a much better pattern to finish a project with.
Next, we can adjust the amount of fluid coming out of the gun. This is done with the fluid adjustment knob, located on the back of the Fuji guns. You want enough fluid coming out that you get good coverage, but not too much that it cakes on and starts to run and drip.

The fluid control knob regulates the amount of finish going through the gun.
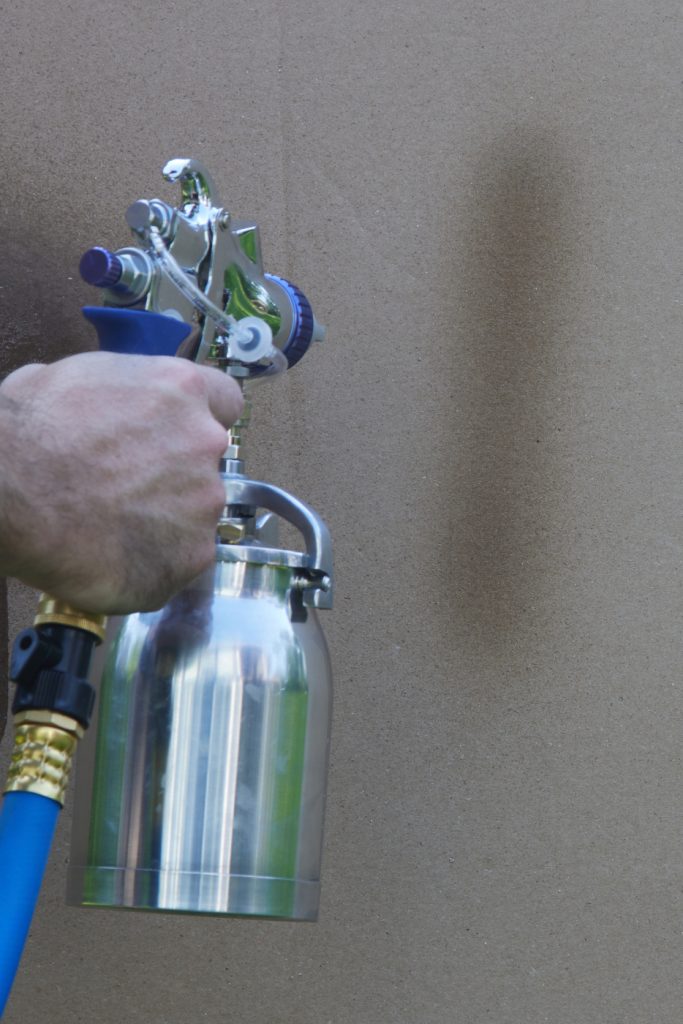
After testing out your spray on a piece of cardboard (or scrap), you’re ready to start spraying your finish. When it comes to spraying a finish, light coats are almost always best. I like to start with my sprayer several inches off the project. Then, after pulling the trigger to start spraying, I’ll make sweeps across the project, keeping the gun about 5-8″ away from the surface. Overlap each pass by about half as you work… this avoids “dry areas”. Don’t stop the spray until your gun is off the project. Starting and stopping spraying is always done off the edge of the project.
Depending on what you’re spraying, you’ll need to wait half an hour or more to spray another coat. Some finishes, like polyurethane, need sanded between coats. Lacquer, like I’m spraying on this cart, burns into itself, so all that’s needed is for the surface to be dry to the touch before another coat is applied.
After the first time spraying a finish, you’ll be amazed at the results and how easy it is. Of course, getting good results every time depends on you taking care of your spray equipment. Cleaning the gun after every project is necessary to keep it working its best. Your manufacturer’s instructions will tell you how to clean it, but for the most part, I clean the cup, pull the tips and soak them, along with the fluid needle. Some finishes, like lacquer, I’ll simply run a bit of lacquer thinner through the gun after I’m done spraying.
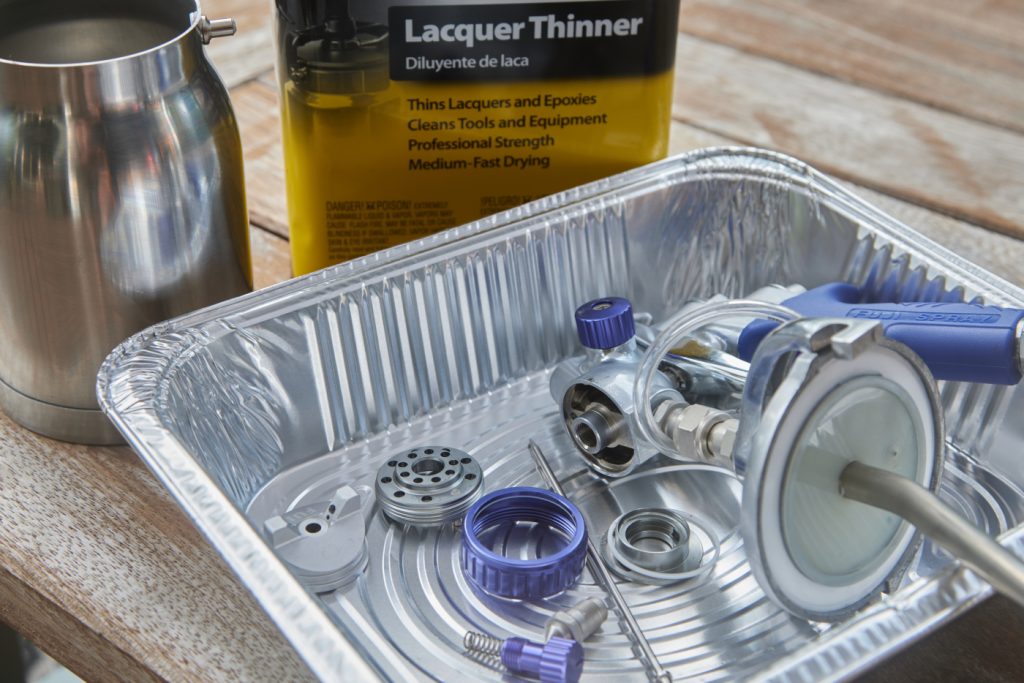
Part of maintaining any spray gun is cleaning it after every use.
Finishing doesn’t have to be a complicated part of a project. With a little bit of prep work, and the right equipment, finishing can be a quick and enjoyable task. Of course, having a quality HVLP sprayer will help you along that path.
Here are some supplies and tools we find essential in our everyday work around the shop. We may receive a commission from sales referred by our links; however, we have carefully selected these products for their usefulness and quality.