How To Create a Beautiful Woodwork Finish: A Beginner’s Guide

Creating a beautiful woodwork finish is easier than ever with the right tools, materials, and techniques. Whether you create a beautiful piece of furniture for yourself or a gift for someone else, a beautiful woodwork finish is essential. There are a few steps you can take to achieve the perfect finish.
We’ll discuss everything you need to know to create a beautiful woodwork finish. We’ll go over the best tools to use, the materials you need, and the techniques you can use to get the best possible finish. Whether you’re a beginner or an experienced woodworker, we’ve got you covered. Let’s start creating the beautiful woodwork finish you’ve always wanted.
Preparing the Surface
The first step in creating any high-quality woodwork finish is preparing the surface. This process begins with sanding the piece down to remove imperfections or splinters. It is critical to use the right tools for this job, such as sandpaper, an orbital sander, and a belt sander, depending on the type of wood you are working with. After sanding, it is time to use wood filler to fill in any cracks or holes in the surface of your piece. You may need to use wood glue and a biscuit joiner to fuse the pieces of wood that have come apart. Use a hand planer or electric planer to ensure that everything is smooth and even before moving on to staining.
Applying the Stain
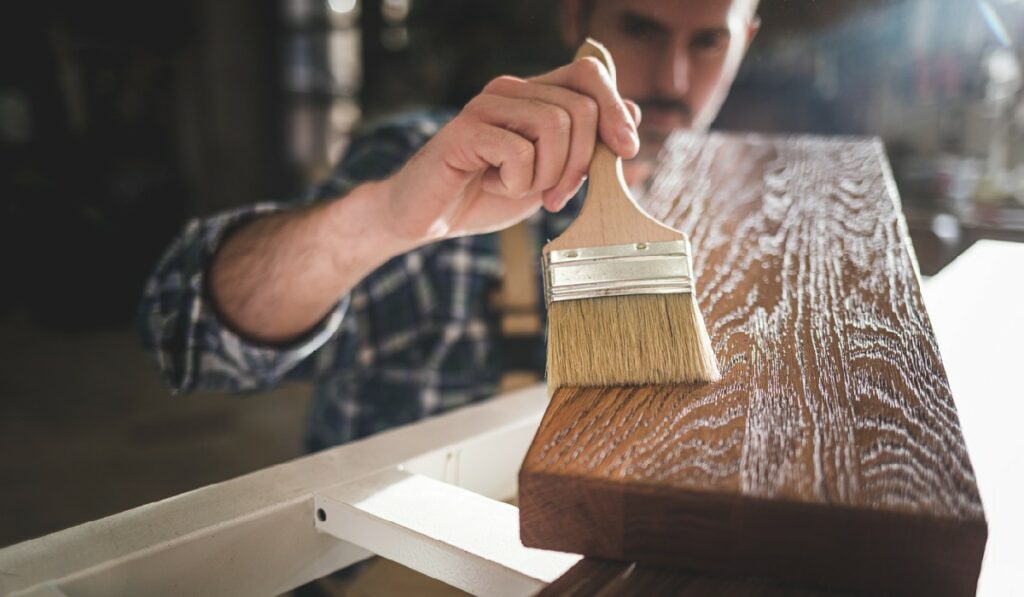
Staining brings out the beauty of the wood and adds depth and richness to the piece. Depending on your desired effect, there are a few different types of stains that you can use on your project, including oil-based stains, water-based stains, and gel stains. Try to apply several thin coats, allowing each coat to dry fully before applying another. Remember to remove any excess product with a clean cloth after each application.
Applying a Clear Finish
After you apply all of your stain coats and let them dry properly, it is time to add a clear finish topcoat. This step provides an extra layer of protection against scratches and dust and helps bring out the natural beauty of your piece. Like stains, there are a few types of clear finishes, including polyurethane, lacquer, varnish, or shellac. They all offer different levels of protection, so it’s crucial to pick the one that suits your project’s needs. Apply several thin coats for maximum protection and allow ample drying time between each layer for optimal results.
Finishing Touches
Once everything has dried completely, it’s time for the finishing touches. You can lightly sand between coats for a smoother result and then wax or rub down your piece with oil for extra shine and protection.
Conclusion
By following these steps carefully and paying attention to detail, you can create beautiful woodworking finishes like a professional. It can be challenging to get started, but with these tips, you can create a beautiful finish. With some practice and patience, anyone can master this craft, so get started today.
