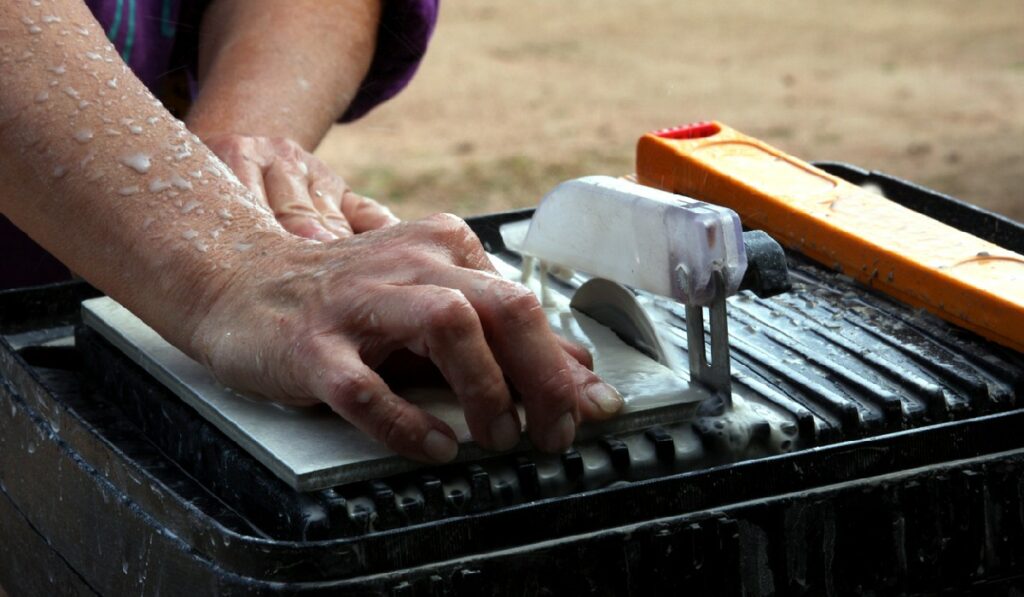
A Step-by-Step Guide for Using a Wet Tile Saw

Tiling is a great way to add a touch of style to any room, be it a bathroom or a kitchen. If you’re a beginner, it can be a bit overwhelming to figure out how to use a wet tile saw. This post has you covered with a step-by-step guide that will make using a wet tile saw easy and hassle-free.
We’ll cover the proper safety precautions and the right blade for the job. You’ll also learn how to make accurate cuts, set a bevel, and more. Regardless of your skill level, by the time you’re finished with this guide, you’ll be able to use a wet tile saw to create beautiful tile work that will last for years.
The Benefits of Using a Wet Tile Saw
Faster Cutting
Wet tile saws are much faster at cutting tiles than traditional methods, such as hand saws or jigsaws. This is due to their heavy-duty motor and large diamond blades, which rotate at much higher speeds than regular blades.
Cleaner Edges
Wet tile saws also produce much cleaner cuts than traditional methods thanks to their ability to keep the diamond blade cool as it works. Traditional methods tend to overheat the blade and create jagged edges, but a wet tile saw keeps the blade cool for smooth and precise cuts.
Ability To Cut Thicker Material
Wet tile saws can cut thick tiles, giving you the flexibility to work with thicker materials with ease. This makes them a great choice for those who need to make thicker cuts or work with heavier materials.
Preparing for Cutting
Before you begin cutting, you must gather the materials you’ll need, including a wet tile saw, a table saw, safety equipment, a dust mask or respirator, ear protection, and proper protective clothing.
Preparing the Tile
You must choose the right blade for your wet tile saw based on what kind of material you are cutting. Different blades are designed for different materials, so remember to consult with a professional.
Once you have selected your blade for your wet tile saw, you’ll need to adjust the depth setting to match the thickness of your tile material before beginning any cutting. It’s important that this setting is correct to prevent damage to either the blade or the material being cut.
The Cutting Process
Place the tile into the wet tile saw’s grooves so it fits snugly but not too tightly against its sides and backstop. Make sure to brace your hands firmly against both sides of the material to prevent any slipping during cutting. Depending on what kind of cut you’re attempting, adjust the angle of your wet tile saw by referring to an angle finder before beginning the actual cutting motions.
When everything is set up, take hold of either end of your wet tile saw’s handlebar and activate the switch to begin the blade rotation. Keep a steady pace to avoid any jagged edges.
Cleaning and Storage
When finished using your wet tile saw, be sure to safely disengage your saw before cleaning it. Remove any debris and wipe the blades down with a cloth. After cleaning, remove and store the blade away from young children.
Conclusion
Using a wet tile saw may seem intimidating, but with the right know-how and preparation, it can be an easy and efficient way to get the job done. This step-by-step guide has taken all the guesswork out of using a wet tile saw so you can get started on your tiling project. By following the steps outlined in this guide, you can get the most out of your wet tile saw. Get started on your project today and create beautiful work with your wet tile saw.
