Sanding Drywall vs. Hardwood: What to Use for Each

When sanding drywall or hardwood, utilizing the right method can help you achieve that perfectly smooth finish. In this article, we’ll explore the differences between drywall and hardwood, how to properly sand each material, and the best tools for each job. You’ll be able to use this information guidance to be successful in every sanding project.
Drywall and Hardwood: Key Differences
Drywall
Drywall, or gypsum board or plasterboard, is a popular material used in construction to create smooth interior walls and ceilings. It consists of a gypsum core sandwiched between two layers of paper, making it lightweight and easy to install.
Drywall is affordable, fire-resistant, and has excellent soundproofing properties. It can be easily cut and shaped, allowing for efficient installation and customization. However, it is susceptible to moisture damage and requires proper sealing in wet areas.
Hardwood
Hardwood is timber from deciduous trees, such as oak, maple, or walnut, used for flooring, furniture, and other applications. It is known for its durability, natural beauty, and strength.
Hardwood is durable, long-lasting, and adds warmth and elegance to any space. It can be sanded and refinished multiple times, allowing for repairs and changes in appearance. However, hardwood is more expensive than other flooring options and requires regular maintenance.
Delving into Sanding
Sanding is smoothing a surface by using abrasives to remove imperfections, stains, or old finishes. It prepares the surface for painting, staining, or a new finish by creating a clean and even surface for a professional-looking result.
Sanding plays a crucial role in construction and renovation projects. It helps in achieving smooth and uniform surfaces, ensuring proper adhesion of paints, finishes, or adhesives. Sanding also removes rough edges, splinters, and imperfections, enhancing the overall aesthetics of the project.
Sanding Tools
Sandpaper
Sandpaper comes in various types and grits, each suitable for specific applications. Common types include garnet, aluminum oxide, and silicon carbide. The grit refers to the coarseness of the sandpaper, with lower numbers rougher and higher numbers finer.
Electric sanders
Electric sanders, such as a belt sander, orbital sander, and detail sander, make the sanding process more efficient and less labor-intensive. Belt sanders, specifically, are powerful tools with a continuous loop of sandpaper ideal for quickly sanding large areas.
Safety equipment
It’s important to prioritize safety when sanding. Wear protective gear such as safety goggles, a dust mask, and ear protection to prevent injuries and minimize exposure to dust particles.
Process of Sanding Drywall
Prepare the drywall
Before sanding drywall, ensure that it is properly installed and finished. Repair any visible cracks, seams, or holes using joint compound, and let it dry completely. Remove any protruding screws or nails and clean the surface of dust or debris.
Gather your tools
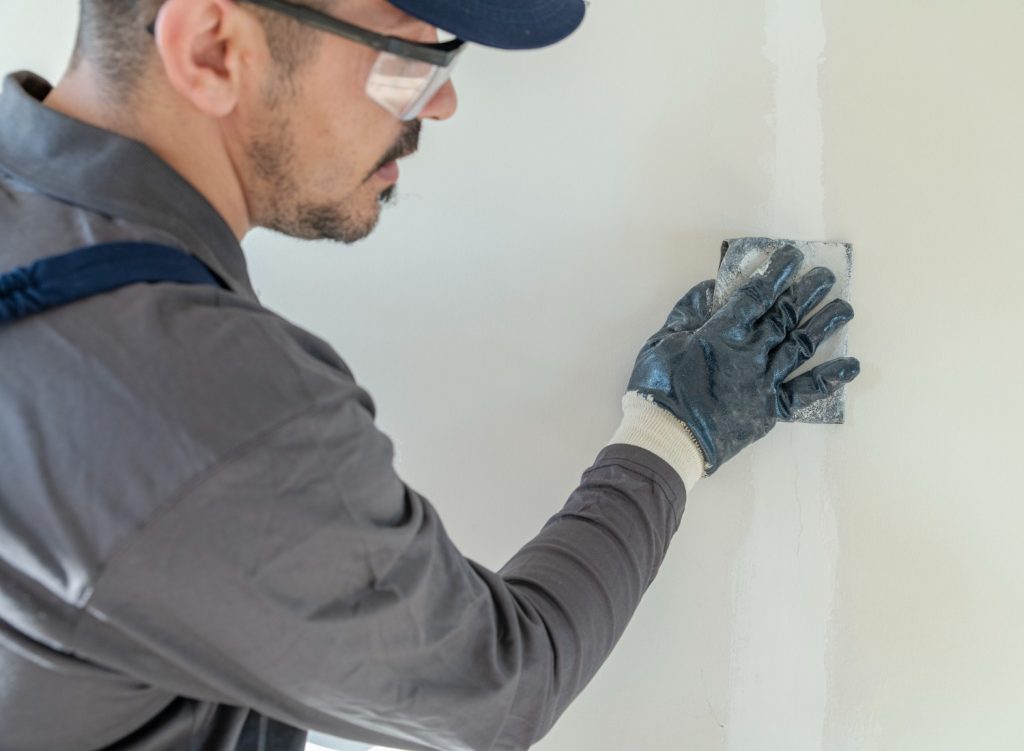
A hand-held sanding block or a pole sander with fine-grit sandpaper (around 120 to 150 grit) is suitable for drywall. These tools allow for controlled sanding and help prevent over-sanding, which can damage the drywall.
Step-by-step guide
- Start by sanding the seams and joints using light pressure, moving in a circular or back-and-forth motion. This helps to blend the joint compound with the surrounding drywall.
- Gradually increase the sandpaper grit to achieve a smoother surface. Repeat the process, feathering the edges of the joint compound until the surface is even and seamless.
- Use a dry brush or vacuum cleaner to remove the dust after sanding.
- Wipe the surface with a damp cloth to ensure it is clean and ready for painting or finishing.
Process of Sanding Hardwood
Prepare the hardwood
Clear the room of furniture and cover doorways to minimize dust spreading. Inspect the hardwood for any loose boards or nails and secure them before sanding. Remove existing finishes using appropriate stripping agents, such as paint or varnish.
Gather your tools
For hardwood, a belt sander or random orbital sander with medium to coarse-grit sandpaper (around 60 to 80 grit) is commonly used for initial sanding. Finer grits (around 100 to 120 grit) are used for smoothing and preparing the surface for finishing.
Step-by-step guide
- Start sanding with the coarse-grit sandpaper, moving toward the wood grain. Use even and consistent pressure to avoid creating uneven spots.
- Progressively switch to finer grits, repeating the sanding process until the desired smoothness is achieved.
- Avoid sanding too much in one area, creating depressions or uneven surfaces.
- After sanding, clean the surface thoroughly to remove dust and debris.
- Vacuum or use a tack cloth to ensure a clean surface for staining, sealing, or applying a finish.
Sanding Drywall vs. Sanding Hardwood
Sanding drywall requires a light touch and careful feathering to achieve a seamless finish. Hardwood sanding involves more aggressive sanding to remove old finishes, stains, or imperfections.
Sanding drywall creates a smooth surface by blending joint compounds while sanding hardwood removes old finishes and exposes fresh wood for refinishing. The effects are different, but both improve aesthetics and surface preparation.
Choosing the right sandpaper grit is crucial for both drywall and hardwood. Coarser grits are used for initial sanding to remove imperfections, while finer grits are used for smoothing and preparing the surface. Using the wrong grit can lead to uneven surfaces or excessive material removal.
Conclusion
Sanding drywall and hardwood are two distinct processes that require different tools and techniques. So, whether tackling that patchy drywall or refinishing your hardwood floors, remember the importance of sanding in achieving a flawless finish.
