How To Paint Wood Paneling Like a Pro

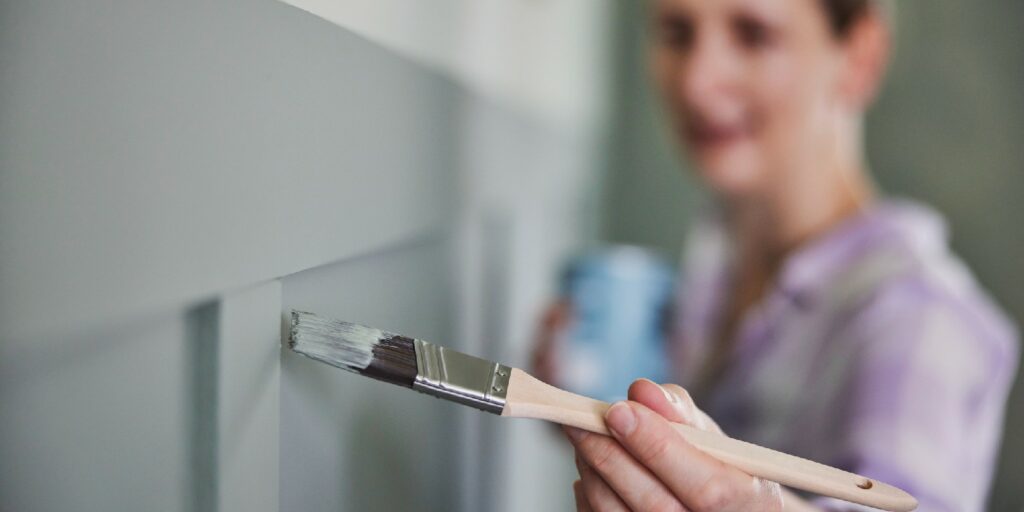
Are you tired of the outdated look of wood paneling in your home? Why not repaint them? Painting wood paneling can be a cost-effective and transformative way to update your interior space. With the right tools, materials, and techniques, you can achieve professional-looking results and give your wood paneling a fresh and modern look. This design tip will change the look and feel of your space and wow your guests the next time they come over. If this is next on your DIY list, we have this step-by-step guide to painting wood paneling like a pro.
Gather Your Materials and Tools
Before you begin painting, gather some basic materials and tools. You will need a primer and paint. You will also need masking tape for painting, drop cloths or plastic sheets, sandpaper, TSP cleaner, and wood filler.
For tools, you’ll need a paint roller. A paintbrush will help cover the edges and corners. Get a good paint tray, sanding block, and ladder or step stool. If you plan to remove the hardware, you may need a screwdriver or drill.
Prepare the Surface
Proper surface preparation is essential to achieving a smooth and professional-looking paint finish. Start by removing any hardware, such as switch covers, outlet covers, or trim. If there are holes or gaps in the wood paneling, use wood filler to patch them and allow them to dry according to the manufacturer’s instructions. Once the filler is dry, use medium-grit sandpaper to smooth the patched areas and any rough spots on the paneling. Clean the paneling with a TSP cleaner or similar product to remove any dirt, grease, or grime that may affect paint adhesion. Rinse thoroughly and allow the paneling to dry completely.
Apply Primer
To ensure that your paint adheres well and provides a consistent finish, apply a coat of primer to the wood paneling. Use a paint roller to apply a coat of primer to the paneling, working in small sections at a time. If the paneling has deep grooves, use a paintbrush to get into those areas. Allow the primer to dry before proceeding to the next step.
Paint the Paneling
Once the primer is dry, it’s time to apply paint to the wood paneling. Choose a high-quality latex or oil-based paint in the color of your choice. Latex paint is water-based and dries quickly, making it easier to clean up, while oil-based paint is more durable and provides a smoother finish. Stir the paint thoroughly before pouring it into a paint tray. Use a paint roller to apply the paint to the paneling, working in small sections at a time. Use long, even strokes, and avoid applying too much pressure, as it can cause streaks or bubbles in the paint. If the paneling has grooves or edges, use a paintbrush to paint those areas. Allow the first coat of paint to dry completely before applying a second coat, if necessary.
Finishing Touches
Once the paint is dry, remove your painter’s tape and reattach any hardware. Inspect the painted paneling for any drips or uneven spots, and touch it up as needed with a small paintbrush. You can apply a clear coat of polyurethane or varnish to add protection and durability to your wood paneling. This step will also give the paneling a glossy or satin finish, depending on the sheen of your product.
Conclusion
Painting wood paneling can be a rewarding DIY project that can transform the look of your interior space. By following the steps outlined in this blog and using the proper materials and tools, you can achieve professional-looking results and update your wood paneling to a fresh and modern look. Proper surface preparation, including cleaning, priming, and applying multiple coats of paint, is crucial for a smooth and durable finish. Don’t forget the finishing touches, such as touching up imperfections and applying a clear coat for added protection. With a little effort and attention to detail, you can paint wood paneling like a pro and give your home a fresh, updated appearance.
