Resin Art: How to Make Custom Wood and Resin Art for Your Home

If you love to get creative and are looking for a unique way to personalize your home, resin art is the perfect project for you! Resin art is a craft that involves combining wood and resin to create a beautiful, custom piece of art. In this post, we’ll take you through creating your own custom wood and resin art.
We’ll discuss your needed materials, the best wood and resin types, and the preparation and finishing stages. We’ll also give you many pro tips and ideas for creating your designs. So pull out your painting supplies and prepare to unleash your creative side!
Supplies and Tools Needed
To get started, you will need the following essential supplies and tools:
- resin
- pigment
- a wooden board
- mixing cups and stirring sticks
- protective gloves
- a disposable plastic spreader
- a heat gun
- a wood carving set is recommended for creating intricate details on the artwork
Prepping and Setting Up
The first step in creating the artwork is to prepare the surface of the wooden board. Begin by sanding the board until smooth. If you want to create any designs or textures in the board, use your wood carving set to do so. Abstract carvings are the most popular details to incorporate because they add texture to the resin once it is poured. Next, clean the board with a damp cloth to remove dust particles and debris. To ensure no resin bleeds, use masking tape to cover the sides of the board. This will allow you to pour the resin directly onto the center of the board without any spillage.
Creating the Artwork
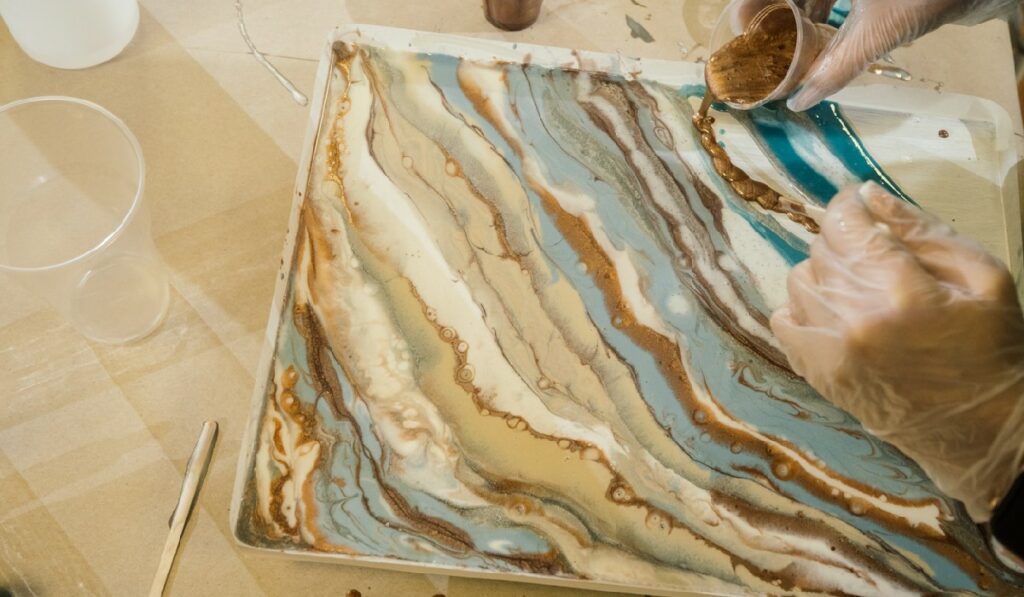
Once you have prepped the board and laid the tape around the edges, introduce pigment into the freshly mixed epoxy resin. A disposable plastic spreader can help mix a more consistent color throughout the mixture. After stirring desired pigment shades into each batch of resin, pour it onto the surface in sections. Once poured onto the surface of your artwork, use a heat gun to move pigments around on top of the surface until an abstract design is achieved. Drop pigment onto certain areas atop the heat gun’s jet stream movements to add more texture depth.
Finishing Touches
Now that you have perfected your design on top of your wooden board with resin art, there are still a few more areas to consider to complete your artwork. First, use a paintbrush to add pigment in certain areas as desired for added details or texture. You can also experiment with drilling holes or making cuts into certain sections of your artwork with a wood carving set for added embossed details or embellishments. In addition, you can use the heat gun blowouts method to create interesting highlights within certain areas of your piece.
Curing the Resin
After completing all the steps, allowing enough time for the artwork to cure is crucial. Leave the piece uncovered for at least 24 hours in a room with a stable temperature before handling it or removing any tapes or clips used during the preparation stage. If there are small gaps along the outer edges due to excess spilling during taping, you can use a disposable plastic spreader to fill them up with an additional topcoat. However, you must allow 24 hours of curing time for each previous layer applied before adding the final coating layer or sealing agent on the top surface. Finally, wait another 24 hours for the total curing process before handling the desired artwork.
Conclusion
With some creativity and basic supplies, you can easily transform any wooden board into a beautiful custom piece of art. Creating custom wood and resin art is a great way to express your creativity and bring a unique touch to your home. Don’t be afraid to get creative and have fun! With the right supplies, tips and tricks, and patience, you can quickly make custom wood and resin art.
