How To Install Kitchen Cabinets Like a Pro: A Step-by-Step Guide

If you’ve ever dreamed of installing your own kitchen cabinets but are unsure how to do it, this post is for you. Installing kitchen cabinets can seem daunting, but with the right tools and knowledge, you can accomplish this task with ease. We’ll provide a step-by-step guide on installing kitchen cabinets like a professional. We’ll cover everything from choosing the proper cabinets for your kitchen to installing the cabinets and ensuring everything is secure and level. By the time you’re done reading this post, you’ll know everything you need to know to install your kitchen cabinets successfully.
Gather the Necessary Tools and Supplies
Before you begin any home improvement project, ensure you have all the necessary tools and supplies. When installing kitchen cabinets, you will need the following:
- drill
- screwdriver
- nut driver
- hammer and saw
- tape measure and level
- caulking gun.
- protective eyewear
- miter box (if you need to make any cuts)
As far as supplies go, be sure to have a variety of screws, brackets for attaching the cabinets to the wall, mounting hardware for the doors, and shims for leveling and adjusting the cabinets. Caulk or foam weather stripping to seal any gaps is also helpful.
Prepare the Wall and Mark the Placement
Once your tools and supplies are in order, you’re ready to begin your installation. To start, remove any existing cabinetry from your walls so that you have a blank canvas ready for your new cabinets. Use your tape measure to mark out where each new cabinet will go.
Attach the Brackets to the Wall
If you’re using brackets to attach your cabinets to the wall, use your drill and nut driver to secure the hardware on either side of each cabinet opening. Before completing this step, ensure you’ve located any existing studs in the walls to ensure you have the proper support for the weight of all of your cabinets.
Attach the Cabinets to the Brackets
Now that you have all your brackets on the wall, it’s time to start securing your cabinets onto them using screws or other mounting hardware, depending on what kind of cabinetry you have. Make sure that each cabinet is securely fastened at the top and bottom so that the cabinets can hold the weight of your kitchen items.
Level and Adjust Your Cabinets
Once your cabinets are all attached to their respective brackets or wall studs, you must check that they are level before continuing with the installation. Take a level tool and check that each cabinet is at an even height across its entire surface by placing it along various sections of each cabinet face. If there is any unevenness, use some shims between the brackets and the back edge of each cabinet box until everything feels solid.
Install the Doors and Handles
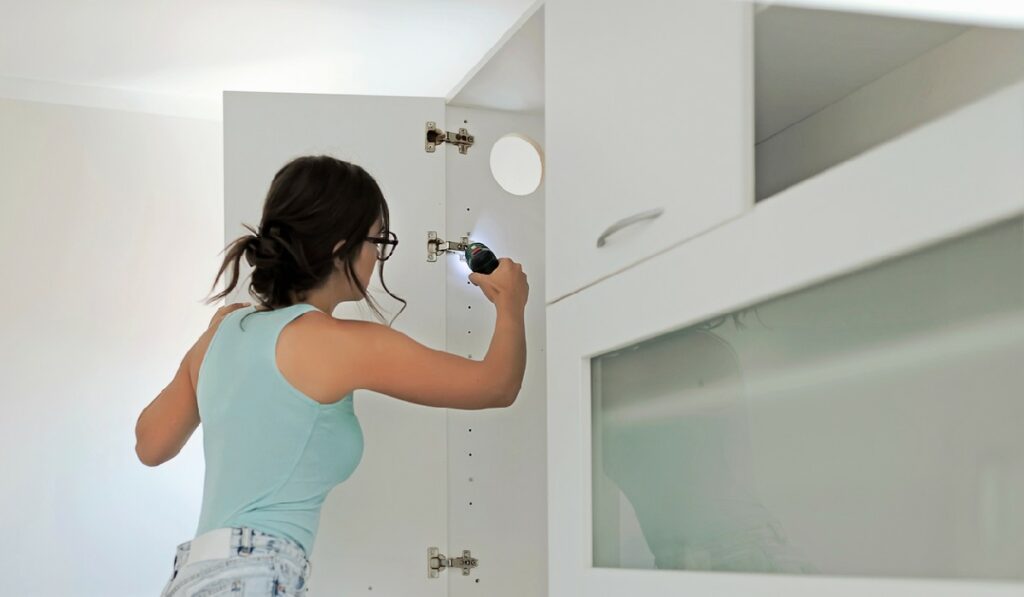
Now it’s time to install the doors. This step is slightly more complicated than simply attaching them directly to each cabinet box. Be sure to follow all instructions for whatever type of hardware you have chosen before securing them in place on each door. This process can quickly become complicated as you try to “wing it” without understanding what pieces should fit together. The type of hinges or handles you select for this task may determine how easily this step goes.
Clean Up and Enjoy Your New Kitchen
Now that you have installed your cabinets, you can remove any sawdust or extra bits of material left over from cutting or drilling. These materials can ruin the look of your new cabinets. After cleaning your workspace, there should be nothing left to do except admire your handiwork.
With the right tools and knowledge, installing kitchen cabinets isn’t as difficult as it may seem. With just a few basic steps, you can elevate your kitchen space in terms of beauty and function. Installing kitchen cabinets like a pro saves you money and gives you the satisfaction of knowing you did the job yourself. Get out your tools and get started on your kitchen cabinet installation today.
