DIY Flooring: Everything You Need to Install Laminate Flooring

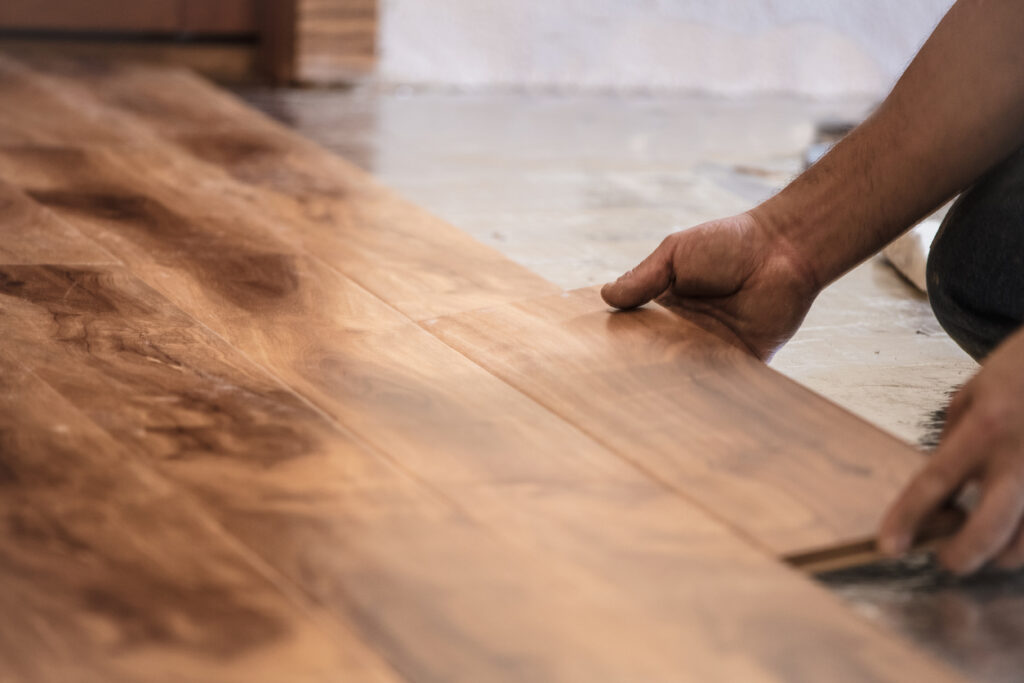
Man installing wood flooring in home.
If you have old flooring in your home or office, laminate flooring could be the perfect solution for updating your space. Laminate flooring is durable, easy to install, and available in various styles. What is more, it is incredibly affordable compared to other types of flooring.
In this article, we review everything you need to know to start a DIY laminate flooring project. We cover the different types of laminate flooring available, the tools you’ll need to complete the job, and provide a step-by-step guide on how to lay the flooring correctly. With this knowledge, you can give your home or office space the stunning, new look you’ve always wanted.
Supplies Needed
The first step in any flooring project is to obtain the laminate planks you wish to install. Be sure to select a laminate plank that meets your durability and visual needs, as well as one that fits within your budget. Underlayment is necessary for all types of laminate flooring and provides a cushion for sound insulation and moisture protection. Make sure you choose an underlayment suitable for the subfloor you are using (e.g., concrete or wood). Although not many tools are required for installing laminate floors, you should have at least an oscillating saw blade, a jigsaw, measuring tape, a chalk line, and a rubber mallet on hand. These tools will help ensure a successful laminate floor installation.
Subfloor Preparation
Before beginning any installation, it is important to assess the subfloor’s condition, which should be clean and level before proceeding. If your floor has any irregularities, they must be addressed before installing the new laminate plank. It is important to properly clean and level the subfloor before beginning the installation process to ensure a successful installation and avoid any issues later on. Begin by sweeping and vacuuming all dust and debris from the surface, then use a long or laser level to identify any areas that may not be even or level.
Installing the Laminate Flooring
After your subfloor has been prepped, you can begin laying the underlayment in strips across the room on top of the subfloor, ensuring there are no gaps between pieces, as this can cause later problems with the flooring. Once in place, ensure the underlayment is securely fastened down with nails or staples every 6-12 inches along its edges before laying your laminate planks over it.
To begin installing your laminate flooring, position yourself in one corner of the room and place one end of a plank on a set block. Ensure the plank is firmly in contact with both walls to maintain accuracy for subsequent rows. If any planks are too long for a specific area, trim them using an oscillating saw blade and keep the cut pieces for use later. Next, use a tapping block or rubber mallet to ensure each plank is securely connected as you fasten them together using their interlocking edges. Continue this process until all planks are installed across the room, and there are no gaps between planks, walls, or transition pieces.
Once all planks are laid down properly throughout the space, move to secure transition pieces along doorways and other areas where surface heights might differ between rooms. These transition pieces must be correctly measured and installed before being sealed with caulk around their edges to secure them in place and prevent water damage. Again, you may need an oscillating saw blade if trimming is necessary before securing them into place.
Finishing the Floor
After installing all transition pieces, the final step is to install molding along the baseboards throughout the room. The purpose of the molding is to conceal any gaps between planks while adding a decorative touch to enhance the overall aesthetic of the space.
To begin, cut molding strips to the dimensions specified by the manufacturer using an oscillating saw blade. Next, securely attach the molding using nails or screws per the manufacturer’s guidelines. This will ensure the molding is firmly and securely installed and will remain in place long term.
After installing molding along baseboards throughout your rooms, secure them into place using finished nails or screws (again, depending on manufacturer guidelines). Then use caulk around edges where appropriate to prevent moisture from entering spaces beneath. Once done, let the caulk dry completely before continuing to the next steps.
Lastly, be sure to add stair nosing along each edge of your stairs so they can provide safe footing when transitioning up or down each step. Measure out dimensions specified by the manufacturer carefully, then cut wood strips accordingly using an oscillating saw blade before fastening them securely into place with nails/screws (accordingly). After all the nosing pieces have been installed, you should be ready to enjoy your new DIY laminate floor!
Conclusion
Installing laminate flooring yourself is not easy, but with the right tools, supplies, and know-how, it can be a great way to transform any room into a stunning, modern space. Whether you’re looking for an inexpensive, do-it-yourself option for upgrading your existing flooring or you’re starting from scratch with a brand-new installation, laminate flooring is a great choice. With the information outlined in this article, you should have everything you need to start this project. So, take the initiative and begin your DIY laminate flooring project today. You’ll be amazed at the results and proud of your achievement when you’re done.
