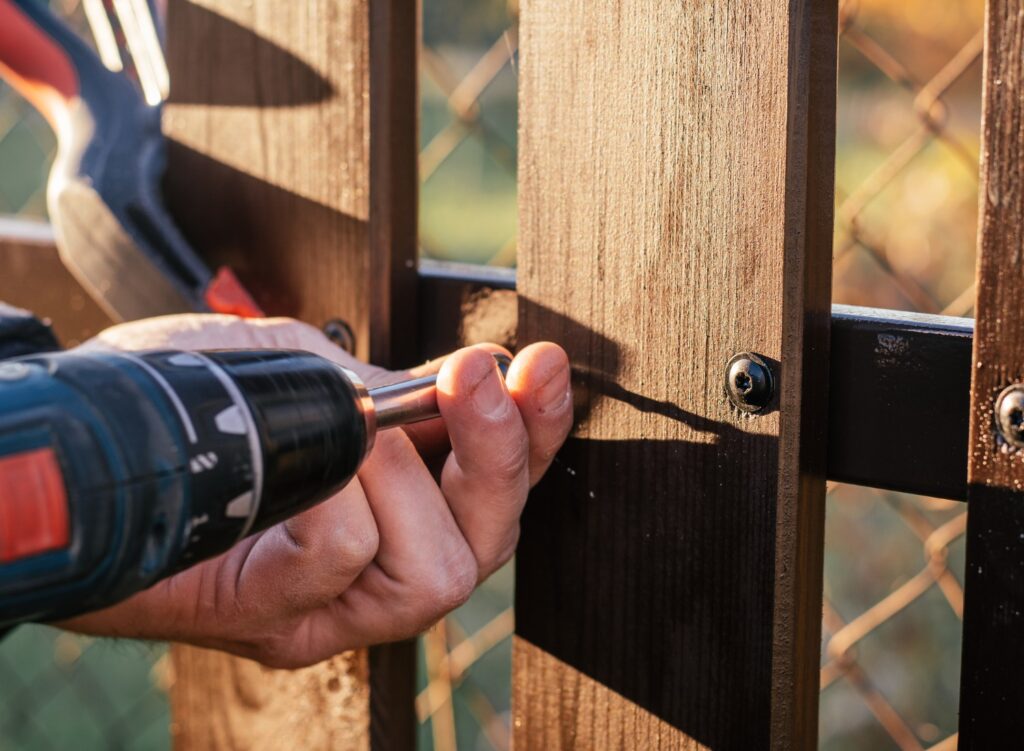
How to Build a Fence Gate in 8 Steps

- Overview of the Project
- Materials and Tools Needed
- List of Tools
- Step 1: Measuring and Planning
- Step 2: Gathering Materials
- Step 3: Cutting the Frame Pieces
- Step 4: Assembling the Frame
- Step 5: Attaching the Bracing
- Step 6: Adding the Gate Boards
- Step 7: Installing the Hinges and Latch
- Step 8: Hanging the Gate
- Conclusion
A well-constructed fence can add security and privacy to your property and provide an inviting entrance with a thoughtfully designed gate. If you want to enhance your fence with a functional and aesthetically pleasing gate, you’ve come to the right place.
In this blog, we’ll walk you through eight essential steps to build a fence gate that serves its purpose and complements your outdoor space. Whether you’re a seasoned DIY enthusiast or just starting out, simply follow these steps and you’ll soon have a beautiful and functional gate to welcome you home.
Overview of the Project
Importance of a fence gate
- A fence gate serves as an entry and exit point to your property, providing both security and convenience.
- It allows easy access for you, your family, and visitors while keeping unwanted animals and intruders out.
Benefits of building your fence gate
- Building your own fence gate allows you to customize it to match the style and design of your fence.
- It can be a cost-effective solution compared to purchasing a pre-made gate. By building it yourself, you gain a sense of accomplishment and satisfaction.
Materials and Tools Needed
- Wood boards (appropriate for outdoor use)
- Screws or nails
- Hinges and latch
- Bracing material
- Measuring tape
- Saw
- Screwdriver or cordless drill
- Level
- Pencil or marker
- Safety glasses and gloves
List of Tools
- Circular saw, or miter saw
- Cordless Drill or screwdriver
- Hammer
- Level
- Clamps (optional)
Step 1: Measuring and Planning
Determining gate dimensions
- Measure the width of the gate opening and add a couple of inches to allow for clearance.
- Decide on the desired height of the gate, ensuring it matches your fence’s height.
Marking the gate location
- Use a measuring tape and level to mark the location of the gate on the fence.
Step 2: Gathering Materials
Choosing the right type of wood
- Select wood that is resistant to rot and decay, such as cedar or pressure-treated lumber.
- Ensure the wood is suitable for outdoor use.
Selecting appropriate hardware
- Choose hinges and a durable and suitable latch for the size and weight of the gate.
Step 3: Cutting the Frame Pieces
Measuring and Marking the Frame Dimensions
- Measure and mark the length and width of the gate frame on the selected wood.
- Use a square to ensure accurate and straight lines.
Using a Saw to Cut the Frame Pieces
- Use a circular or miter saw to cut the frame pieces according to your measurements.
Step 4: Assembling the Frame
Attaching the Frame Pieces with Screws
- Lay the frame pieces on a flat surface and align them at the corners.
- Pre-drill pilot holes and attach the frame pieces using screws.
Ensuring the Frame is Square and Sturdy
- Use a level to check that the frame is square.
- Make any necessary adjustments and tighten the screws securely.
Step 5: Attaching the Bracing
Determining the Position of the Brace
- Measure the diagonal length of the gate frame from corner to corner.
- Cut a piece of bracing material to fit this length.
Securing the Brace to the Frame
- Position the brace diagonally across the gate frame.
- Attach the brace to the frame using screws or nails.
Step 6: Adding the Gate Boards
Measuring and Cutting the Gate Boards
- Measure the width of the gate frame and cut the gate boards accordingly.
- Leave a small gap between each board for expansion and contraction.
Attaching the Boards to the Frame
- Lay the gate boards horizontally across the frame.
- Secure the boards to the frame using screws or nails.
Step 7: Installing the Hinges and Latch
Determining Hinge Placement
- Position the gate frame in the gate opening and mark the desired hinge placement.
- Measure and mark the hinge location on both the gate frame and fence post.
Installing the Hinges and Latch Securely
- Attach the hinges to the gate frame and fence post using screws.
- Install the latch on the opposite side of the gate.
Step 8: Hanging the Gate
Preparing the Gate Posts
- Ensure the gate posts are sturdy and securely anchored.
- Level the gate posts to ensure the gate will swing properly.
Attaching the Gate to the Posts
- Align the gate hinges with the pre-marked locations on the gate posts.
- Securely attach the gate to the posts using screws or nails.
Conclusion
Building a fence gate doesn’t have to be a daunting task. With the right materials, tools, and a little bit of patience, you can create a gate that not only enhances the security of your property but also adds a touch of style to your fence. By following the eight steps outlined in this article, you’ll be well on your way to becoming a DIY fence gate expert.
