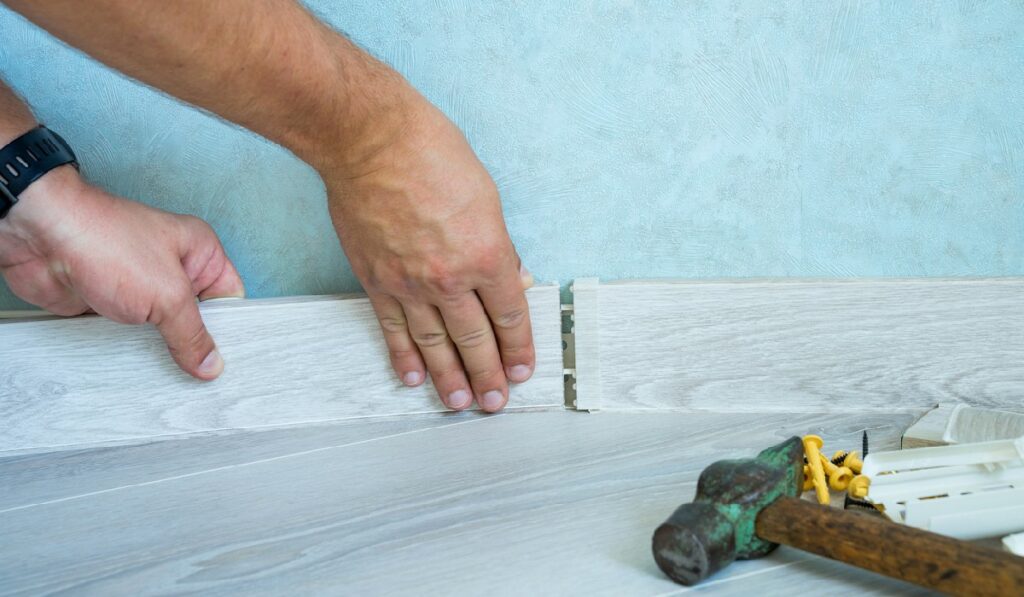
A Step-by-Step Guide to Install Wood Flooring Yourself

So, you’ve decided to install a new wood floor in your home. Congratulations! You’re about to embark on a fulfilling DIY journey that’ll save you money and give you the satisfaction of saying “I did it myself!” every time someone compliments your floors.
Thankfully, installing wood flooring is not as hard as you might think. To help, we’ve put together a step-by-step guide to installing wood flooring yourself. Here, we’re covering all the necessary steps, such as selecting the right type of wood, preparing the subfloor, and of course, laying the boards. We’ll also provide useful tips along the way to make the entire process easier and more fun for you.
Tools and Materials Needed
Before beginning the installation process, it’s important to make sure you have the right tools and materials on hand. Here is a list of items that you should have before starting:
- Tape measure
- Pencil
- Hammer
- Nails
- Scissors
- Drill and drill bit
- Jigsaw
- Contour gauge
- Subfloor adhesive
- Wood flooring materials (your choice of species, size, thickness, etc.)
- Underlayment materials (foam, cork, etc.)
- Wood putty
- Finishing materials (varnish, sealant, etc.)
Preparing the Floor
Once you have all your materials gathered, it’s time to get ready for installation. The first step is to prepare the existing floor, as this ensures your new wood floor will last as long as possible. Begin by sweeping and vacuuming the entire area to remove any dirt or dust that might interfere with the adhesion of your subfloor adhesive. Next, use a level to check for any high spots or unevenness in the subfloor. If there are any problems, use a sander or planer to level the area. Lastly, measure the wood planks you plan to use to ensure you have enough to cover the entire floor. Use a contour gauge to measure around intricate corners and doorways. Use the measurement on the contour gauge to mark your planks accordingly– this will allow you to precisely cut your planks so they fit snugly and flush around these areas. Make sure to fill any holes or cracks with an appropriate filler material before continuing with the installation process.
Installing the Floor
Now it’s time to actually install your wood flooring. Start by laying out your underlayment materials and placing them in the order in which they will be installed. Next, apply a thin layer of adhesive onto the surface using a trowel. Make sure it is evenly spread out over all areas of the subfloor to ensure the floor will be level.
Once you’re happy with the adhesive’s consistency, start laying out your wood planks onto the adhesive and ensure that they fit properly into each other’s edges. Tap each plank into place using a hammer or tapping block and make sure that they’re secure before moving on to the next one. Once all of the planks are installed, cut off any excess material at walls or other areas where needed — make sure to use a jigsaw fitted with a suitable blade for real hardwood flooring.
Finishing the Floor
Now that all of your planks are securely installed, finish off your wood flooring with some varnish or other finishing material of your choice. Start by sanding down all surfaces using an electric sander (starting with rough grit paper then progressing onto finer grits) until smooth and even when touched.
Once complete, take some wood putty and use it to fill any small cracks in between planks where necessary, then wipe away any excess putty with a damp cloth before applying several layers of varnish for protection against moisture and everyday wear and tear. When finished, let your new wood floor dry overnight before putting furniture back onto it or walking on it freely. Voila, you now have beautiful new wooden floors!
Conclusion
Congratulations on completing your installation of a new wood floor! We hope that our step-by-step article helped guide you through the process. Installing a wood floor can seem daunting, but with the right tools and following the instructions, you can have beautiful and long-lasting results. Now you can start decorating and enjoy your new space with the pride of knowing that you did it yourself!
